Tag: christmas diy

Fall/Christmas 2 Sided Canvas

Hello Everyone!

As I get busy decorating for the holidays I find that I gravitate towards dual purpose decorations. So that is why I made this 2 sided canvas. Once side is for the fall or Thanksgiving and the other is for winter or Christmas, whatever you want on either side. It was fun to make and not too difficult. 

Check out my video for all the details. 

This would be fun to make for spring and summer, or St. Patrick’s day and Valentines day. There are unlimited variations, I think I will make more this coming year. 

Affiliate links:

canvas https://amzn.to/2HBOcUC

Arteza Metallic Paint https://amzn.to/3ftWbzD

Finnabair paint brushes https://amzn.to/39qkzBh

Christmas Art Journal Page

Hello Everyone!

Christmas is almost here! Whew I do not know where the year went!! Now is the time to start my Christmas Art journal pages. 

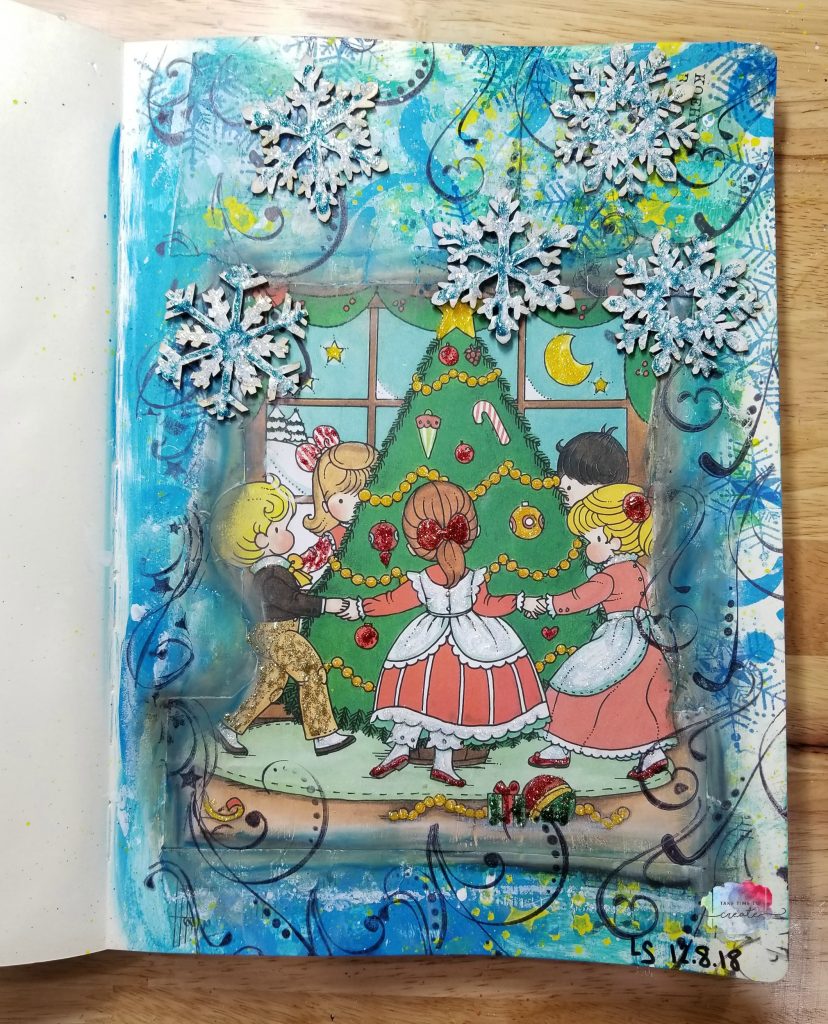
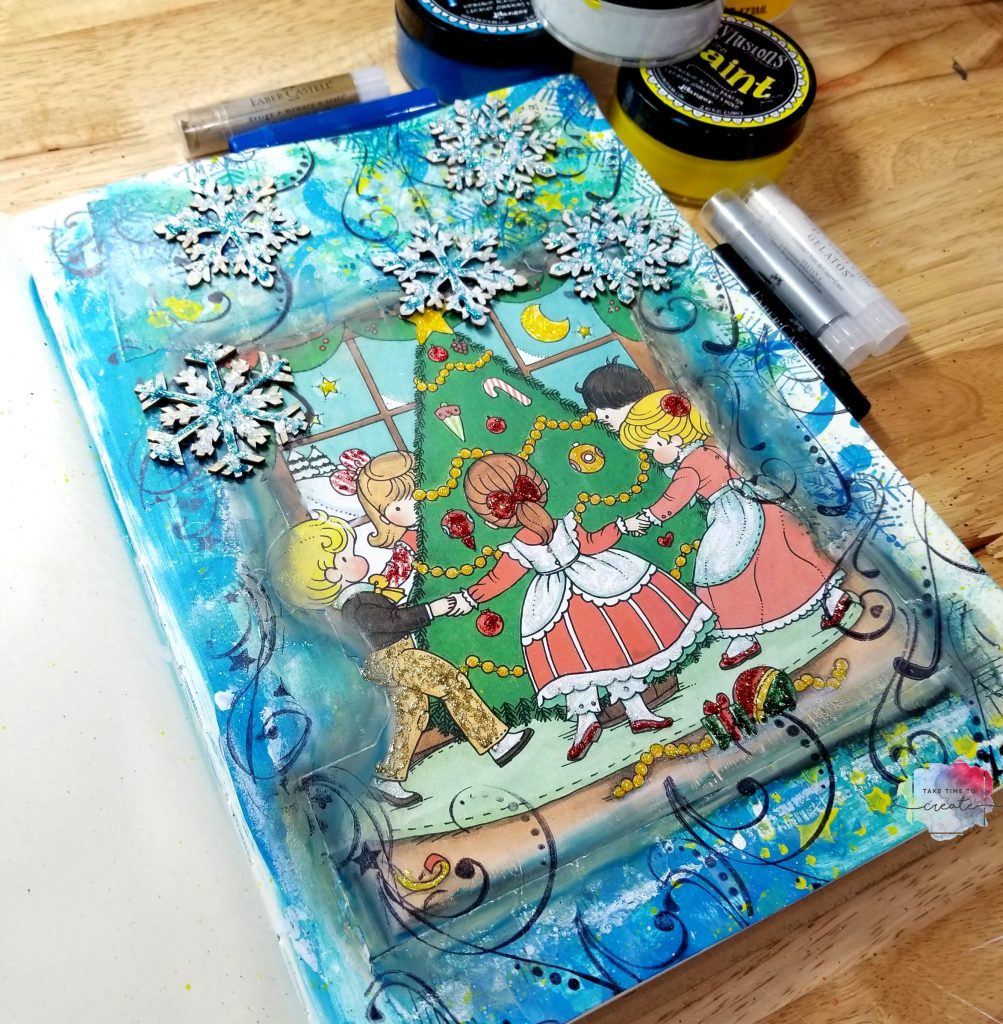
This page was a lot of fun. I started with a page out of a children’s book as my focal point and built the page from there


christmas page 1
Christmas Art Journal Page

I love creating pages like this, it is all about layering. Start with the flatter layers and get bulkier as you build. The layers and textures create interest and makes the page fun to look at. 


christmas page 2

Affiliate Links:

The post Christmas Art Journal Page appeared first on Take Time To Create.

DIY Dollar Tree Snowflake Christmas Decoration

Hello Everyone!

I was compensated for this post. This post also contains affiliate links and I will be compensated if you make a purchase after clicking on my links.

Christmas is just around the corner and I am getting excited! I love to make my own decorations, the glittery the better, lol.

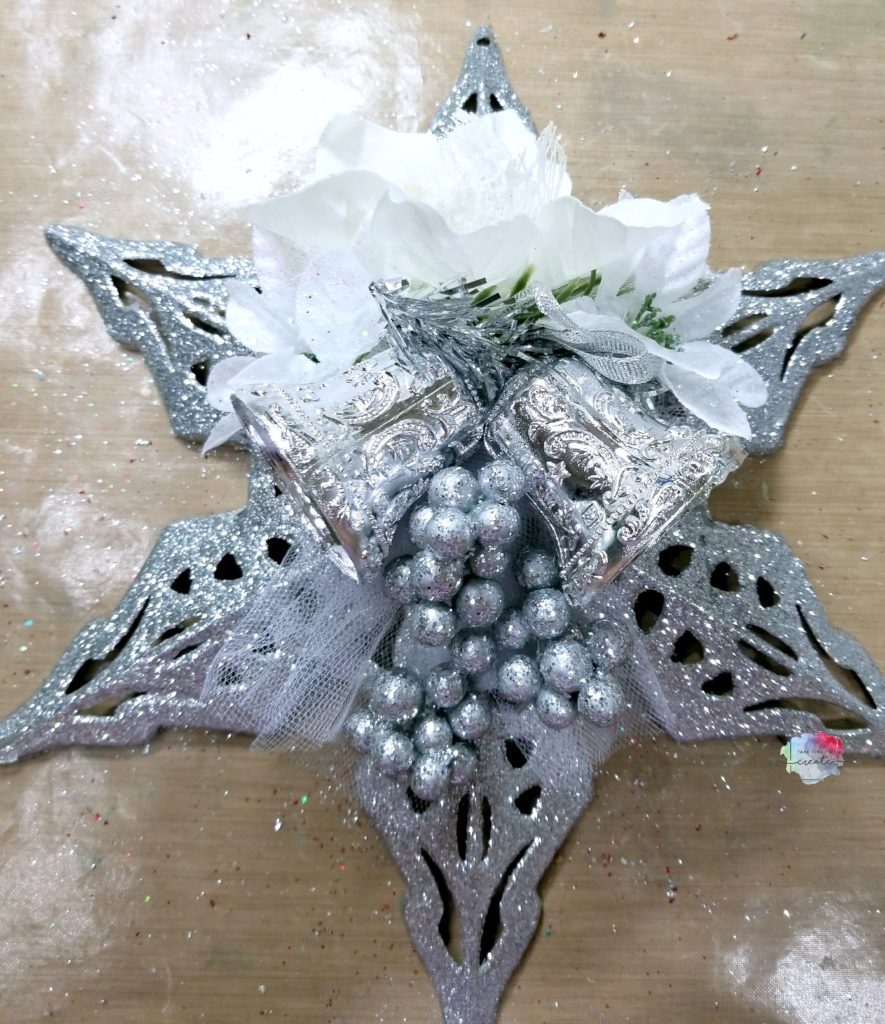
Dollar Tree is the perfect place to get supplies to make your own decorations, like these Snowflakes I made.

These snowflakes are so easy to make and they look so cute hanging on your wall.

Materials Needed (affiliate links):

Bulk 5-Stem Christmas House Glittered Poinsettia Bushes, 13 in. atcom

from: DollarTree

Instructions: 

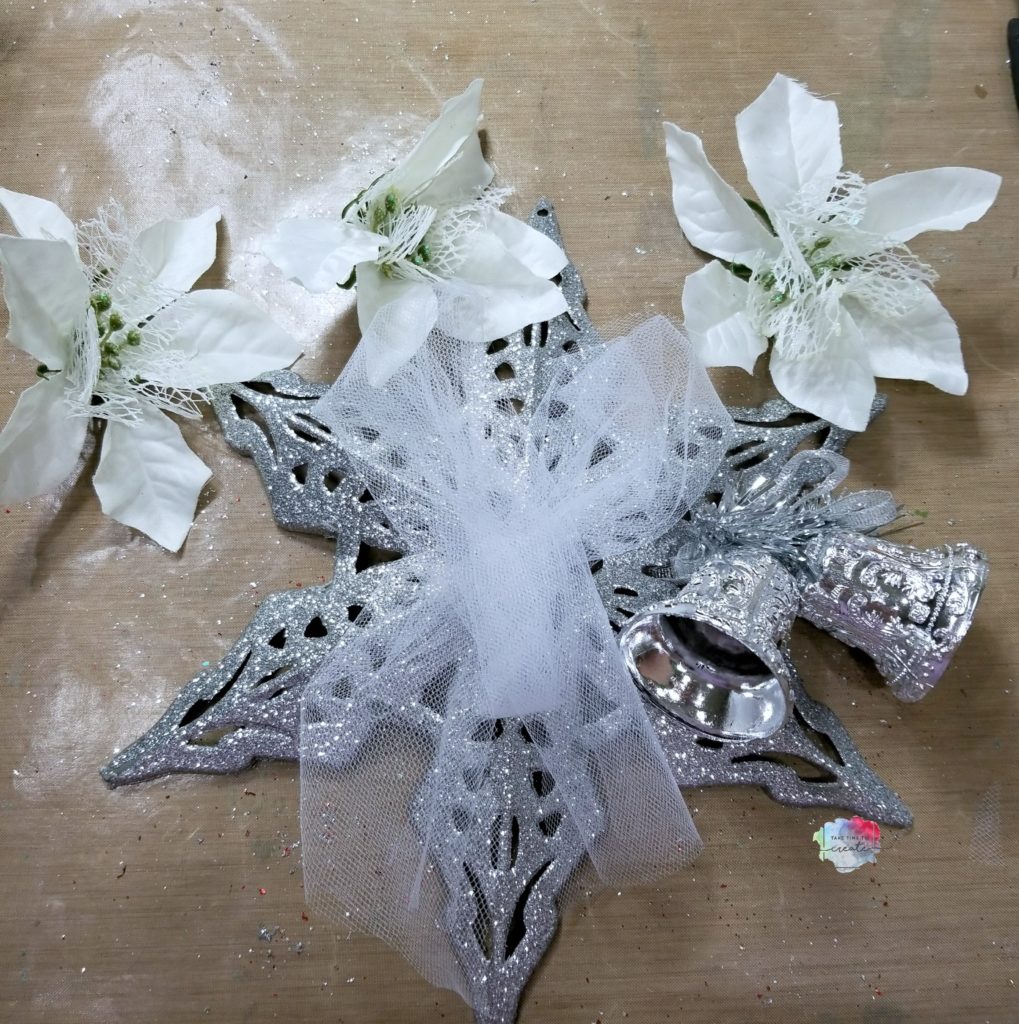
Start with your glittery snowflake and add some tulle as a base layer. Or you can add glitter mesh, or ribbon, or lace, anything really. You just want to make sure you have an anchor for your focal point. Glue the tulle on with hot glue.

DIY Dollar Tree Snowflake Decor

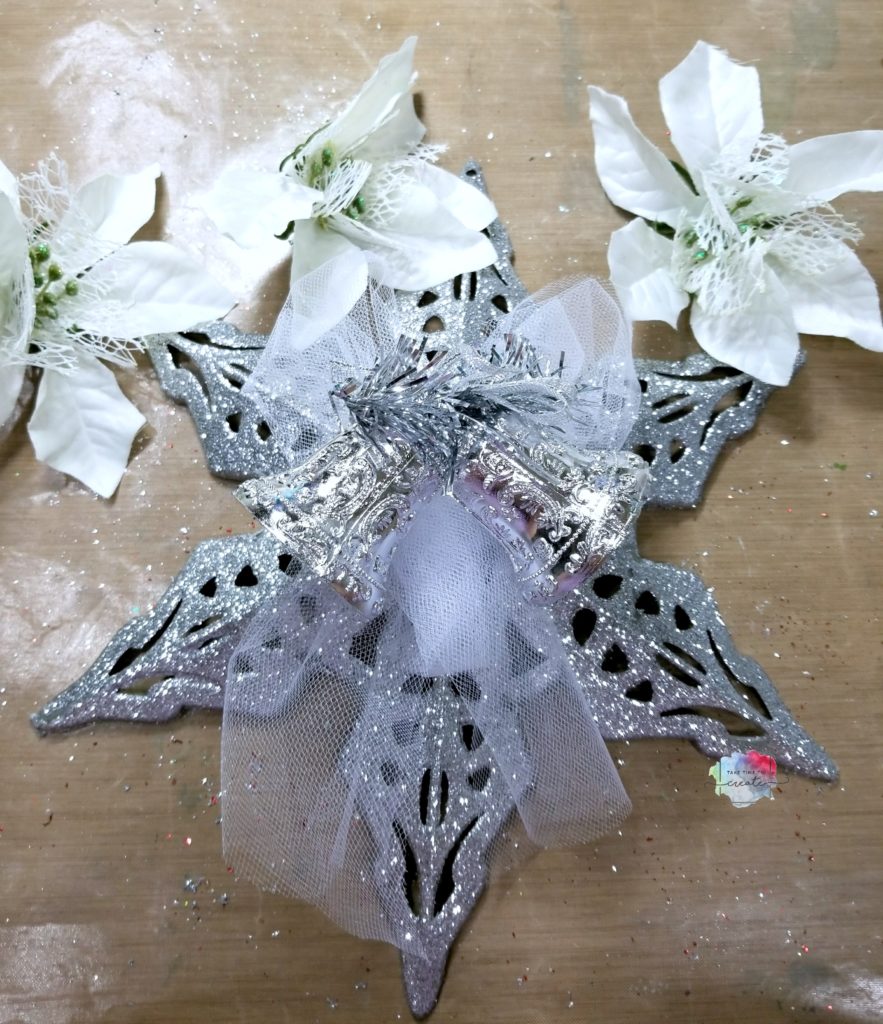
Then you want to glue on your focal point to the center of the snowflake

DIY Dollar Tree Snowflake Decor

Then you glue on accents and decoration all around your focal point. Poinsettias, floral picks, beads, jingle bells, and small ornaments work great for this step. Anything will work, you just want to fill up the empty spaces and make it full and festive.

DIY Dollar Tree Snowflake Decor

There you go, nice and easy and they looks so festive and glittery.  A grouping of the snowflakes would look really great on a wall, or it could be the perfect gift!

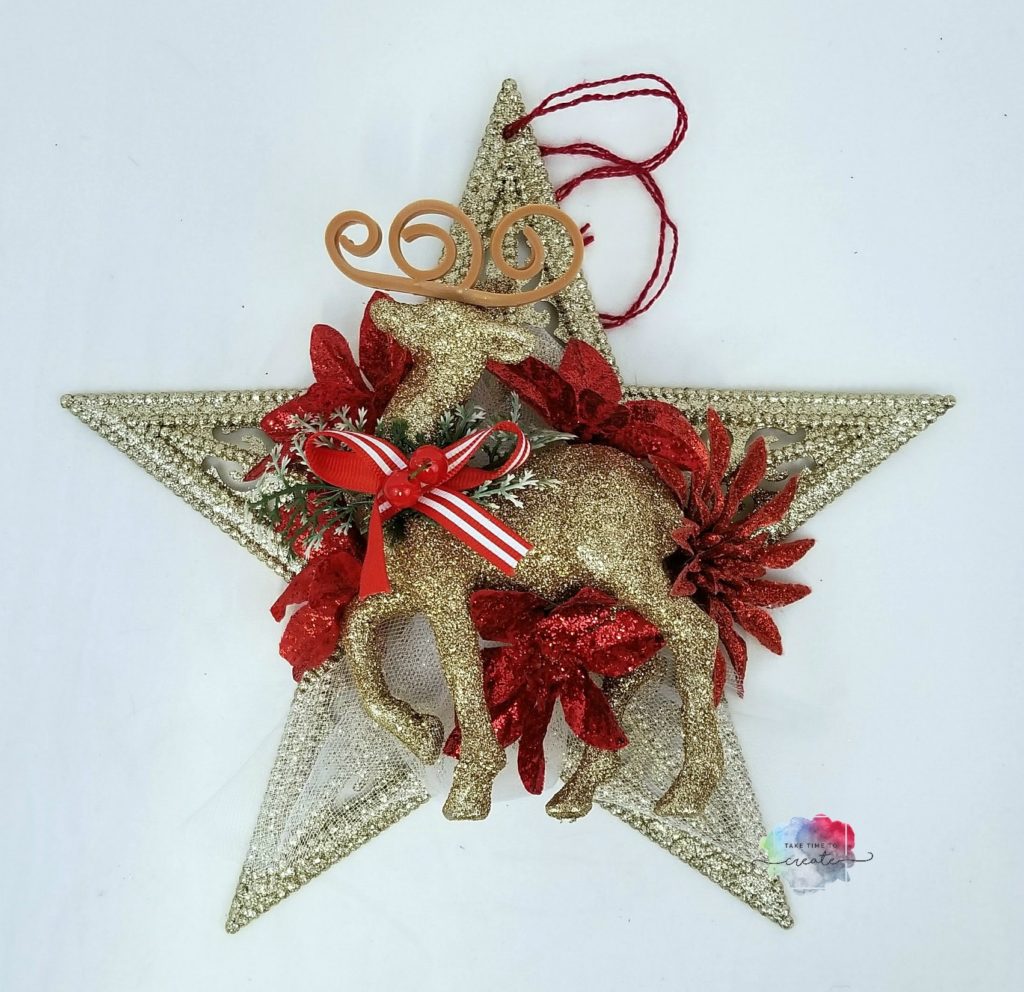
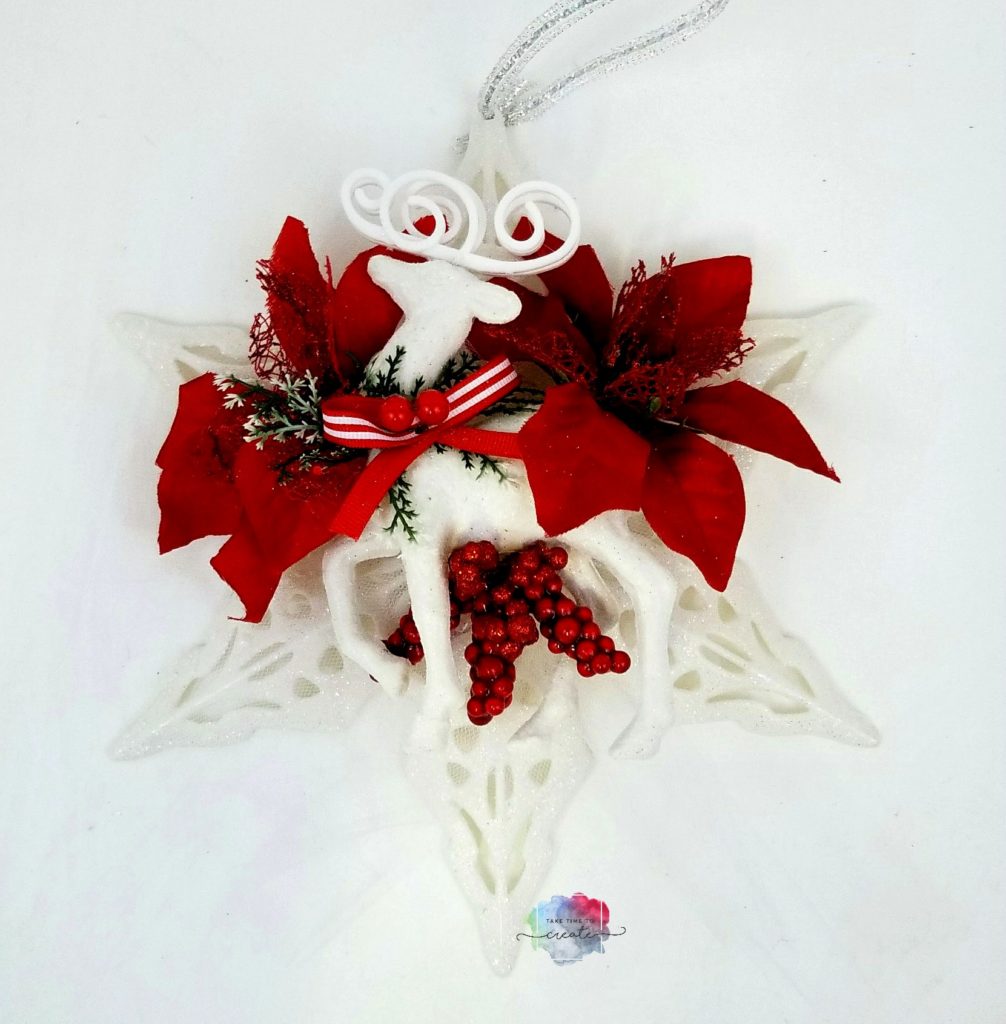
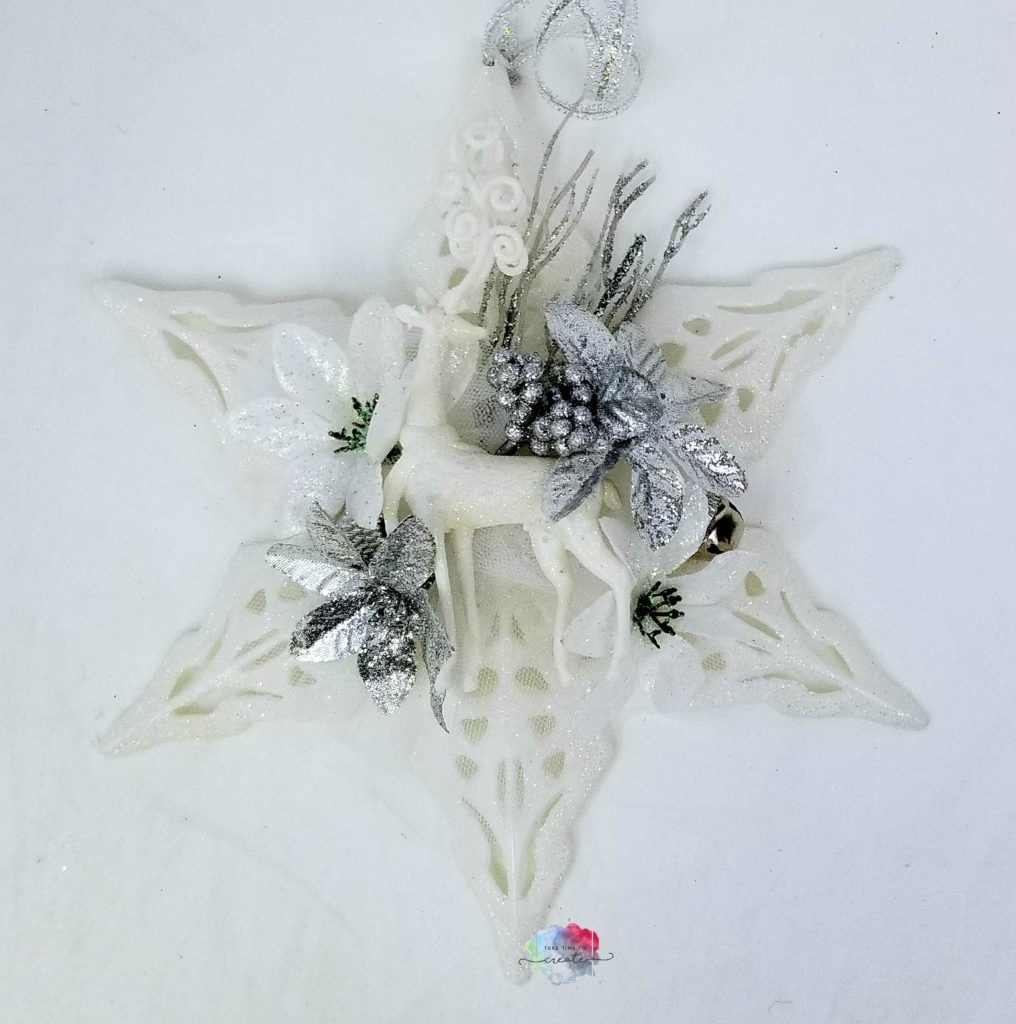
I thought it would be fun to show you some other variations I created. I just love making these, I can’t seem to stop, lol

DIY Dollar Tree Snowflake Decor

DIY Dollar Tree Snowflake Decor

DIY Dollar Tree Snowflake Decor

What Christmas decorations do you make?

The post DIY Dollar Tree Snowflake Christmas Decoration appeared first on Take Time To Create.

Santa Mixed Media Canvas

Santa Mixed Media Canvas

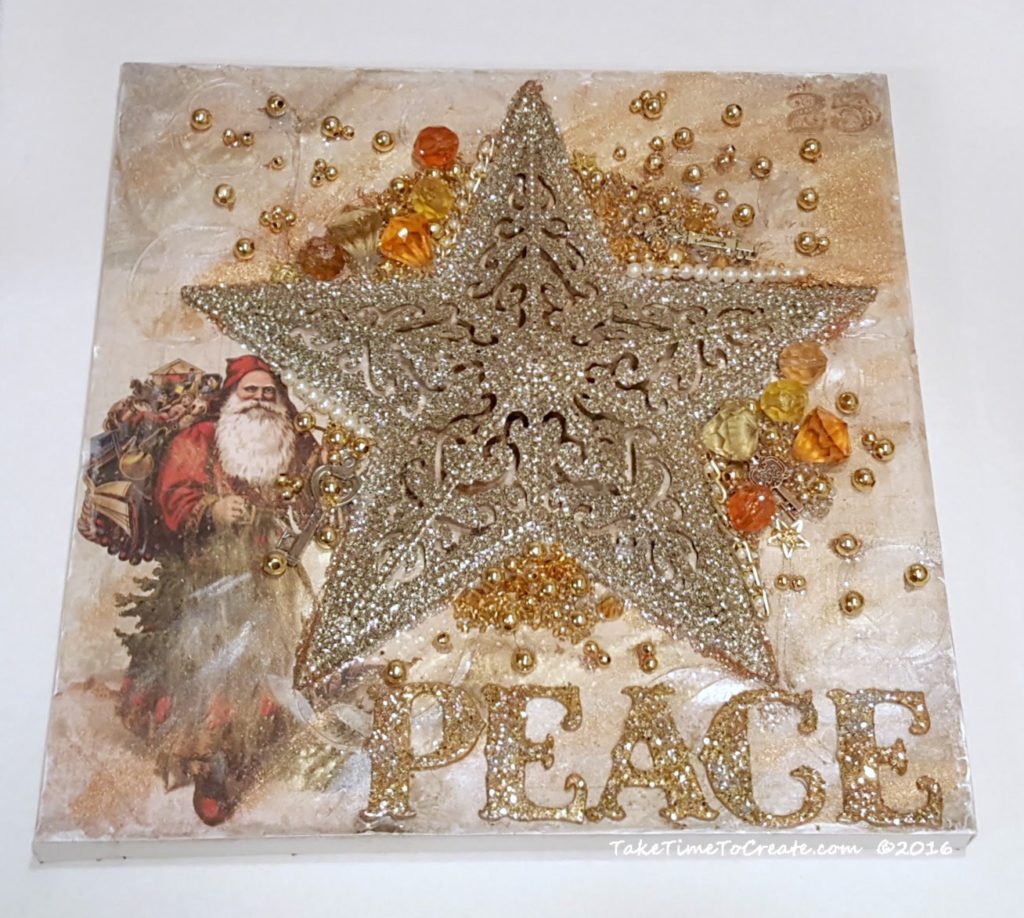
Christmas is almost here, and this Santa mixed media canvas is perfect for your holiday decor.

Hello Everyone!

Lately I have been inspired to make mixed media canvases, and with Christmas fast approaching I have the perfect subject for my art.

I had this beautiful paper and glittery star that became the focal point, the rest was just details.
Now I will be honest, I didn’t take any pictures of me actually doing the mixed media, but I think I can explain well enough and as always please ask if you have questions.

I really enjoy making mixed media canvases, all inspired by Finnabair.

Materials:

  • 12x 12 canvas (I got mine at Michaels, but you can always get one on Amazon here: Canvas)
  • Paper (I don’t remember where I got this beautiful paper by KaiserCraft, St Nicholas Collection, Papa Noel,  but you can find great paper just about anywhere)
  • Large star (I found mine at the Dollar Store. It was just so beautiful that I couldn’t pass it up. )
  • Large letter, glitter, beads, and other do-dads, stickles, acrylic paint, stencil
  • Mod Podge, modeling paste, Mica Powder, clear gesso, clear spray sealer

Instructions:

Trim your paper to fit your canvas and spread Mod Podge on the canvas.  Place your paper on the canvas, smooth out. I turned my canvas over and let it dry overnight.
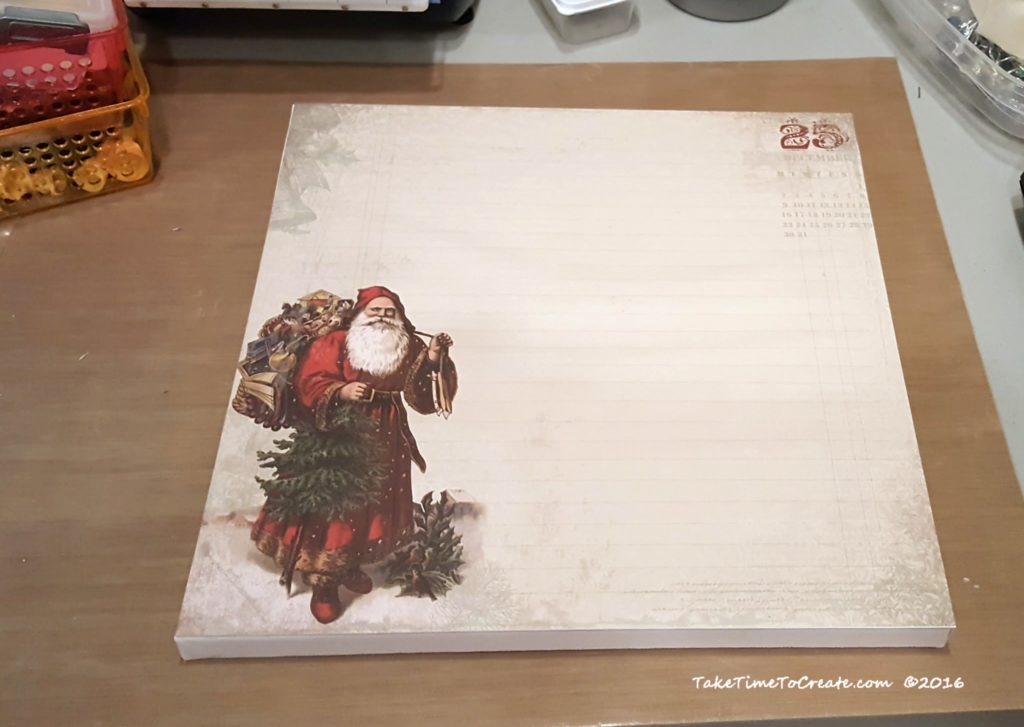
santa on canvas

Starting with santa paper on canvas

The next day I covered my paper with clear gesso to give it some tooth. Then I applied modeling paste with a swirl stencil to add some detail (you can’t really see it, but it is there.)

Then I sprinkled on mica powered and spread it around.  (I am in love with these Prima Marketing mica Powders. You can find the colors I used here: Gold, Copper, Pale Silver)
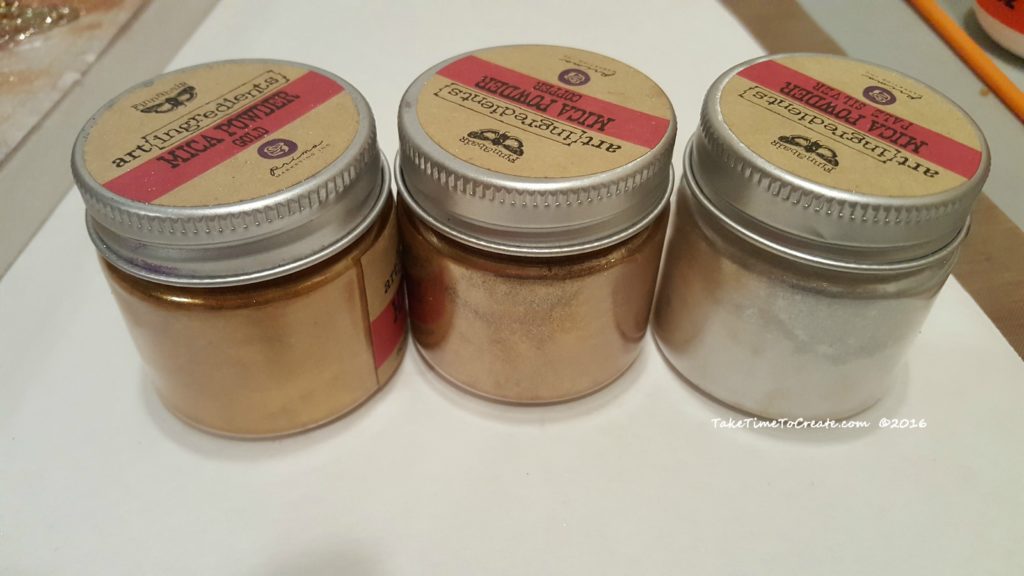
mica Powders

I am in love with these Prima Marketing mica Powders

Once that was all dry I went to town. I added modeling paste to the star and glued it to the center.

I highlighted the stencil with painted and I painted around the edges with a shimmery white color.

Then I added the letters (they were pink, but I painted them and added glitter)

I added the large gems and small beads and micro beads with globs of modeling paste. Then I poured on lots of glitter to stick the the modeling paste (I figured that Christmas decor needs a lot of glitter)
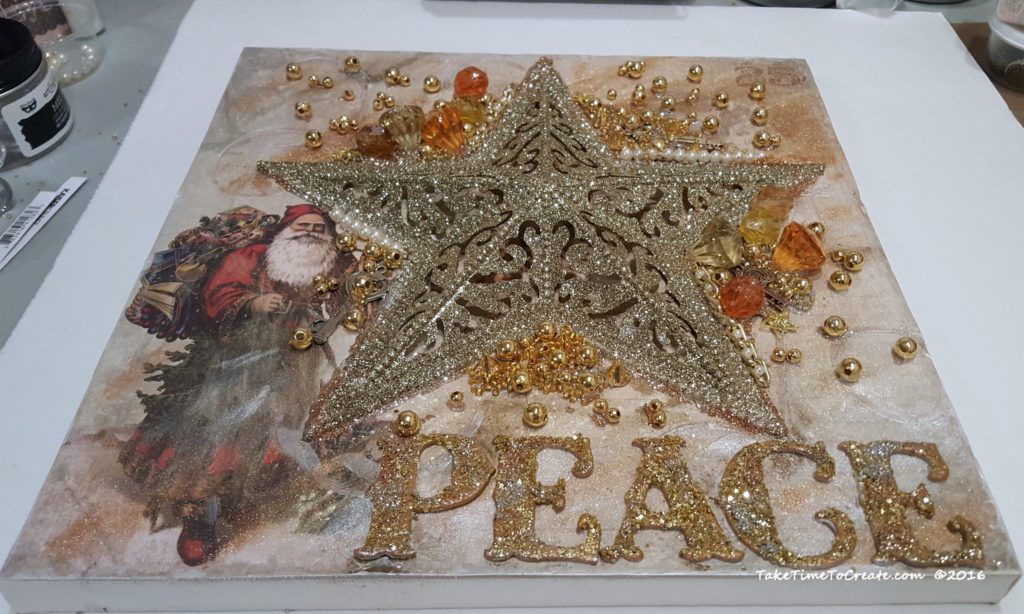
santa mixed media canvis

Our santa mixed media canvis is coming together

I added rows of pearl beads, and key metal elements, and I added stick details to the star. Once everything is dry I sprayed it with a clear sealer, the mica powder is not adhered to anything and it will wipe away, so the sealer is necessary.
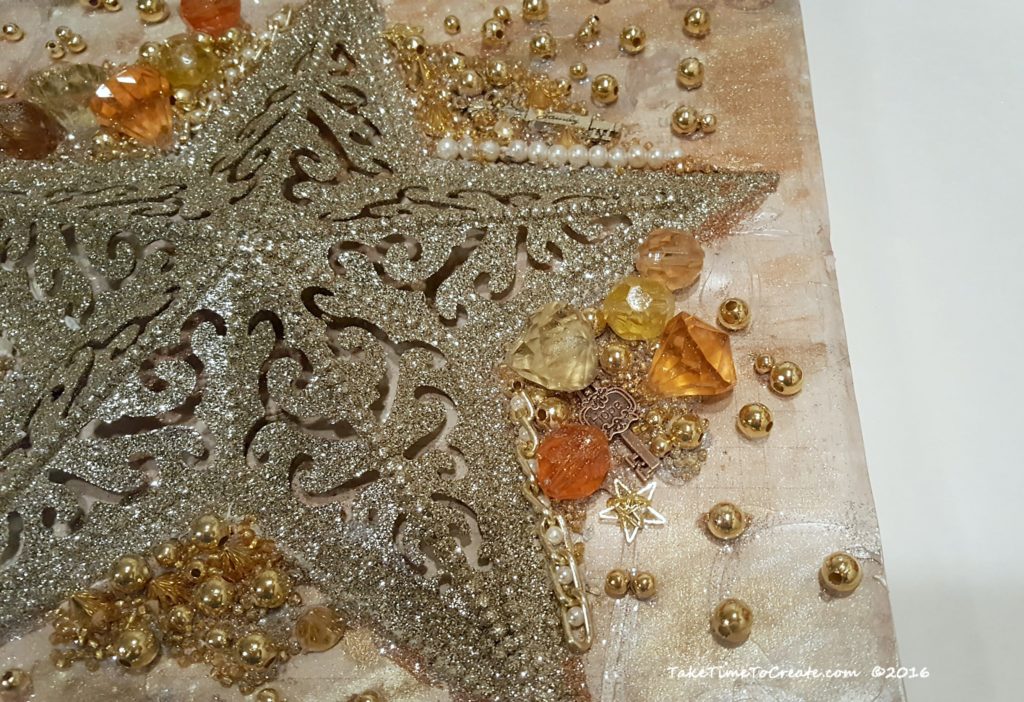
Christmas star close-up

a close-up of our Christmas star

I really like how this turned out. I think it is an interesting piece.
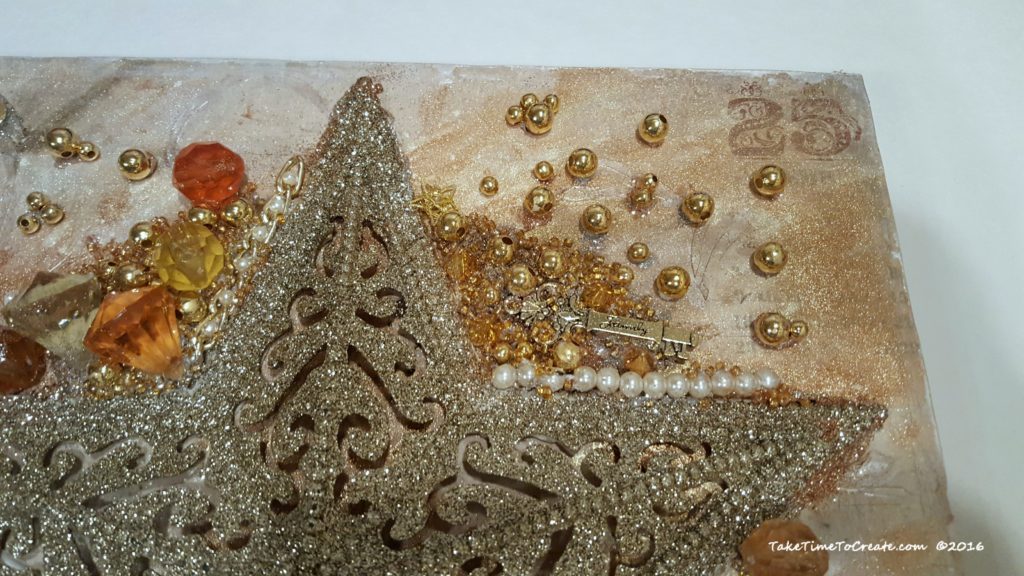
Christmas star

Close-up of our Christmas star

santa mixed media canvas

finished santa mixed media canvas

What holiday should I make a mixed media for next? New Years? Easter? Valentine Day?

This post Santa Mixed Media Canvas appeared first on Take Time To Create


If you enjoyed this post, make sure you Follow Take Time To Create so you don’t miss out on other great posts.

Follow Take Time To Create on WordPress.com


This post contains affiliate links

DIY Christmas Tree Earrings

DIY Wire Christmas Tree Earrings

Make the holidays merry with these easy DIY wire Christmas Tree earrings.

Hello Everyone

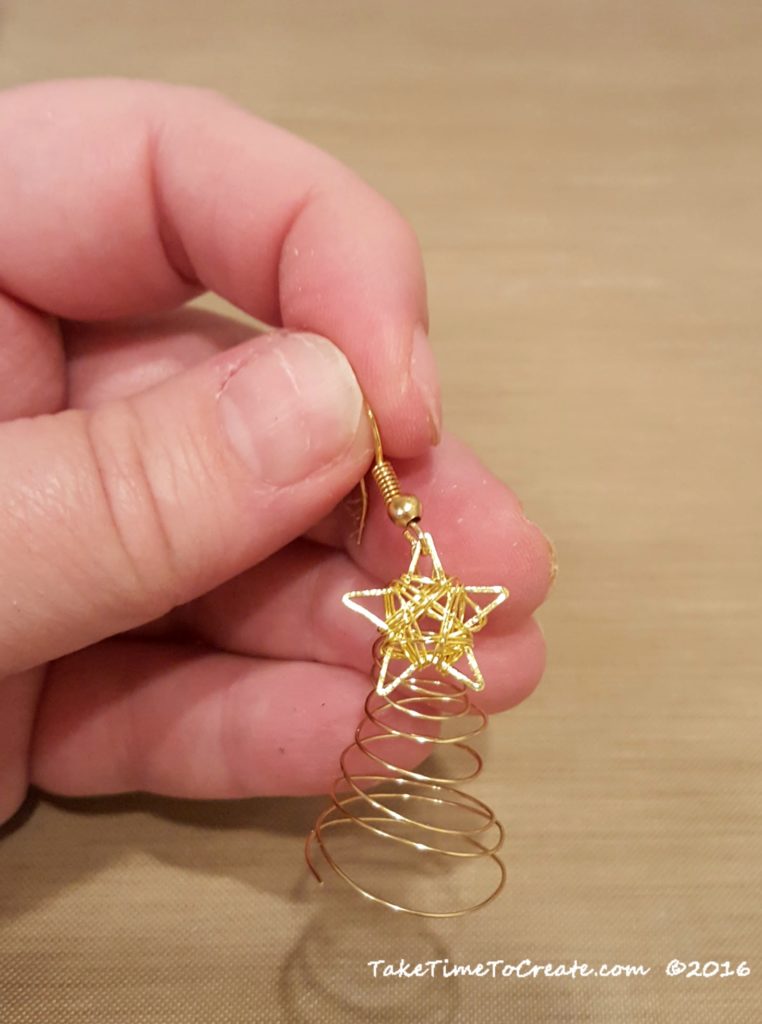
Do you ever dream about crafts, or is that just me? The other night I was dreaming about making wire Christmas Tree earrings, I know a little random but since I dreamt it I just had to try to make them.

Now the funny thing is is that I have never made anything like this before. I don’t usually work with wire, but I found that I love this technique and I have more ideas to make more jewelry.

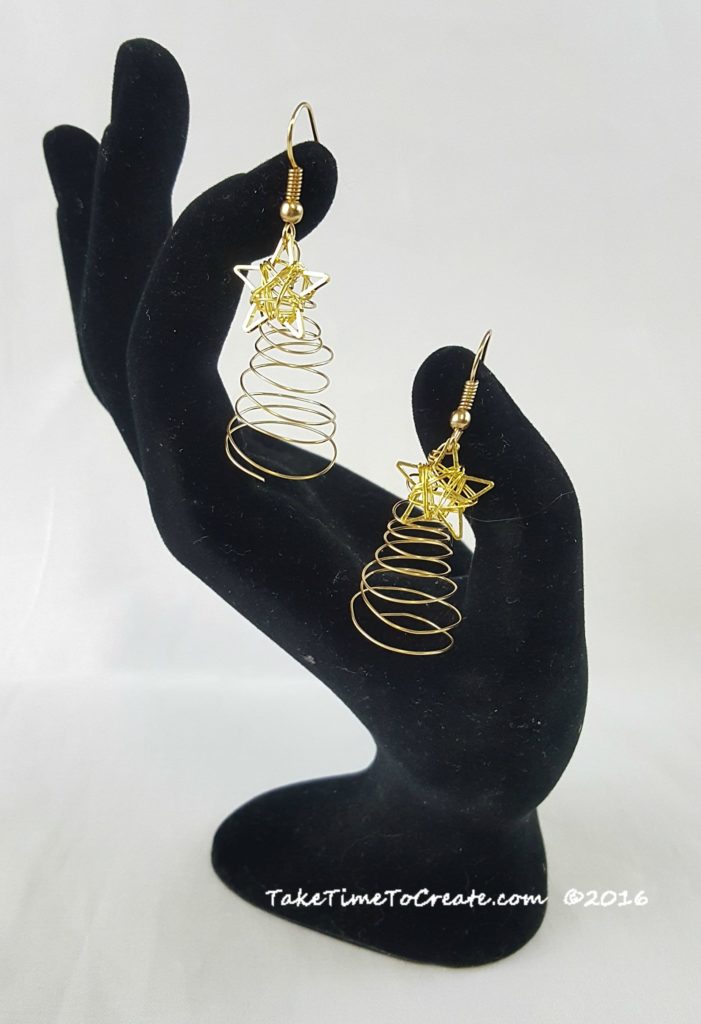
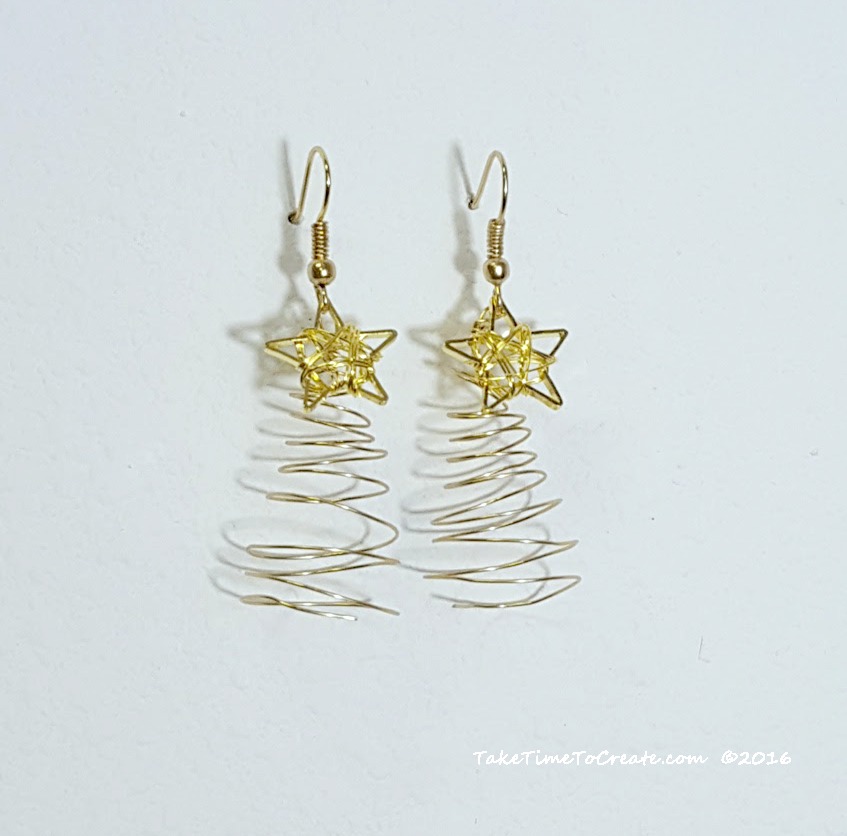
Christmas tree earrings

I just love how my Christmas tree earrings turned out

Materials

  • Thin Wire- You can find it on Amazon here: Artistic Wire
  • French Hooks- You can find it on Amazon here: French Hooks
  • Star beads- I found mine at Oriental Trading- link here: Star bead, but the local craft stores might have something similar
  • Pliers and clippers and round objects in various sizes (this is to wrap the wire around)

Instructions:

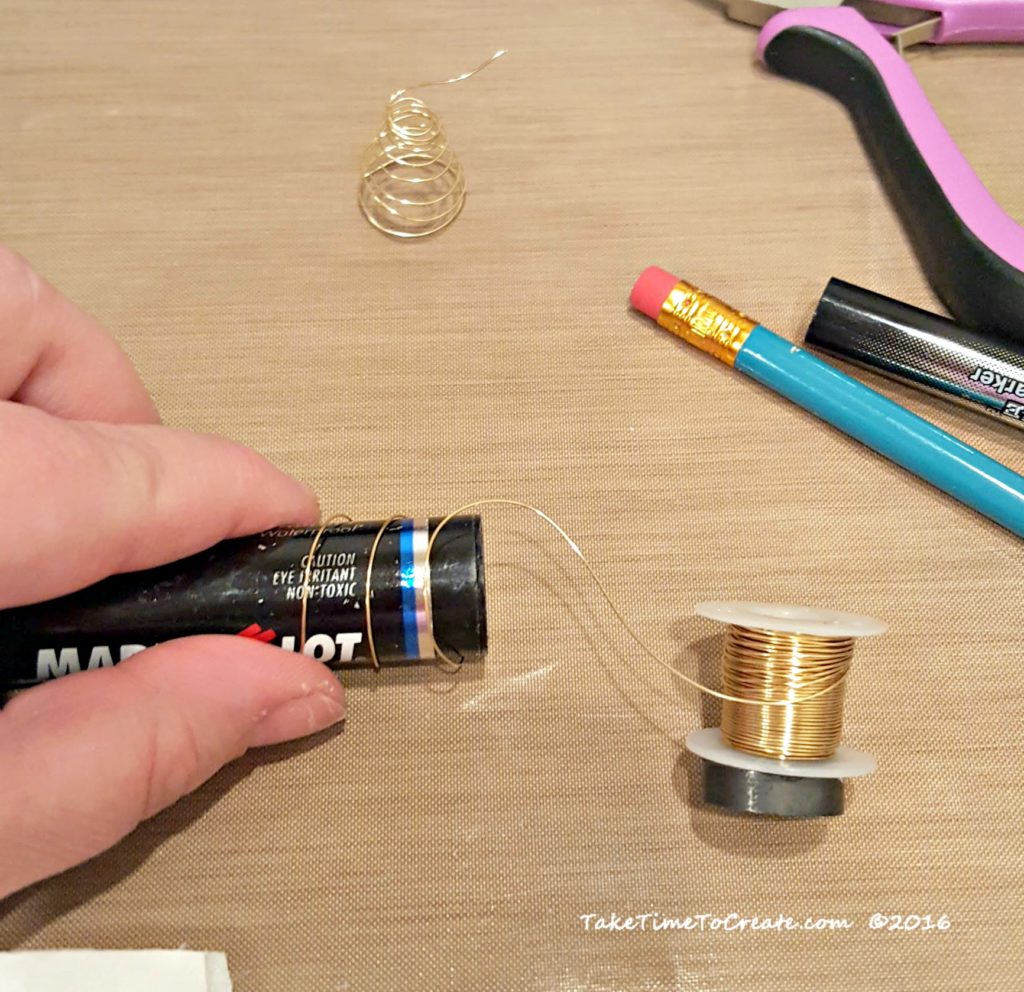
You need to have a variety of round objects in various sizes. I started with a large marker and started wrapping, then I went to smaller marker then a pencil

Starting to wrap my Christmas tree earrings

I am starting to wrap my Christmas tree earrings

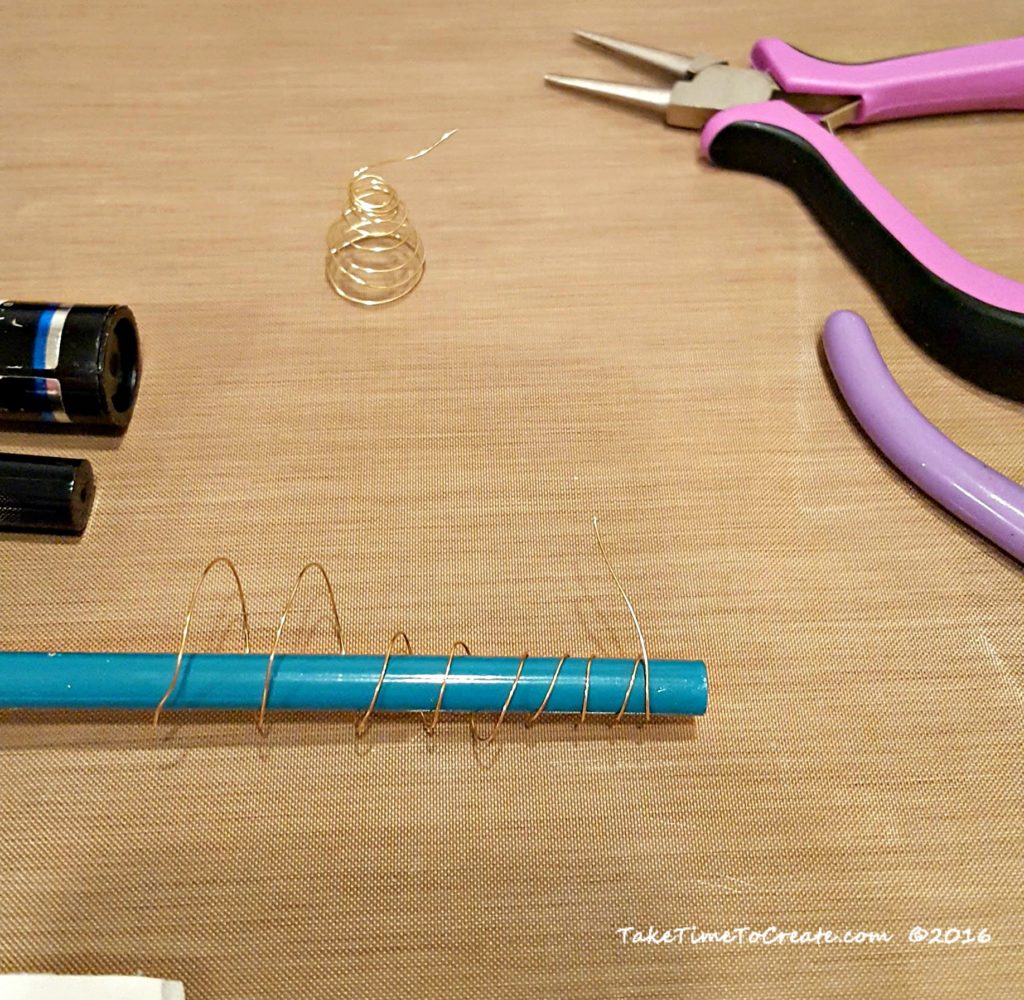
A smaller wrap for my Christmas tree earrings

Switching to a smaller wrap

The whole idea is to make the tree get smaller as you wrap it around. I wrapped it around each object about 3 times.  The wire I used was a bit thin, but it is a nice dainty look, but next time I think I will use a wire that is a bit heavier duty. This wire likes to bend a bit too easily for my liking. but I did like how it turned out.

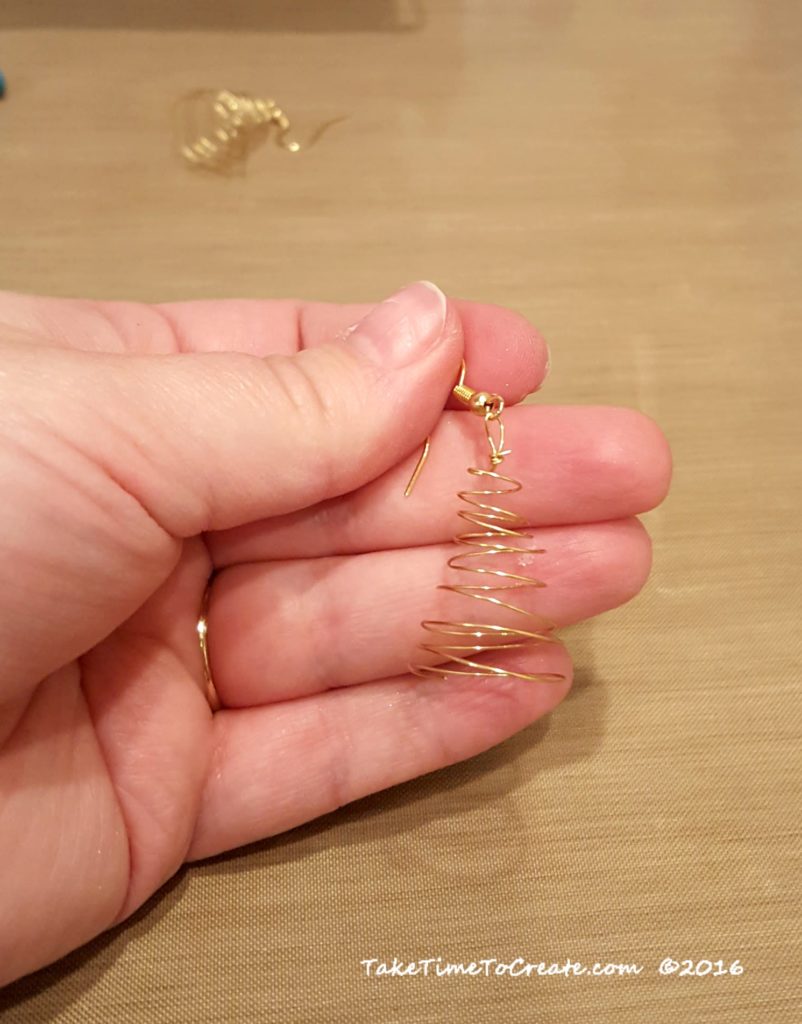
Once I finished wrapping I added a french hook. Then I spent some time adjusting the wire to make sure it looked like a tree. I hind sight I probably should have used green wire, but I didn’t have that in my stash, so gold it is, lol.

When I looked at it I thought it was a bit too plain, so I thought I would add a star bead to the top.

I think the star bead is just what the trees needed! These earrings will be perfect the holiday parties this year.

Christmas tree earrings

The finished Christmas tree earrings


If you enjoyed this post, make sure you Follow Take Time To Create so you don’t miss out on other great posts.

Follow Take Time To Create on WordPress.com


This post contains affiliate links. Thank you for your support.

This post DIY Christmas Tree Earrings appeared first on Take Time To Create

© 2025 Take Time To Create

Theme by Anders NorenUp ↑

Follow

Get the latest posts delivered to your mailbox:

%d bloggers like this: