
DIY Harry Potter Drawstring Backpack
A trip to Universal Studios isn’t complete with out this DIY Harry Potter Drawstring Backpack!
Hello Everyone!
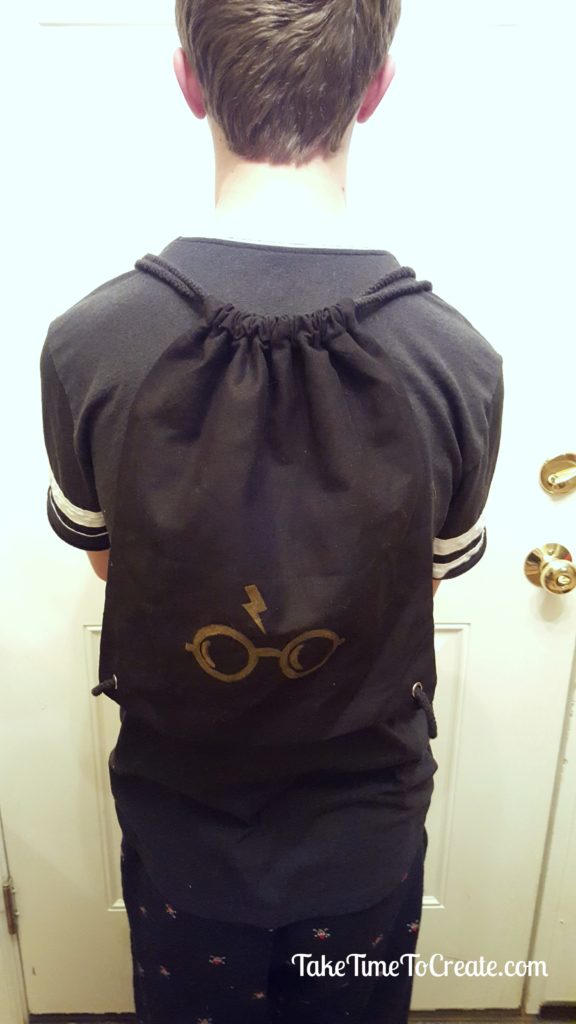
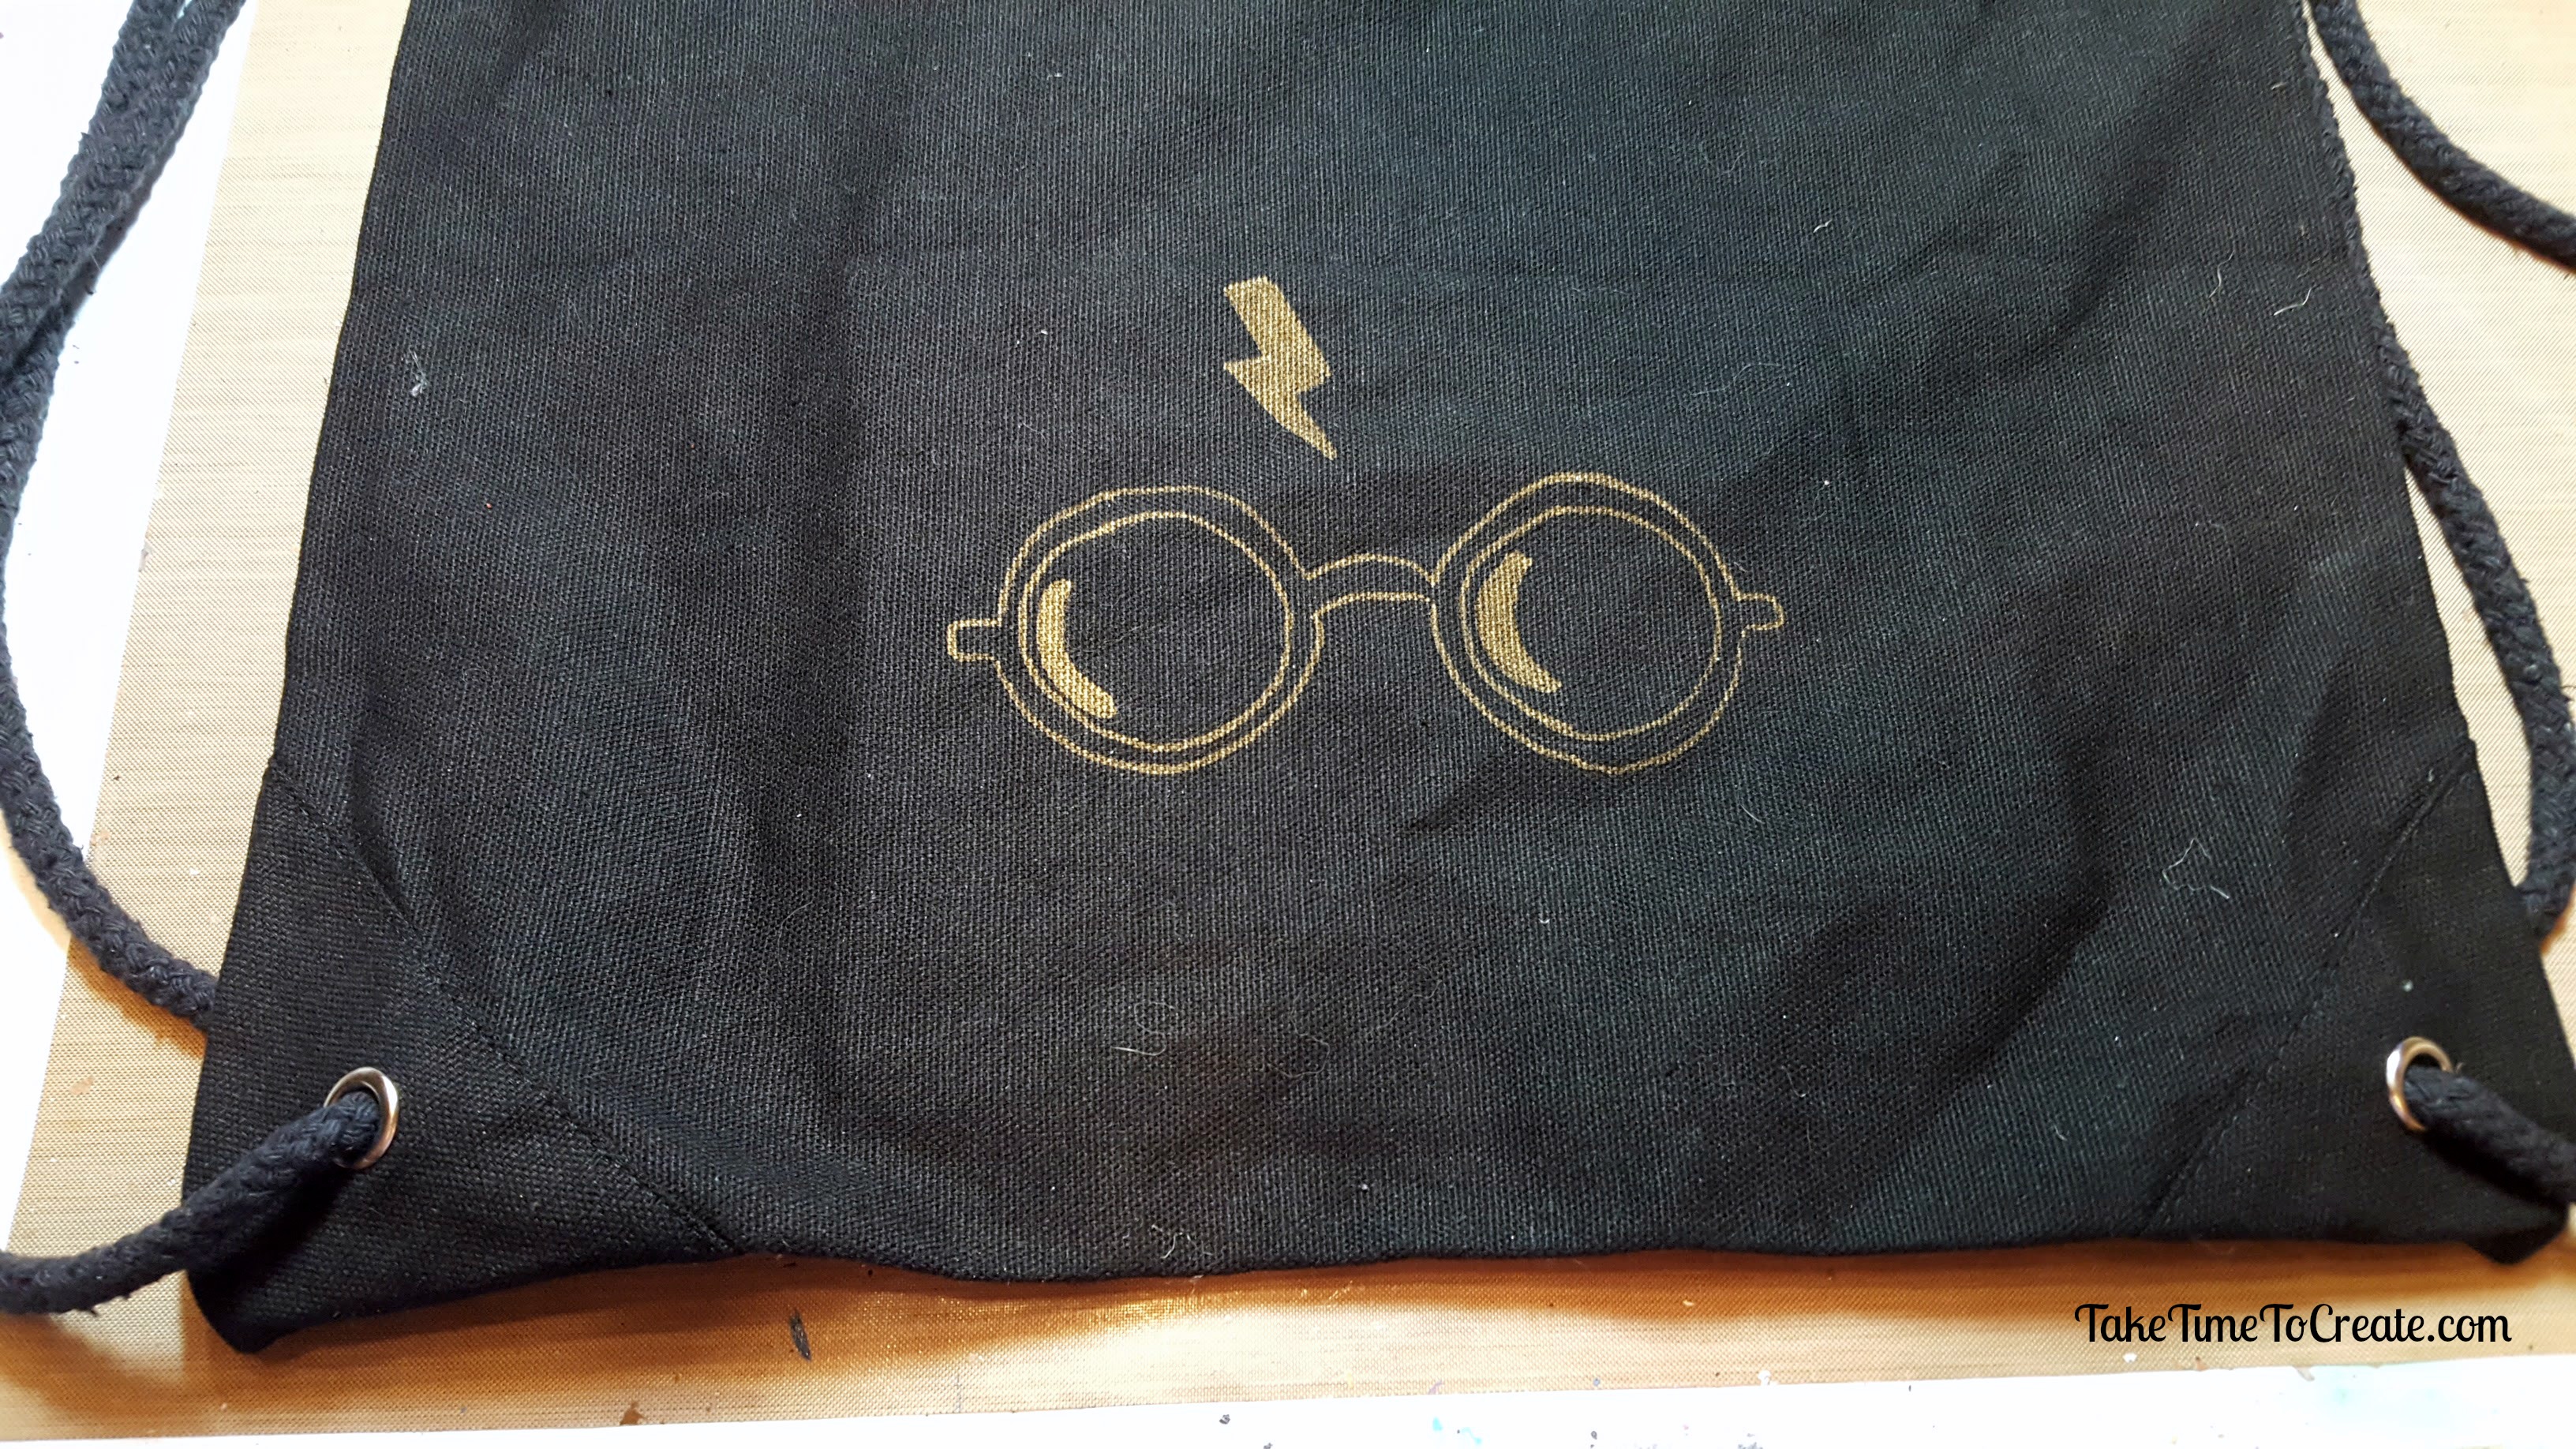
Next month we will have the opportunity to go to Universal Studios Hollywood!!! I am so excited! In great anticipation I decided to make a Harry Potter drawstring backpack that will be perfect to carry my wallet, camera, and sunglasses. I decided to use this simple design that I found on the internet. Everyone know what book this is in reference to without being to obvious, lol
I have made drawstring backpacks before, you can see that post here: Cinderella backpack
My son is such a good sport being my model, lol.
Materials:
- backpack (you can find a similar one here: bag)
- Gold Sharpie (you can find it here: sharpie)
- Graphite paper (you can find it here: paper)
- Clip art from internet
Instructions:
The first thing you do is find an image that you would like to trace (just about any image will do) and print it in the size you need.
Spread out your bag and decide where you want your design.

Place the graphite paper on the bag then place the image over the graphite. Trace the image with a pencil so that the image will show up on the bag. Press hard and do over it a few times if needed.
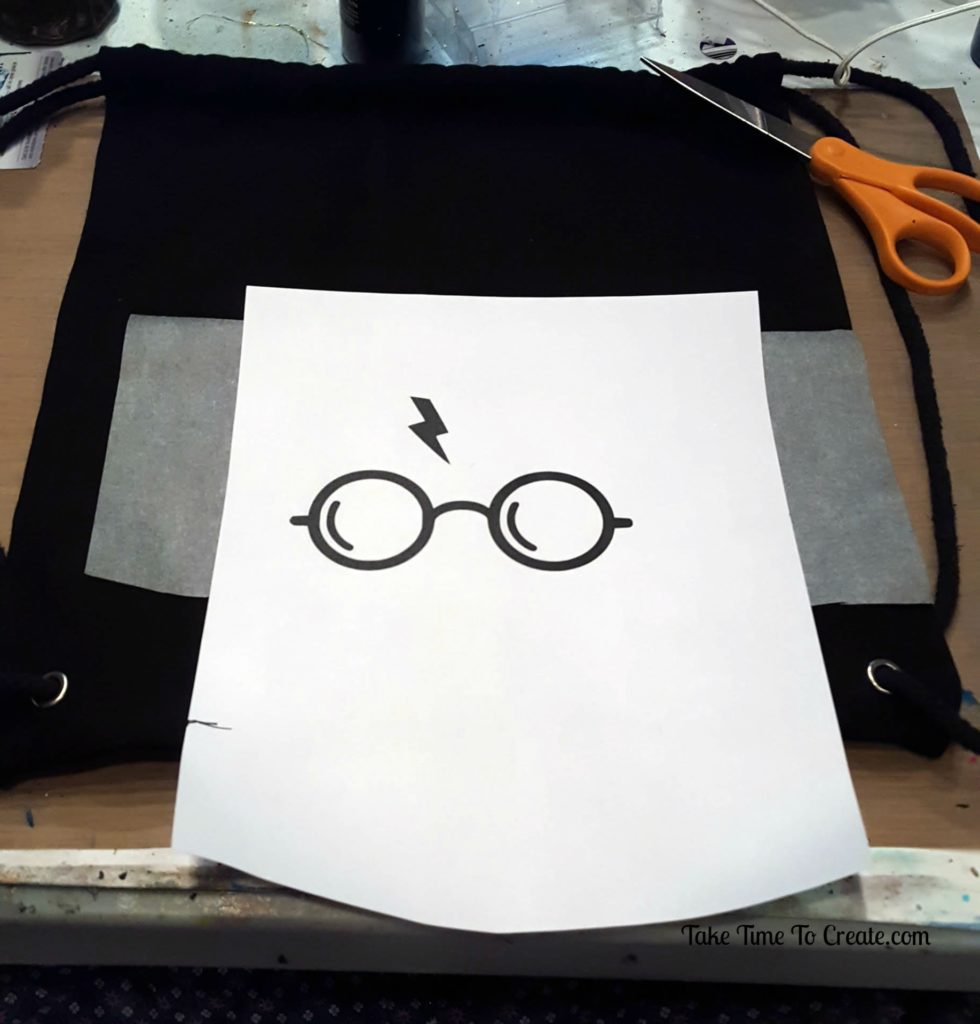
Once you like the image take the papers off and set them aside.
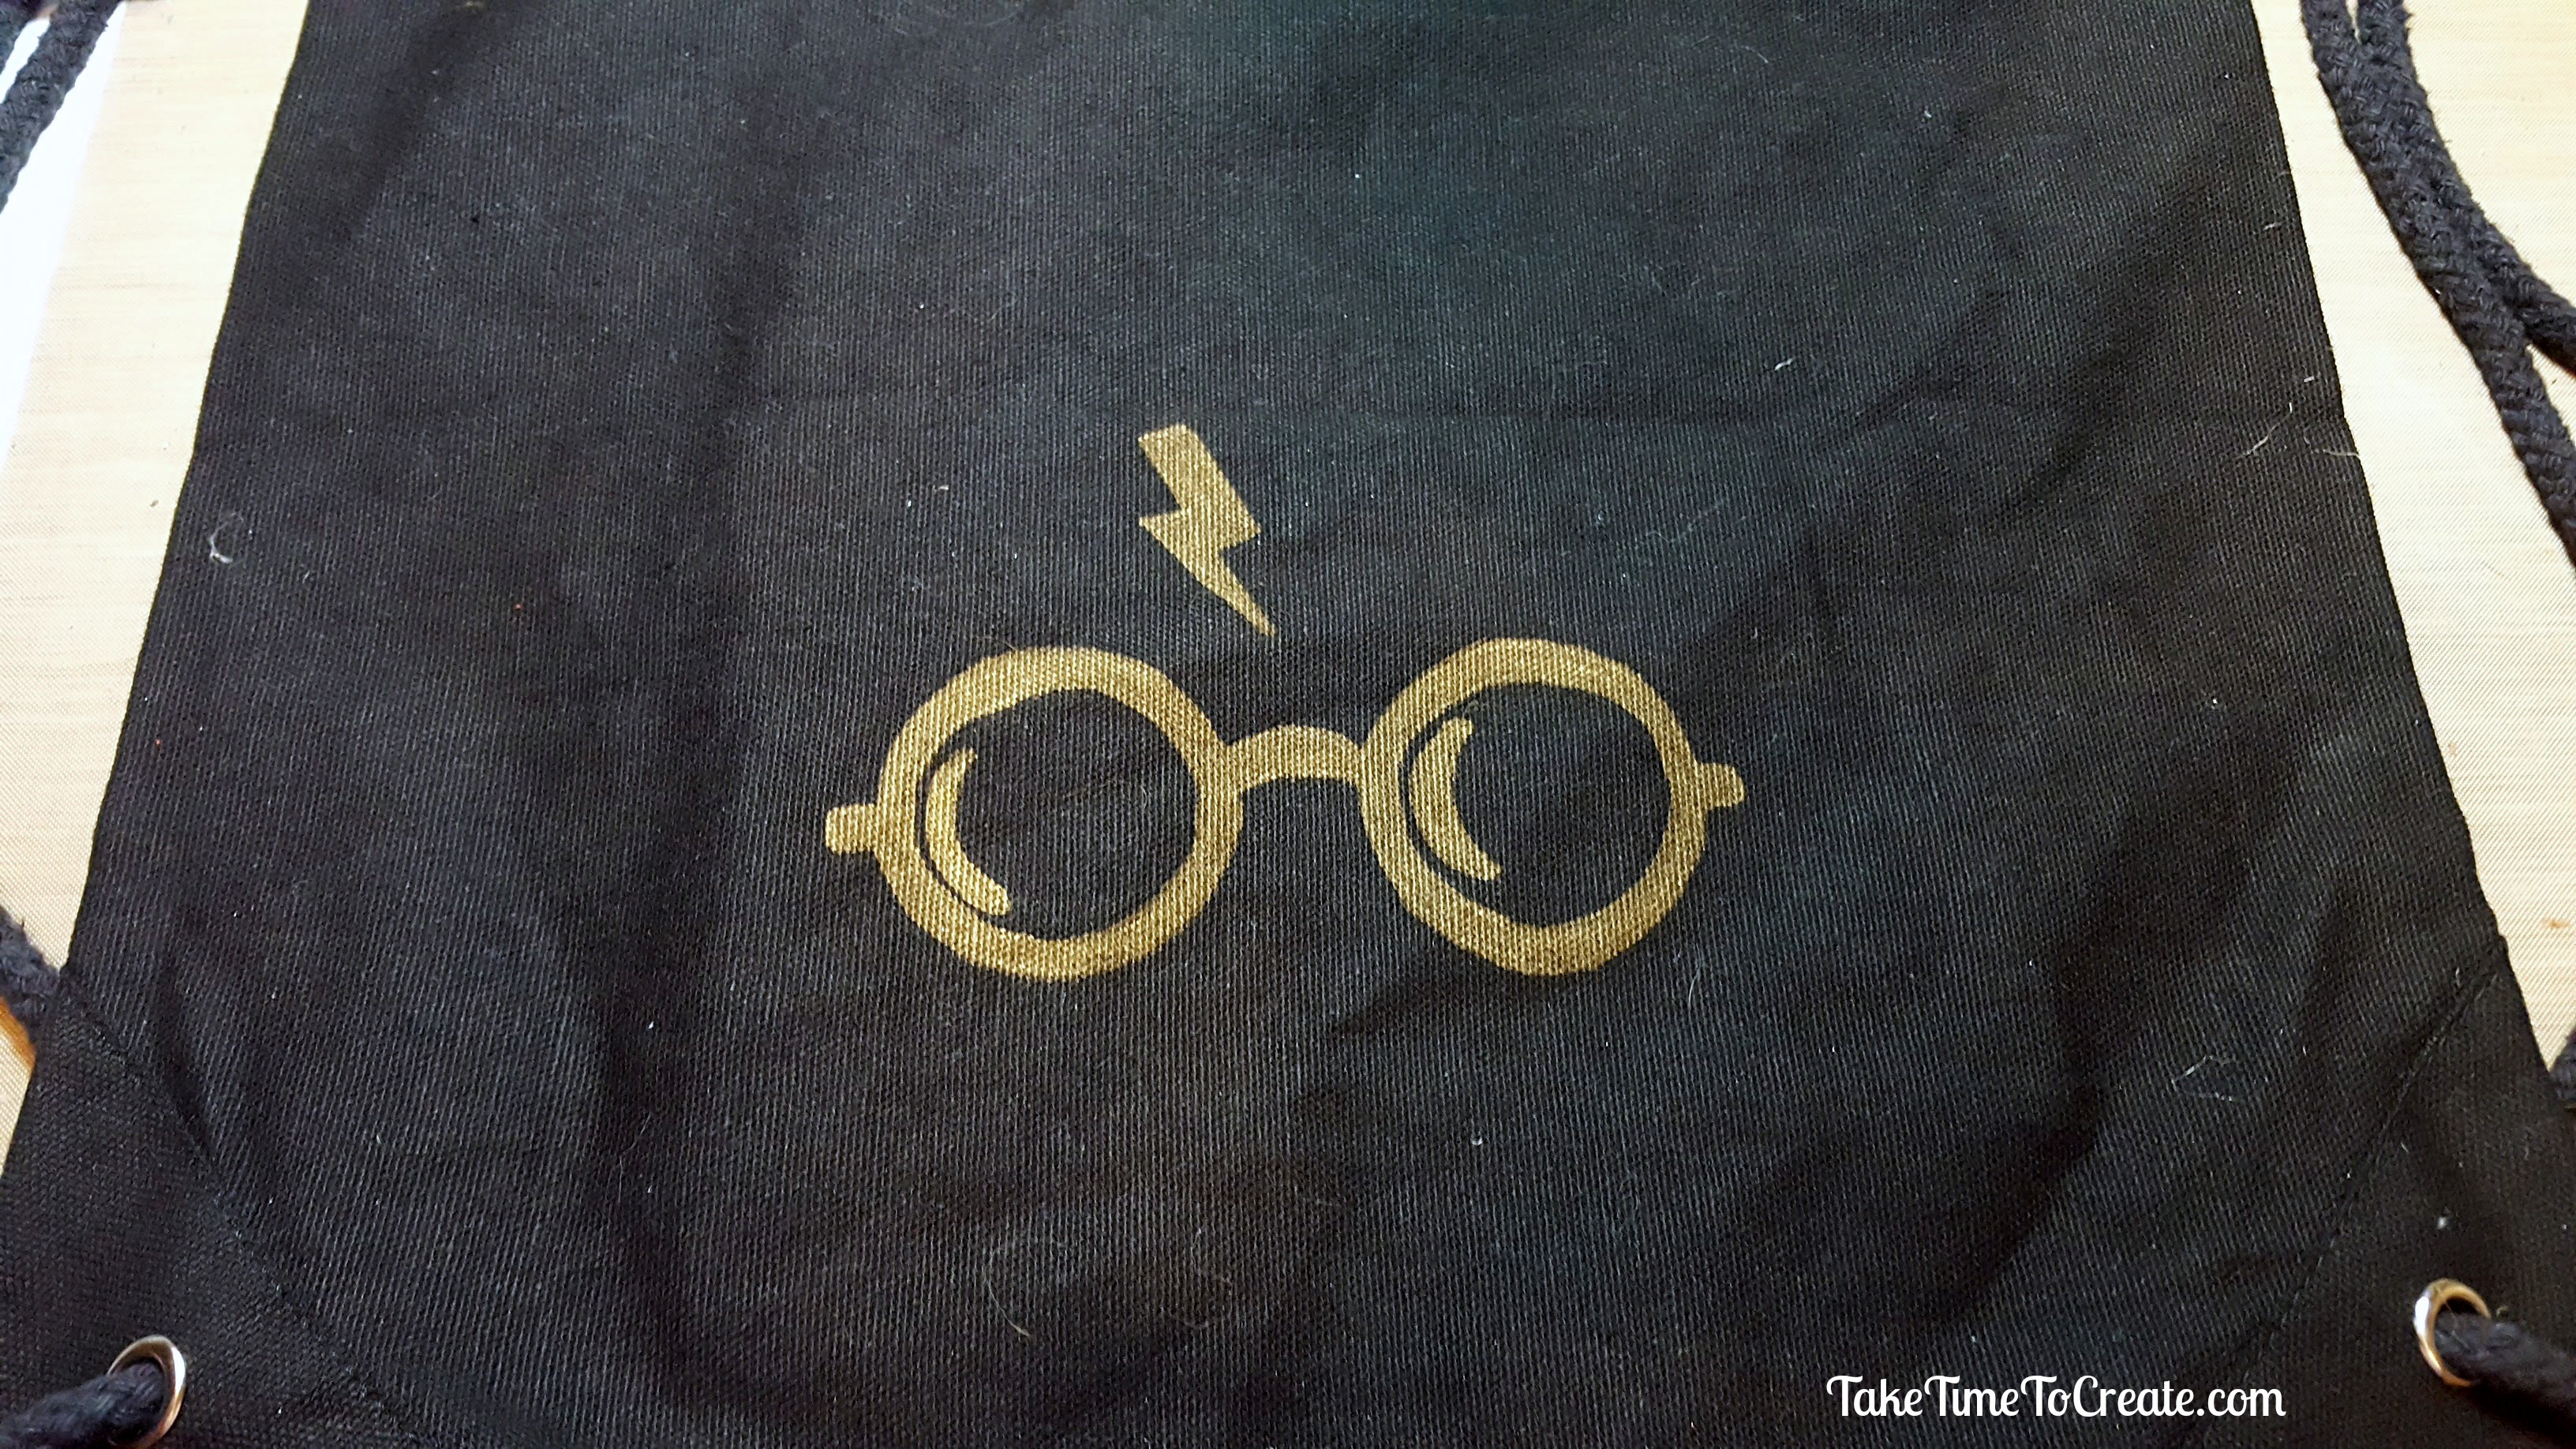
Put a piece of cardboard in the bag to prevent the sharpie from bleeding to the other side
Now it is time to start drawing the image with a sharpie.

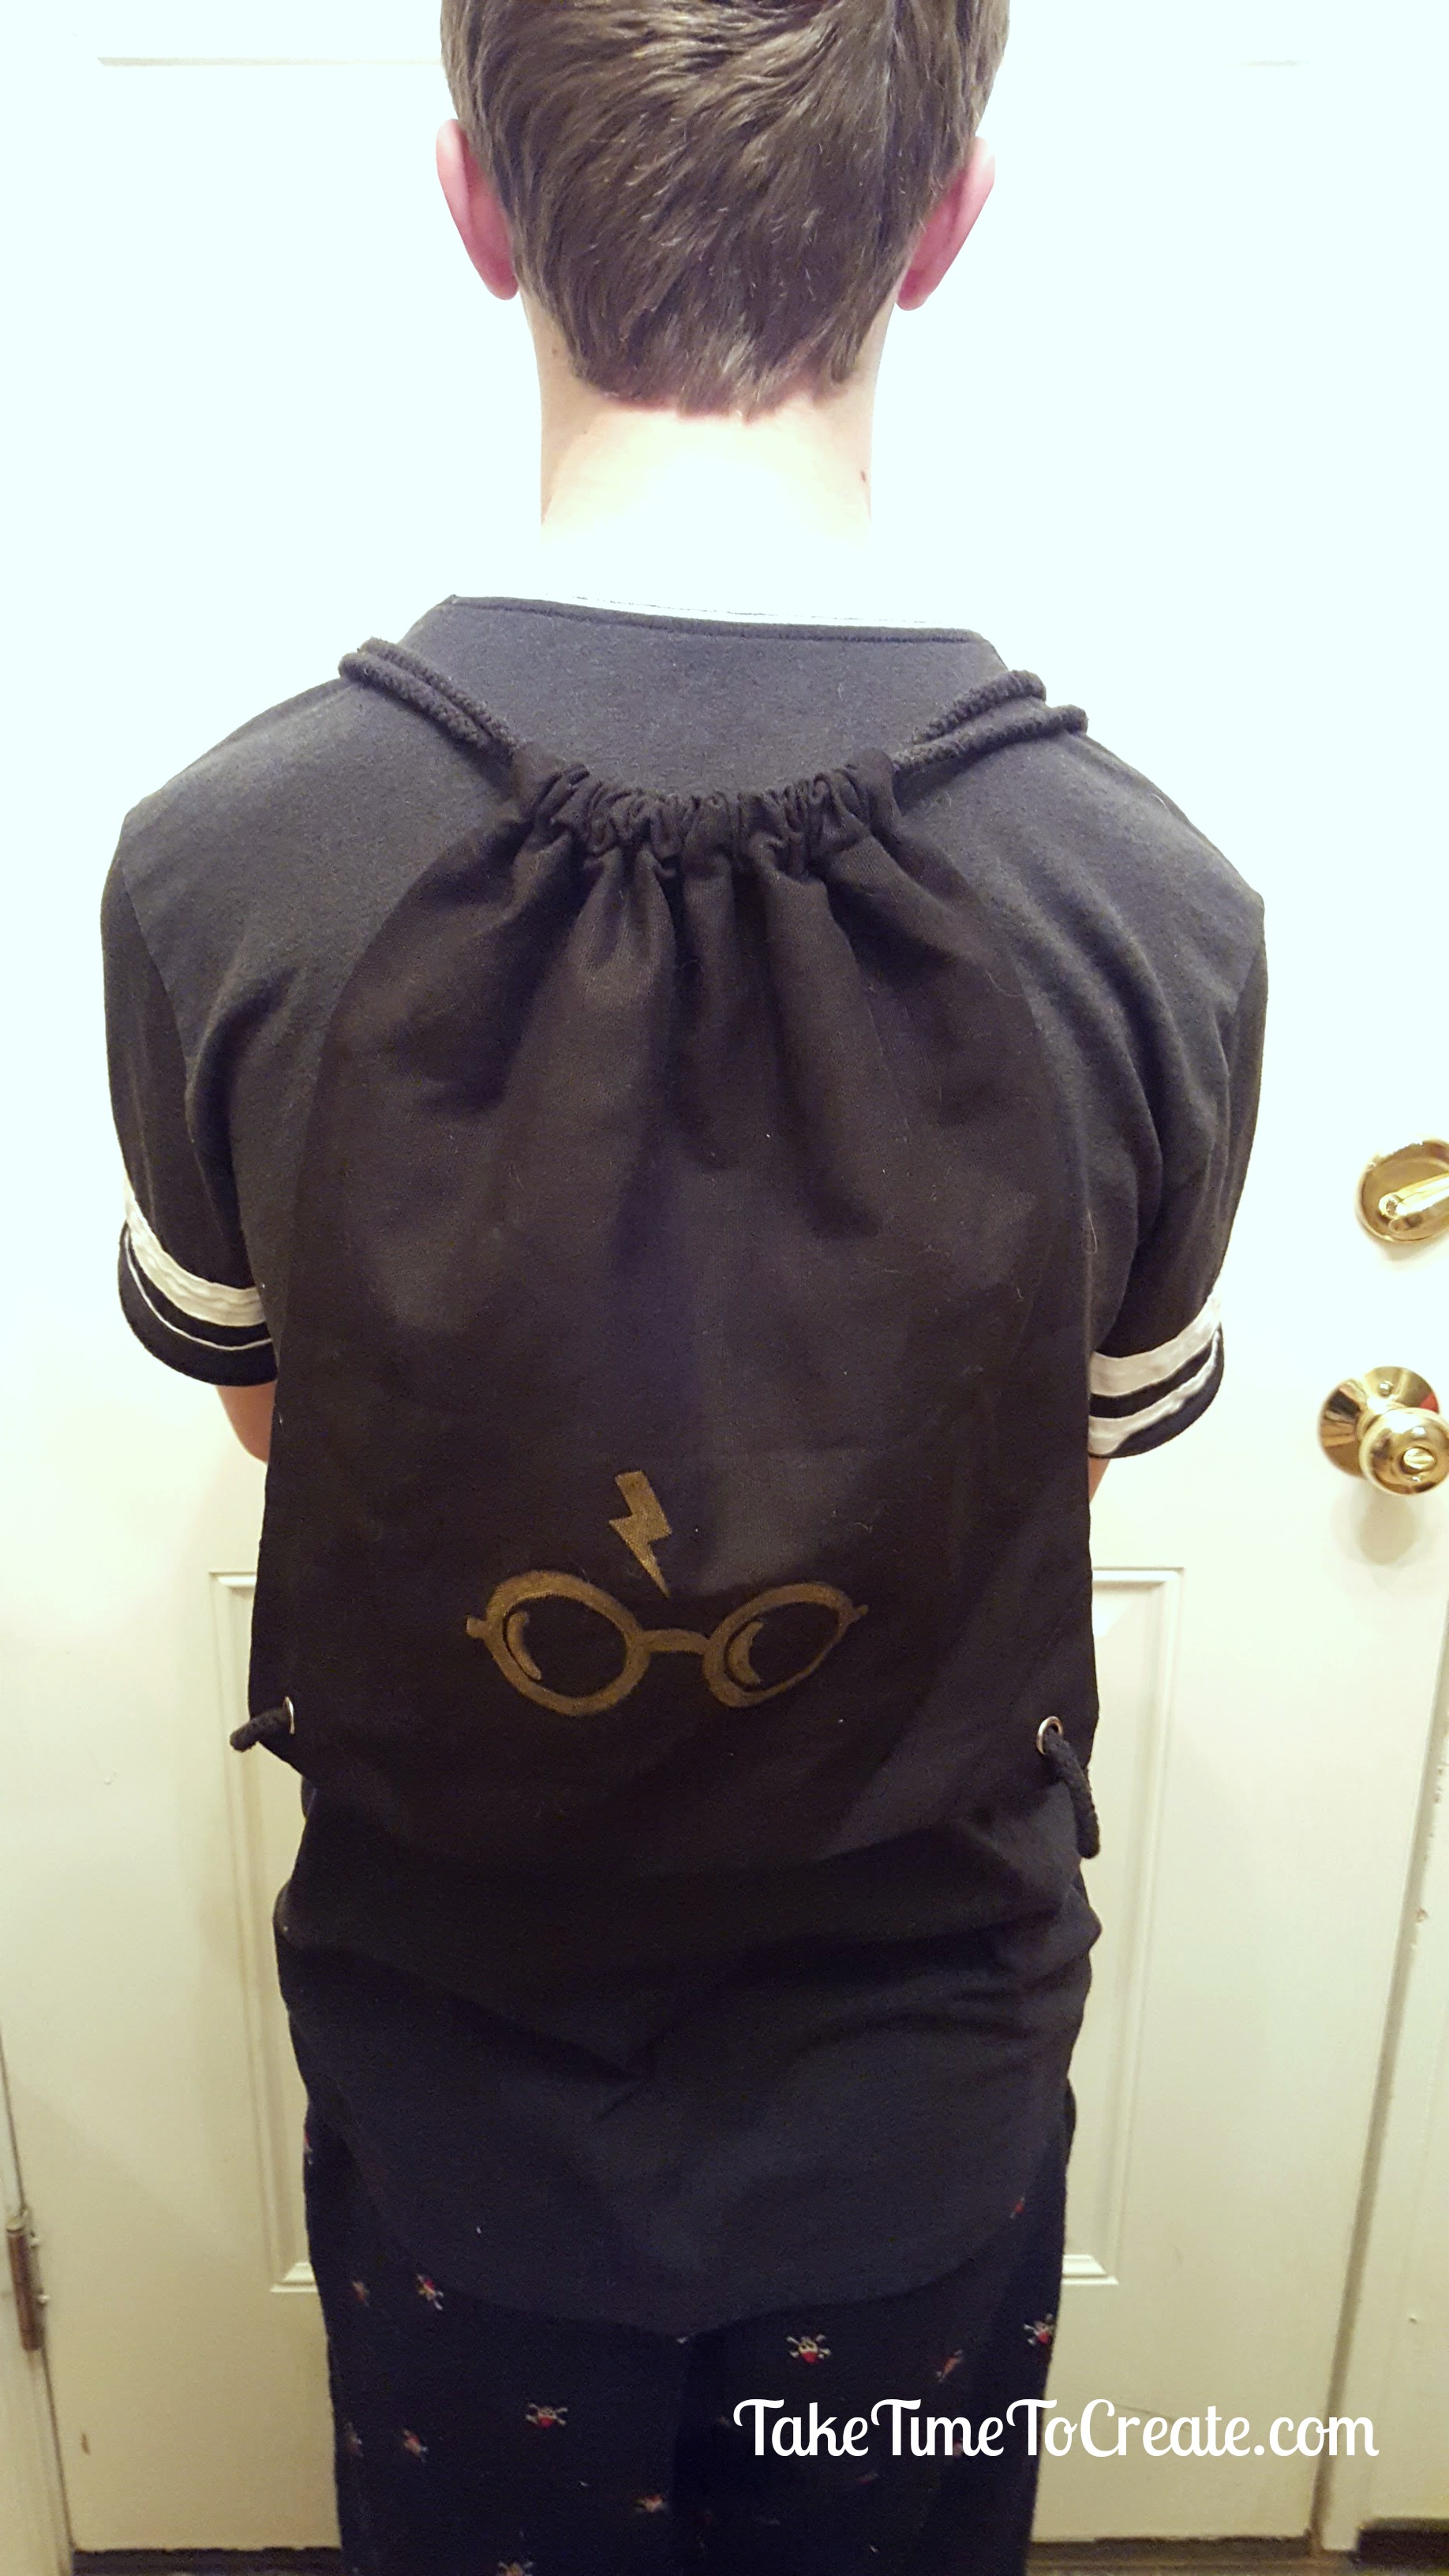
Fill it all in and clean up the edges. Now you are ready to rock your new bag, and you don’t have to wait to wear it at Universal, this is a bag that can be worn all the time!
The post DIY Harry Potter Drawstring Backpack appeared first on Take Time To Create.
This post contains affiliate links, thank you for your support!
