Tag: school

DIY School Supplies

Hello Everyone!

Yikes! Can you believe it? School is just right around the corner! Or maybe it has already started for some people.
DIY School Supplies

To help ease the transition  I have a school supplies inspired DIY! These are perfect for dorms, or even the office. Do you want to know the best part? They are all a little geeky 🙂 Which is perfect!

The video can be found here:

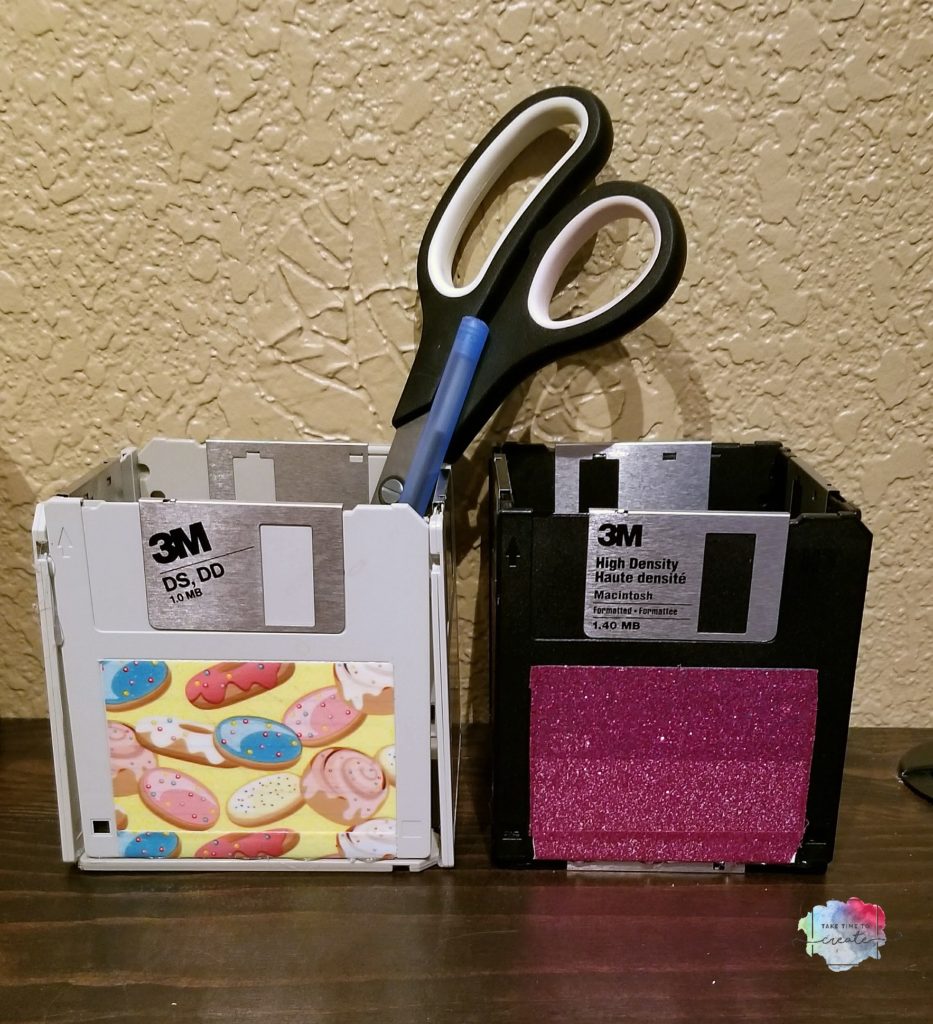
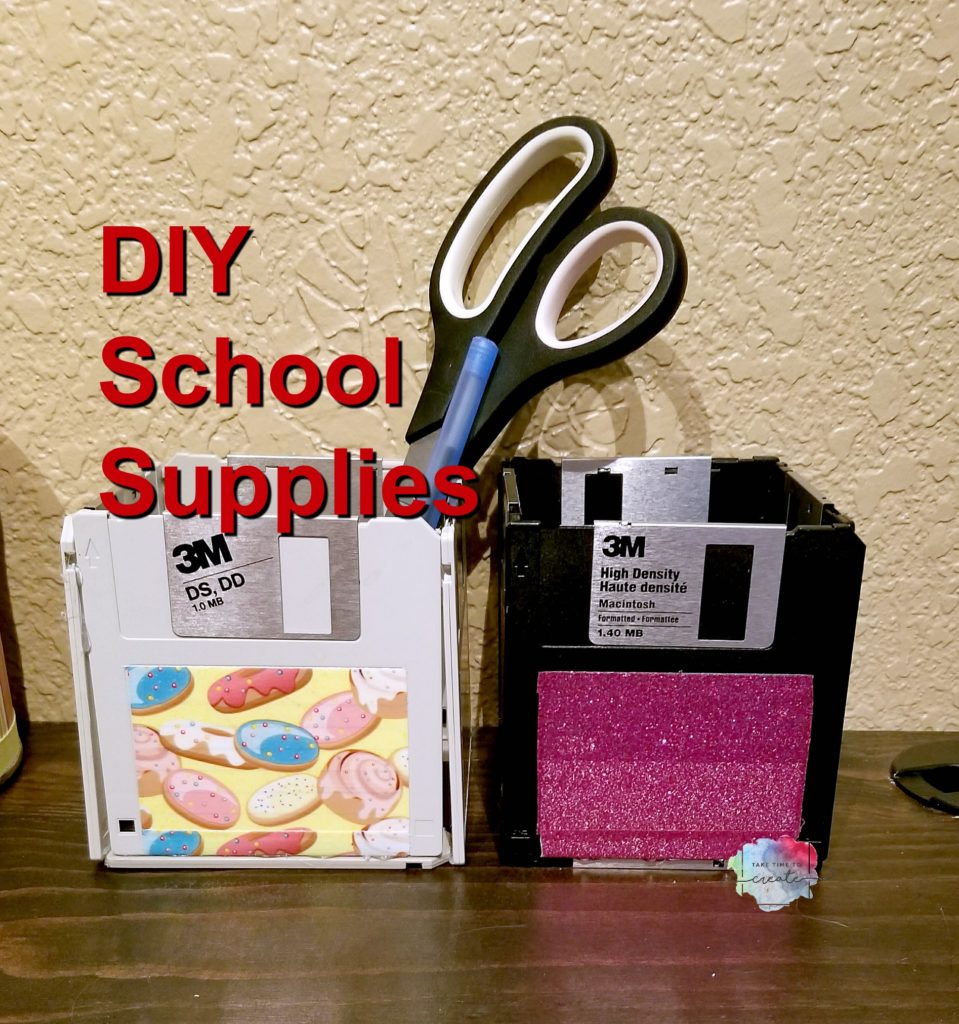
Let’s start with the first project: Floppy Disc Pencil Holder

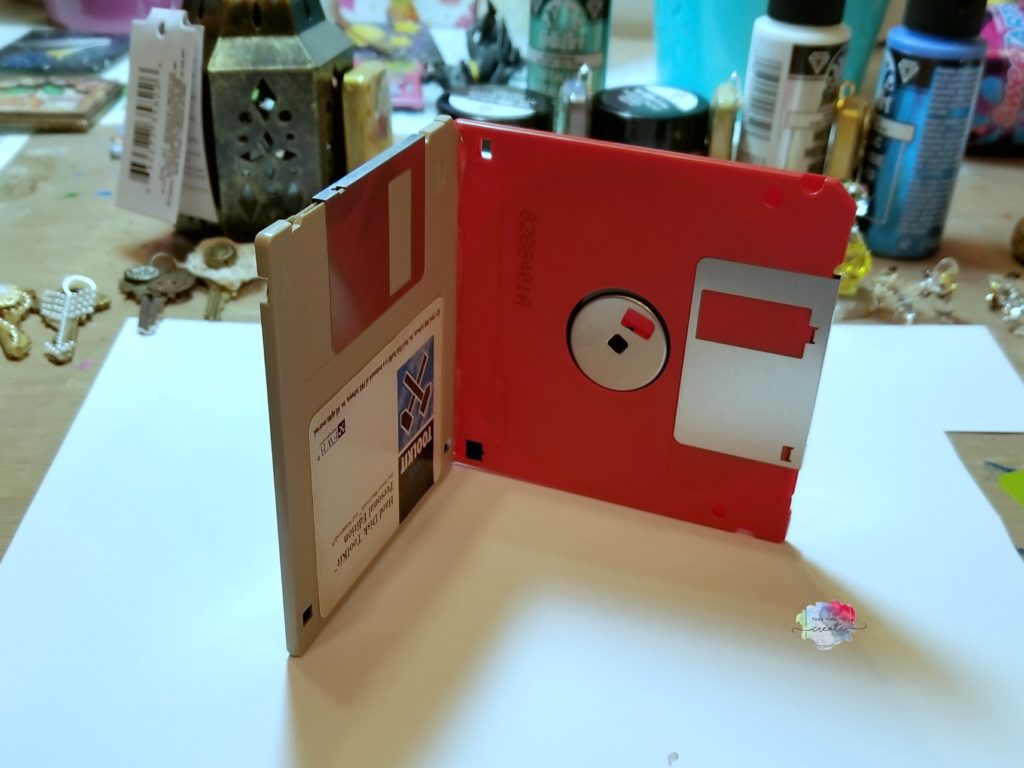
Grab your floppy discs from the basement and smile a little when you think of all the people that told you to throw them away, you knew they would come in handy someday, lol. Well today is the day!

I used duck tape to cover up the label and make it look a little cuter, but you could use washi tape or paint them.

Then just hot glue the sides together and then to bottom. Now you have  a cute place to put all your pencils and pens
DIY School Supplies

DIY School Supplies

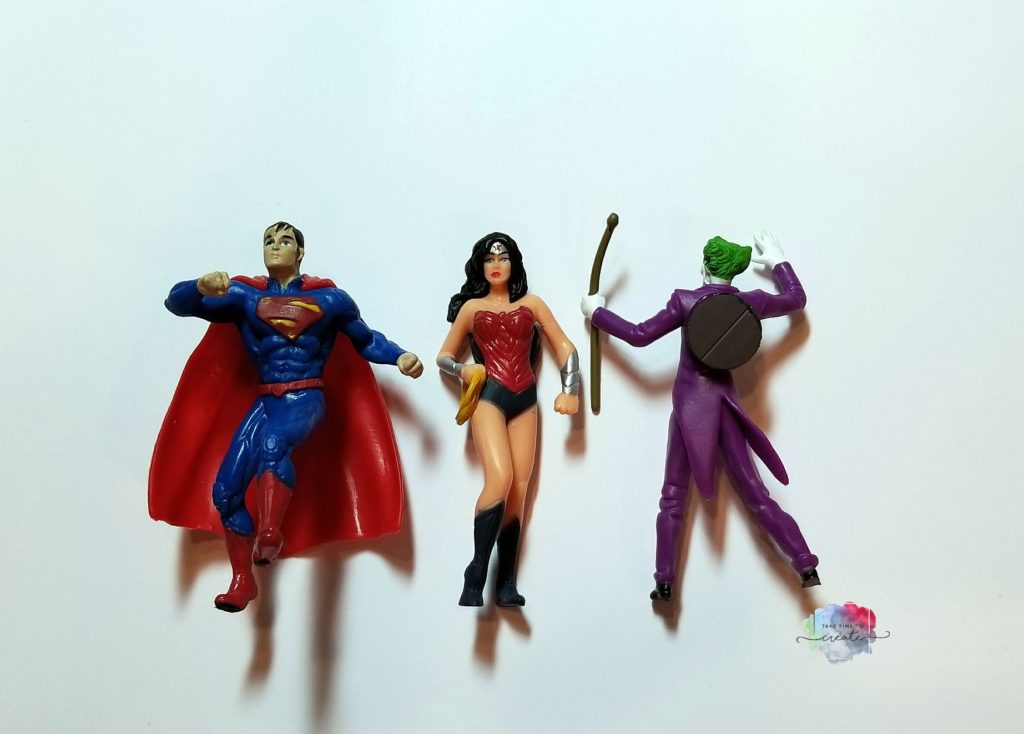
The next 2 are magnets. First is the Action Figure Magnets

Find some really awesome action figures from the Dollar Store and glue a magnet to the back (Loctight or E6000 or any strong glue should work) .

That is it. Now you have a really cute magnet to hold all your important papers.

DIY School Supplies

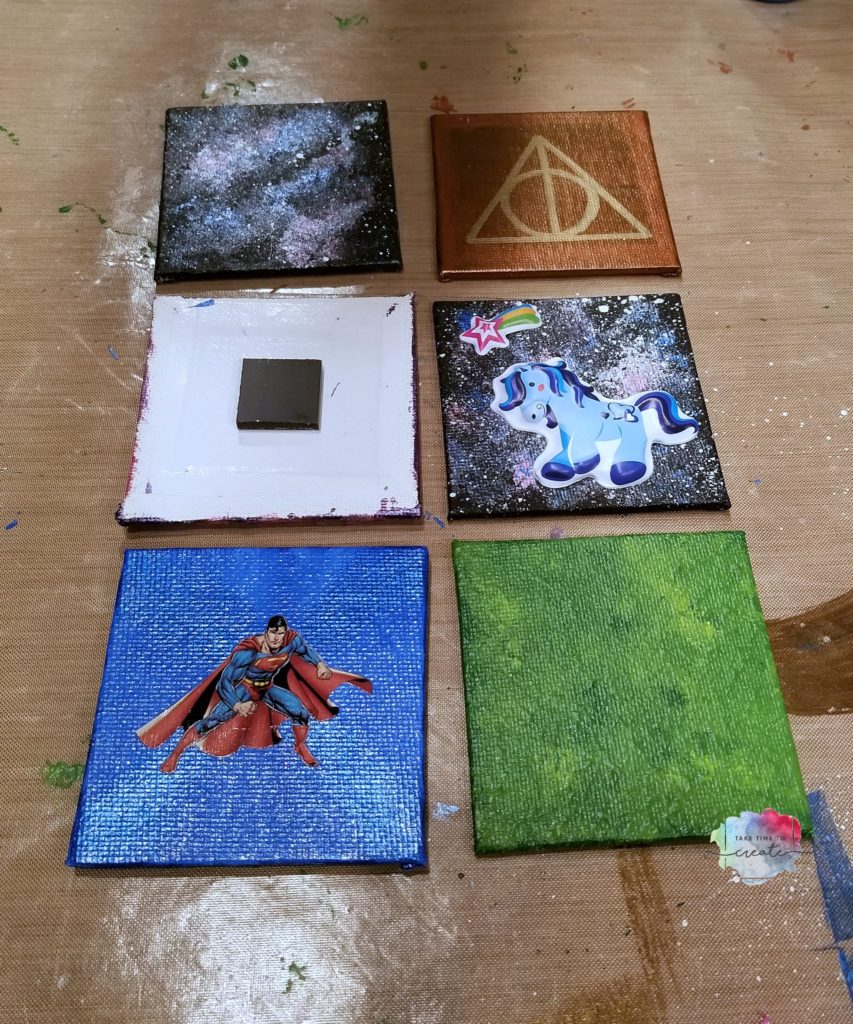
The last project are these Canvas Magnets

Paint the mini canvas in any way you want, I did a galaxy, or stickers, or used a paint pen depending on what I wanted to do. In the video I show how I painted my galaxy if you are wanting to one like that.

Then you glue a magnet to the back and you now have a super cute magnet!


DIY School Supplies

Now you are ready for school! What supplies are you making this year?

The post DIY School Supplies appeared first on Take Time To Create.

DIY Halloween Erasers

Hello Everyone!

Update: Check it out this post has been added to Fun Family Crafts!!!

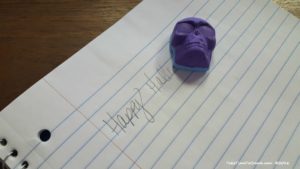
One of the best ways to spruce up your desk is to add some custom DIY erasers.  They are so easy to do and they look so cute on your desk at work or school. They also make perfect gifts, or they would be tons of fun to make at a party.

diy-halloween-erasers

Materials:

There are affiliate links below

  • Eraser Clay (I found this one on line at Amazon, but there are different brands, so pick one that works for you)

ceatibles-diy-eraser-kit

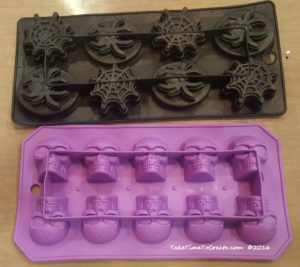
  • Molds (I used ice cube trays from the Dollar Store, or you can free form your designs)

mold-trays-for-eraser

  • Oven

Instructions:

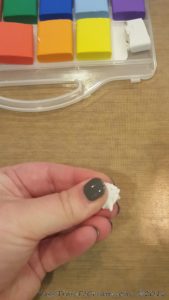
The first thing you do is knead your clay. You want to warm it up and make it pliable and easy to work with.

knead-the-eraser-clay

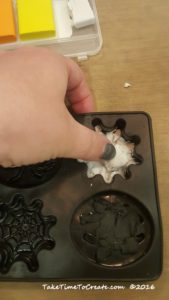
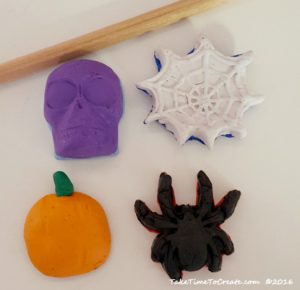
Once the clay is easy to work with then press it into a mold you like. ( I used a mold because shaping things out of clay is not the easiest thing for me. Molds just made the process a lot easier) You can make almost anything out of the clay. It is really easy to work with.

press-clay-into-mold

Once you have your design pop it out of the mold. I just put a little on the bottom of the mold then I popped it out and added a layer on the bottom of the design to smooth out the bottom. You can also add enough clay to fill the whole mold. It does make a larger eraser, but it looks really cool. You can layer colors or mix them to make a new color. There are so many possibilites.

diy-erasers

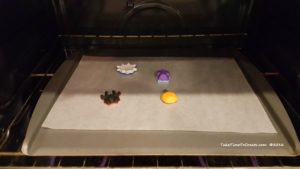
Bake the erasers according to the directions and let them fully cool before using.

bake-according-to-directions

They actually work. When I first got this product I thought they might be a little gimmicky and not work well, but I was pleasantly mistaken they actually work really well!

diy-erasers-actually-work

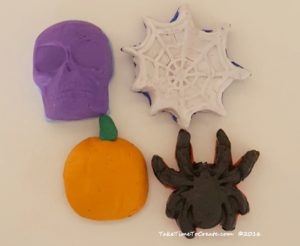
They turned out so cute I think I might need to make more for every holiday!


halloween-erasers

The Post DIY Halloween Erasers appeared first on Take Time To Create.
 

© 2024 Take Time To Create

Theme by Anders NorenUp ↑

Follow

Get the latest posts delivered to your mailbox:

%d bloggers like this: