Tag: jewerly craft

Mixed Media Fabric Pendants

Hello Everyone!

Exciting news! I got published! I am so excited, I sent my pendants to Belle Armoire Jewelry Magazine and got in the June issue!

I love this magazine and it was a huge honor to be included with all the other wonderful artists. I was thrilled to see the magazine at Barnes and Noble!

In the magazine I showed off the fabric pendants that I love to create. So, in the video I showed you how to create these pendants. You can also find them in my Etsy shop.
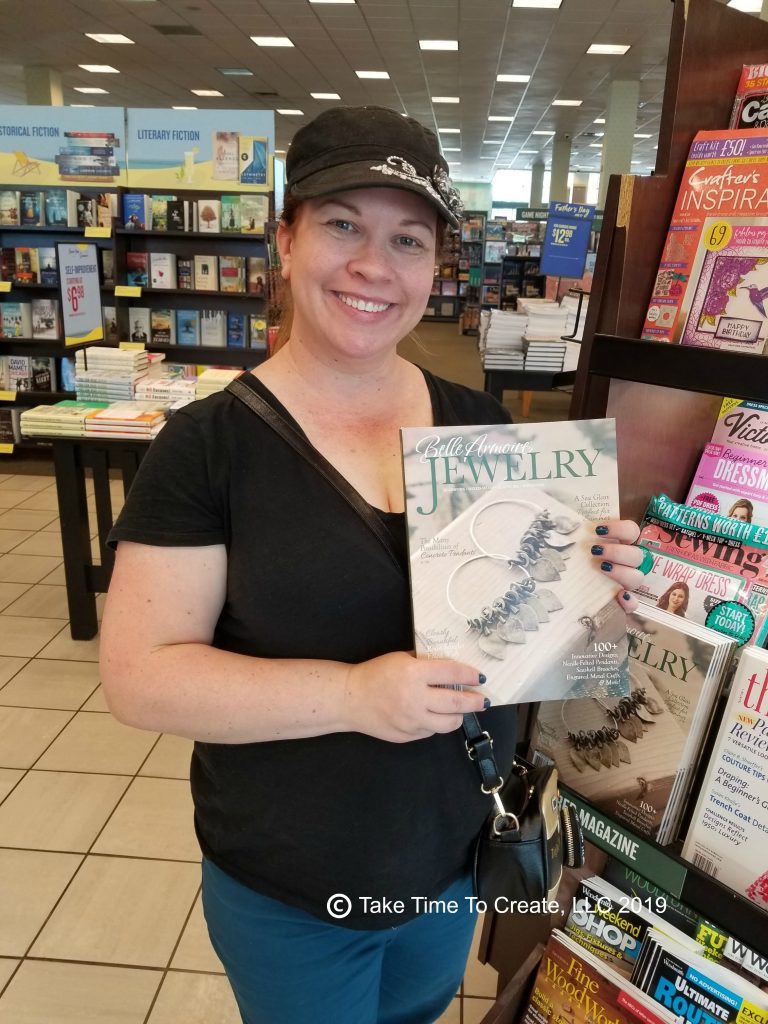
Picking up the magazine at Barnes and Noble

These pendants are great to feature fabric that important you, or just really pretty. They are not too complicated, and are unique when done. No two pendants look the same.

To create the pendant just cut some fabric a little larger than the pendant. Add E6000 to the pendant then soak the fabric in Gloss Gel. Once the fabric is coated wrinkle it up and squish it into the pendant.
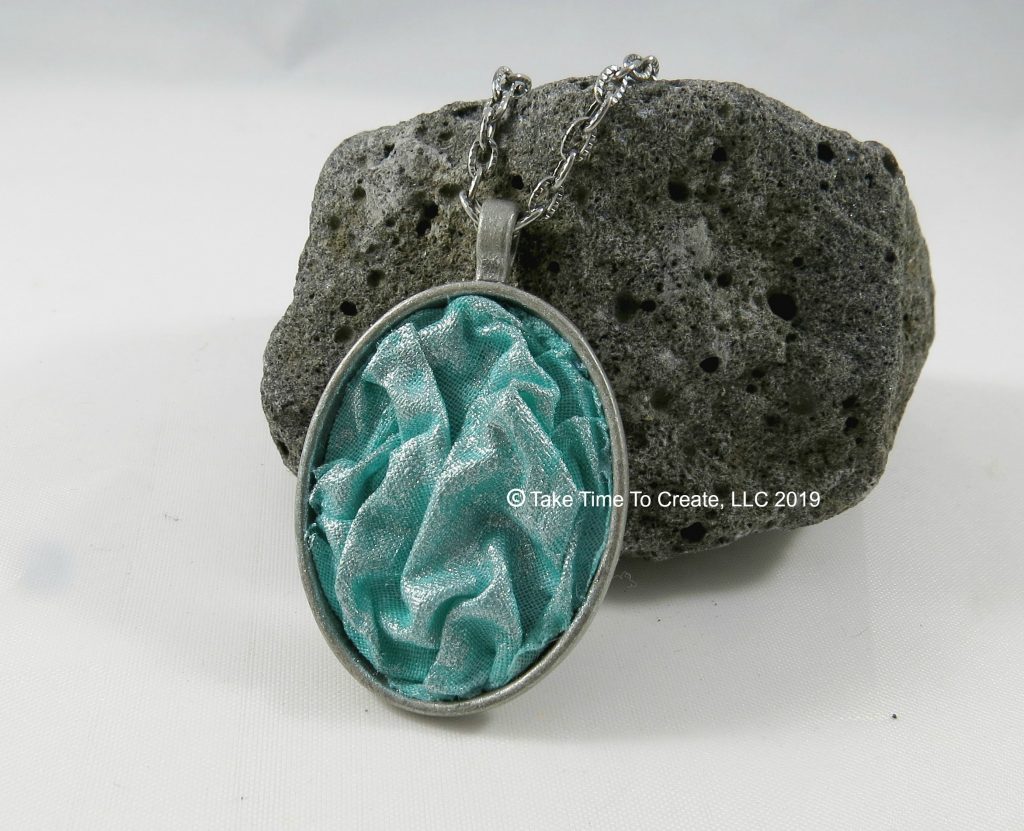
Fabric pendant
Fabric pendant

For the finishing touch I add some acrylic paint on the top after they are dry and that adds just the right amount of sparkle and interest.

Once the acrylic is dry it is ready to be worn. The gloss gel really helps the fabric hold its shape. These are so much fun to make, what fabric would you use to create one of these?
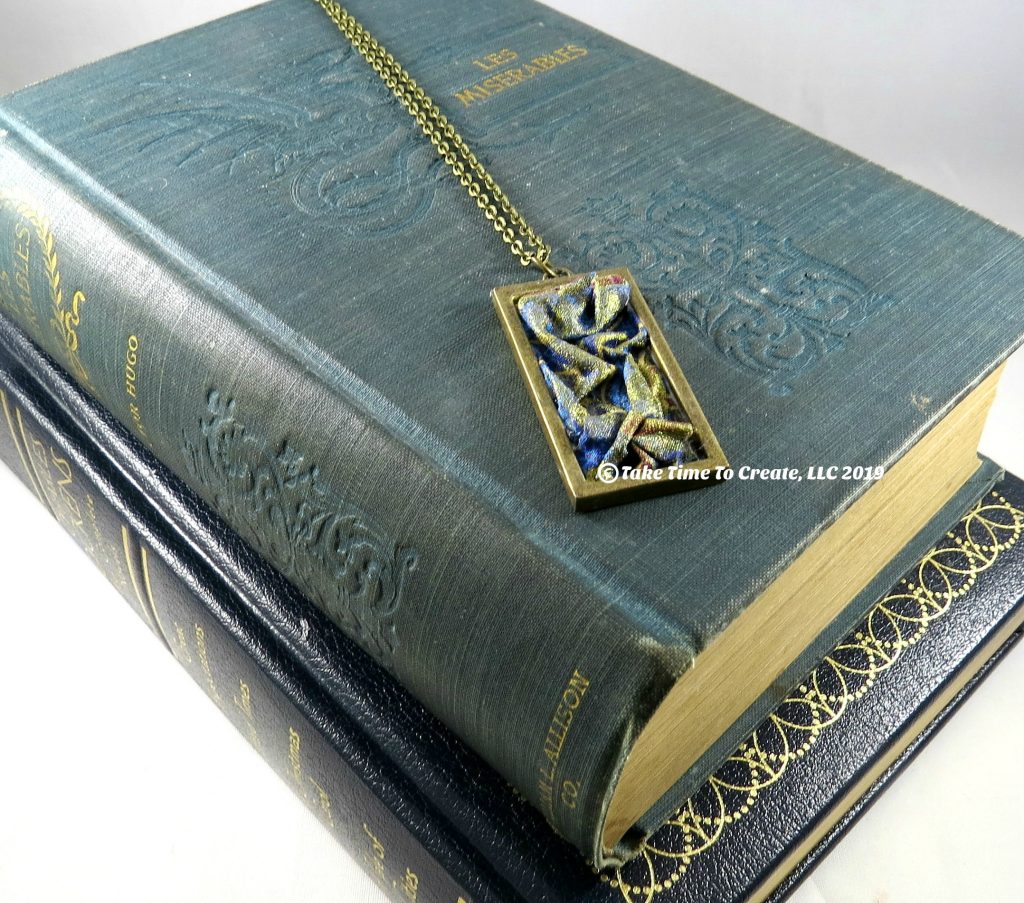
Fabric Pendant
Fabric Pendant

You can find the magazine at Barnes and Noble and online here: https://stampington.com/belle-armoire-jewelry

You can find me on Etsy at my shop: Take Time To Create

Affiliate Links:
Gloss gel (similar) https://amzn.to/2IwgoEX
Bezel Pendants https://amzn.to/2Ioqvvs
E6000 https://amzn.to/2XqjvEp
Finnabair Sparks https://amzn.to/2MrsdBn

The post Mixed Media Fabric Pendants appeared first on Take Time To Create.

DIY Altered Necklace I wore to my Birthday Dinner

Hi All!

I am happy to be back in the swing of things and I am starting today off with a DIY necklace. I showed you this necklace last week, it is the one I wore to my birthday dinner with my hubby. It is just a simple alteration to make it more my style.

I think the results work for me, what do you think?

Linda getting ready for her birthday dinner

Here is how I did it.

Materials:

~ Necklace

~ Needle Nose pliers

~ Jump Rings or extra chain length

~ Metal Clippers


Instructions

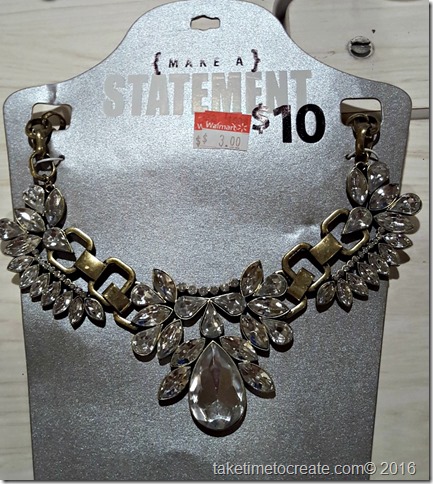
~ I found this necklace at Wal-Mart on clearance. Yikes, it was a little much for me. I am not very tall (as in I  reach 5’1” if I stretch Smile  ) so when I wear  a necklace that is too big for me it looks like I am weighed down. For someone of my height more is not always better Smile

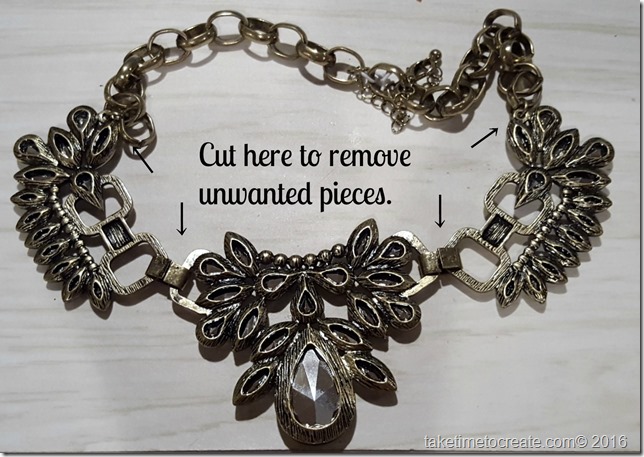
~ Take your necklace and cut off the parts you don’t want. I am saving them for another project.

alltered necklace

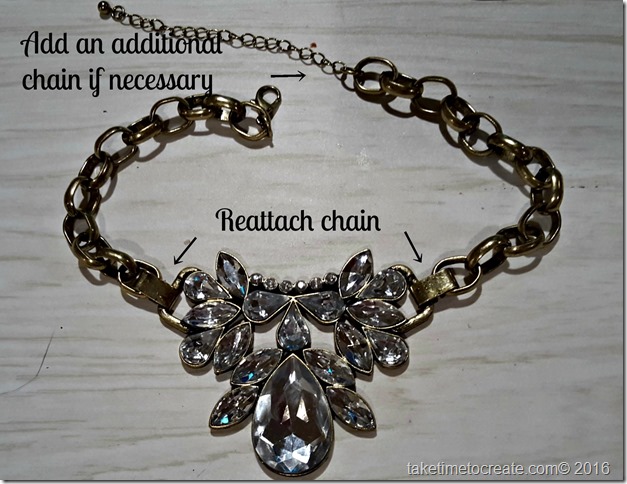
~ After I took off the parts I didn’t like I found that that the necklace was a little short, so I added a length of chain so that it fit me.

~ When you cut off the unnecessary pieces, save what you can  you might need it for later. I reused the metal clips holding the two pieces together.

Altered necklace cutting instructions


altered necklace reattached instructions

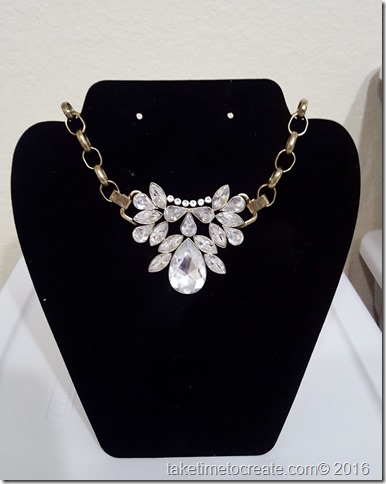
And that is it! Simple alteration to make the necklace into a necklace that I will wear all the time.

20160103_160703

© 2024 Take Time To Create

Theme by Anders NorenUp ↑

Follow

Get the latest posts delivered to your mailbox:

%d bloggers like this: