Tag: jewelry

Mixed Media Fabric Pendants

Hello Everyone!

Exciting news! I got published! I am so excited, I sent my pendants to Belle Armoire Jewelry Magazine and got in the June issue!

I love this magazine and it was a huge honor to be included with all the other wonderful artists. I was thrilled to see the magazine at Barnes and Noble!

In the magazine I showed off the fabric pendants that I love to create. So, in the video I showed you how to create these pendants. You can also find them in my Etsy shop.
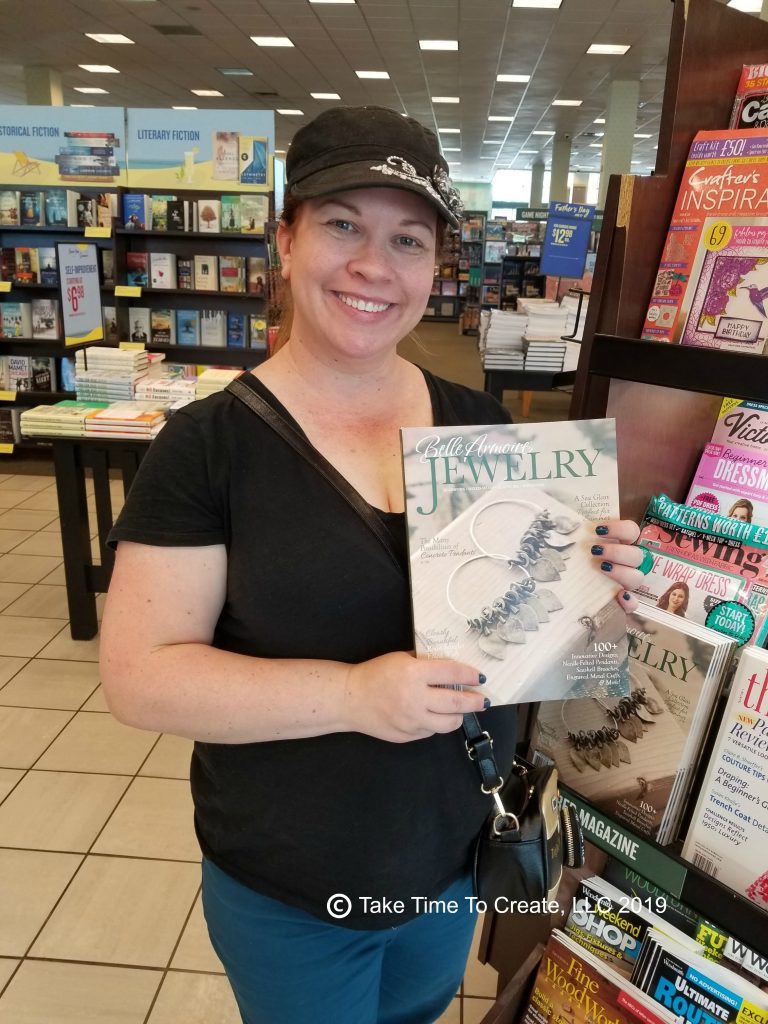
Picking up the magazine at Barnes and Noble

These pendants are great to feature fabric that important you, or just really pretty. They are not too complicated, and are unique when done. No two pendants look the same.

To create the pendant just cut some fabric a little larger than the pendant. Add E6000 to the pendant then soak the fabric in Gloss Gel. Once the fabric is coated wrinkle it up and squish it into the pendant.
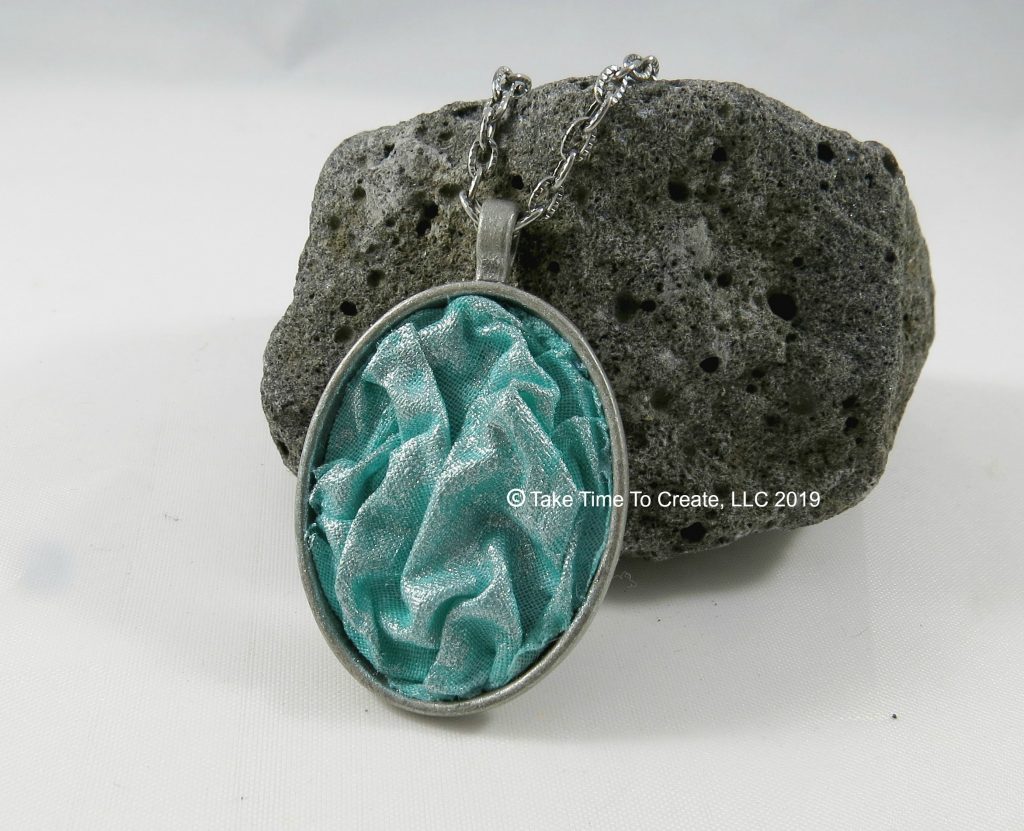
Fabric pendant
Fabric pendant

For the finishing touch I add some acrylic paint on the top after they are dry and that adds just the right amount of sparkle and interest.

Once the acrylic is dry it is ready to be worn. The gloss gel really helps the fabric hold its shape. These are so much fun to make, what fabric would you use to create one of these?
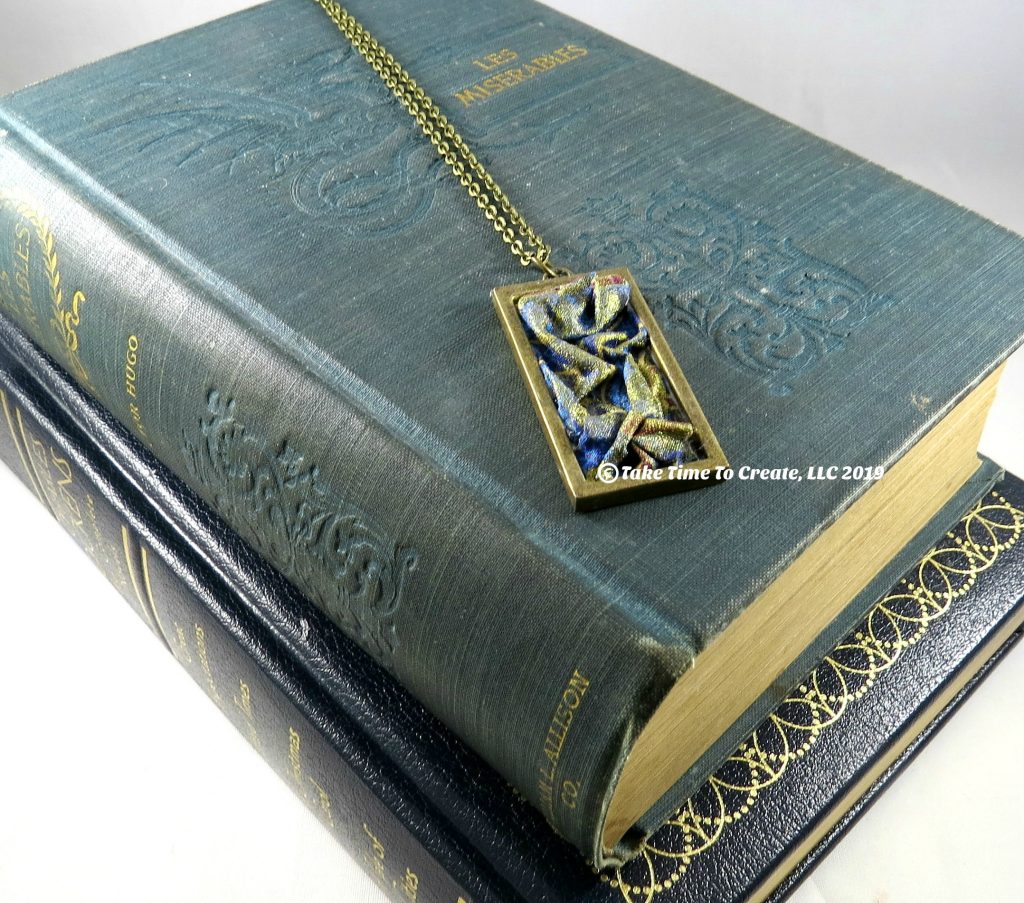
Fabric Pendant
Fabric Pendant

You can find the magazine at Barnes and Noble and online here: https://stampington.com/belle-armoire-jewelry

You can find me on Etsy at my shop: Take Time To Create

Affiliate Links:
Gloss gel (similar) https://amzn.to/2IwgoEX
Bezel Pendants https://amzn.to/2Ioqvvs
E6000 https://amzn.to/2XqjvEp
Finnabair Sparks https://amzn.to/2MrsdBn

The post Mixed Media Fabric Pendants appeared first on Take Time To Create.

Craft Fair Earrings and Jewelry Making Supply Storage

Hello Everyone!

Christmas craft fair season is upon us! Yikes, I am not ready! Anyone else doing craft fairs and are you ready?

One item I like to see are earrings. On a side note I only make and sell things I will use/wear/display in my home. Too often people try to make only what they think will sell and not what they actually like or that they would wear or use. This is my opinion, and I sure it is different from other opinions. Now I want to sell it all, but I know some things won’t sell and that is ok. And since I like it I will be more likely to use in my daily life.

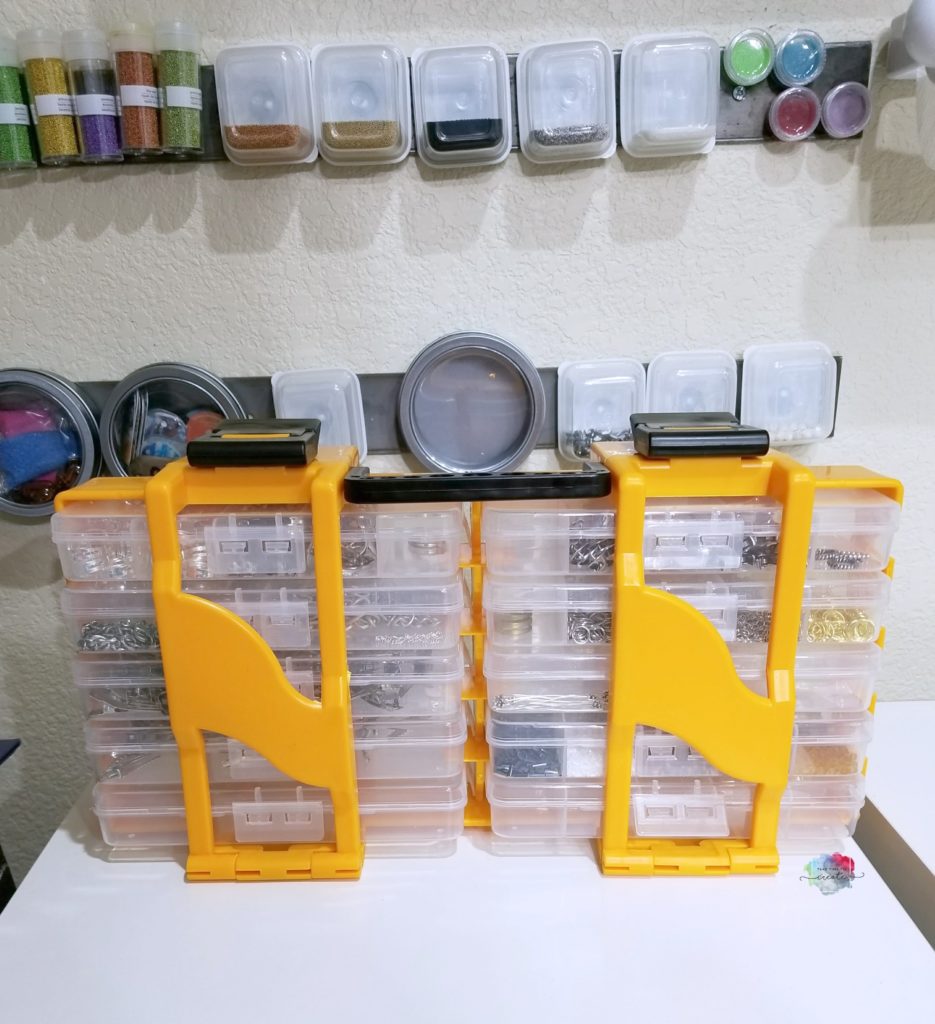
One thing I do like to sell are cute little earrings. But before I get to the earrings I wanted to show you how  I organize my jewelry findings. I found these really great tool organizers at Harbor Freight.  Here is the link: https://www.harborfreight.com/tool-storage/part-storage/multi-compartment-utility-box-40528.html

They are fantastic, I love how portable they are with the handle and each bin comes out so I take out what I need. There is a lot of room and they fit my needs perfectly.

The organizational bins behind the plastic storage is the metal strip my husband hung along with the magnetic containers from the dollar store. You can read the blog post here: Organizers

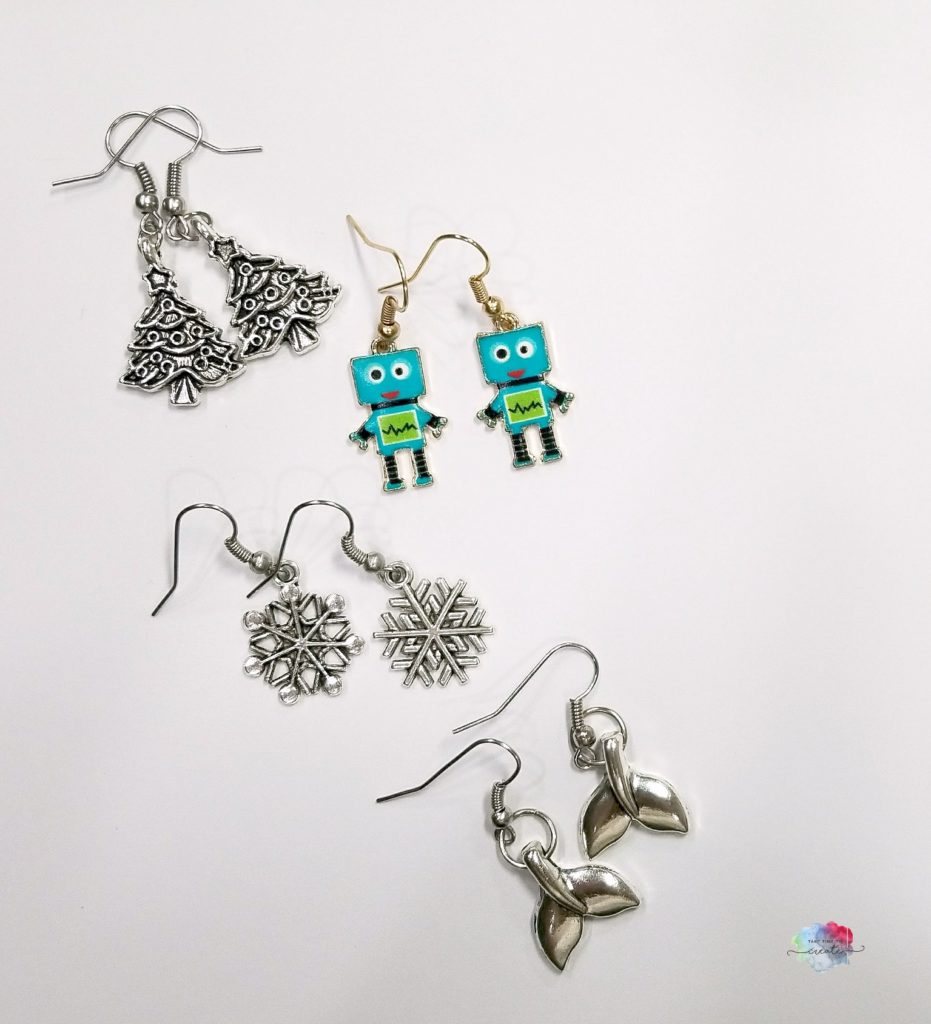
The earrings are really cute and fairly simple to make. All you do is add a French hook to a cute charm. I used a zipper pull and some other charms I had in my stash.

I like to use a variety of charms, not just Christmas ones. You never know what people will need or want.


earrings

Once I have a pile made I will package them and get them ready for the craft fair. If you are interested in seeing how I make my packaging and how I display my earrings let me know and I will write a post about it.

The post Craft Fair Earrings and Jewelry Making Supply Storage appeared first on Take Time To Create.
DIY Altered Necklace I wore to my Birthday Dinner

Hi All!

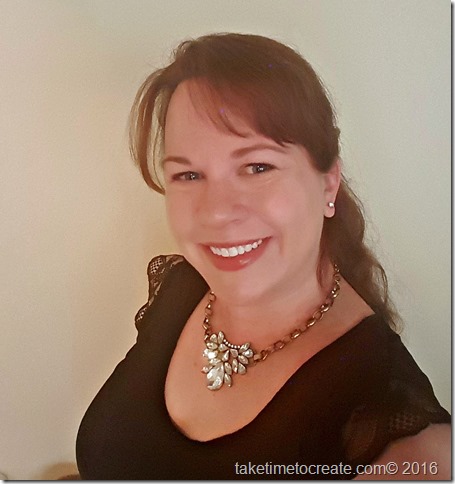
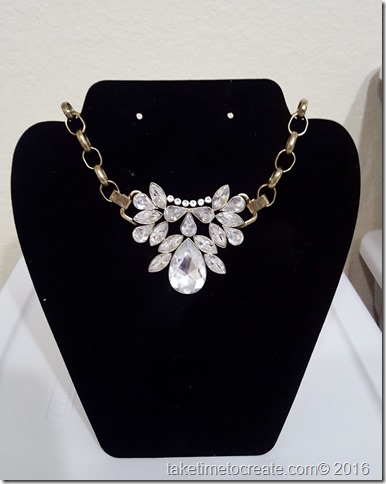
I am happy to be back in the swing of things and I am starting today off with a DIY necklace. I showed you this necklace last week, it is the one I wore to my birthday dinner with my hubby. It is just a simple alteration to make it more my style.

I think the results work for me, what do you think?

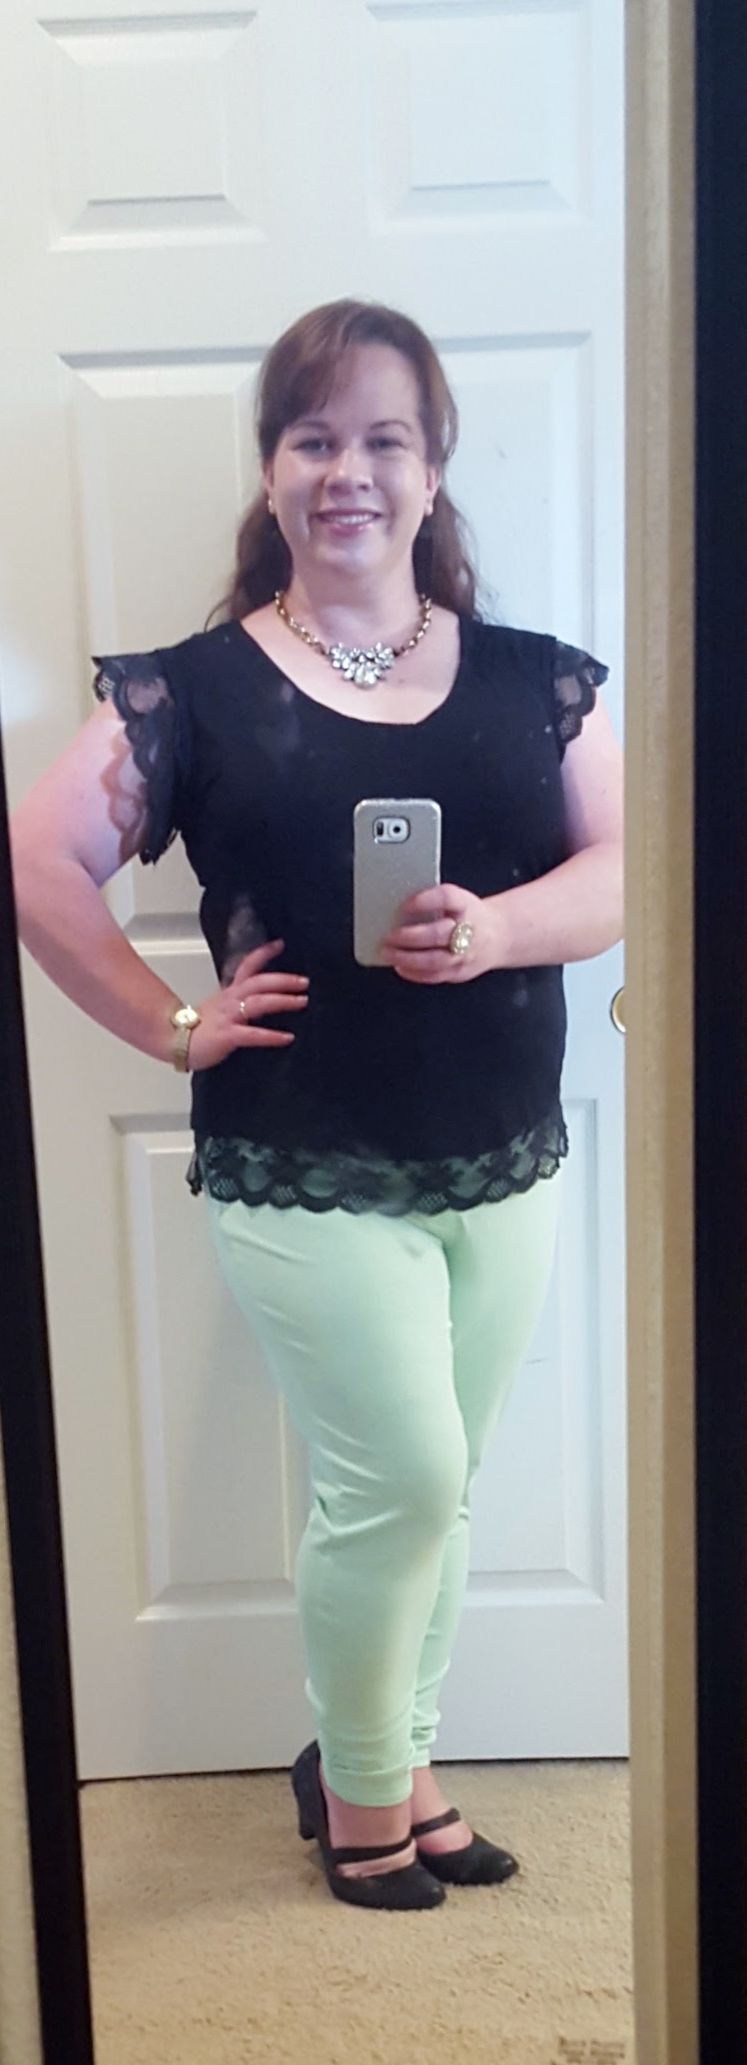
Linda getting ready for her birthday dinner

Here is how I did it.

Materials:

~ Necklace

~ Needle Nose pliers

~ Jump Rings or extra chain length

~ Metal Clippers


Instructions

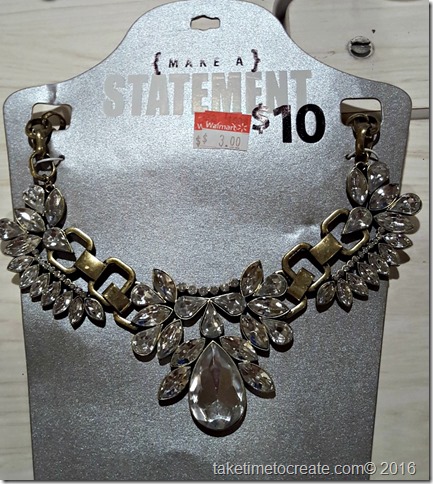
~ I found this necklace at Wal-Mart on clearance. Yikes, it was a little much for me. I am not very tall (as in I  reach 5’1” if I stretch Smile  ) so when I wear  a necklace that is too big for me it looks like I am weighed down. For someone of my height more is not always better Smile

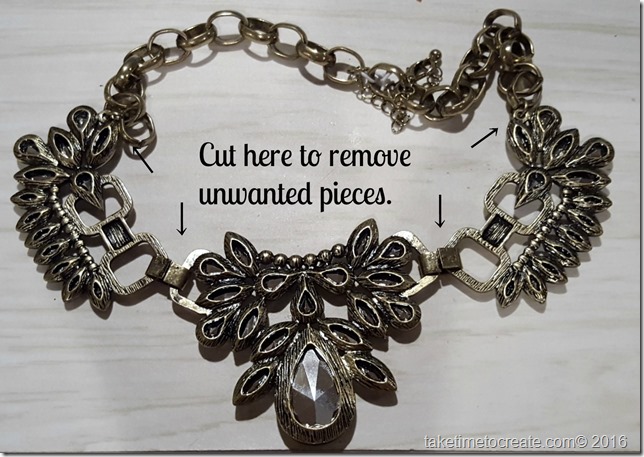
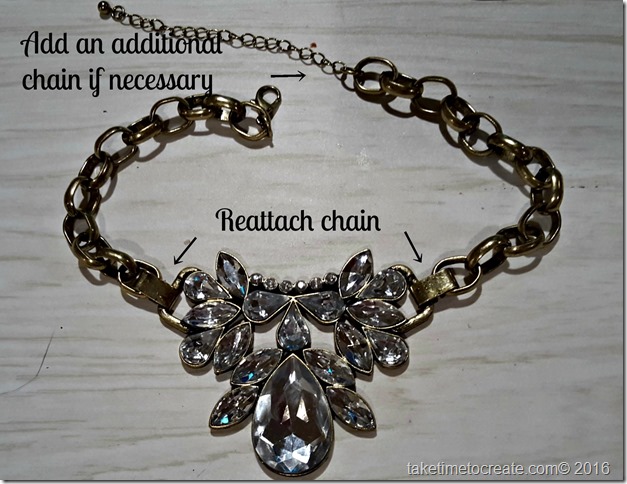
~ Take your necklace and cut off the parts you don’t want. I am saving them for another project.

alltered necklace

~ After I took off the parts I didn’t like I found that that the necklace was a little short, so I added a length of chain so that it fit me.

~ When you cut off the unnecessary pieces, save what you can  you might need it for later. I reused the metal clips holding the two pieces together.

Altered necklace cutting instructions


altered necklace reattached instructions

And that is it! Simple alteration to make the necklace into a necklace that I will wear all the time.

20160103_160703

Happy New Year!

Happy New Year!

New Years Day is always a fun one for me. Not only is it a start to a new year, but it is my birthday. I find it is nice to reflect on the year that has passed, but it is fun to wonder and speculate about the upcoming year.

This blog has been so much fun and I can’t wait to see where it goes next year! You guys are the best, I thoroughly enjoy all the comments and suggestions you give me. You guys make me want to create more, you inspire me.

I have big plans for the blog this year. I want to do 2 projects a week (ambitious I know, but I think I can make it happen most of the time) and I will feature new and old products so you guys can see what I use and what is out there for your projects.

It is going to be a fun year and I am excited that you will make the journey with me.

Linda

Here is a sneak peak of next week’s projects. I wore this outfit for my birthday dinner with my hubby. I am wearing an altered necklace and I added lace to my shirt. I will show you how next week.

20160101_150243

DIY Shirt and altered necklace

20160101_150441

DIY Shirt and altered necklace

DIY Shirt and altered necklace


Continue reading

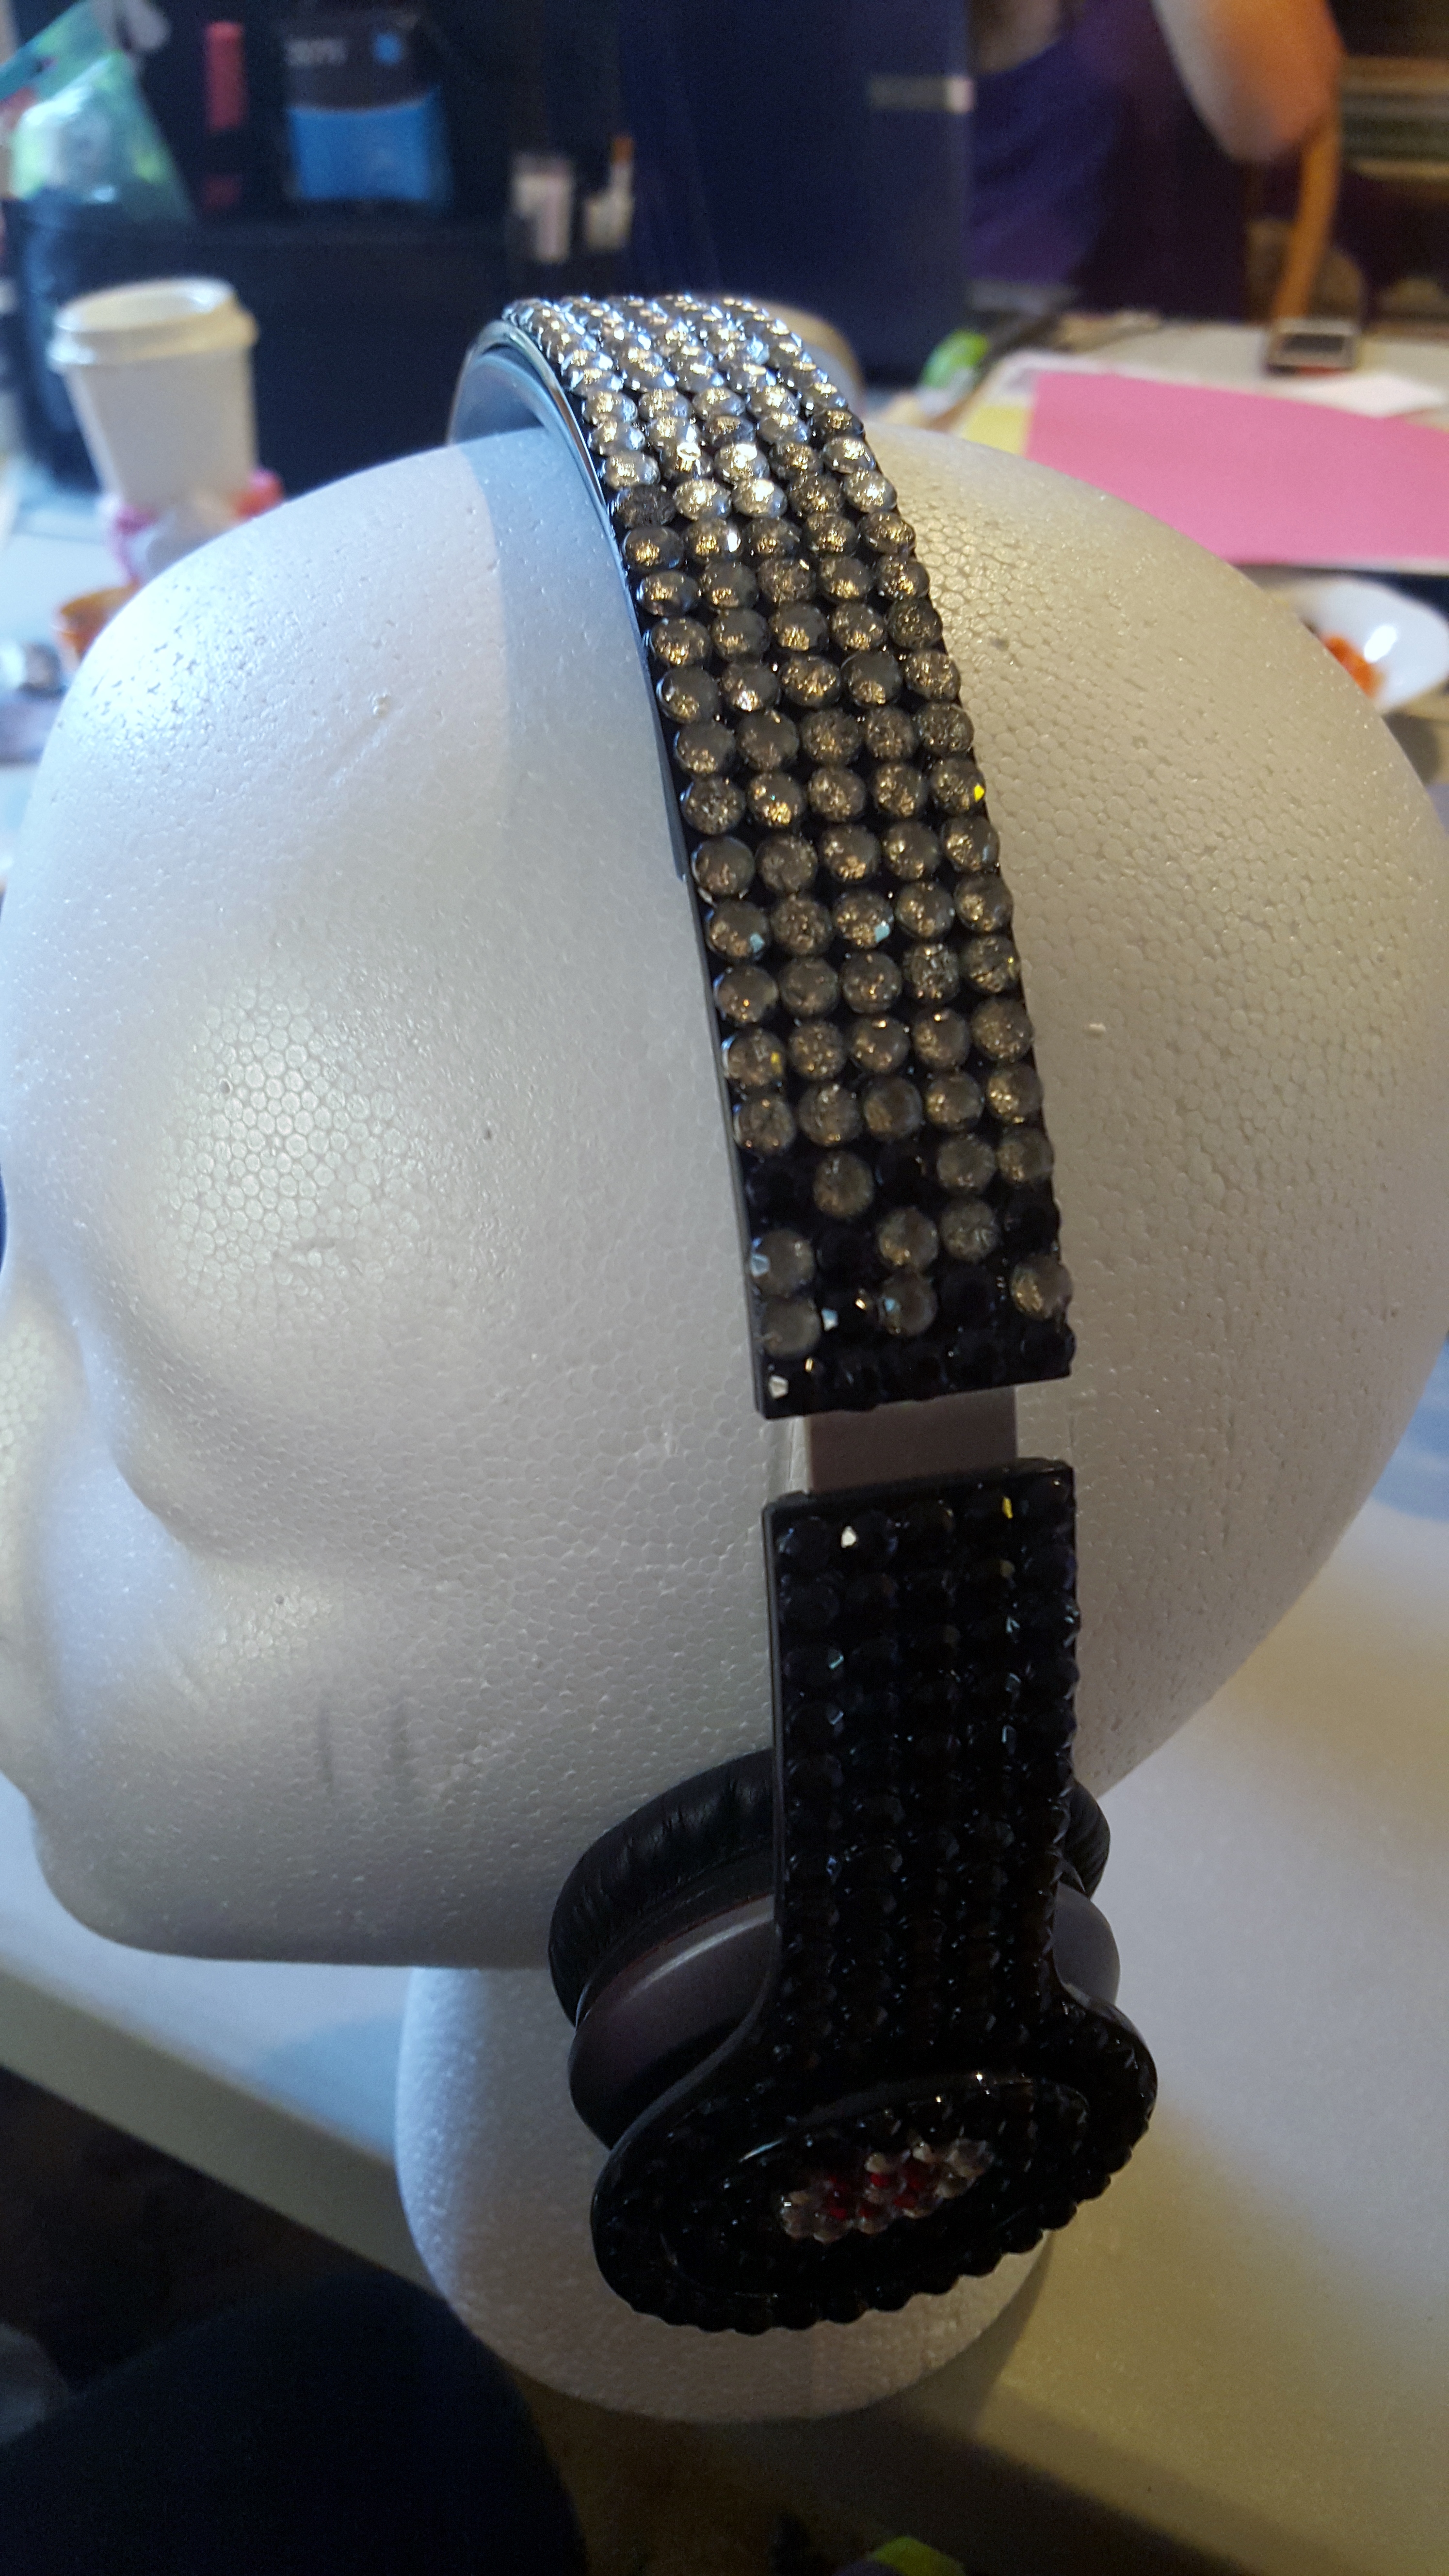
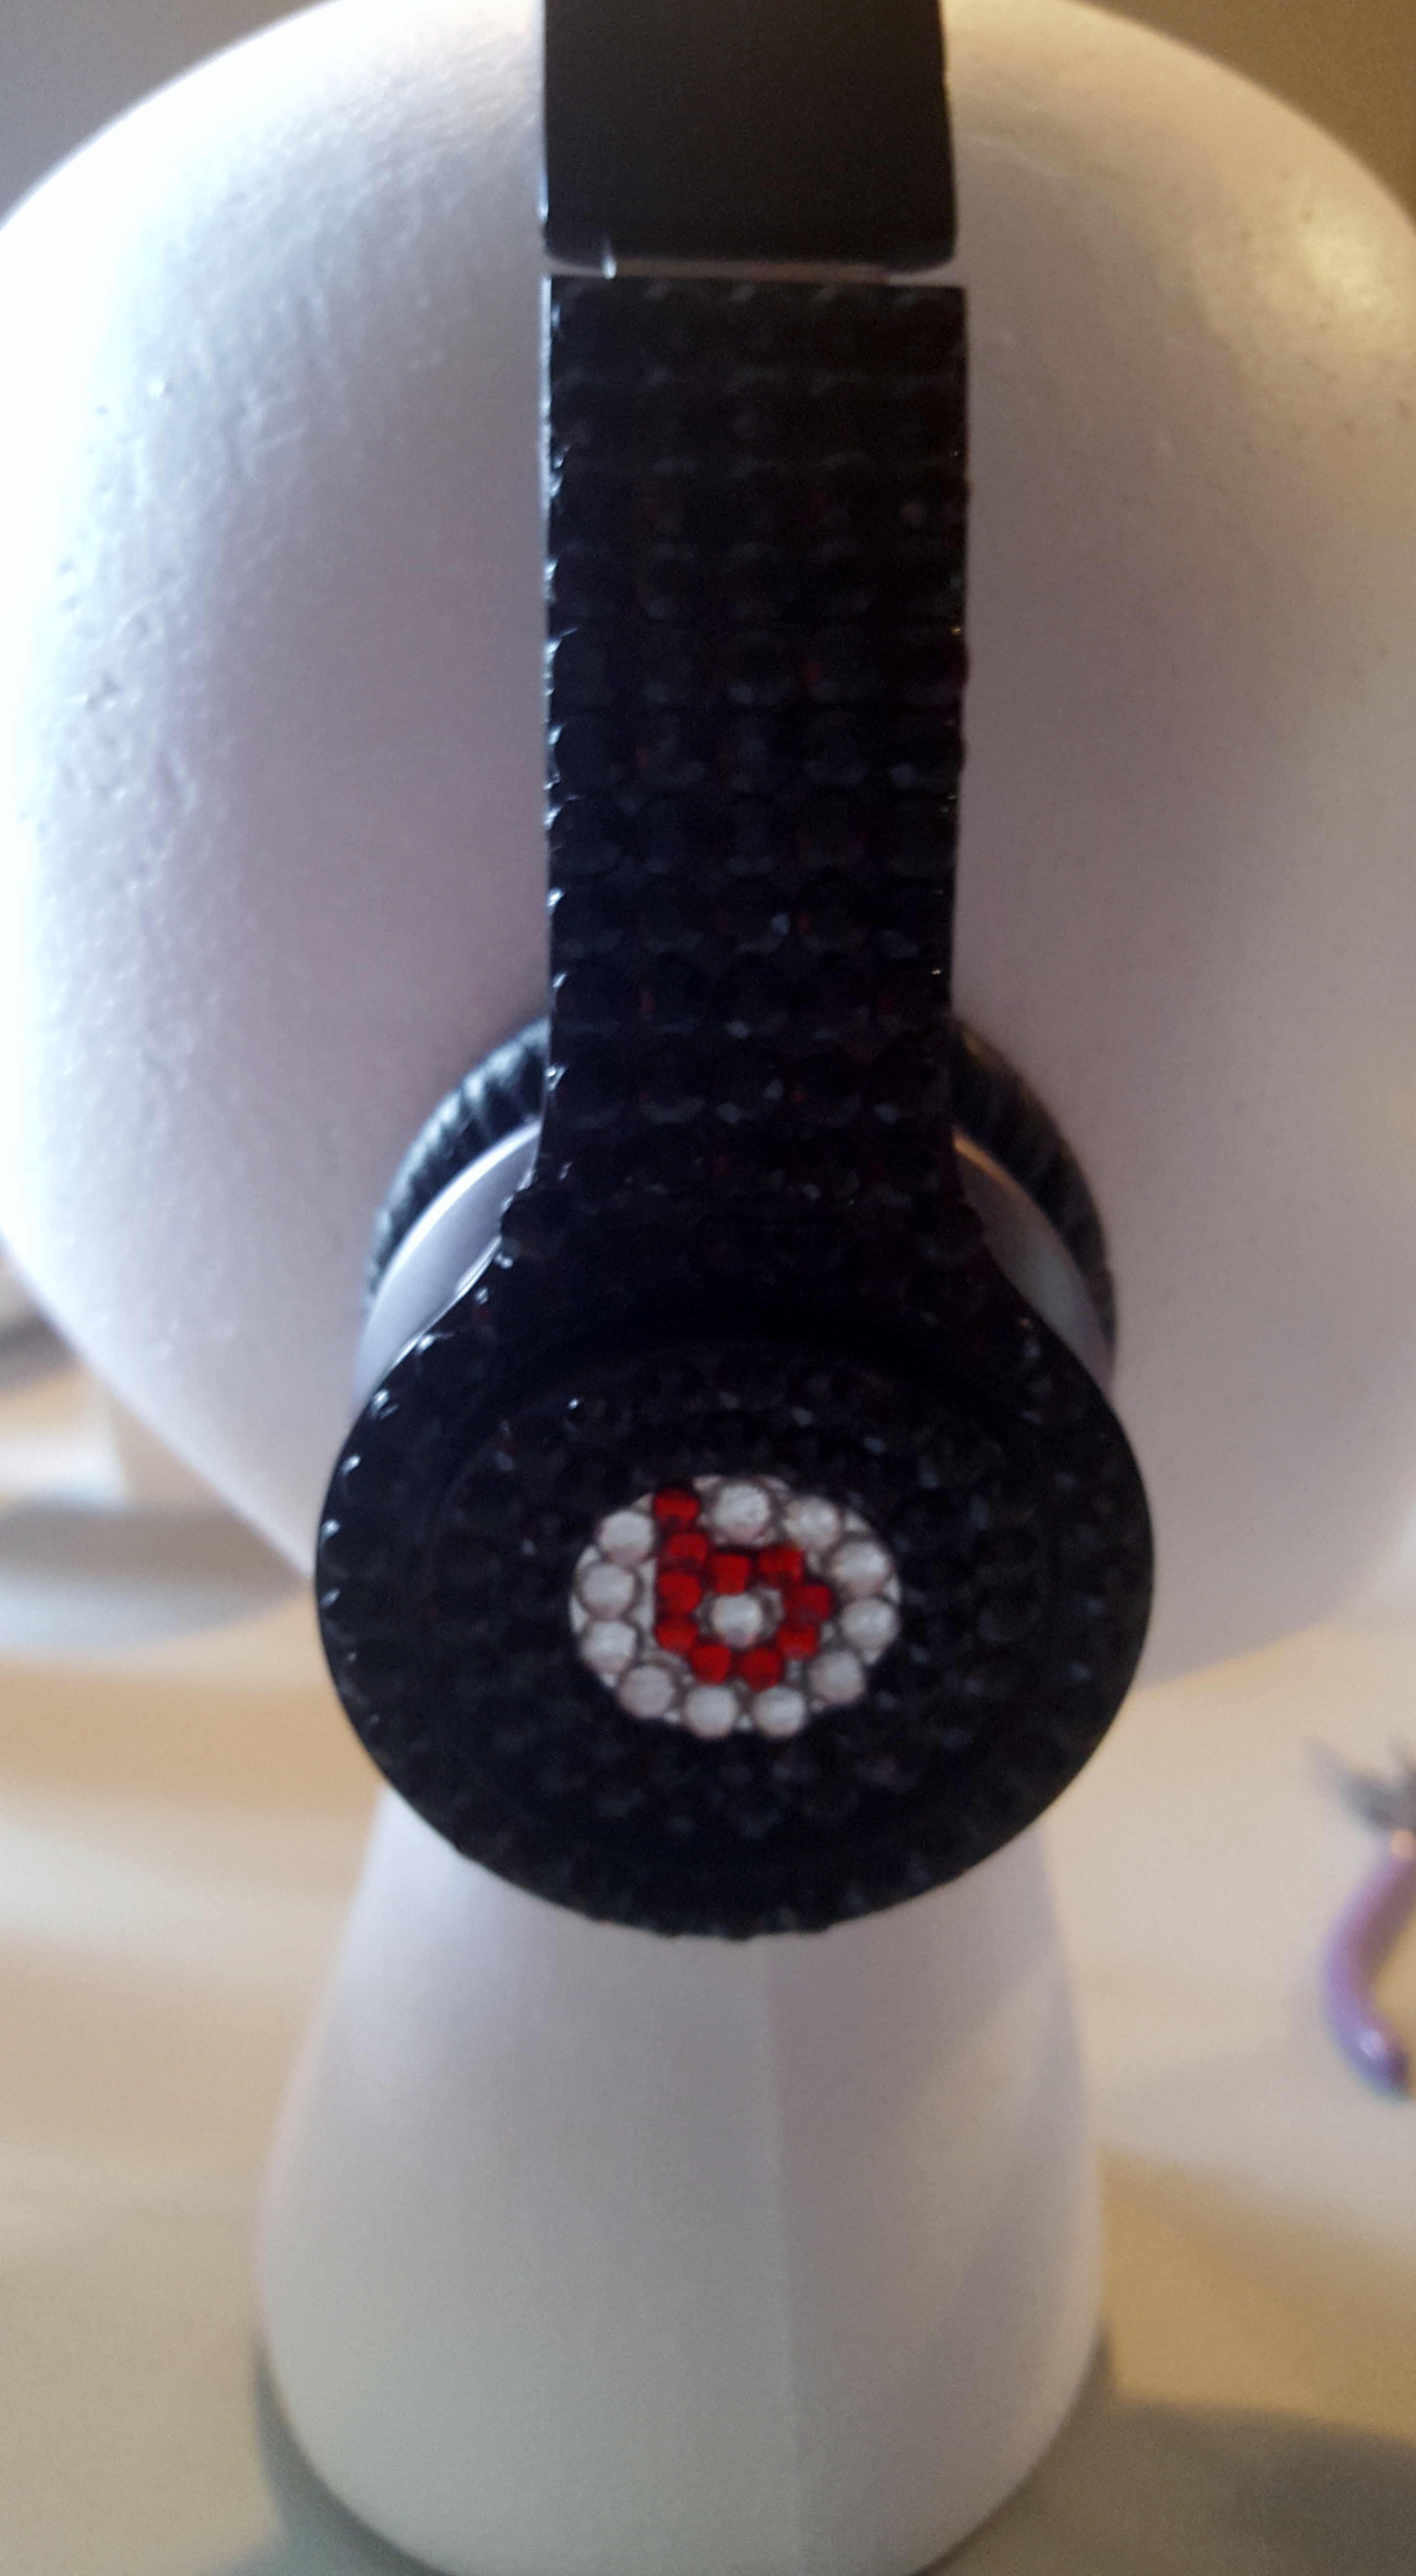
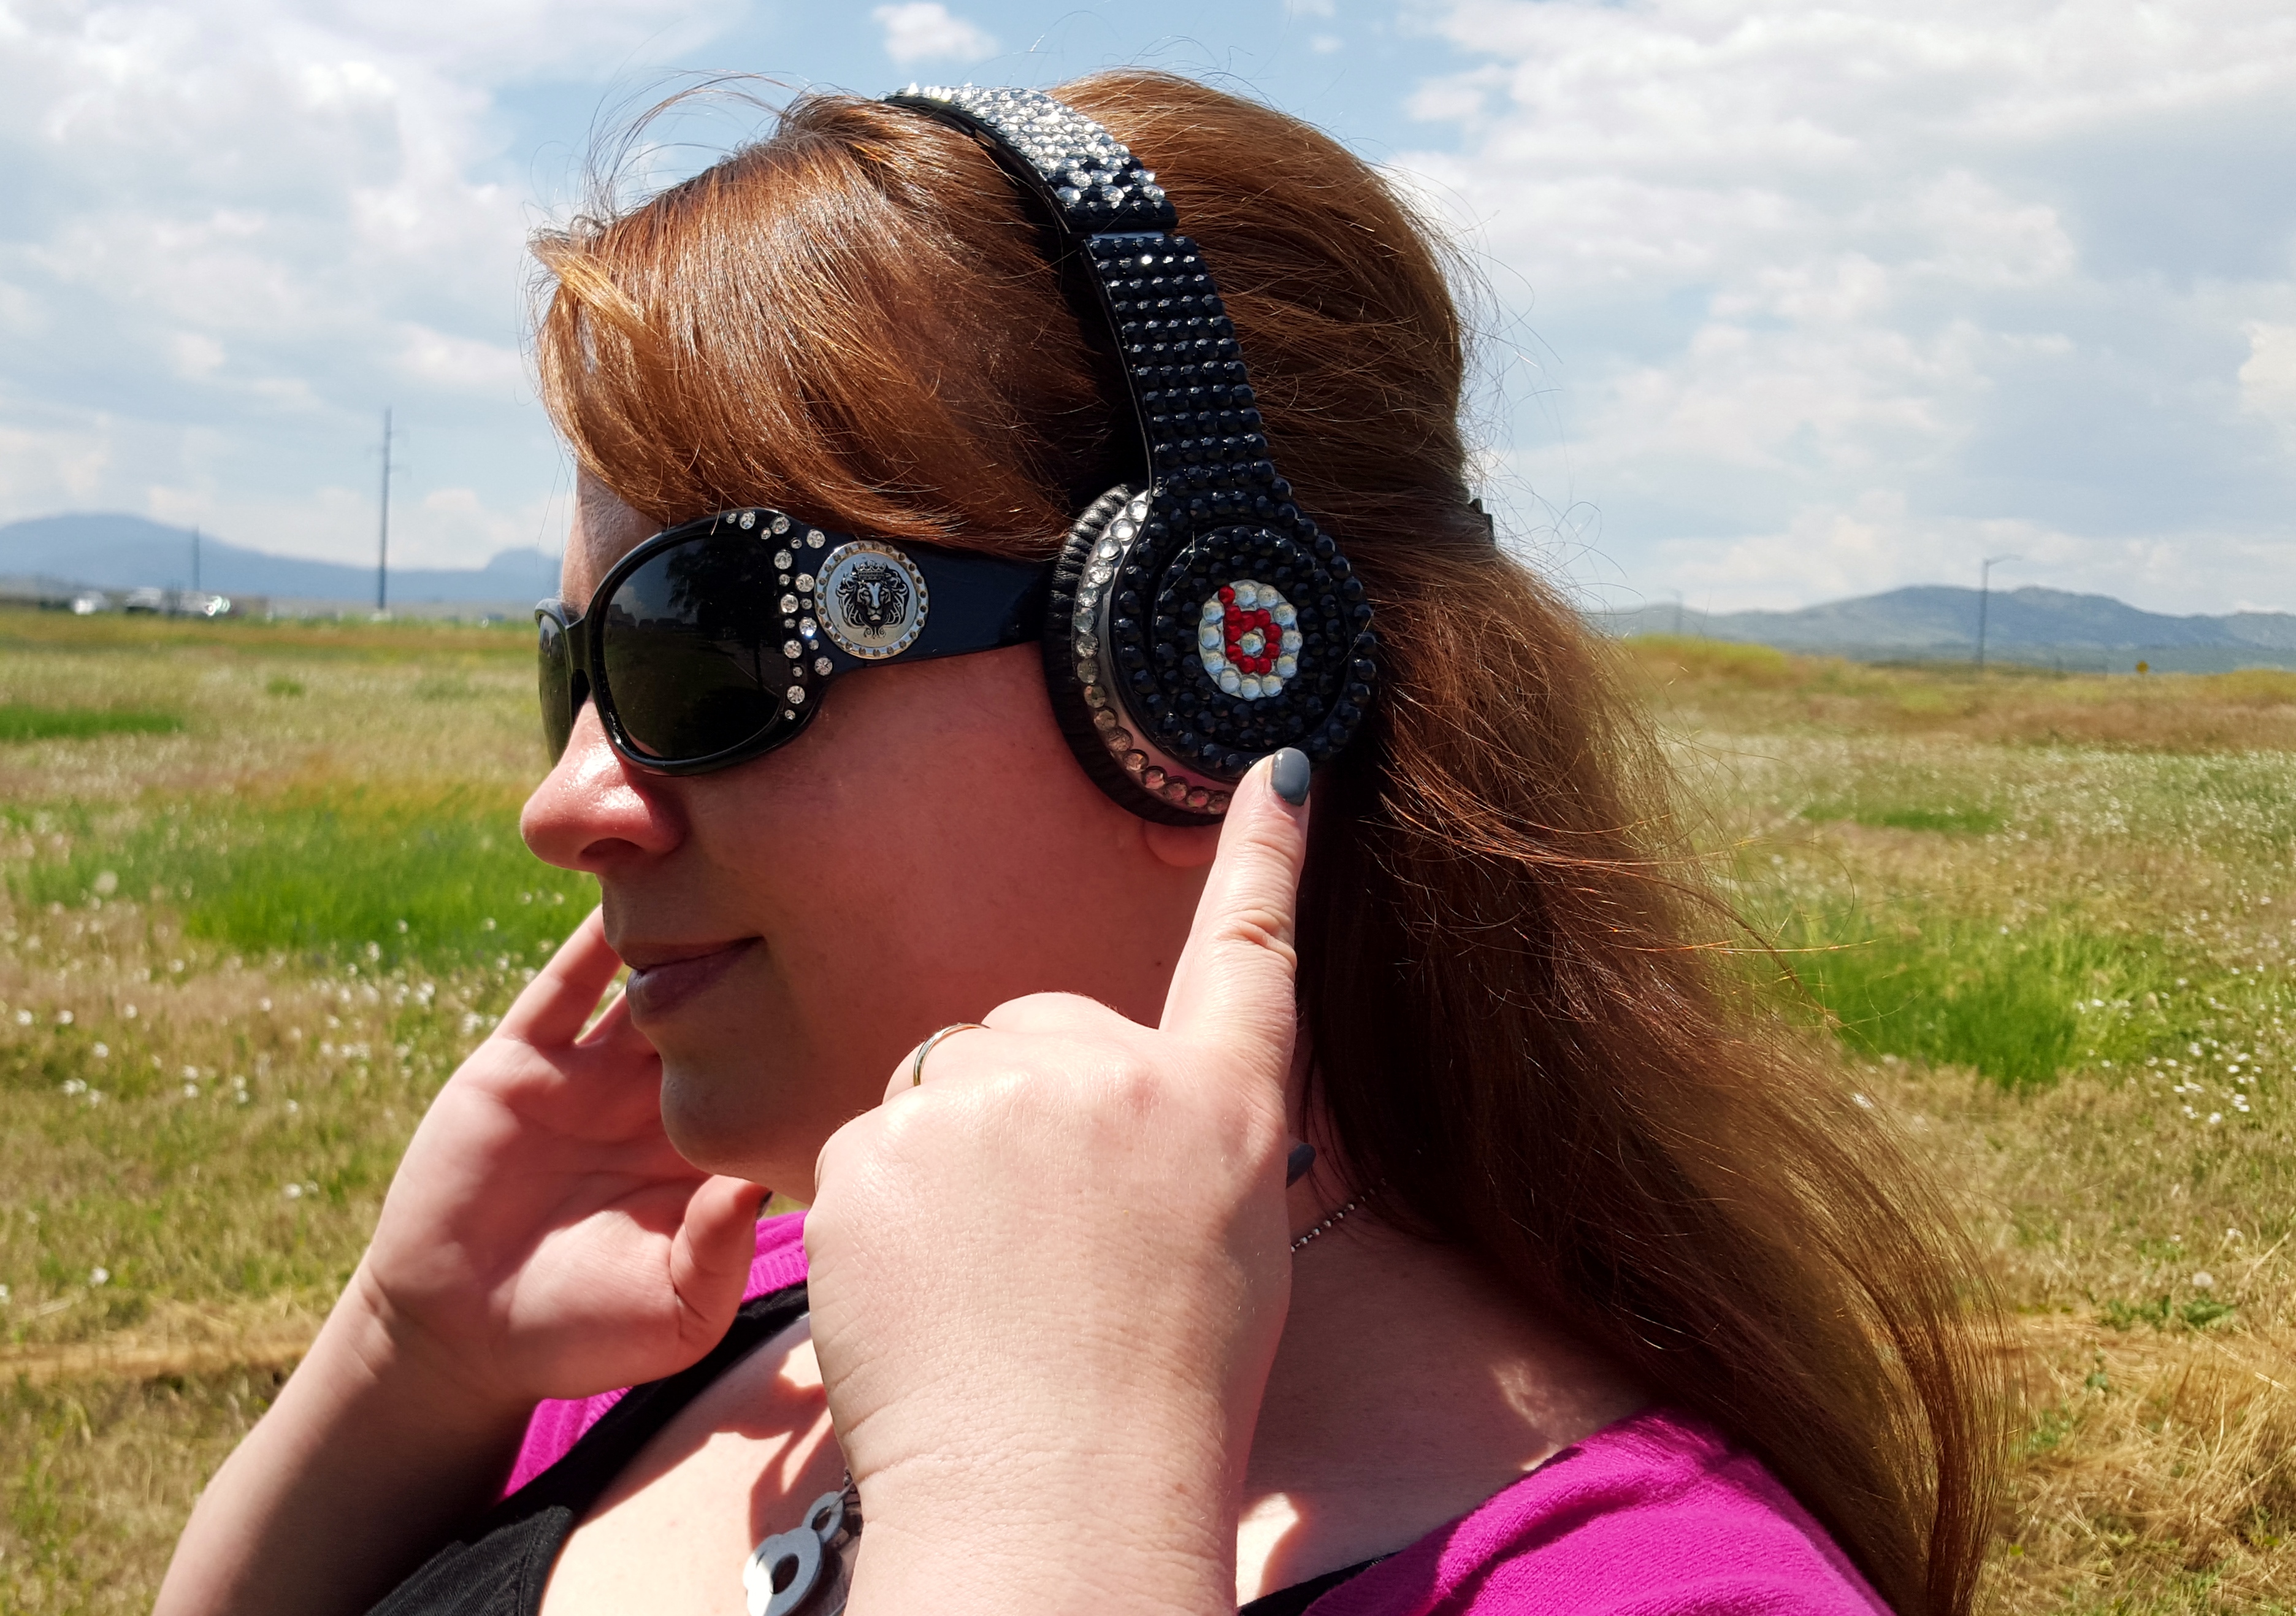
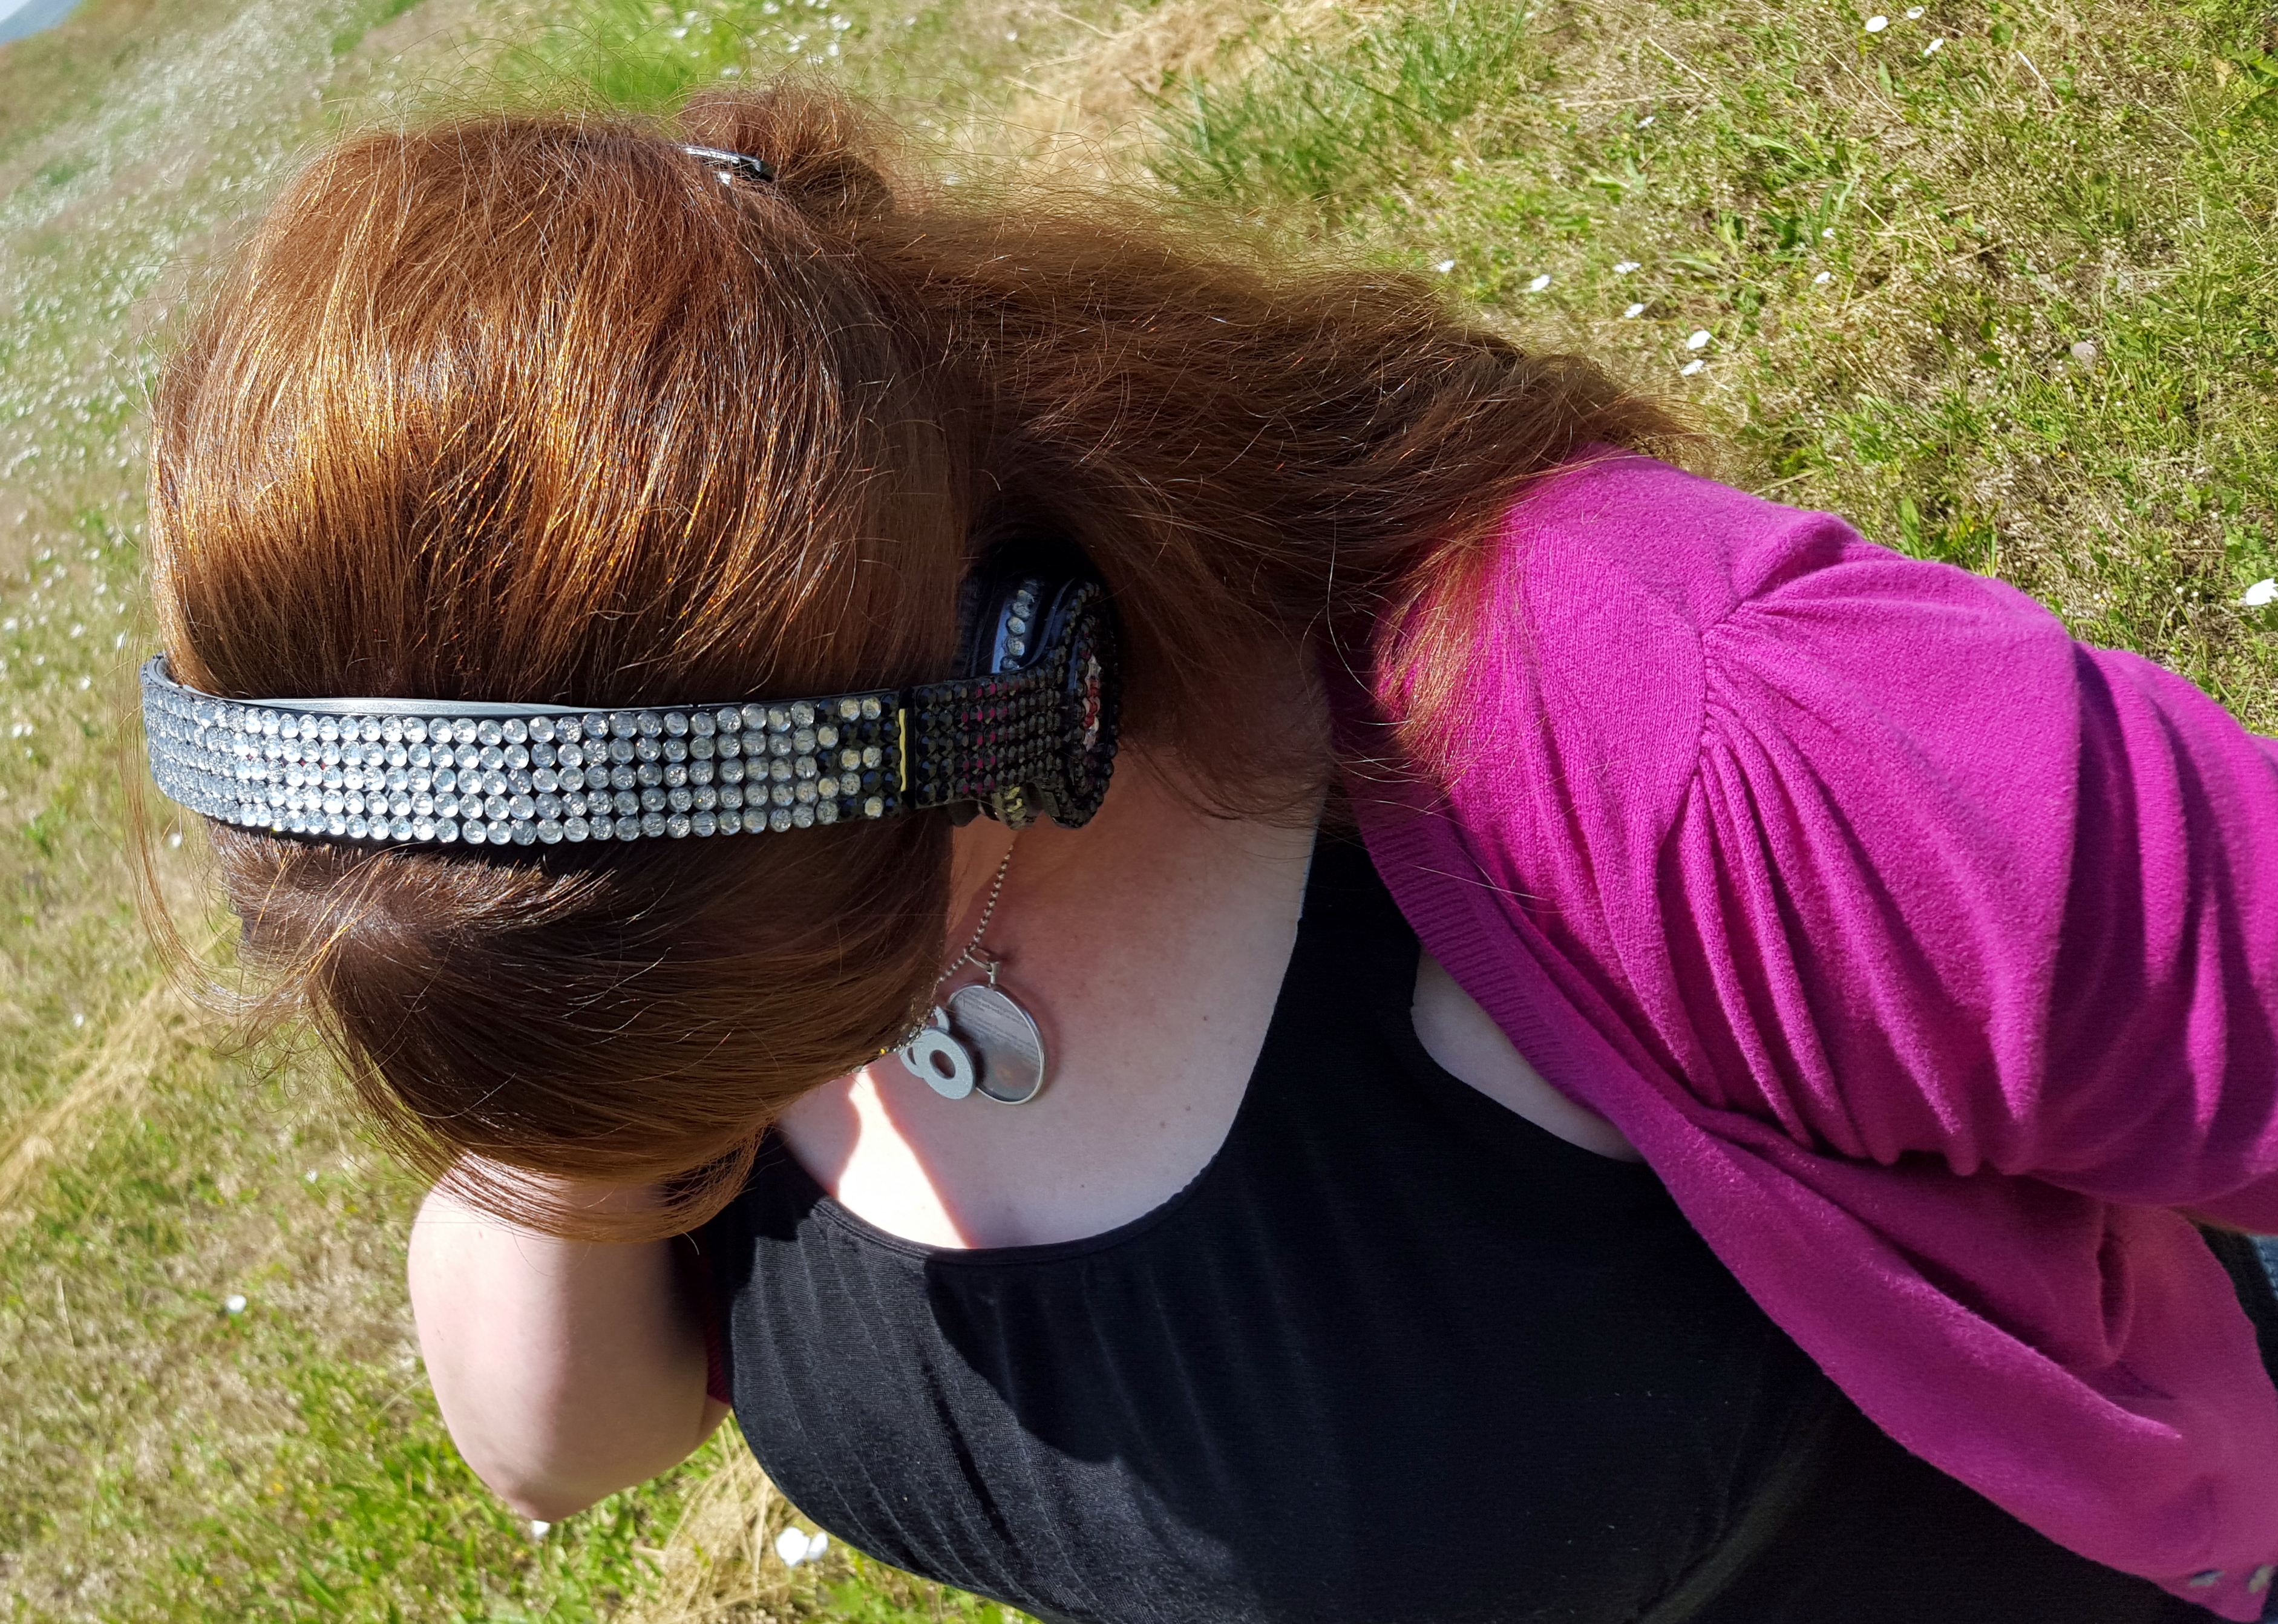
Super Sparkly Rhinestone DIY Beats Headphones

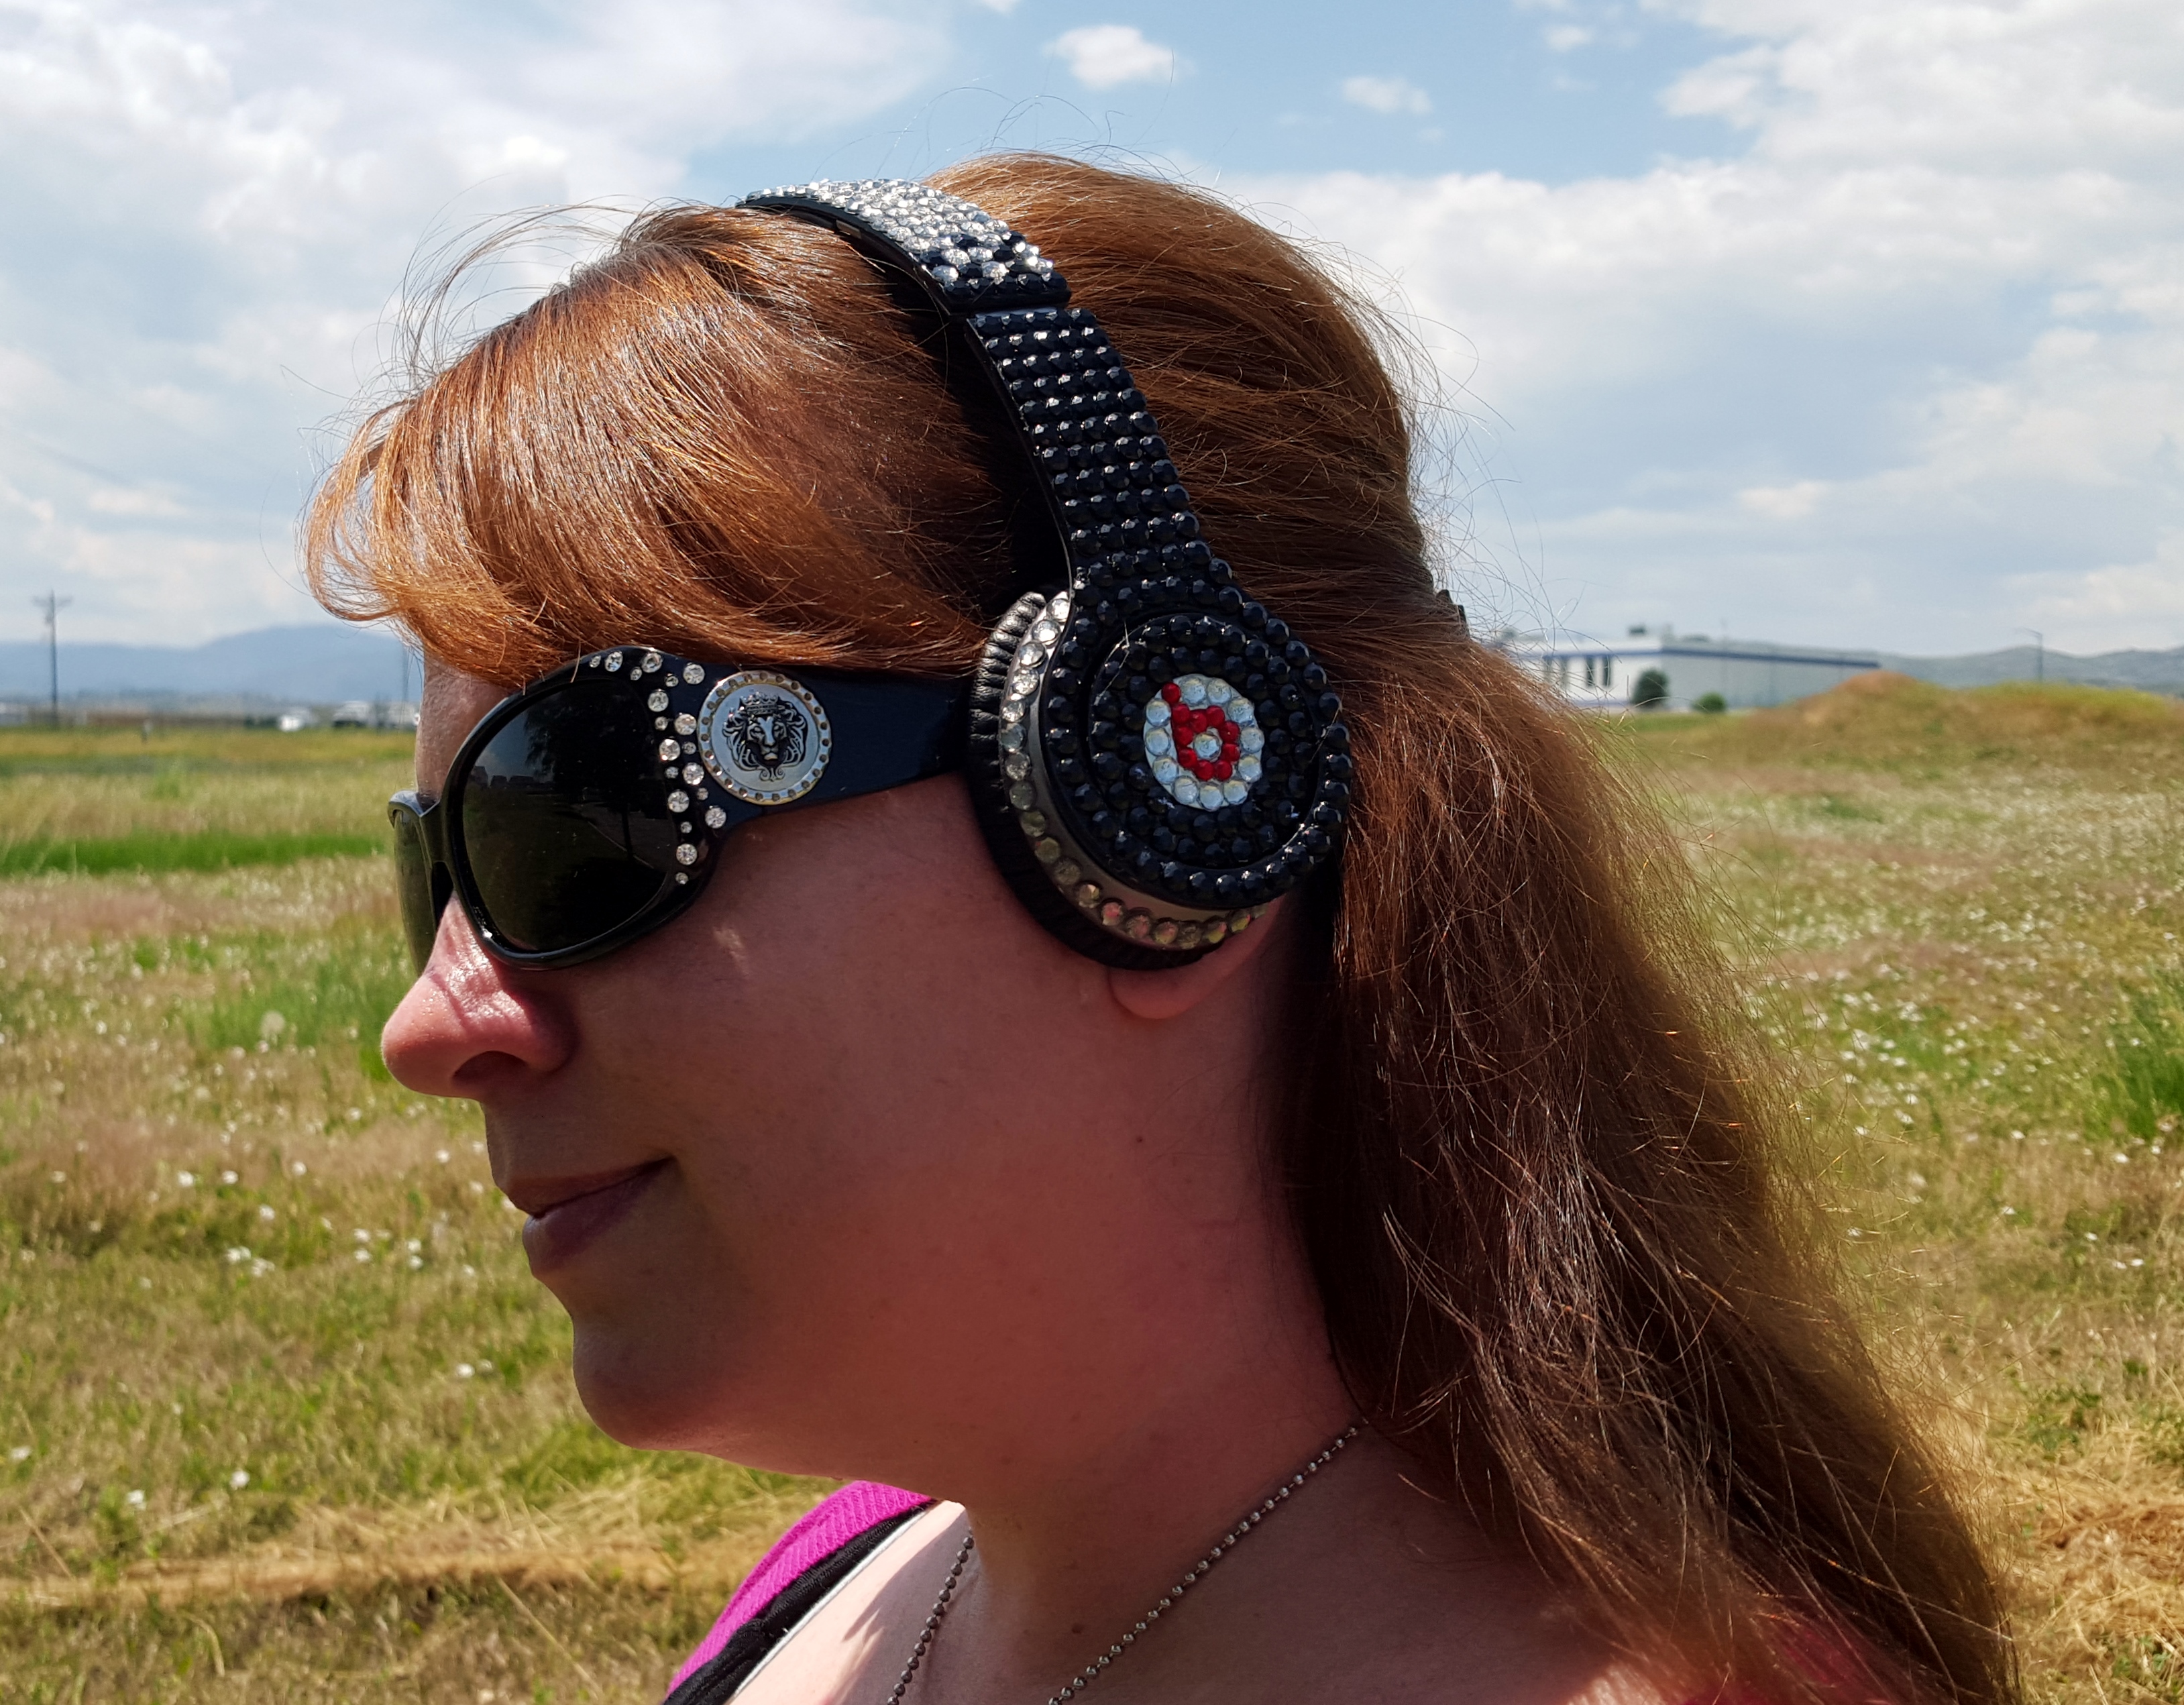
I am a firm believer that you can never have too much glitter and rhinestones! That being said, I thought I would fix my boring Beats headphones by adding rhinestones. Now they are acceptable to wear out in public 🙂 (You can see that even my sunglasses have rhinestones on them.)20150630_131118

A few weekends ago I went to Estes Park, CO with a few of my girlfriends. If you have never been there, you are missing out, it is one of the most beautiful towns in Colorado. During our girls weekend in between laughing, taking naps, visiting, watching movies, and catching up we spend our time doing crafts. Some scrapbook, some crochet and other just do general crafts. this year I decided to make my headphones sparkle. This is very easy to do, you just have to have patience.

All you need for materials are:

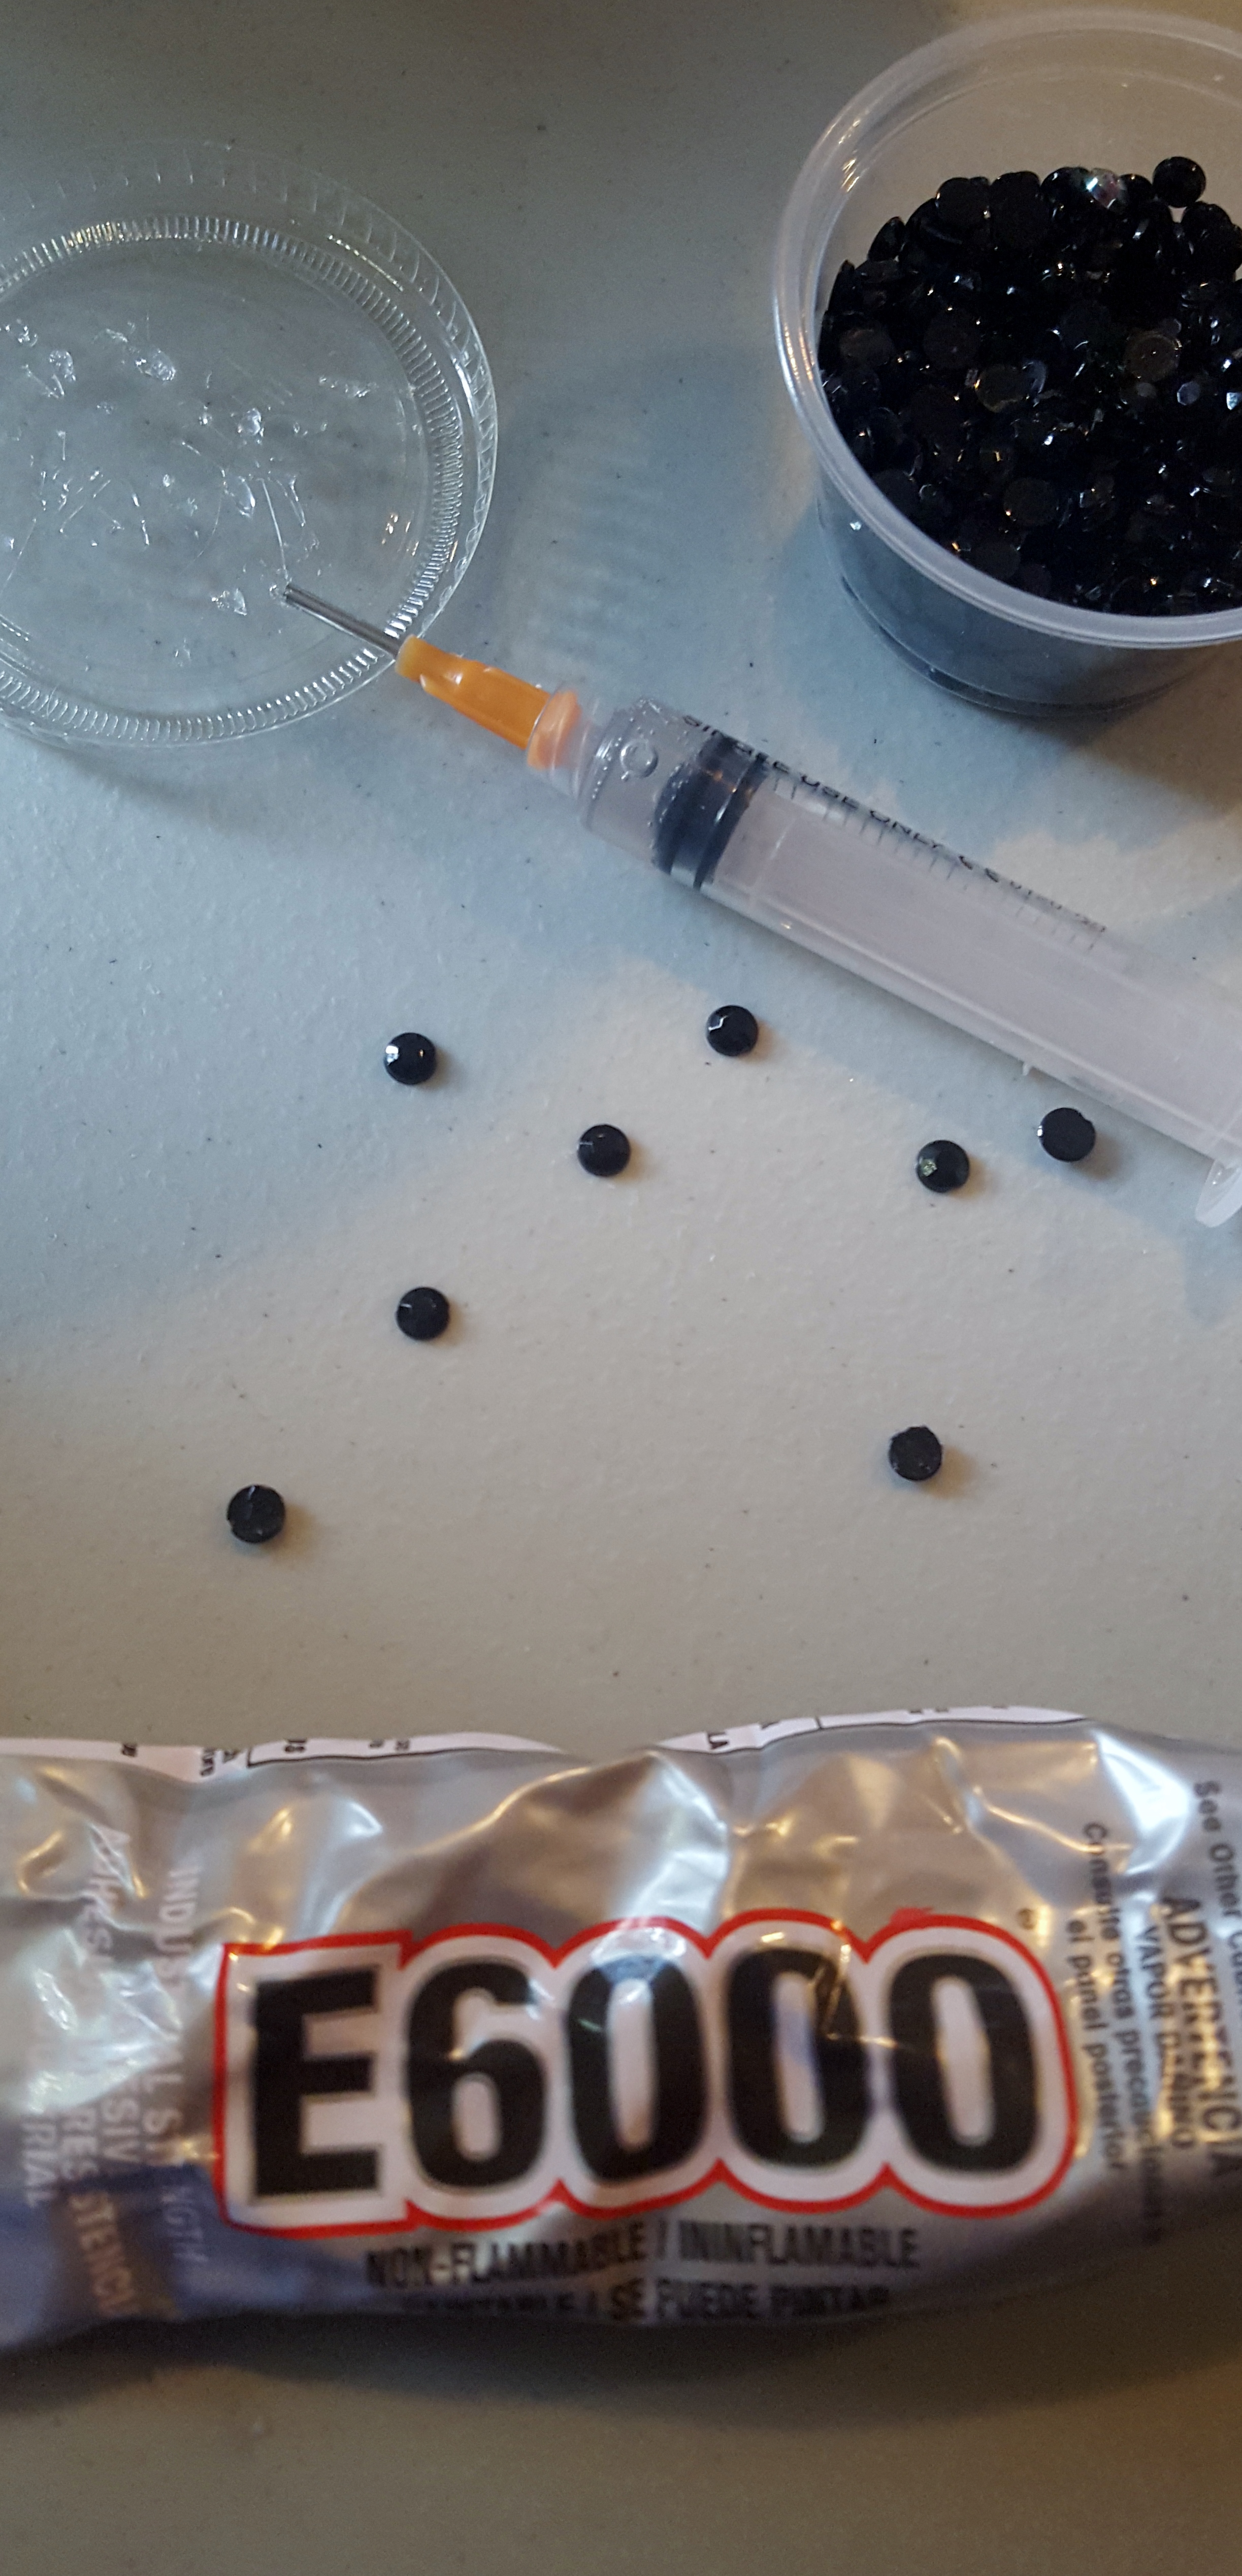
  1. Rhinestones. I used 5mm rhinestones purchased from Amazon
  2. E6000 (any glue that stick to plastic will work)
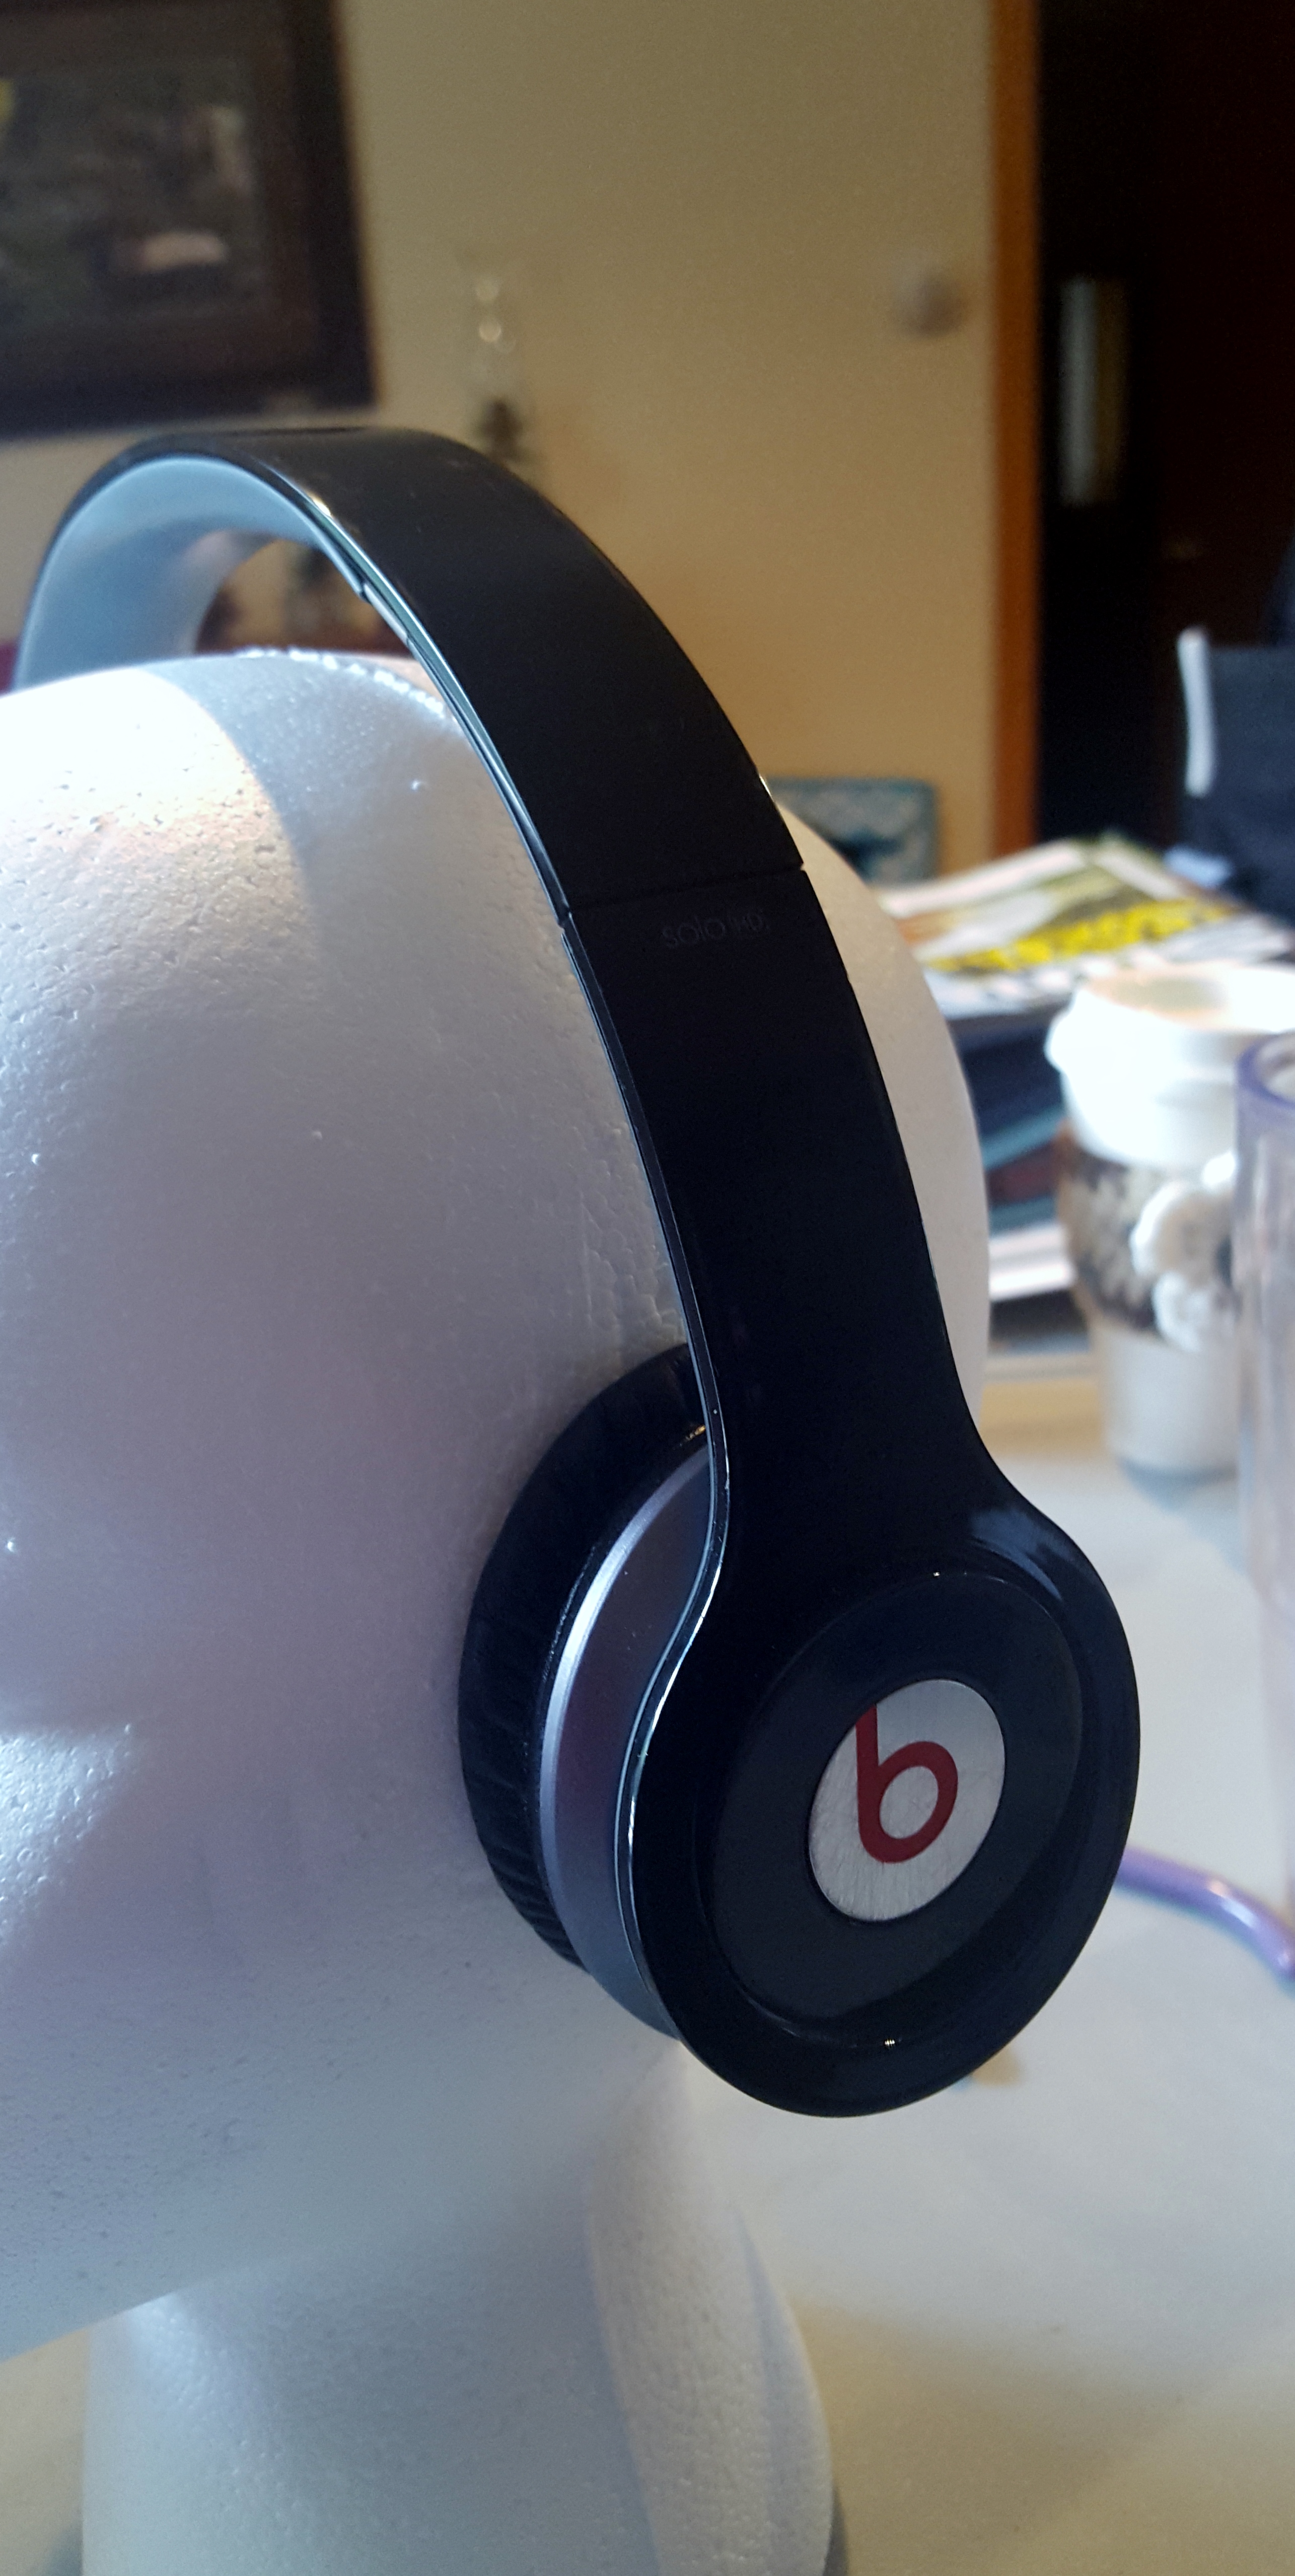
  3. headphones
  4. Sandpaper
  5. Syringe to help apply the glue. I purchased mine from Amazon
  6. Styrofoam head to help hold the headphone. This is not necessary, but I finds that is helps.
  7. Wax stick for picking up the rhinestones. I purchased mine from Amazon

Steps:

  1. Lightly sand the headphone. This is just to rough up the surface do that the glue will adhere better
  2. Clean the headphones. This is get all the dust off and get them ready for gluing.
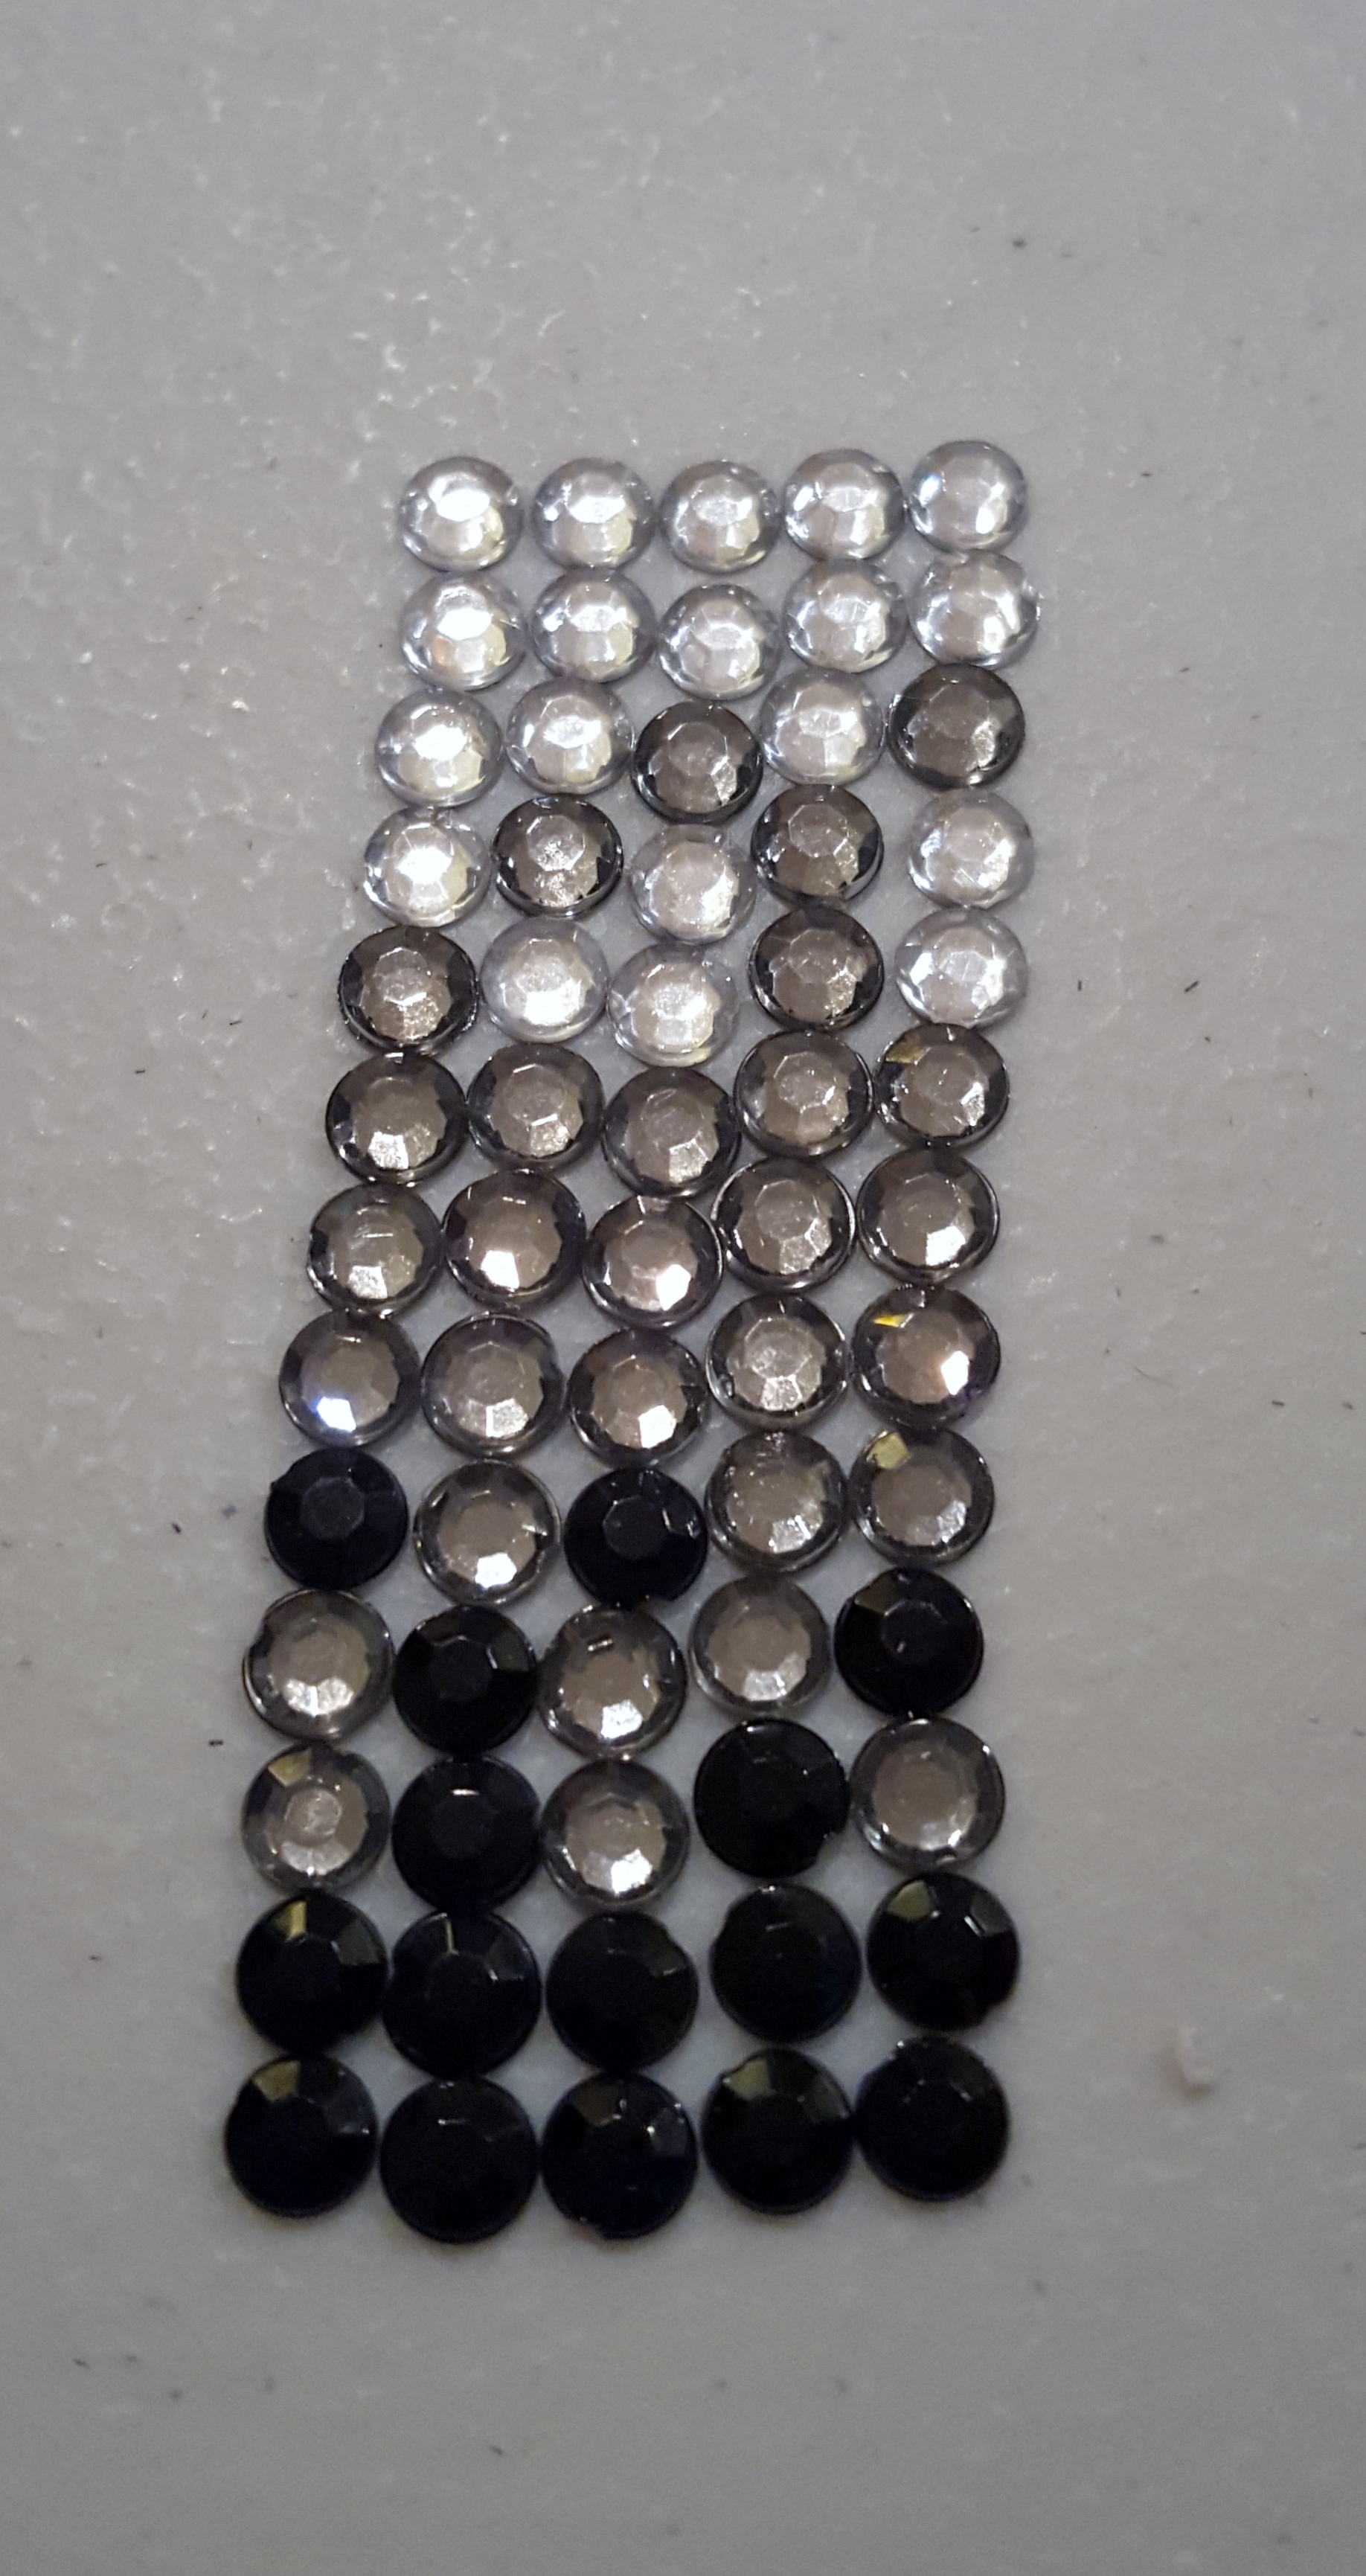
  3. Lay out your pattern. I decided on a ombre look, but do what makes you happy. You can’t see it too well in the photos, but I promise is ombre and it looks pretty cool, if I do say so 😉

    20150619_212833

    My ombre pattern

    4. Put your headphones on the Styrofoam head and get ready for gluing!

20150619_161909

5. Start gluing! I found these terrific syringes that really help with the application of the glue. All you do is put some glue in the syringe and then you put a few dots of glue on the headphones.Take your wax applicator to pick up the rhinestone and place it in the glue. Easy as that.

20150619_161936

6. Keep going until you are done. Let it dry over night then you are ready to rock out to your new headphones!

20150620_153816

20150619_161915

20150630_131047

20150630_131125

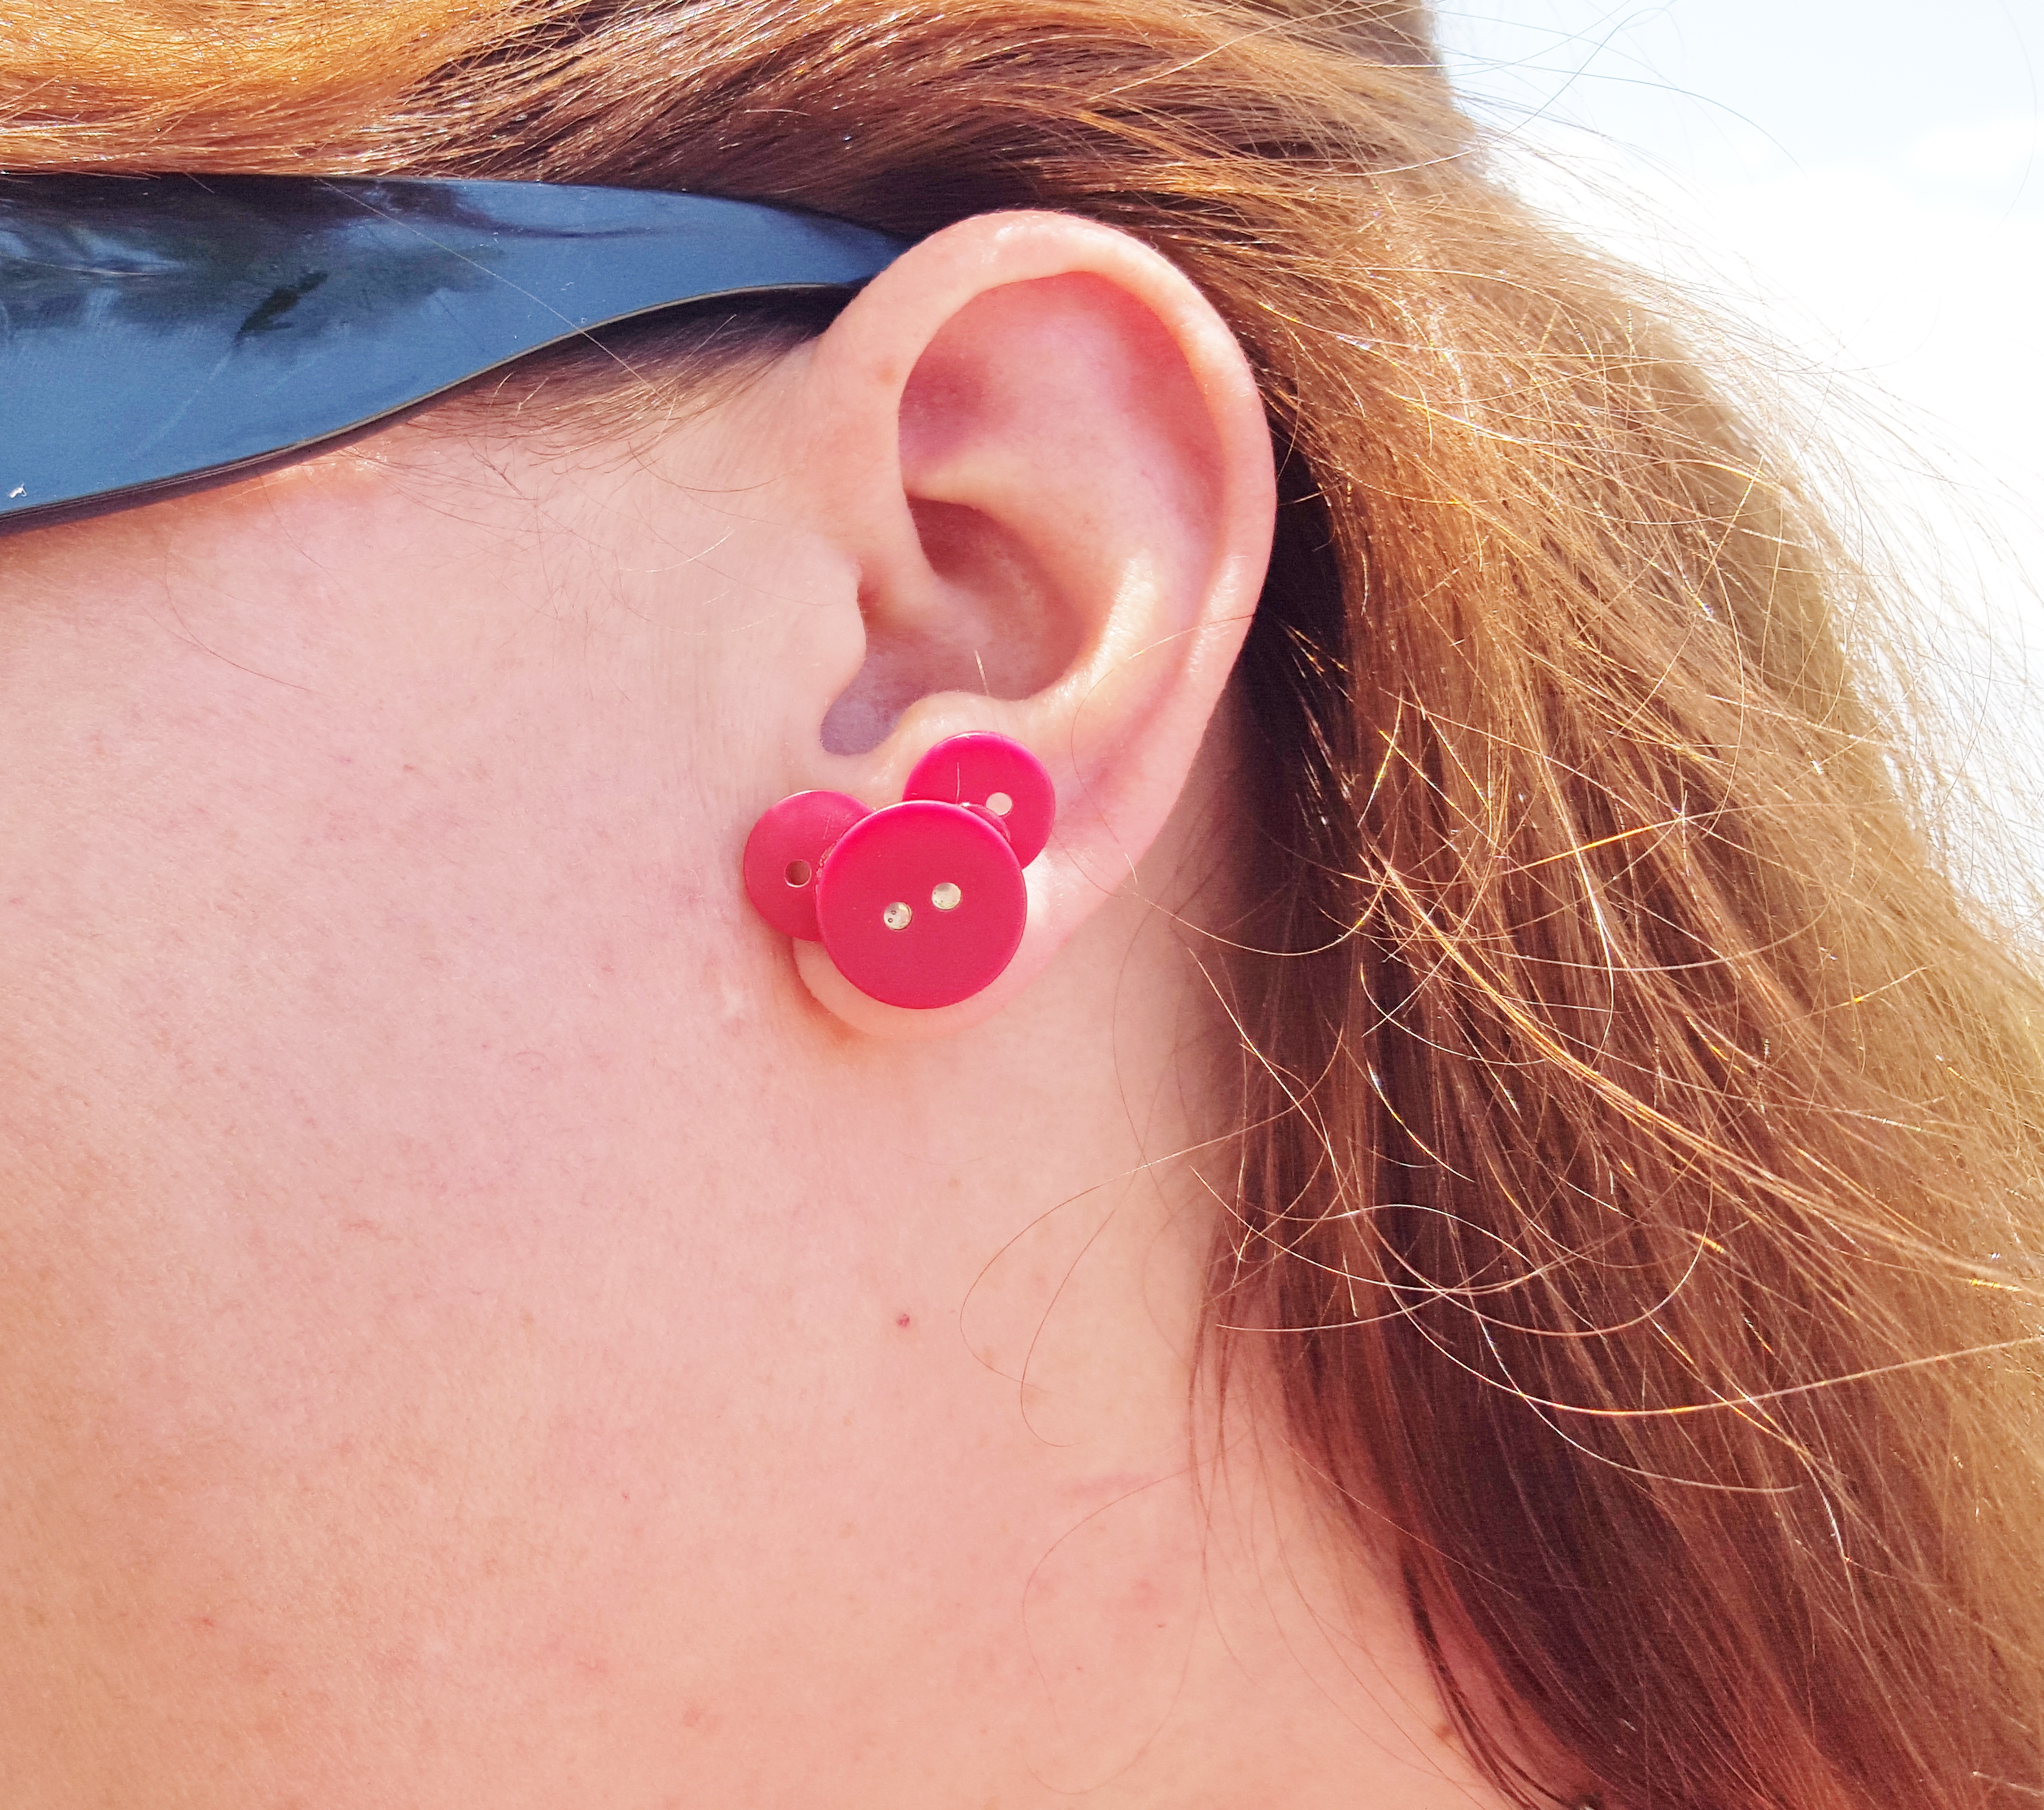
Easy DIY Mickey Button Earrings!

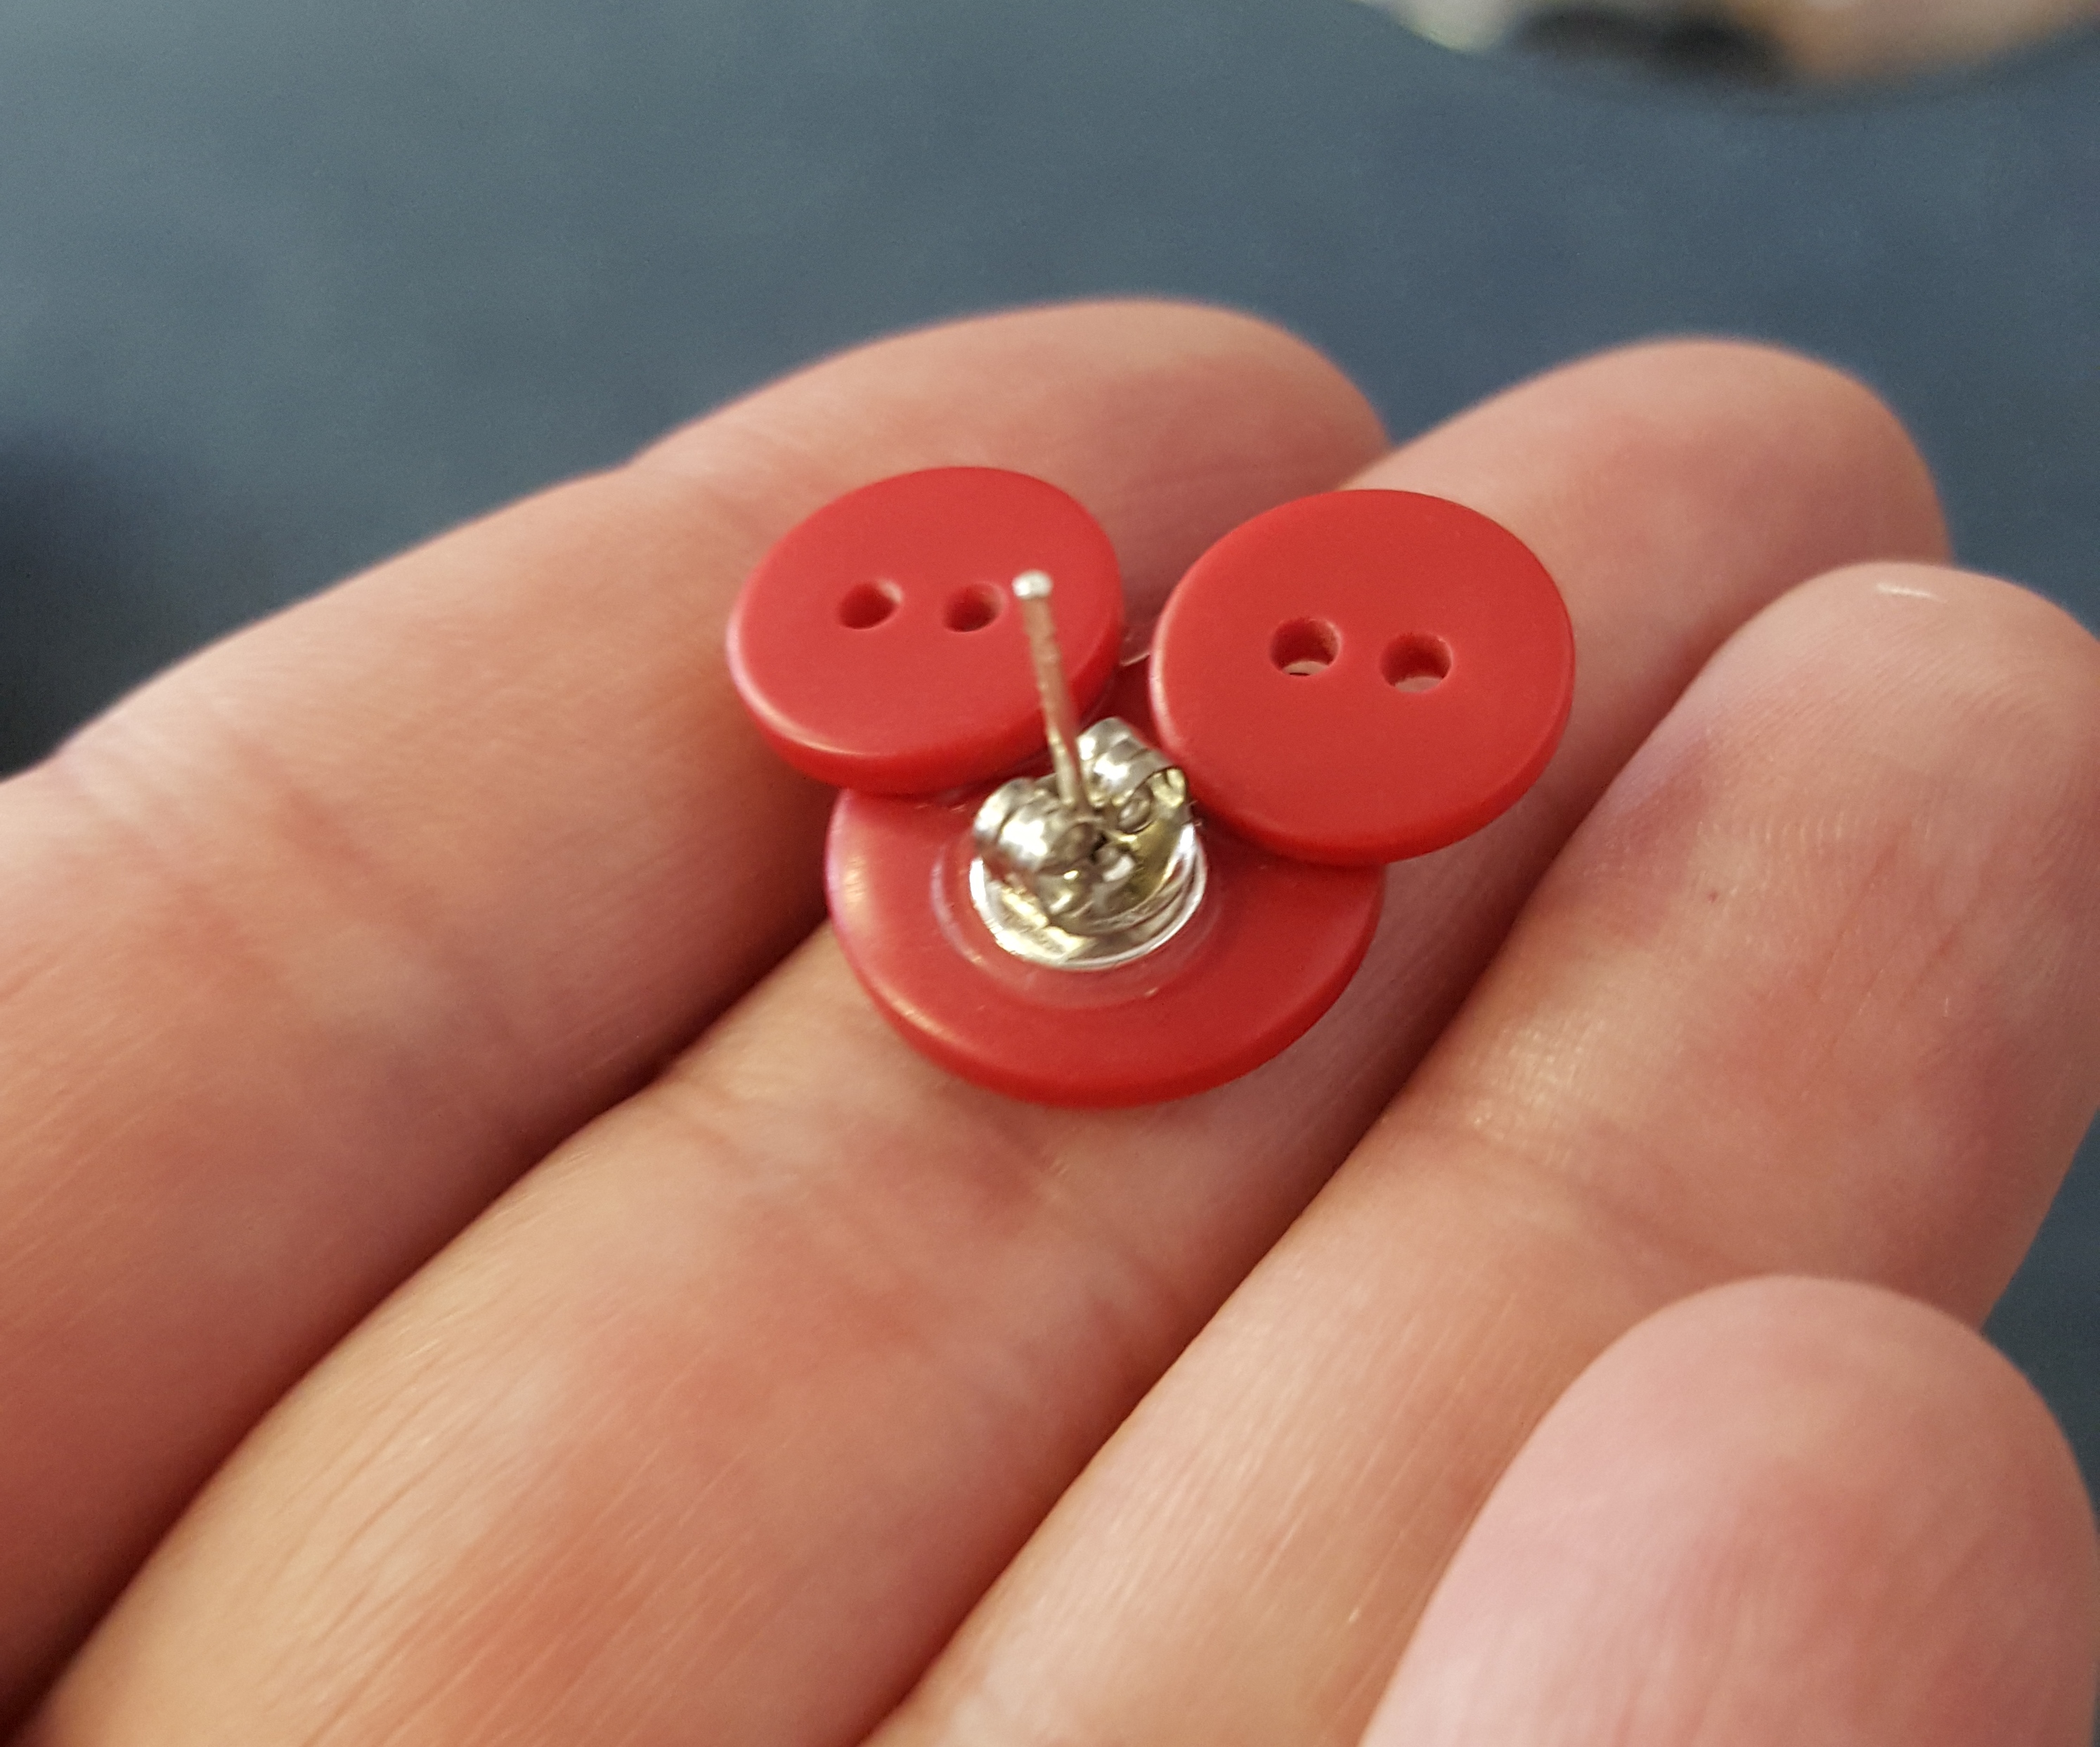
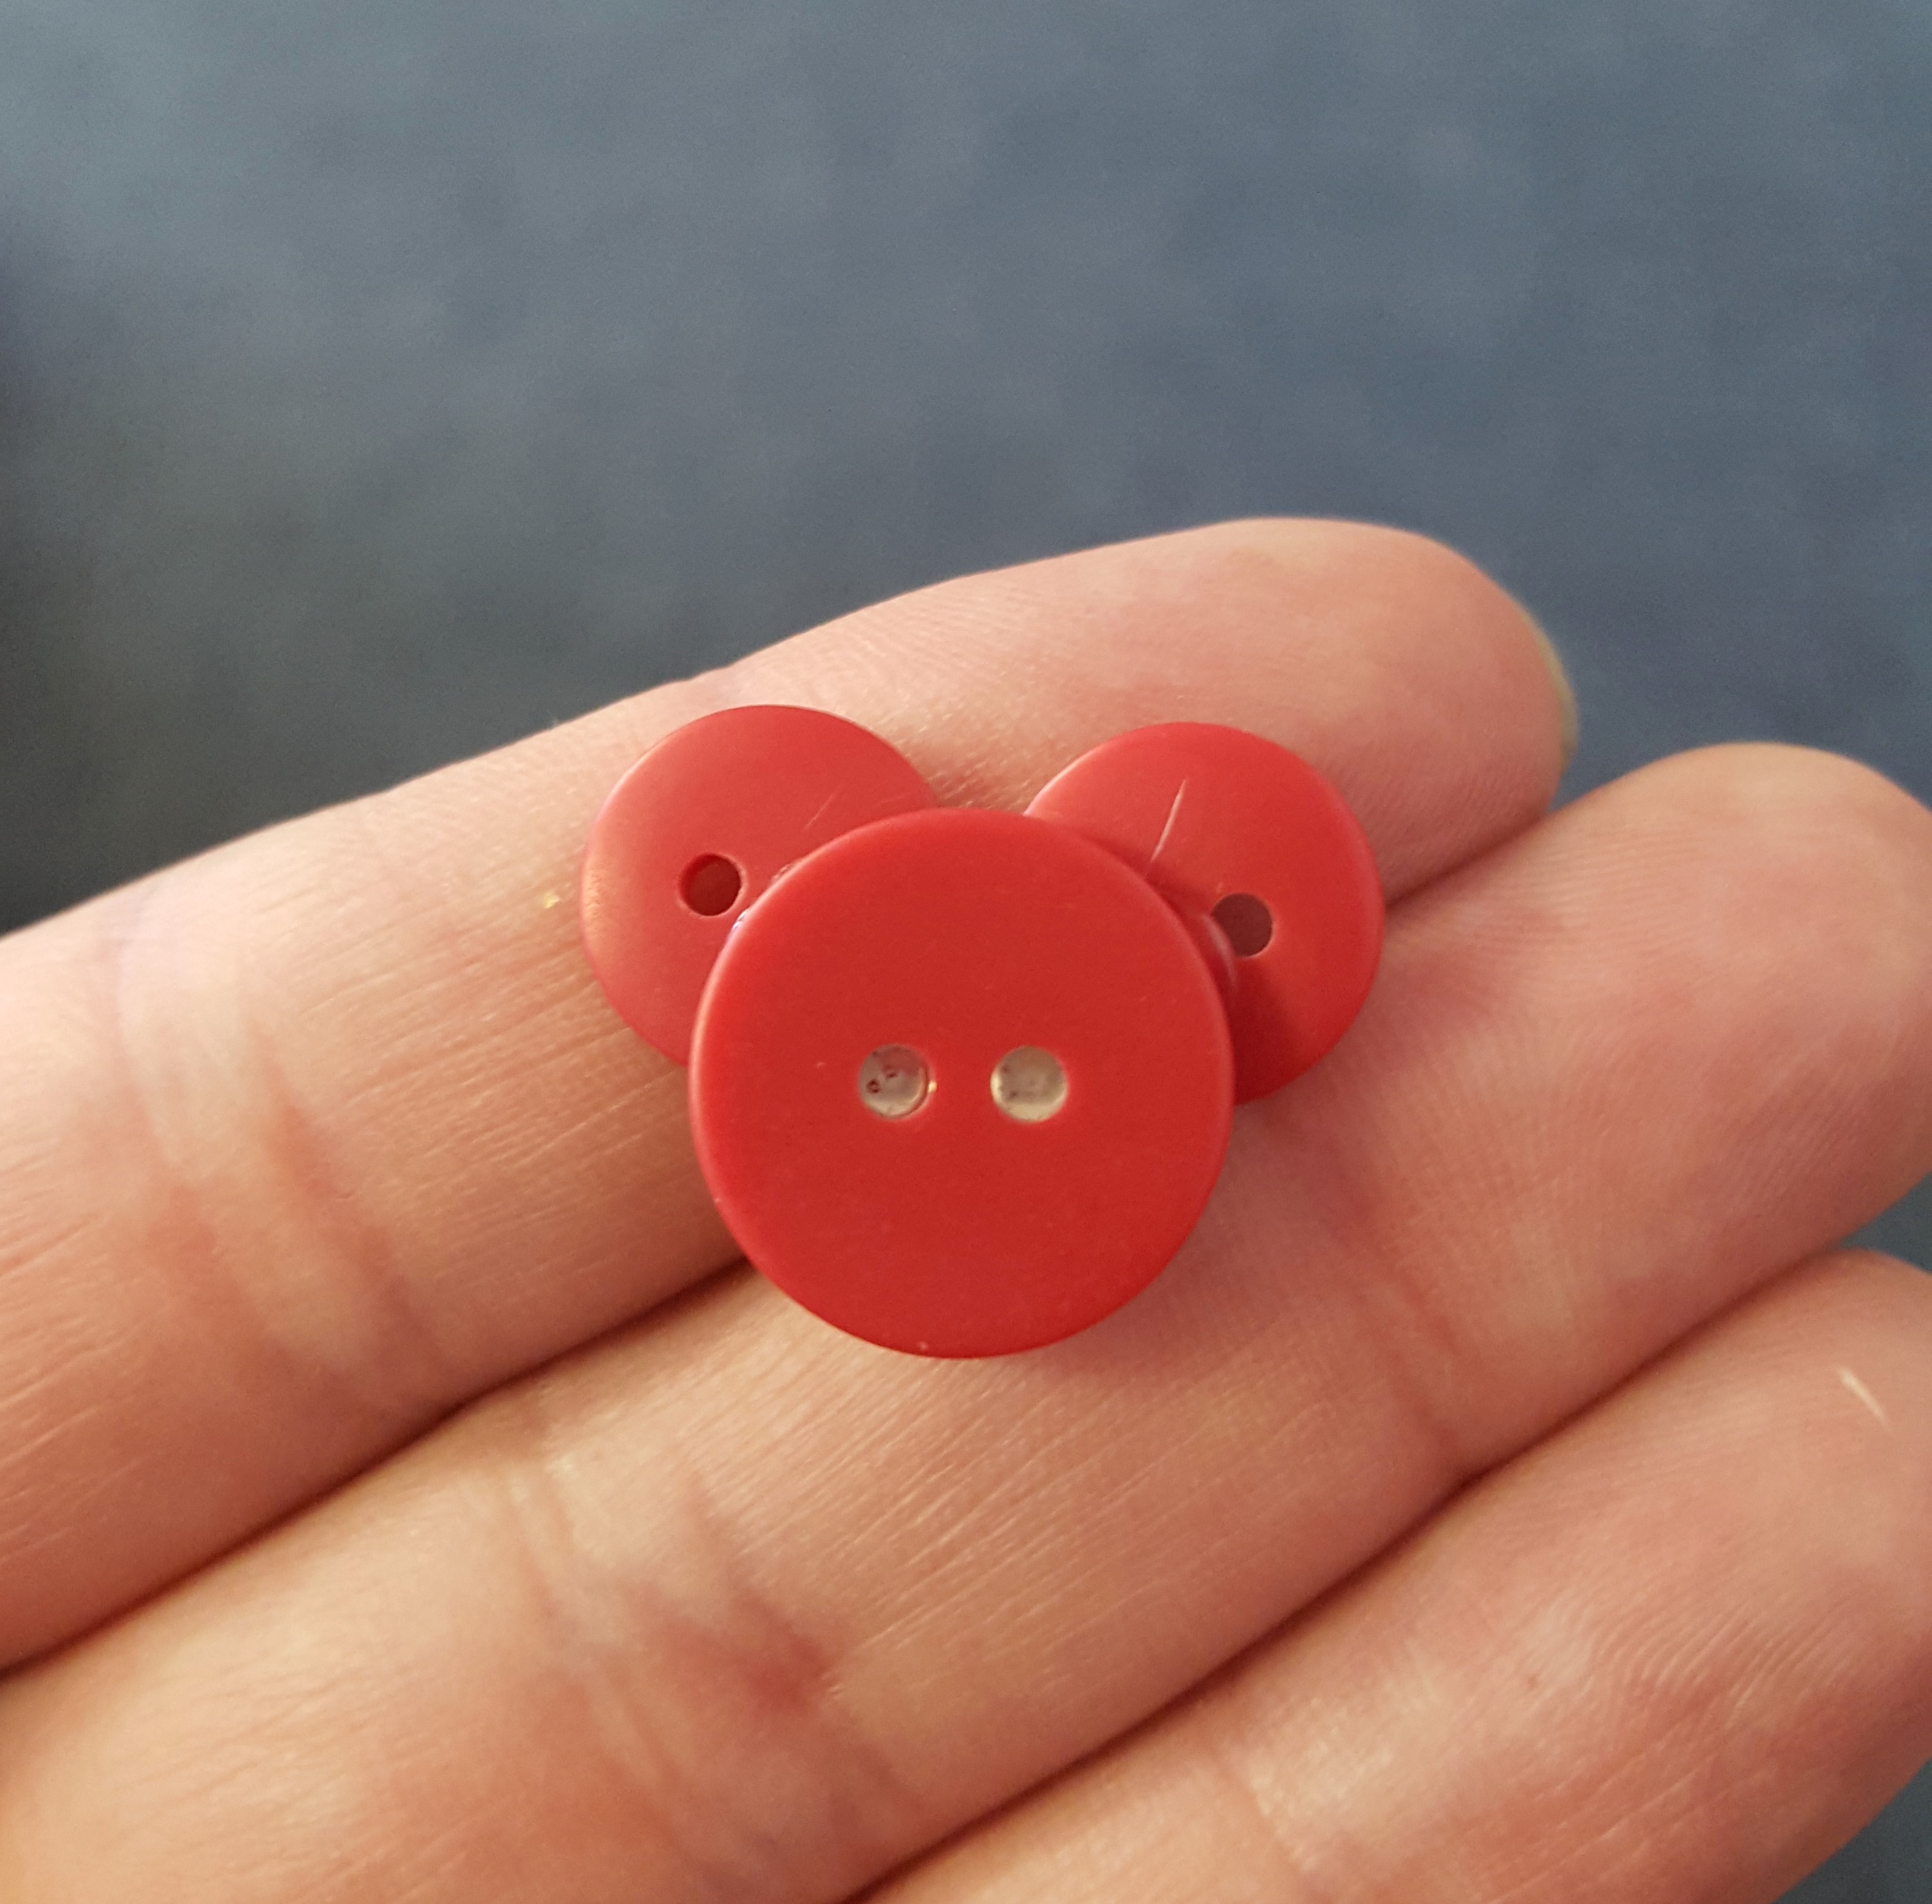
20150630_130943These are super simple, and are easy enough to make a bunch or have your kiddos help.

So simple to make

Materials:

2 larger buttons

4 smaller coordinating buttons

earring backs

hot glue

20150630_131343 20150630_131335

All you do is find some buttons that go together and glue them in a Mickey shape. (This is my favorite part, I love digging through buttons. It reminds me of when I was a little girl, my mom was always sewing something for us and we were always digging through her buttons)

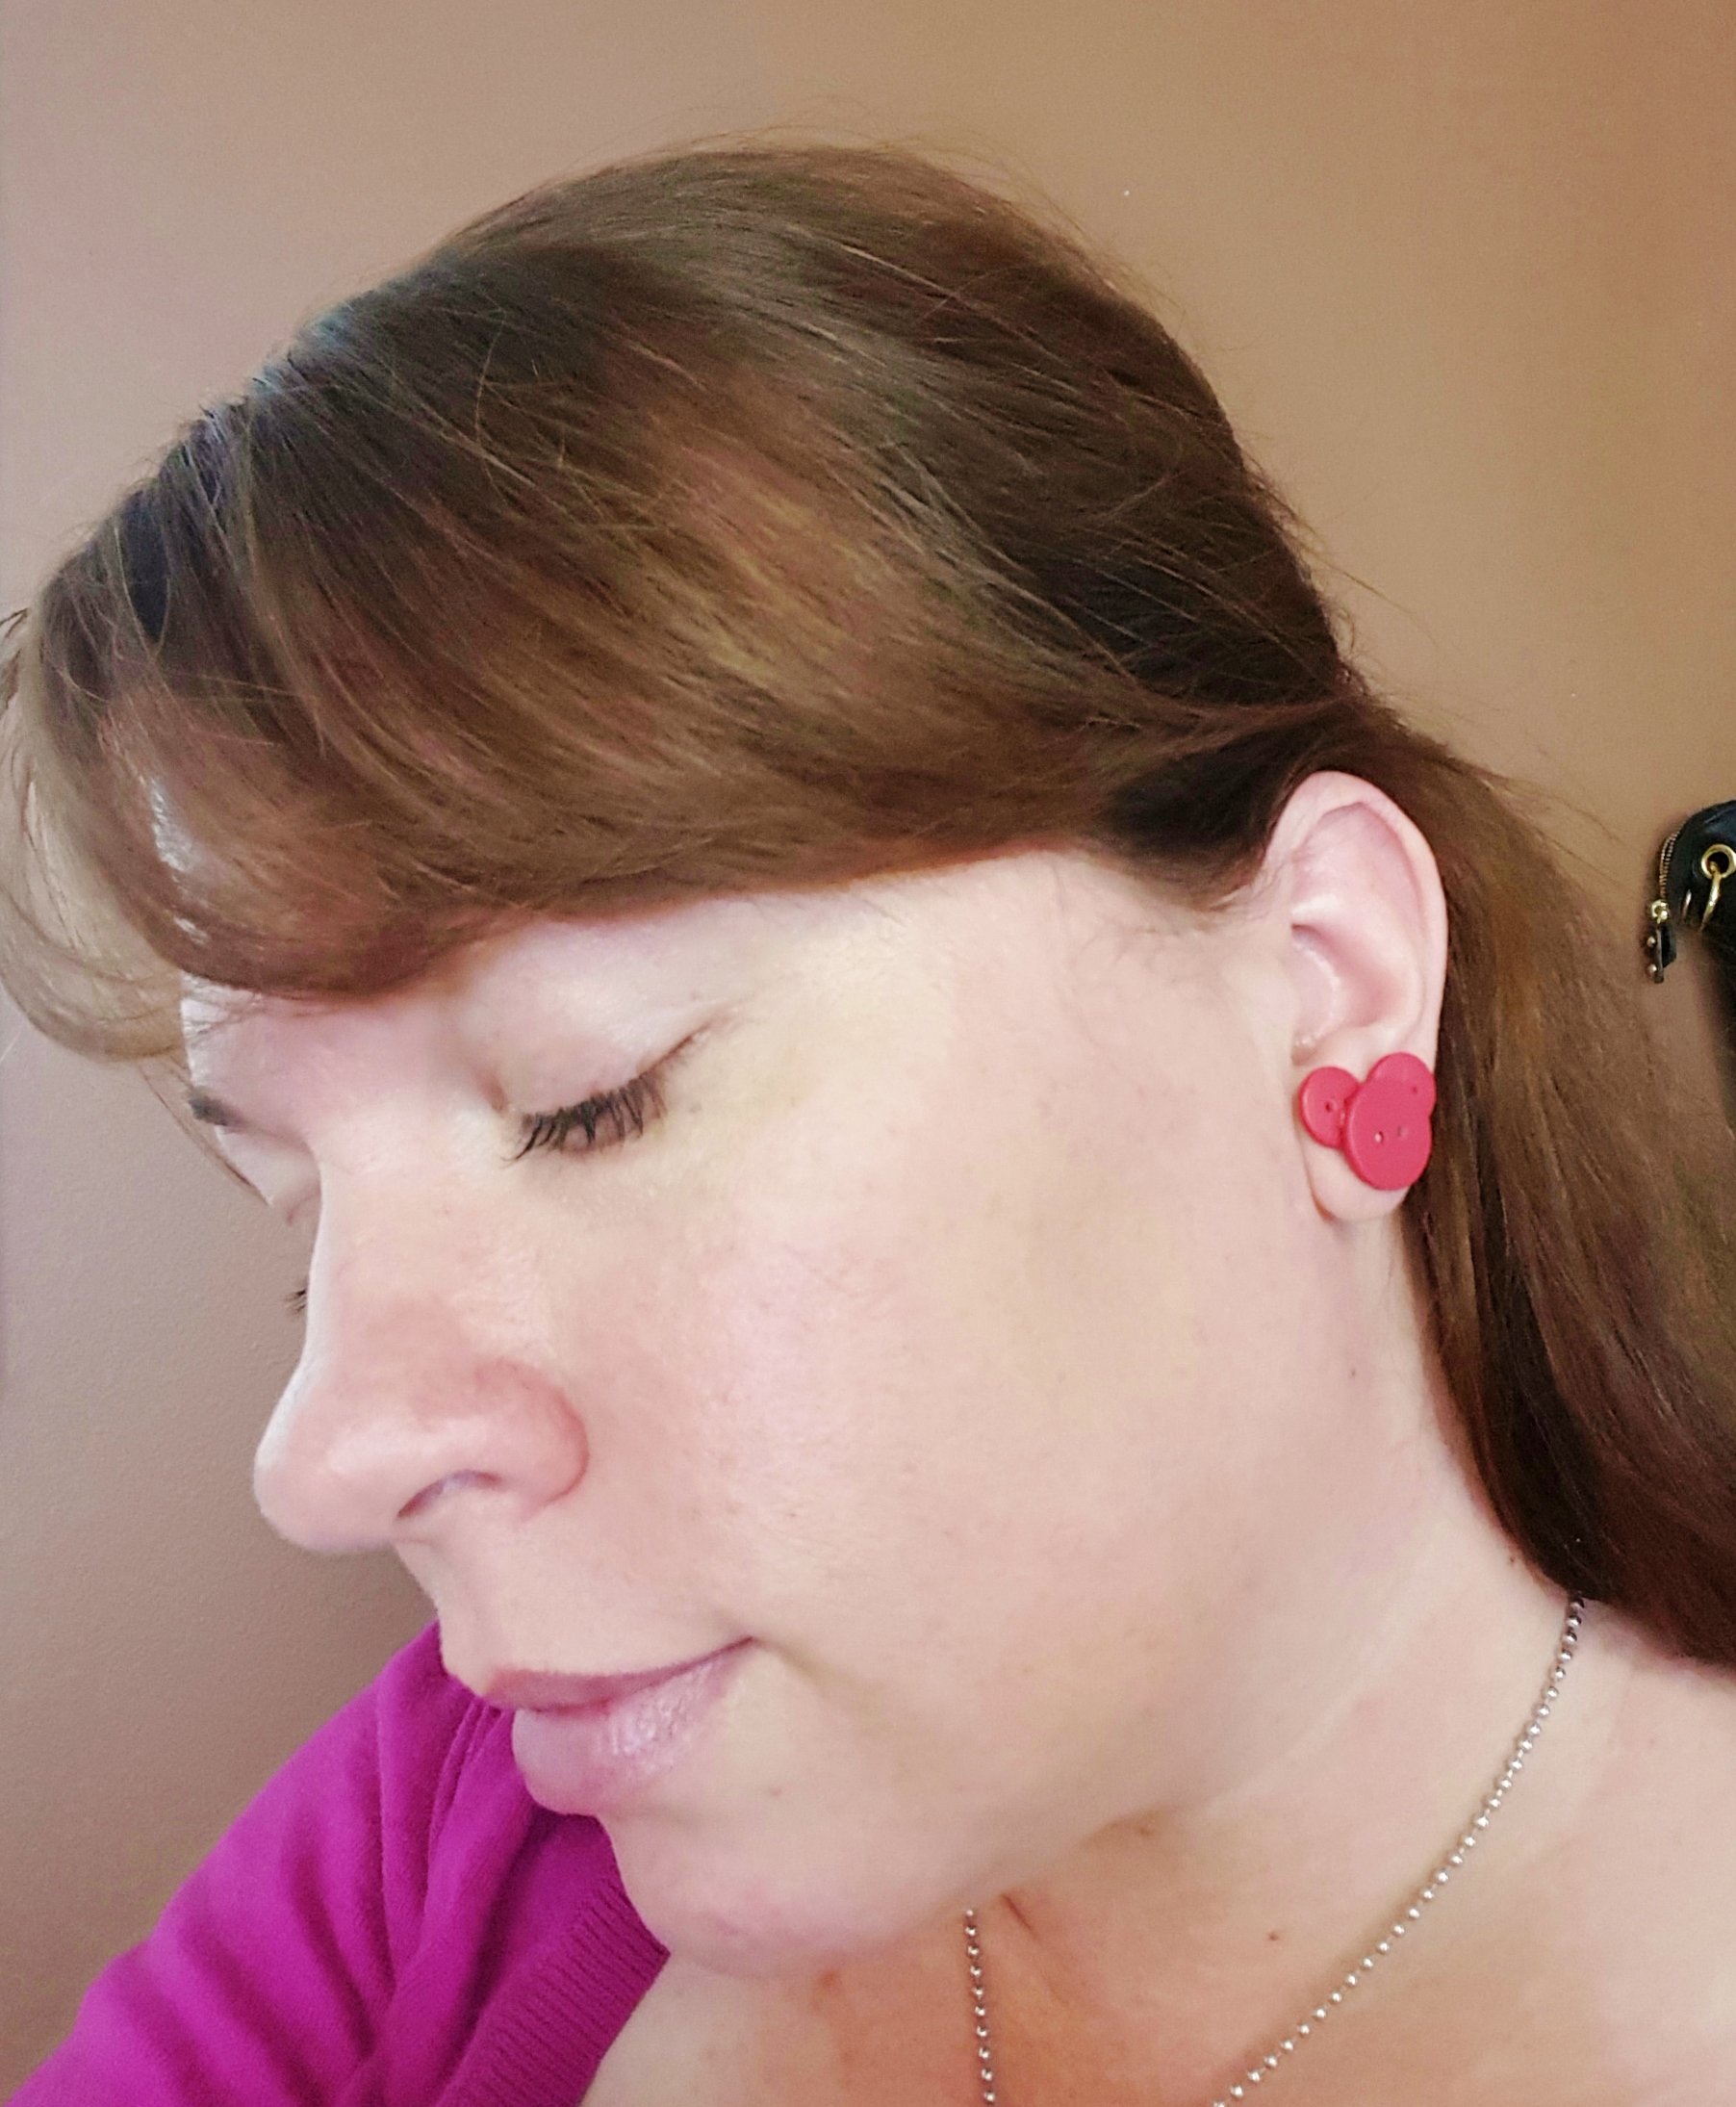
Then glue it on an earring back. Wear them with pride!

See easy, right

I think I will need to make more in all the colors of the rainbow and make a bigger one for a necklace.

2015-06-30 12.41.59

Disney Bottle cap Jewelry

I love going to Disney, I think I have mentioned it once or twice:)

20150611_070727

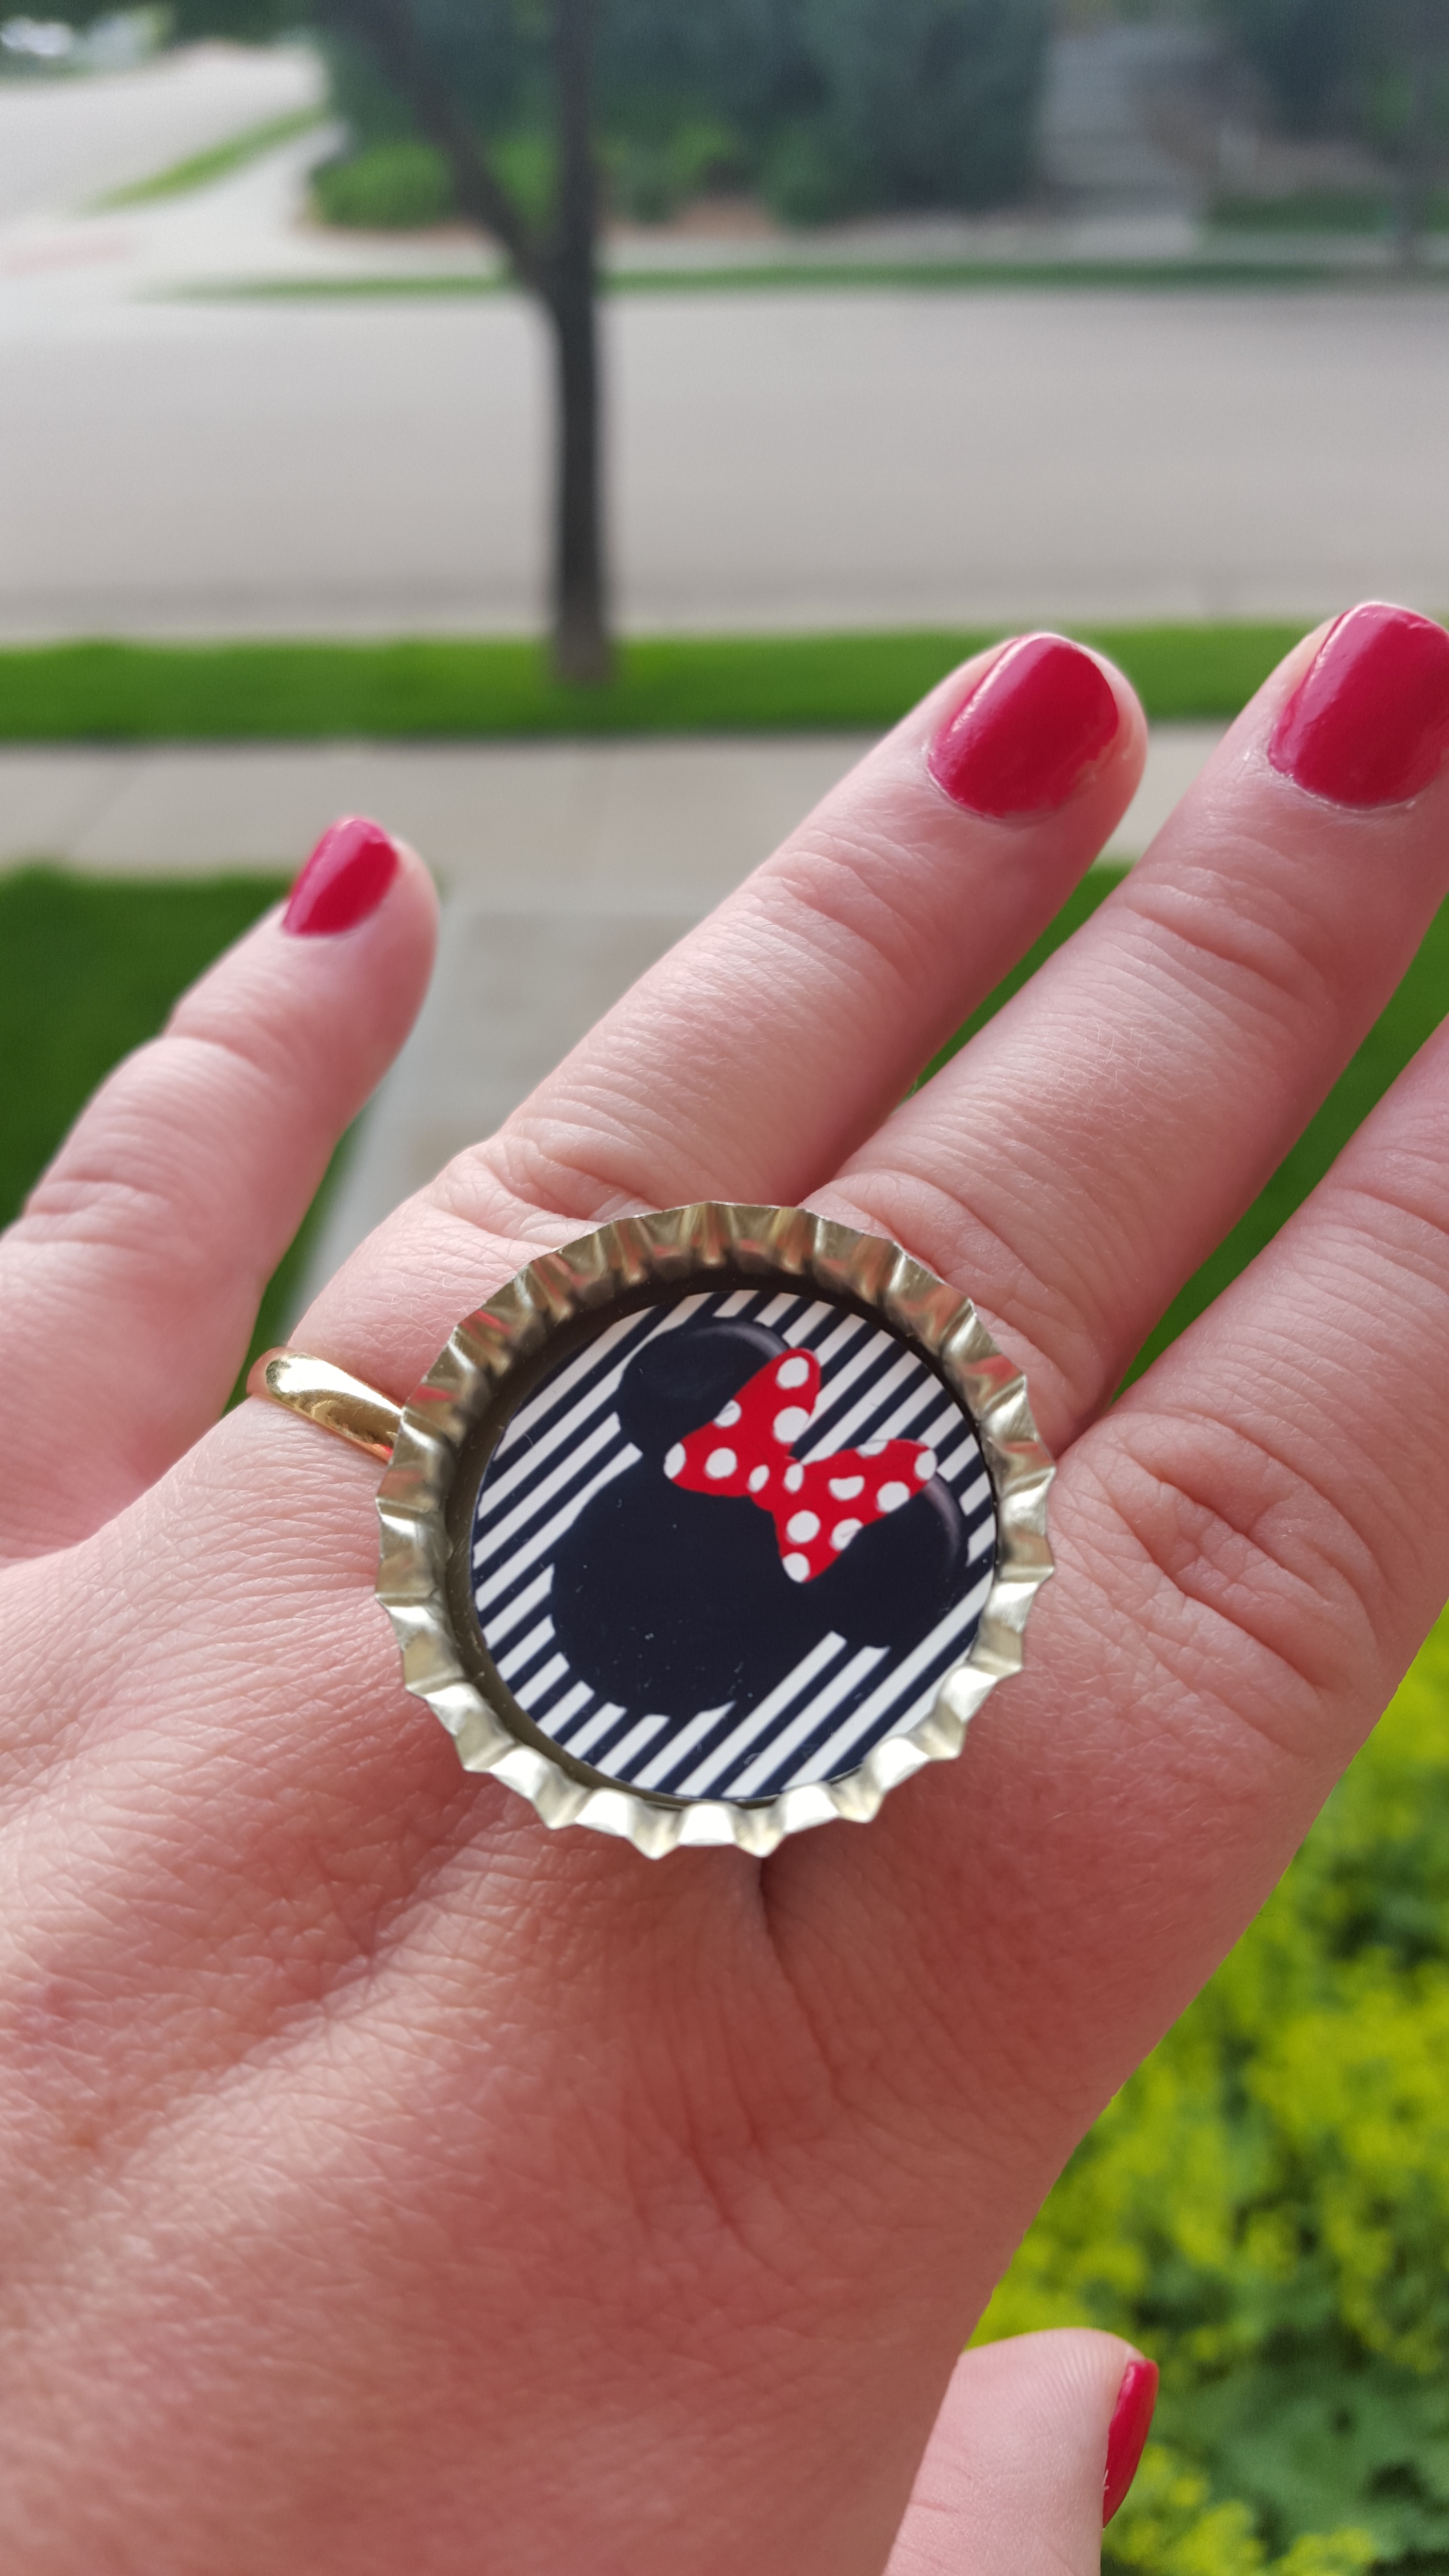
So every time I go I make new things to take with me. Well, we are headed to Disneyland in a few weeks so I decided I needed new jewelry. These are so easy to make.

Materials

Bottle caps (I found a bunch on Amazon)

Bottle caps prints (I just Googled for free images, but you can purchase some really cool images from Etsy). After I found my prints I just printed them up on my little photo printers so that the images were glossy. You can send them out to print or print them on you home printer. If you use regular paper in an ink jet printer I would coat the top with mod podge or some kind of sealer.

Circle punch about the same size as your image, or if you are steady you can free hand cut out the image

glue, I hot glued the image to the bottle cap and used e6000 to glue the cap to the jewelry. But you can use what works for you.

Directions:

This is so simple:

  1. print images
  2. cut out images
  3. glue to bottle cap
  4. coat image if needed (I didn’t with the photo paper)
  5. glue the bottle cap to your ring or
  6. punch hole in the top of the bottle cap and add a jump ring for a necklace or add a hook earring for earrings or glue a pin back on for a pin. The options are endless!

That is it, pretty easy right? Now you have really cool custom jewelry to wear at Disney, or all the time.

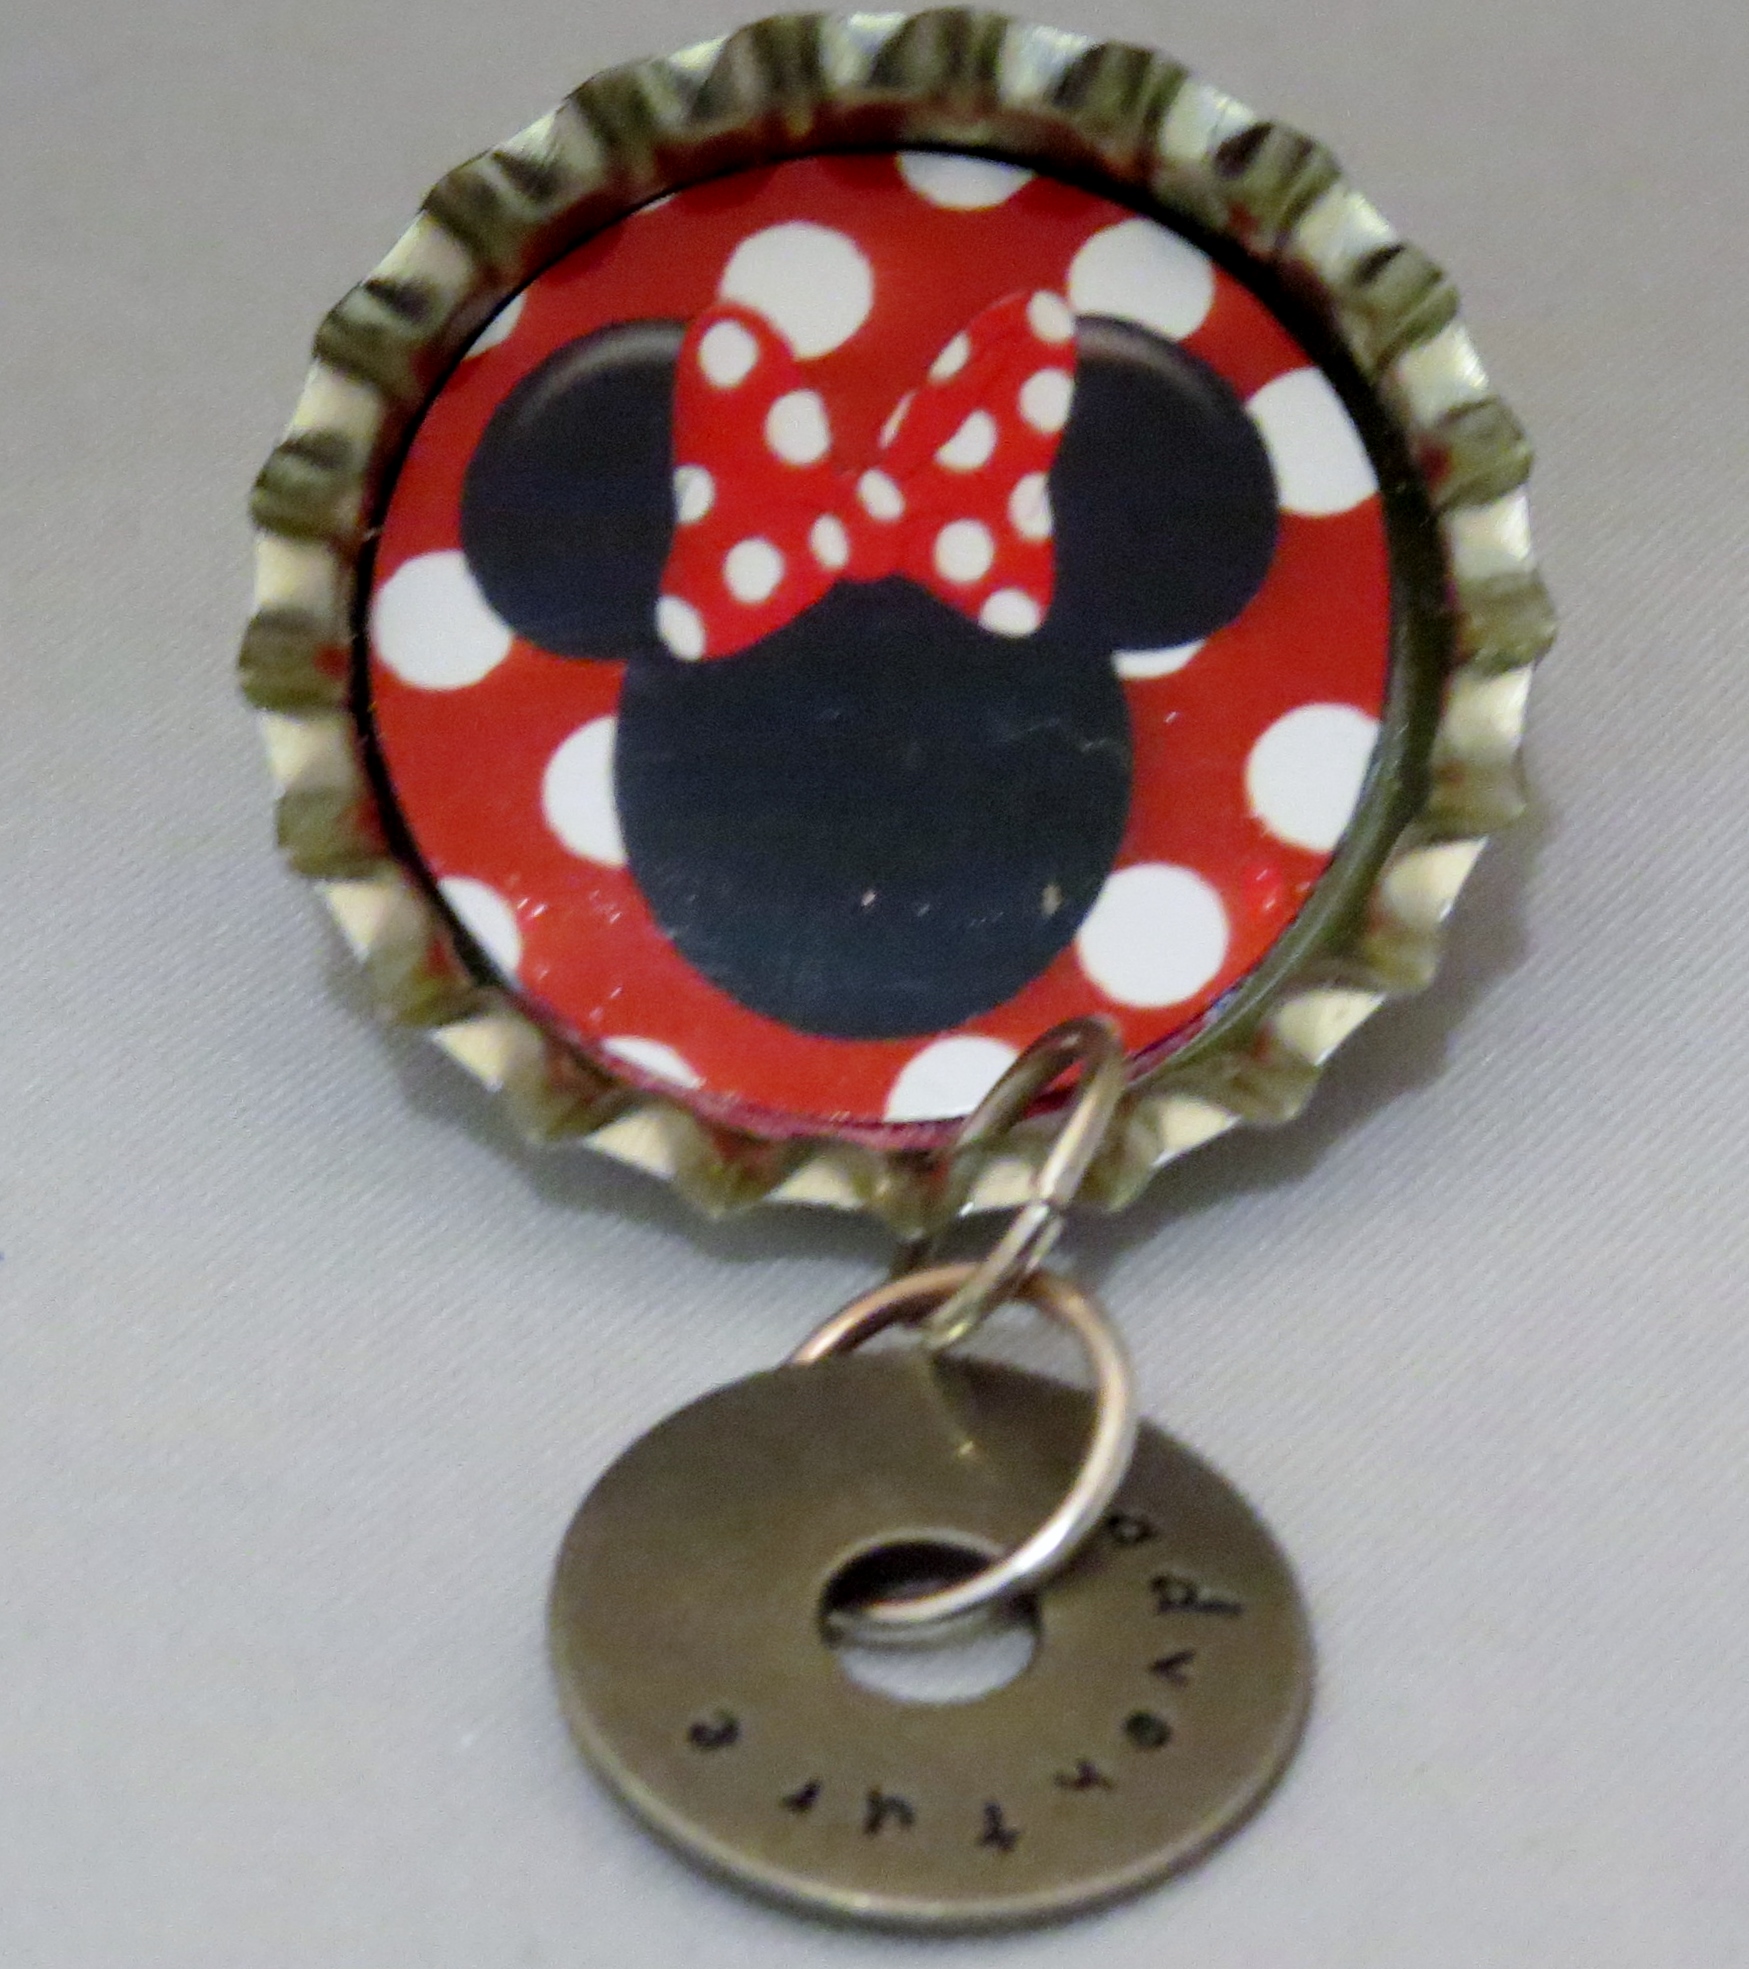
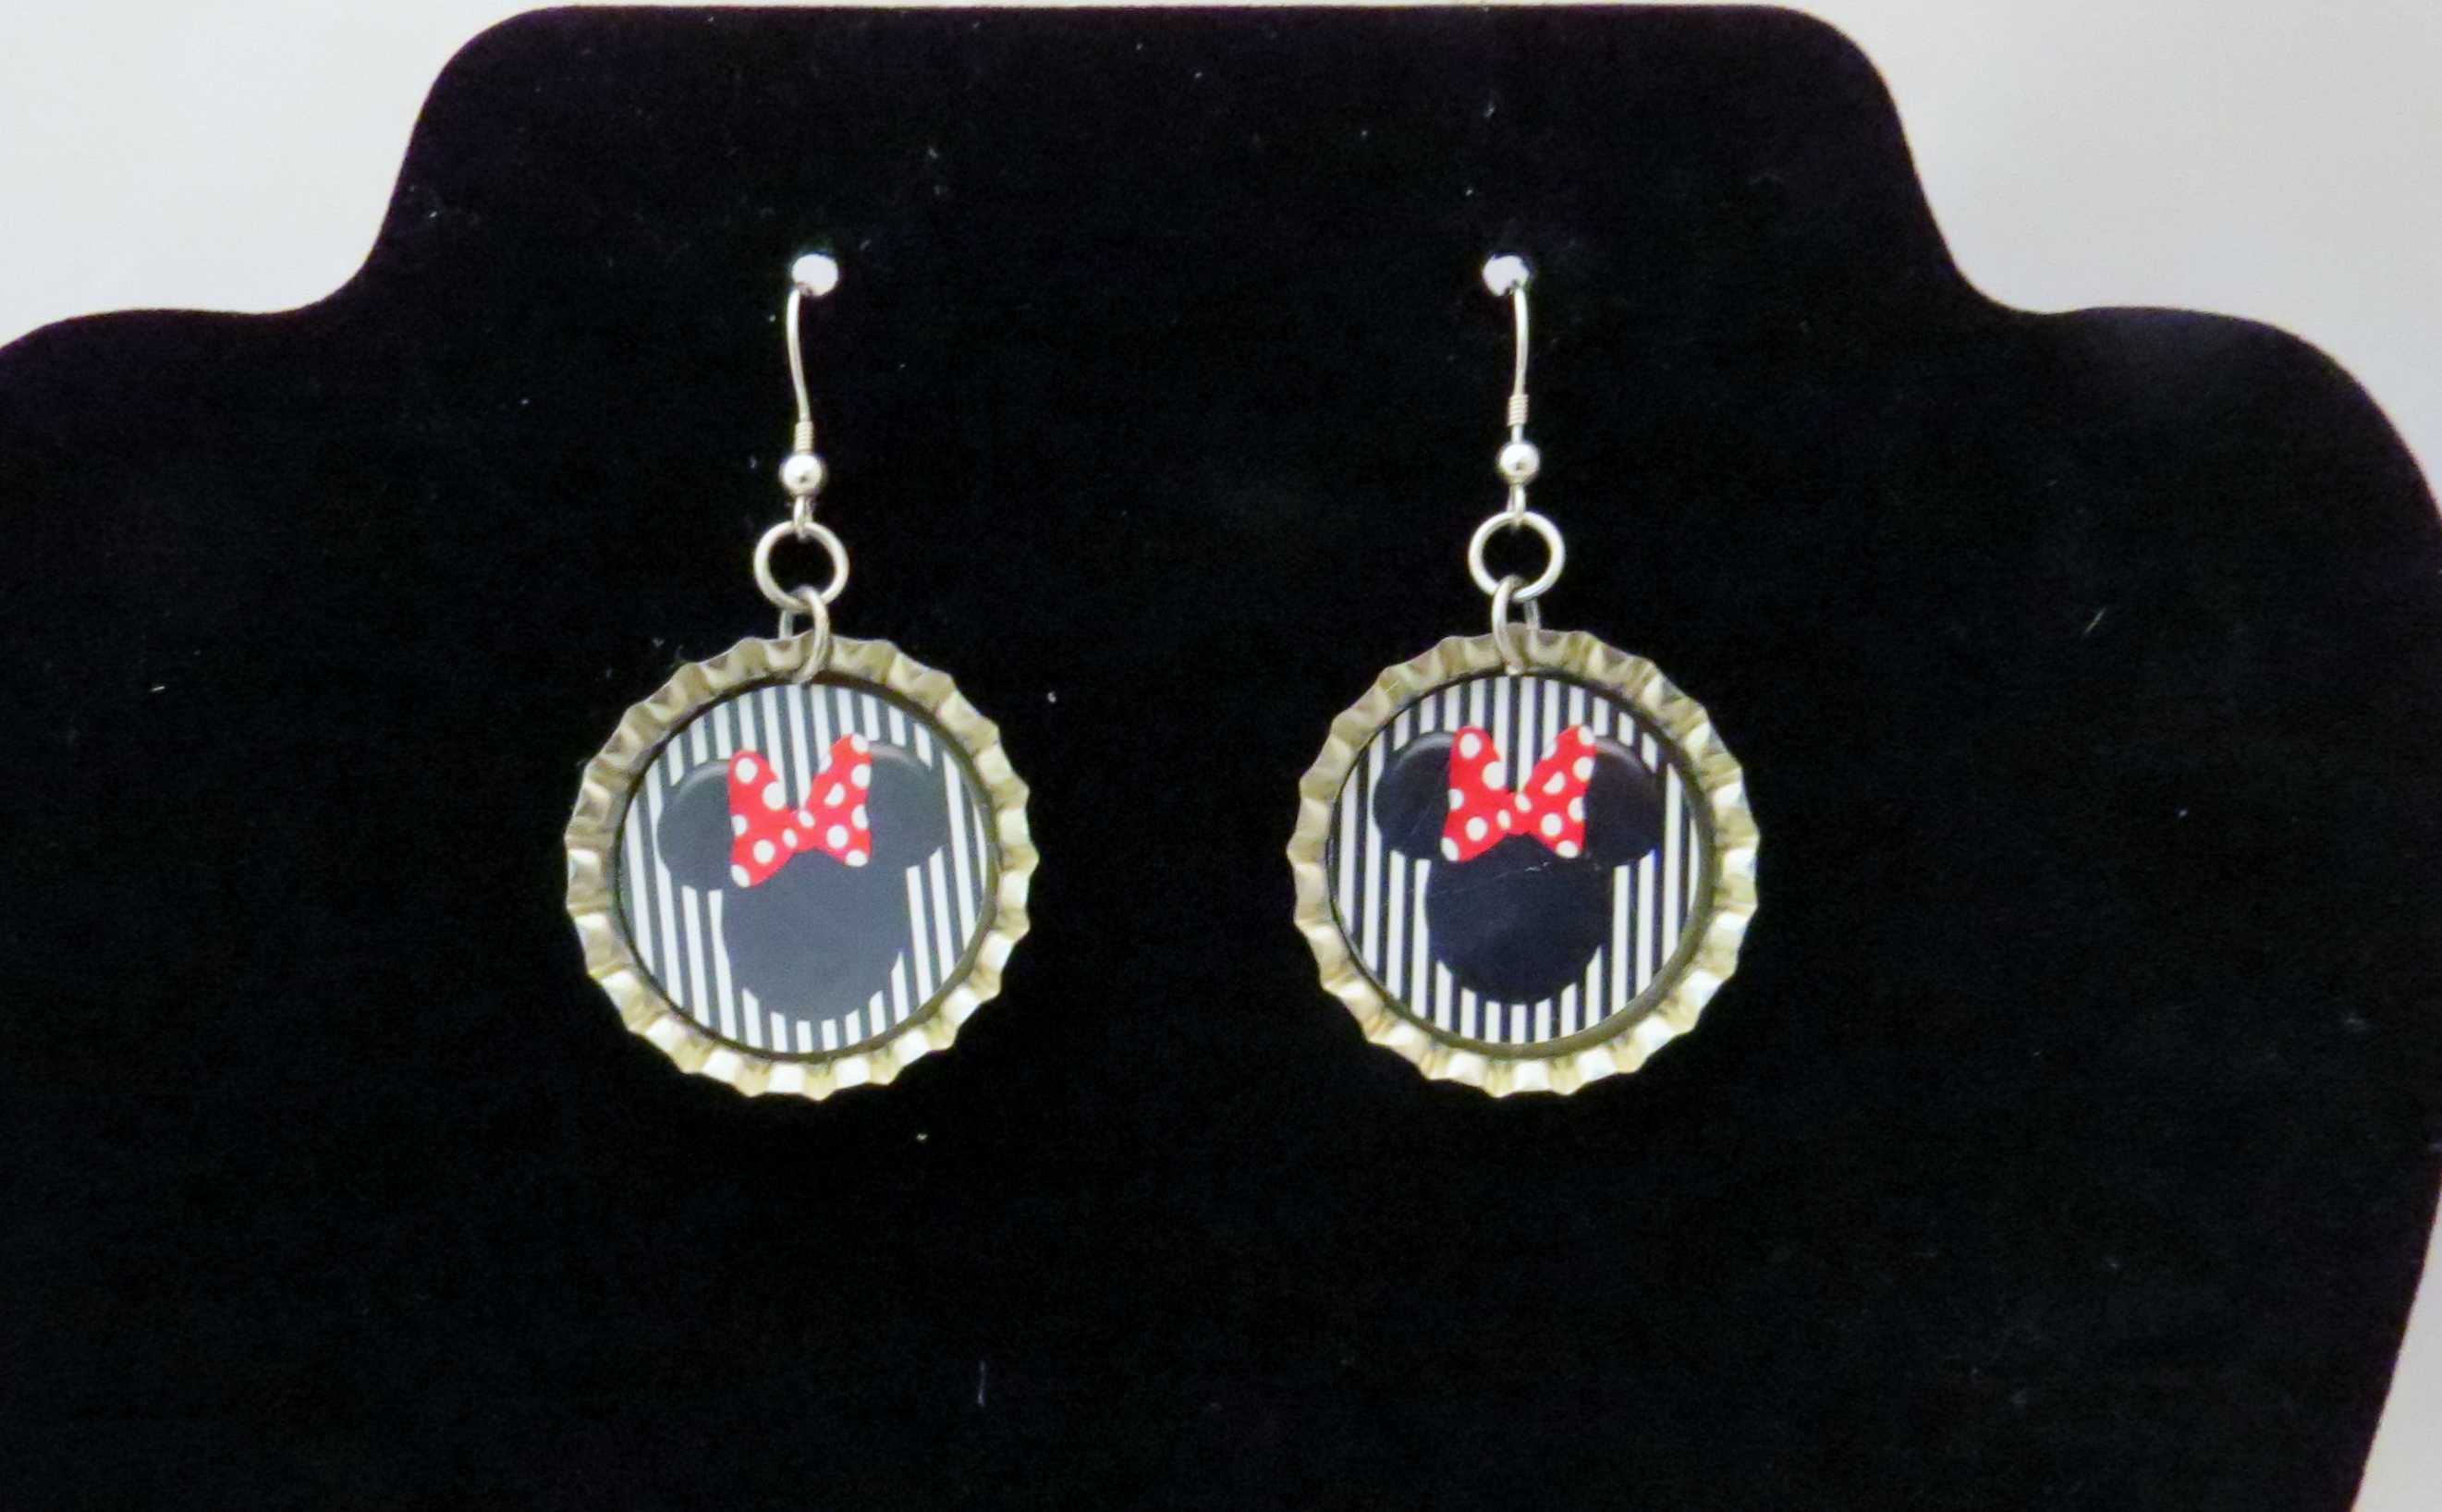
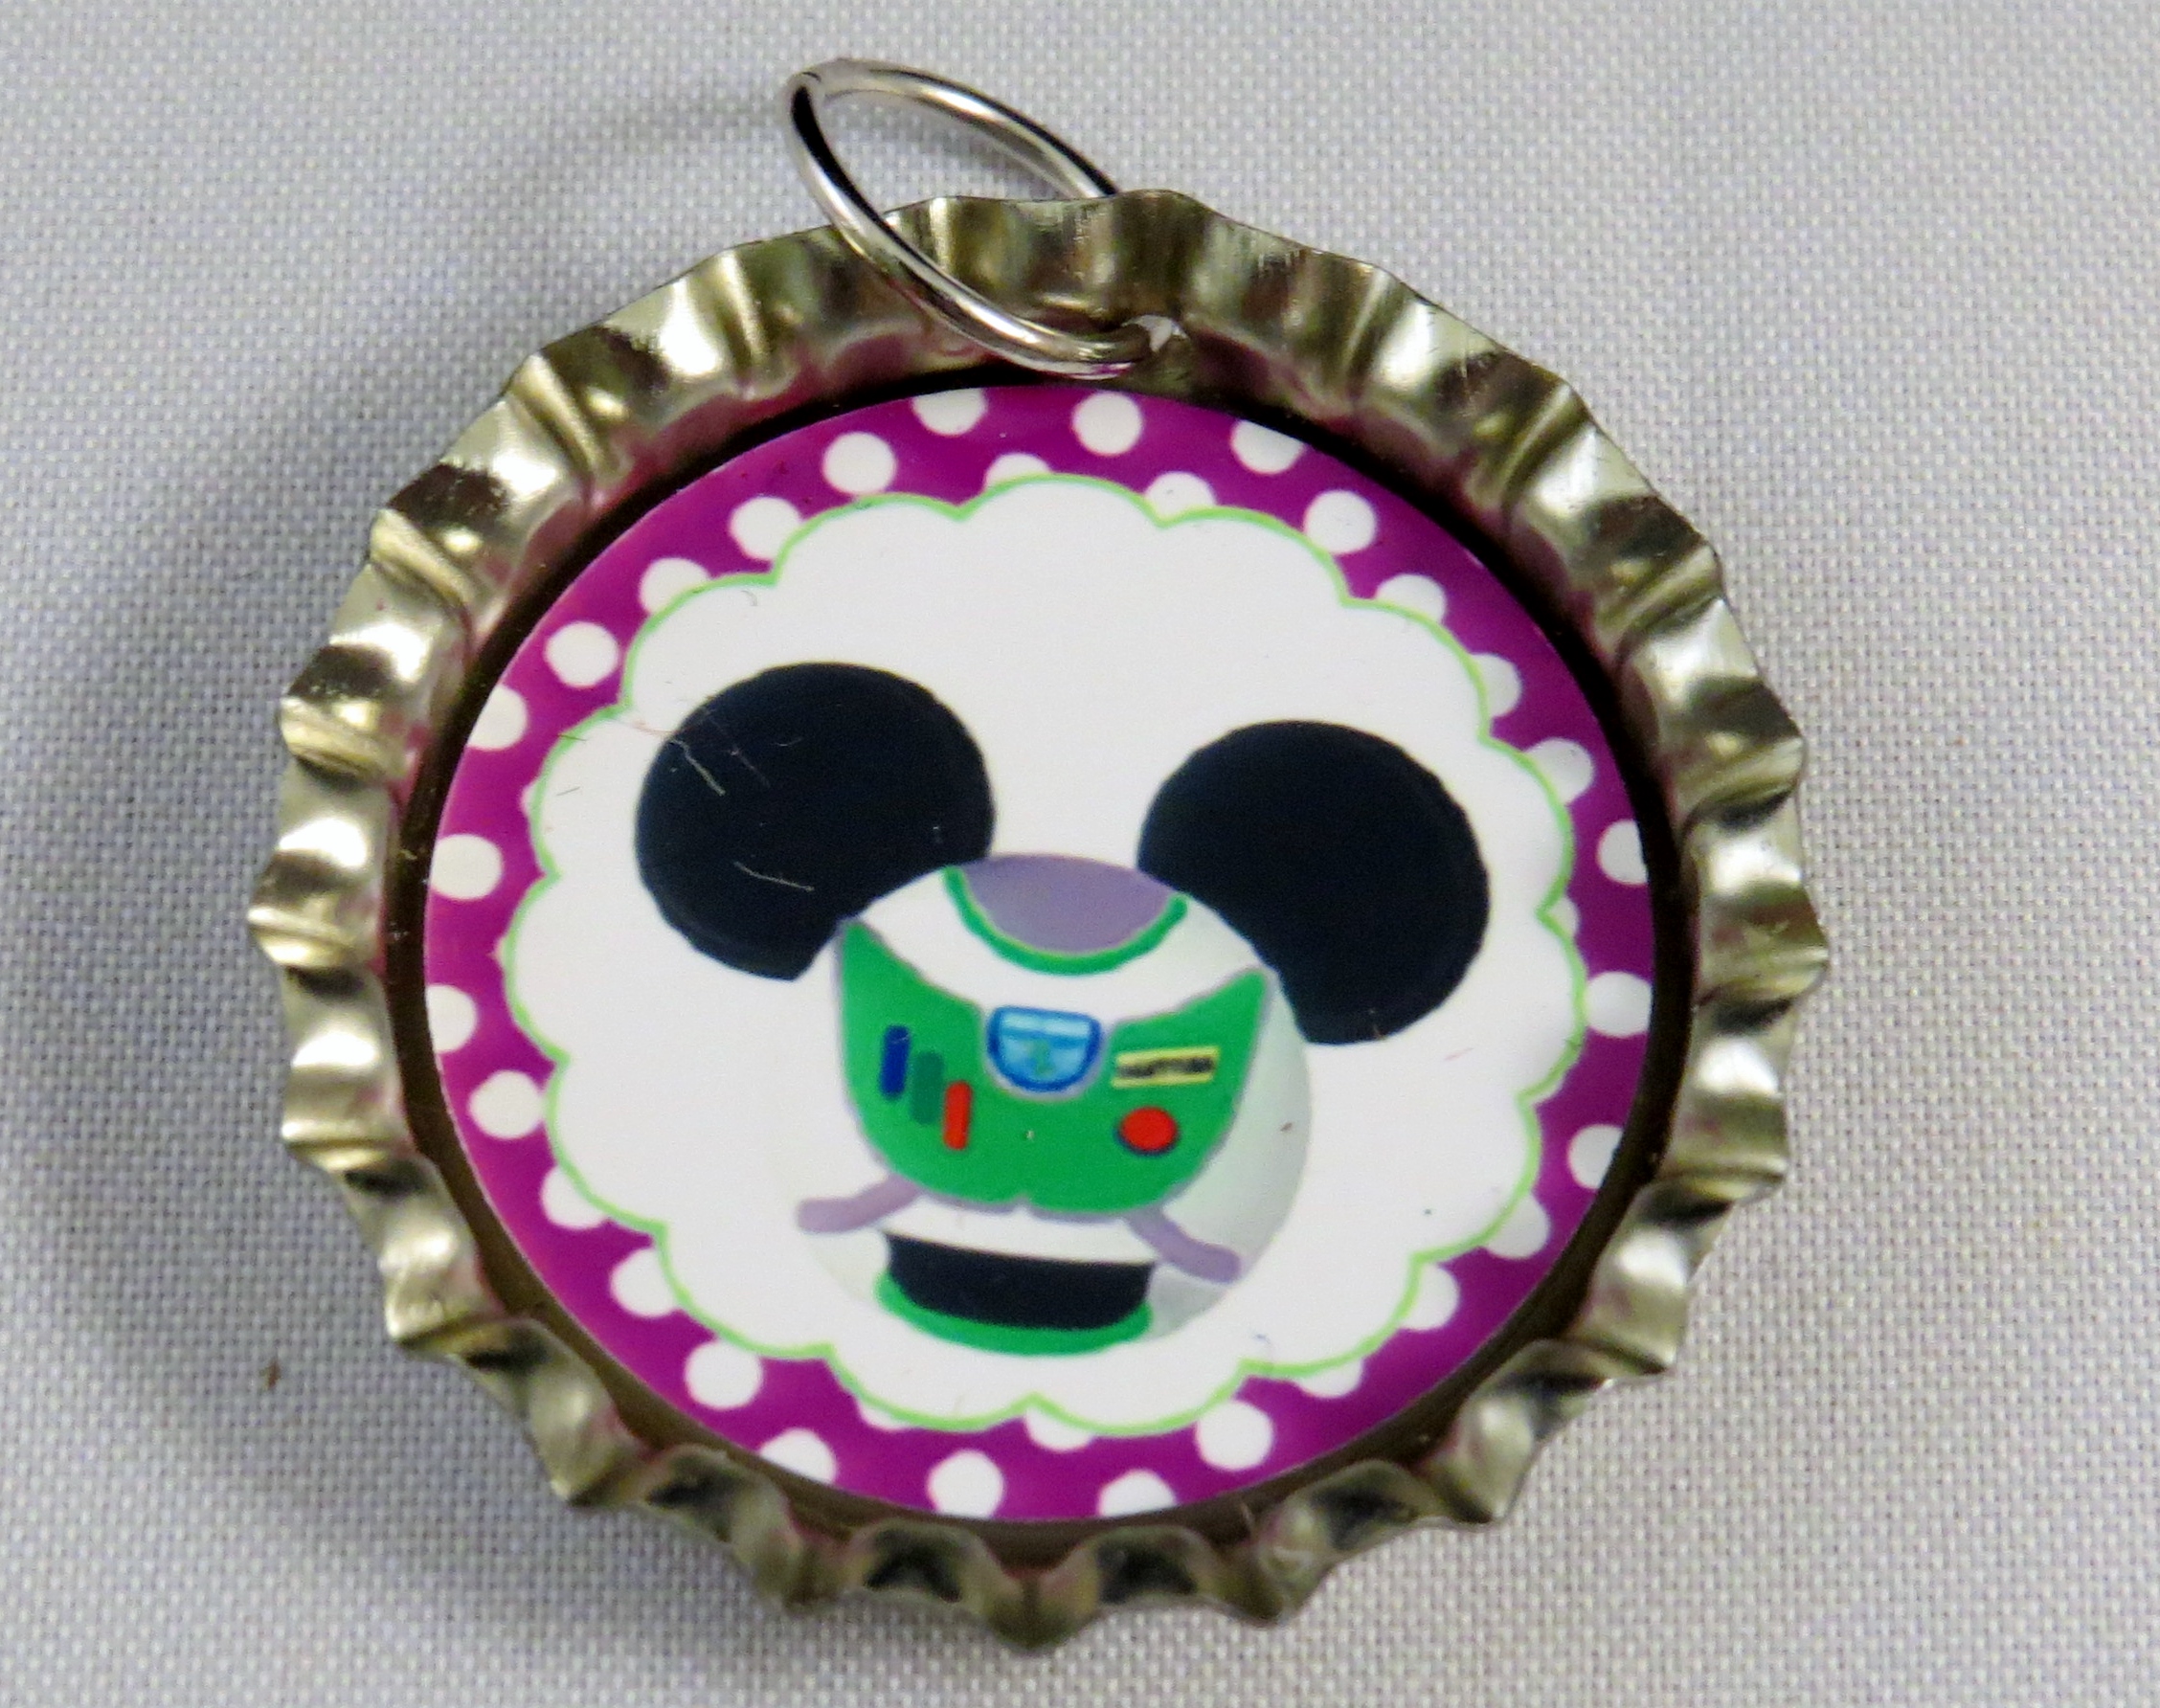
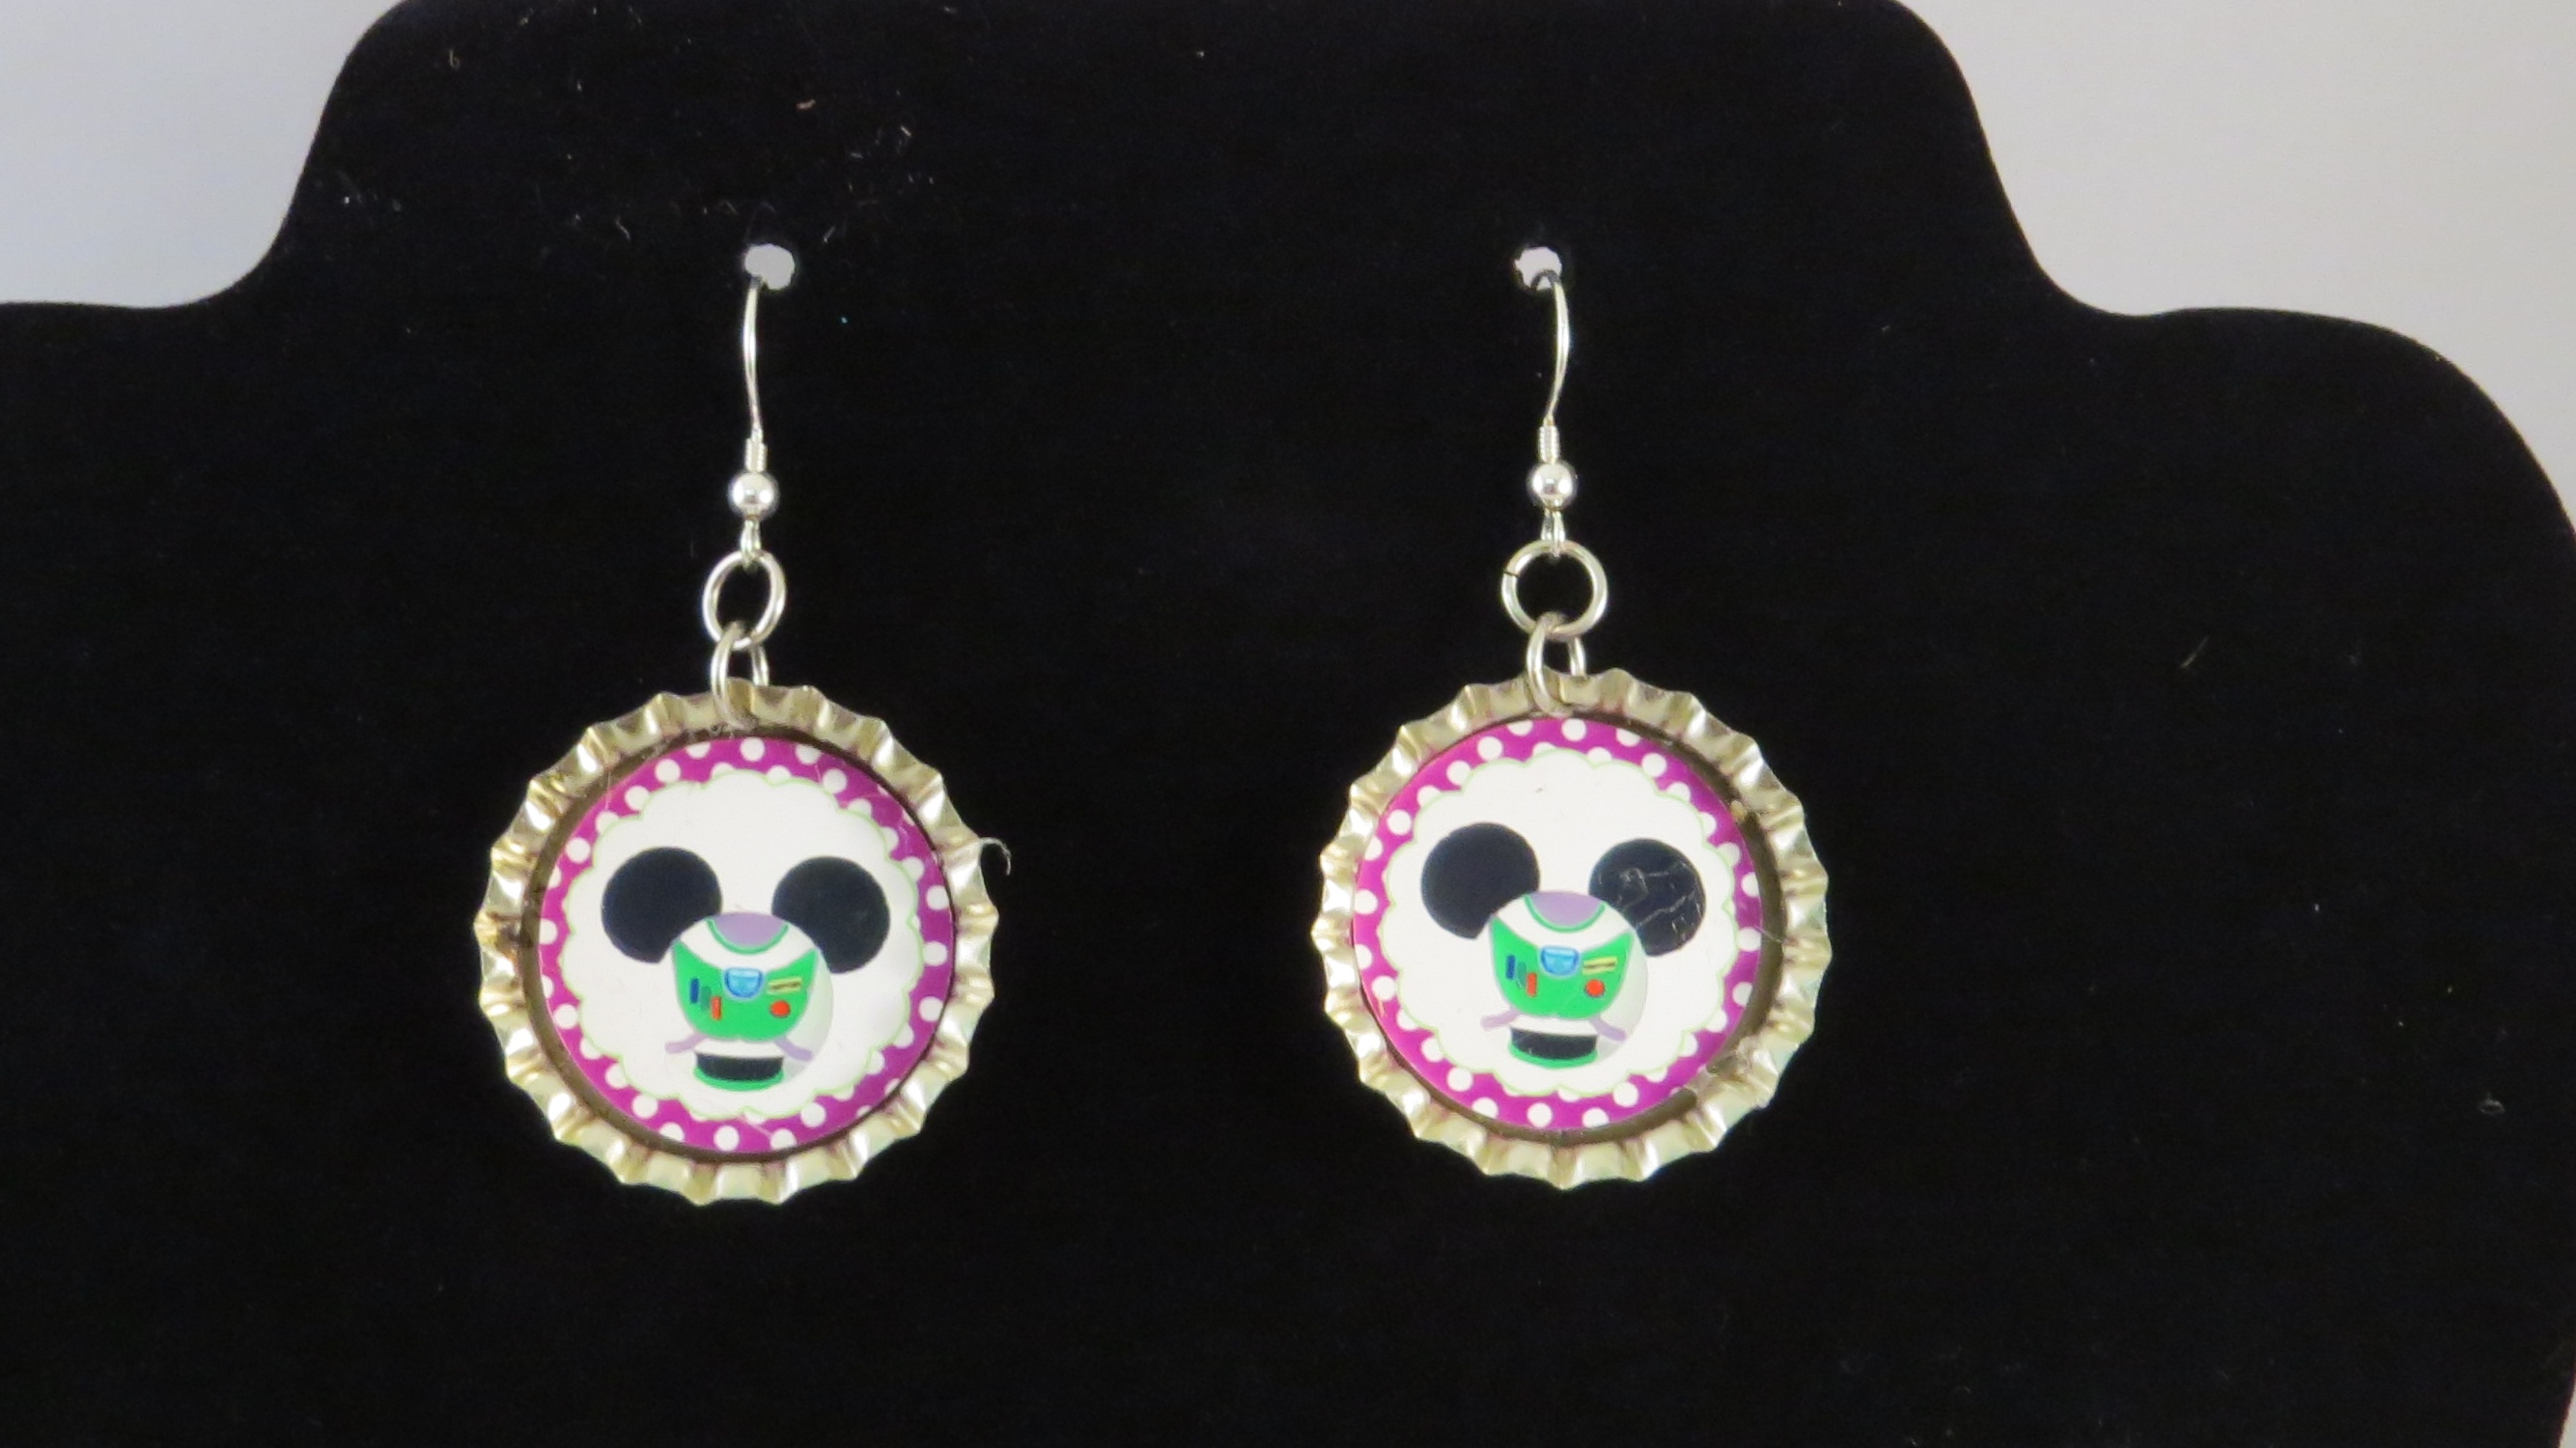
Here are some I completed. I can’t wait to wear them at Disney!

IMG_4619 IMG_4616 IMG_4579 IMG_4554

© 2024 Take Time To Create

Theme by Anders NorenUp ↑

Follow

Get the latest posts delivered to your mailbox:

%d bloggers like this: