Tag: mickey mouse

DIY Mickey Messenger Bag

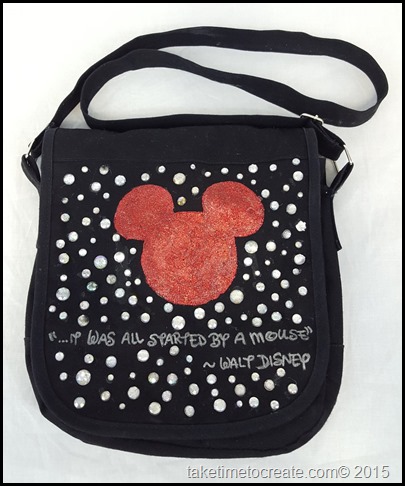
When we went to Disneyland I decided that I “needed”  a new bag to hold my wallet and essentials. I didn’t want it too big, just big enough to carry what I needed for the day. Of course I decided that I needed this bag the day before we left. And of course I wanted to use a product that I have never used before. Nothing can go wrong with this scenario, right?? wrong! All kinds of things happened and and few tries later I ended up with a new bag. It only took me 3 times as long, but it did get done Smile 

DIY Disney Mickey messenger Bag


I will give you the instructions on how you should do it  and I will even tell you what not to do, haha!

Materials:

~ messenger bag

~ stencil of what you want to create

~ Graphite paper

~ rhinestones

~ fabric paint

~ E-6000 glue

~ Silver Sharpie


Instructions:

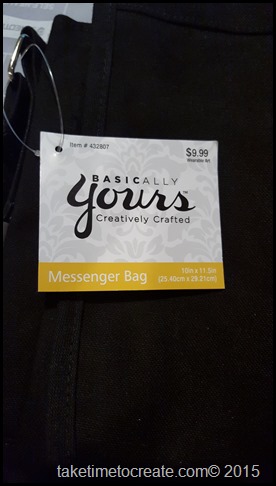
1. Pick out the messenger bag you want to decorate. I found this black on at Hobby Lobby, and I used a coupon so it wasn’t too expensive. Much cheaper than anything I would find at Disney in their stores Smile . It worked very well, except with all the decoration the flap was a little heavy and when I snapped it the flap would fold weird. So I just never snapped the flap and let it hang, and that worked out just fine.


messenager bag     messenager bag

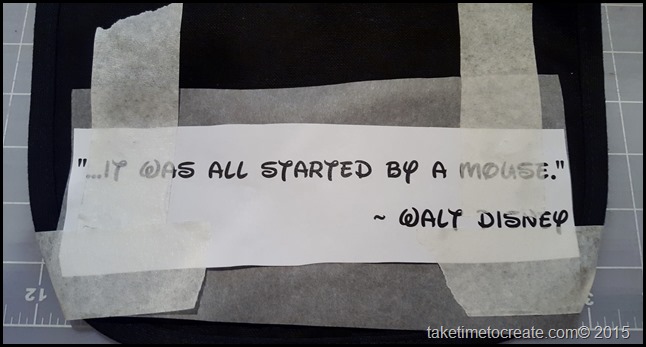
2. Print out what you what to put on your bag, I found a Mickey head silhouette and the quote. I downloaded a free Disney font and typed the quote in a word processing program and printed it at home. (here is the first problem I had. Instead of the stencil I cut out the Mickey shaped with  glitter iron on transfer paper. then I tried to iron it onto the bag.  It didn’t iron on well and was pealing up. I decided to try again, so I picked off the first one and made a new Mickey head and ironed it on again. Once again it did not work. So I picked off what I could and went on to plan B.  I am going to have to figure out what I did wrong. Do you guys have any thought or suggestions?)

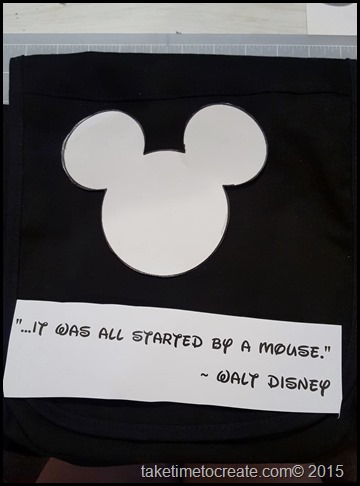
3. Place your stencil and quote on the bag.

lay out stencil and quote


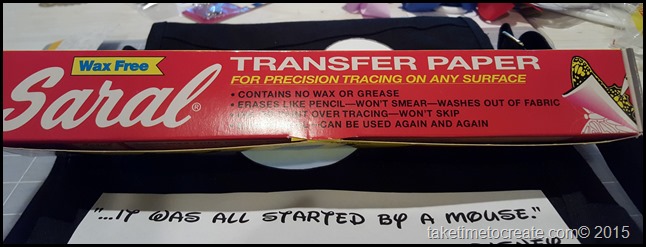
4. Cut out some graphite, big enough to put under the quote. Trace the quote onto the bag and the graphite paper will transfer the quote onto the bag. The graphite paper I had was hard to read, but manageable

Graphite paper     Lay out quote

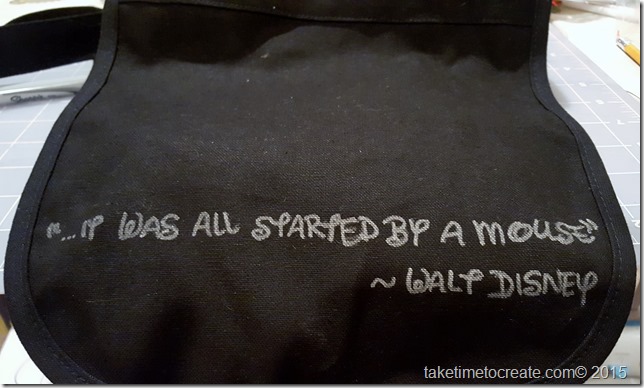
5. Trace the words with a silver Sharpie. I traced it about 3 times. A fabric marker would work as well.

trace quote with sharpie

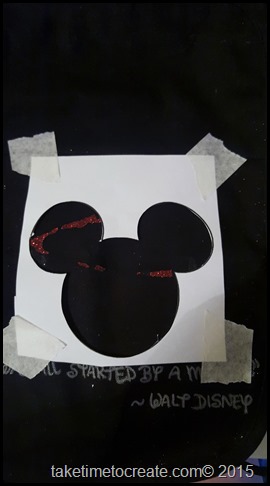
6. I used Stickles in 2 colors to fill in the stencil. This is another example of a project not working as well as I thought. Stickles are not really good for fabric. We all know this, but if you remember I was doing this the night before we left so I had to use what I had on hand and that was Stickles. I put 2 coats of Stickles on then put a coat of E-6000 glue over the top to seal it in. It worked ok and held up for the week, but I think it would have been better with fabric paint.

lay out stencil

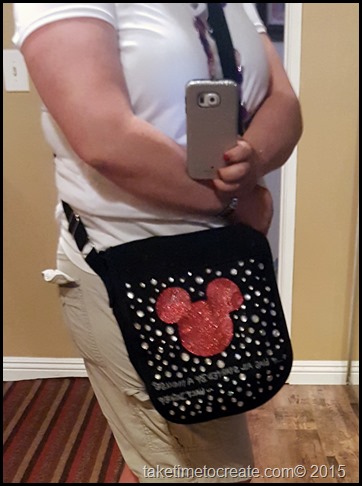
7. Once your Mickey is on and your quote is good to go then add Rhinestones all over. Originally I planned on the bag with no rhinestones, but it was a little too plain for my tastes and I added the sparkle.


posing with the bag

That is it. It held up all week with only a few rhinestones falling off, but that is not bad considering all the problems I had along the way.

What ideas do you have for a bag?

What problems have you had with your crafting projects and how did you fix them?

DIY Glow in the Dark Mickey Ears

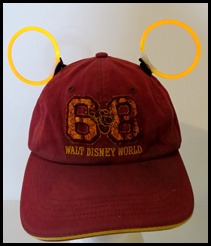
To really enhance your Disney Experience Glow in the Dark ears are a must. I just wasn’t willing to pay a ton of money for the ears. And, my husband only wanted to wear his ball cap that he already owned because he is cheap and didn’t want to spend the money for a new hat and he loves how it fits him (at least it is a Disney one.)  So I decided to create my own glow it the dark ears with a hat he already owned. It worked so well I made them for the whole family. I made a Minnie Ears for me, I will do a post on those later.

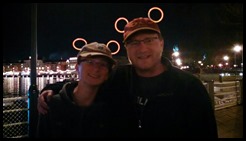
IMG_20150125_180333_956 My son is such a good sport, even though he is a teenager, he wore his Mickey ears all week! Red heart


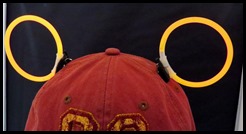
By using a ball cap and some safety pins and glow in the the dark bracelets you can create an interchangeable glow in the dark hat.

We would put a new bracelet at night and enjoy the evening festivities then in the morning we would leave the bracelets in the hat even thought they didn’t glow anymore. Then in the evening we would throw the bracelet away and put a new one so we would be ready to glow the night away.

This is so easy, and the best part is when you get home you take off the safety pins and  your cap is back to normal


Materials:

1. Hat

2. Safety Pins

3. Felt

4. Glue (I just used hot glue)

5. Glow in the dark bracelets (here are some from Amazon) I got mine from the dollar store, 20 for a dollar!! Necklaces were too big so


Instructions:

1. Get a hat you would like to add ears to.

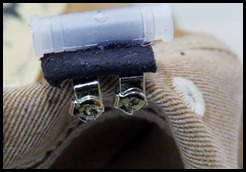
2. I used 2 safety pins and glued them to a small piece of felt. Make sure you don’t glue the safety pin closed, I learned this from personal experience.

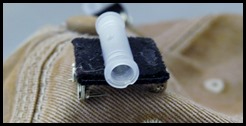
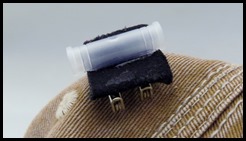
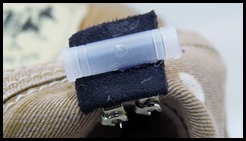
3. Glue the bracelet connector piece to the felt. This part will stay and you just change out the bracelet part.

IMG_4623   IMG_4624   IMG_4628     IMG_4630

4. Pin the safety pins to the hat. This took me a couple of tries to get the right placement. And the ears tended to flop around until someone was wearing it.

5. Crack the bracelet to activate the glow and insert it into the connector.

IMG_4592   IMG_4594

6. Wear your hat with pride and love that you are glowing for just a few pennies!

IMG_20150125_180403_069 Wearing the hats in the daytime

IMG_20150130_195101_813 Wearing the hats at night.

We got tons of complements on our hats, day and night!

I would love to see your hats that you create!

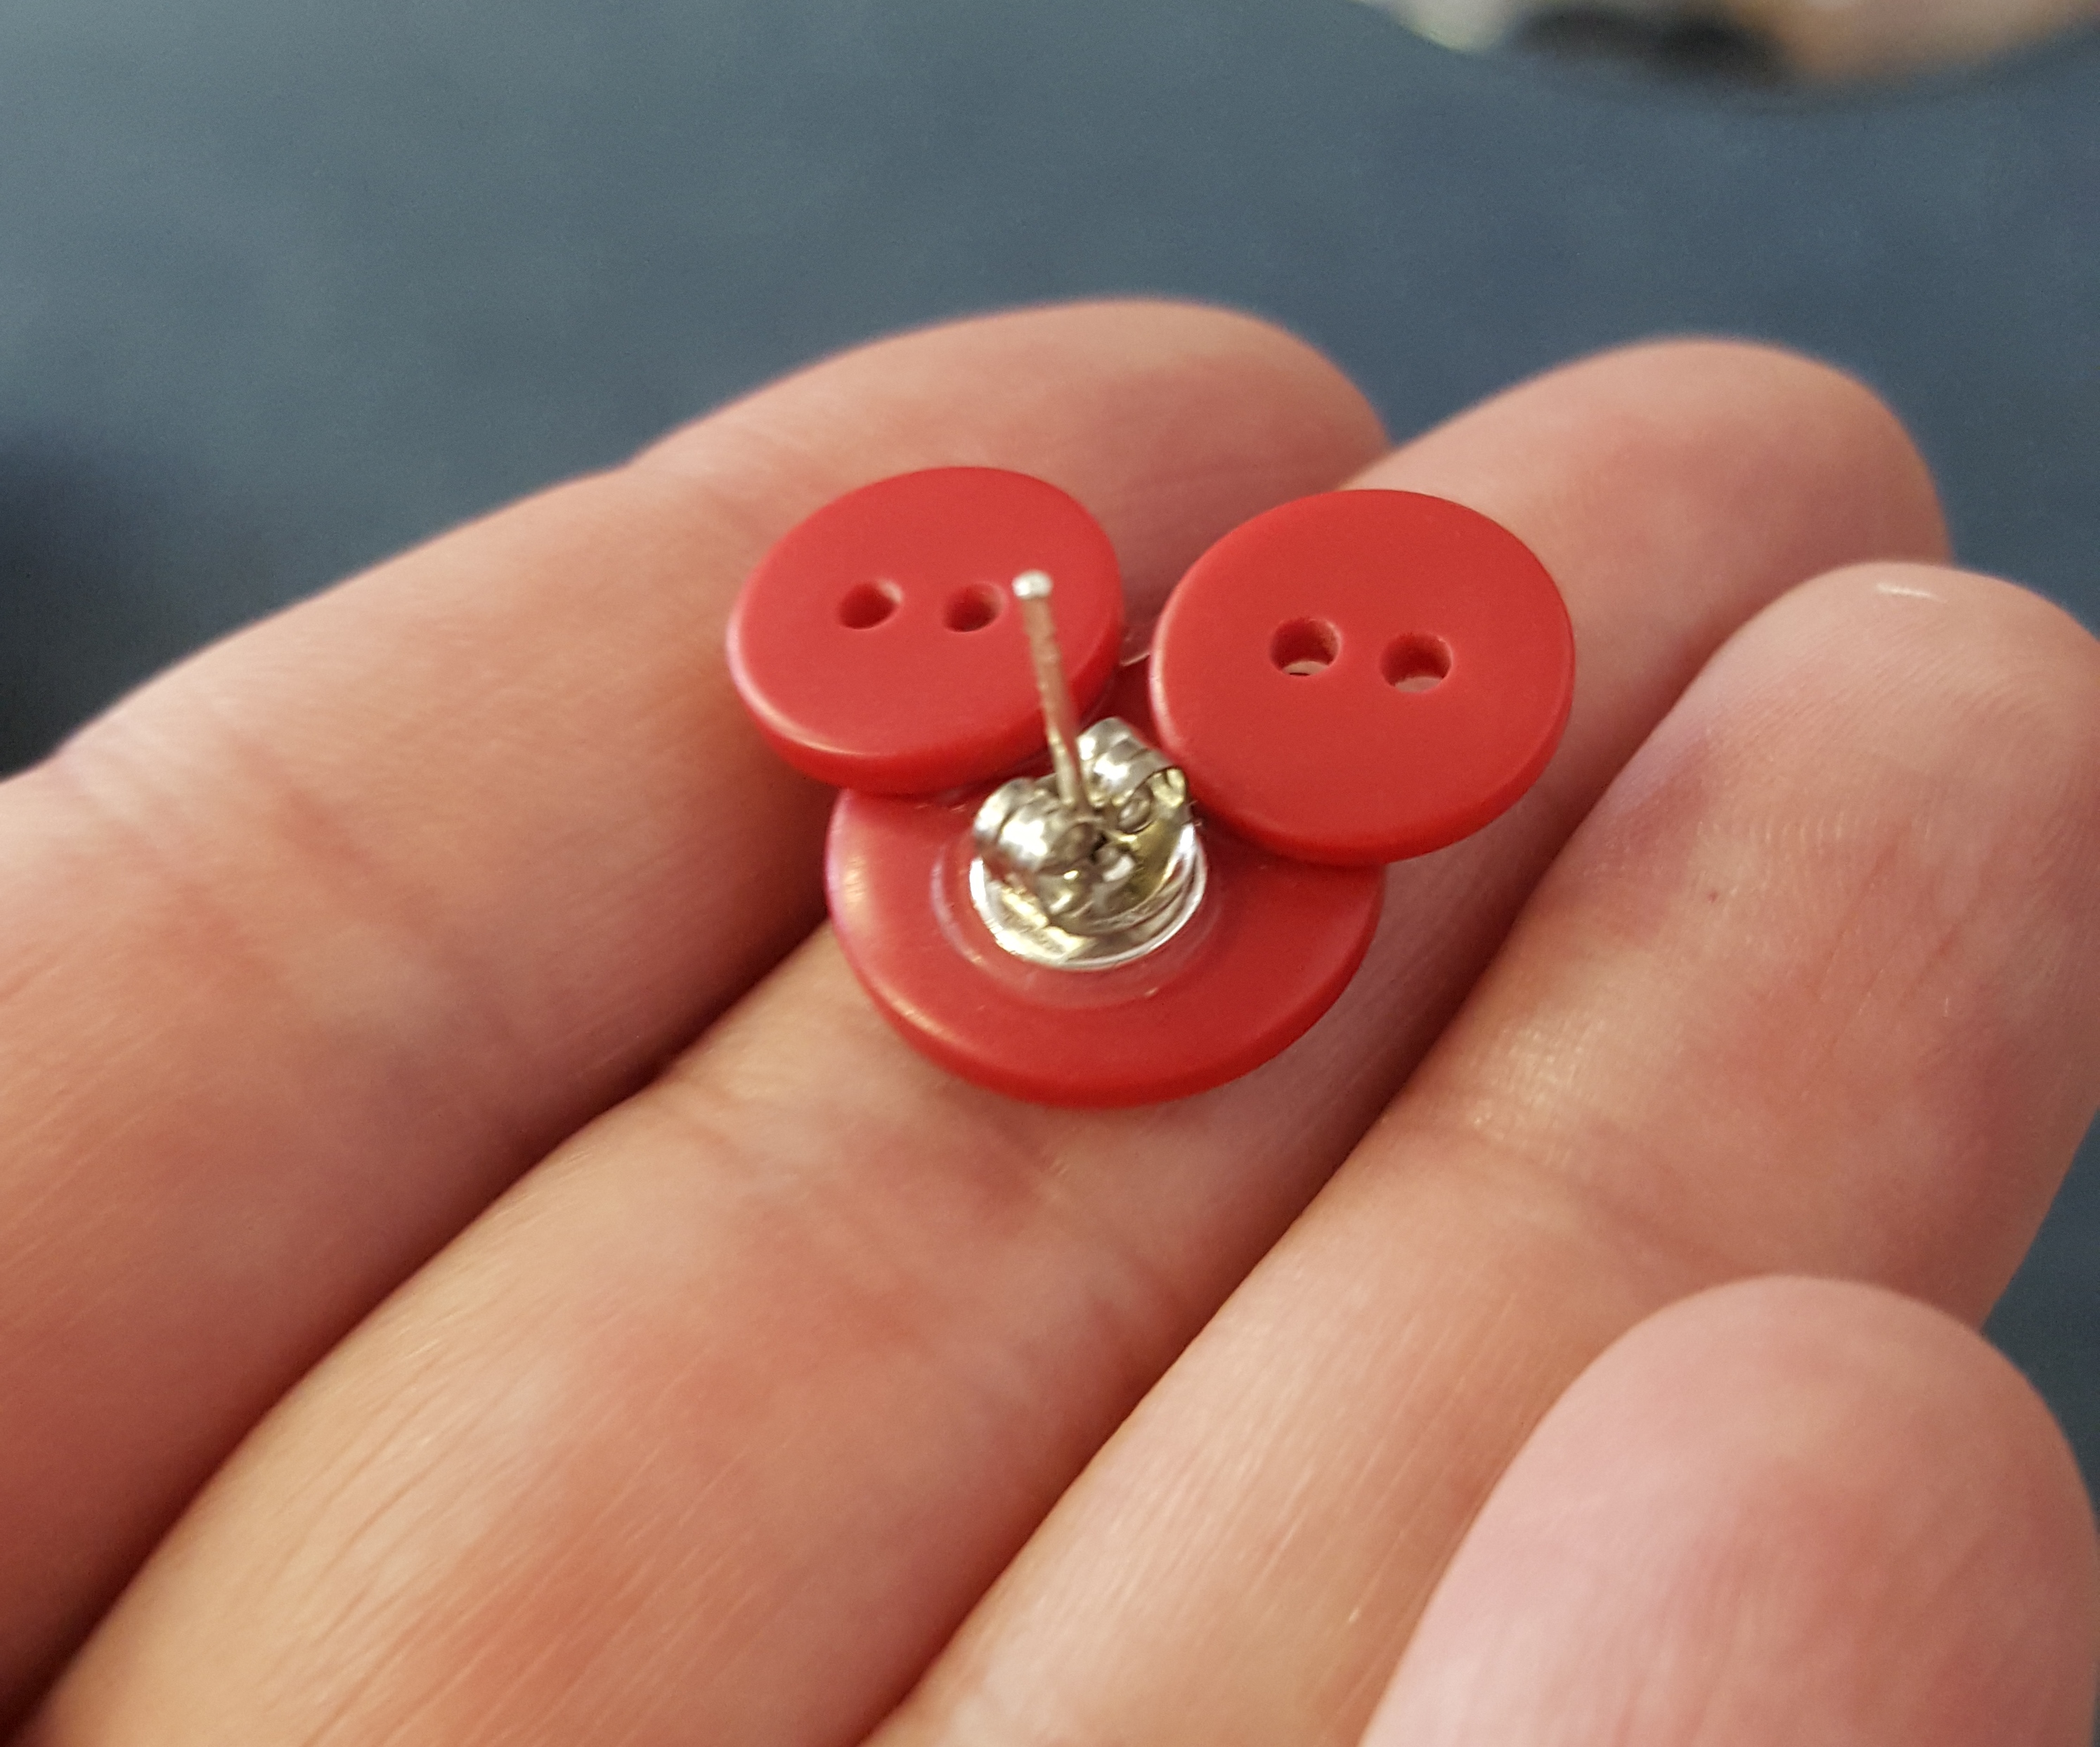
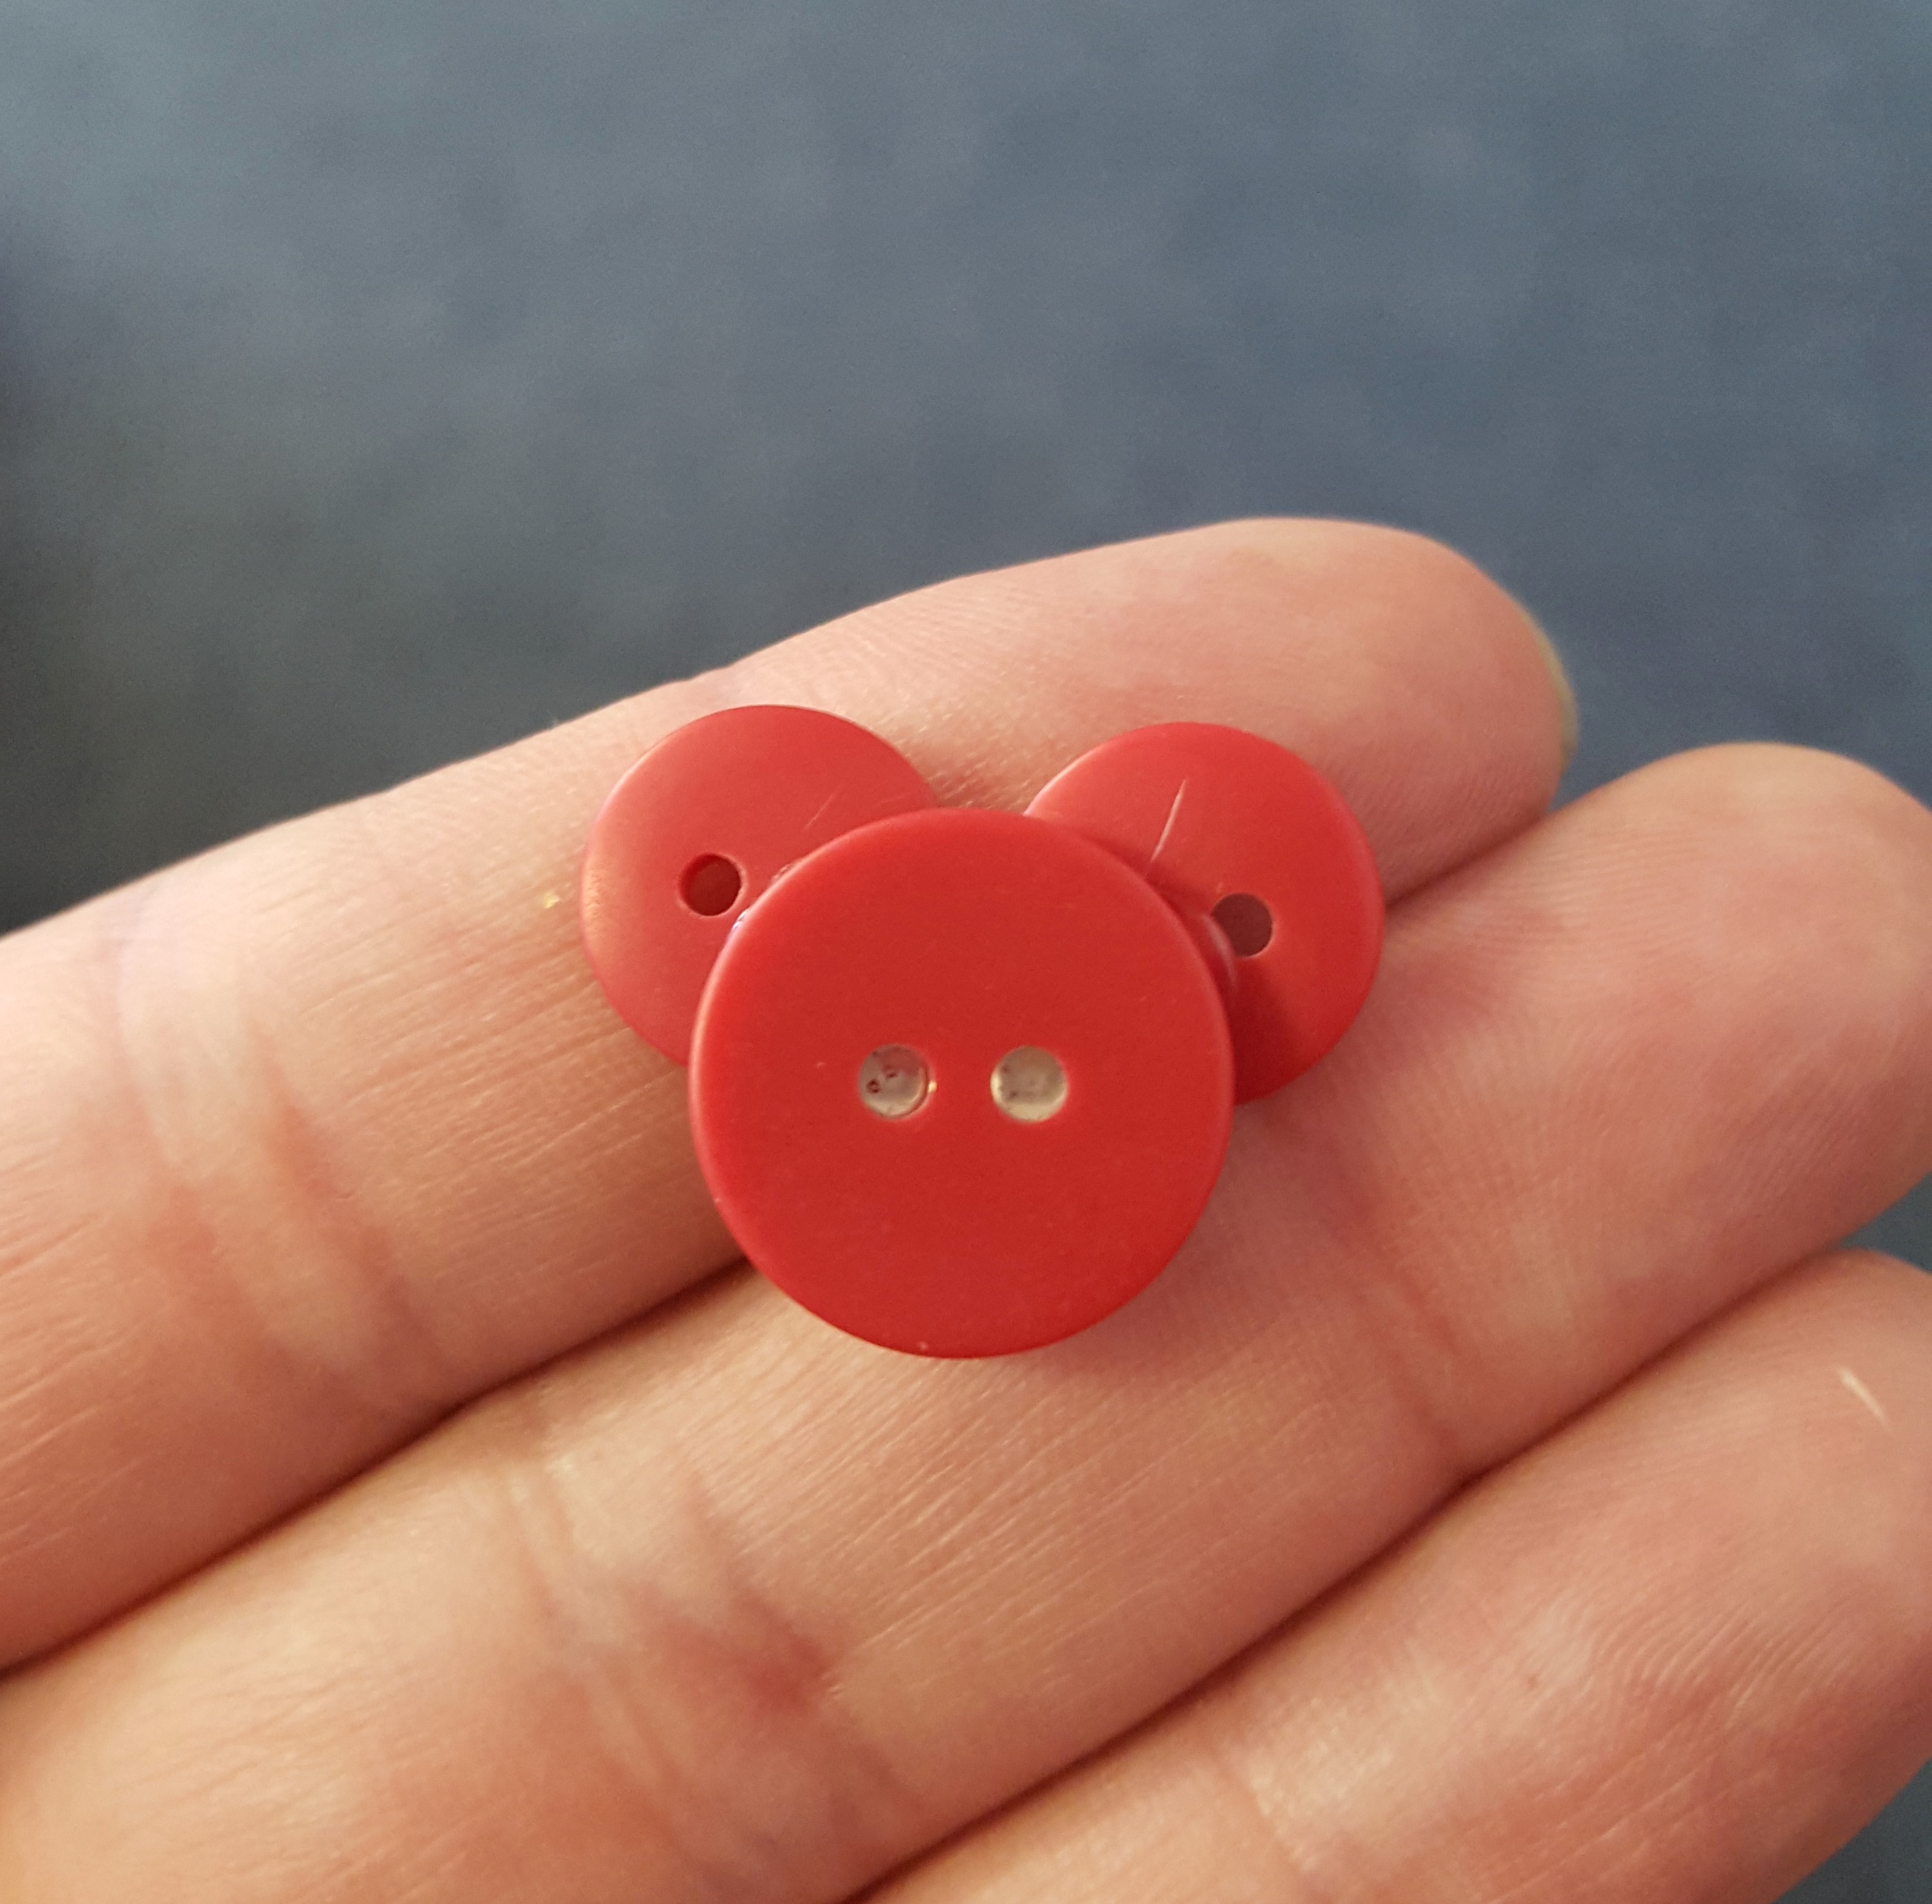
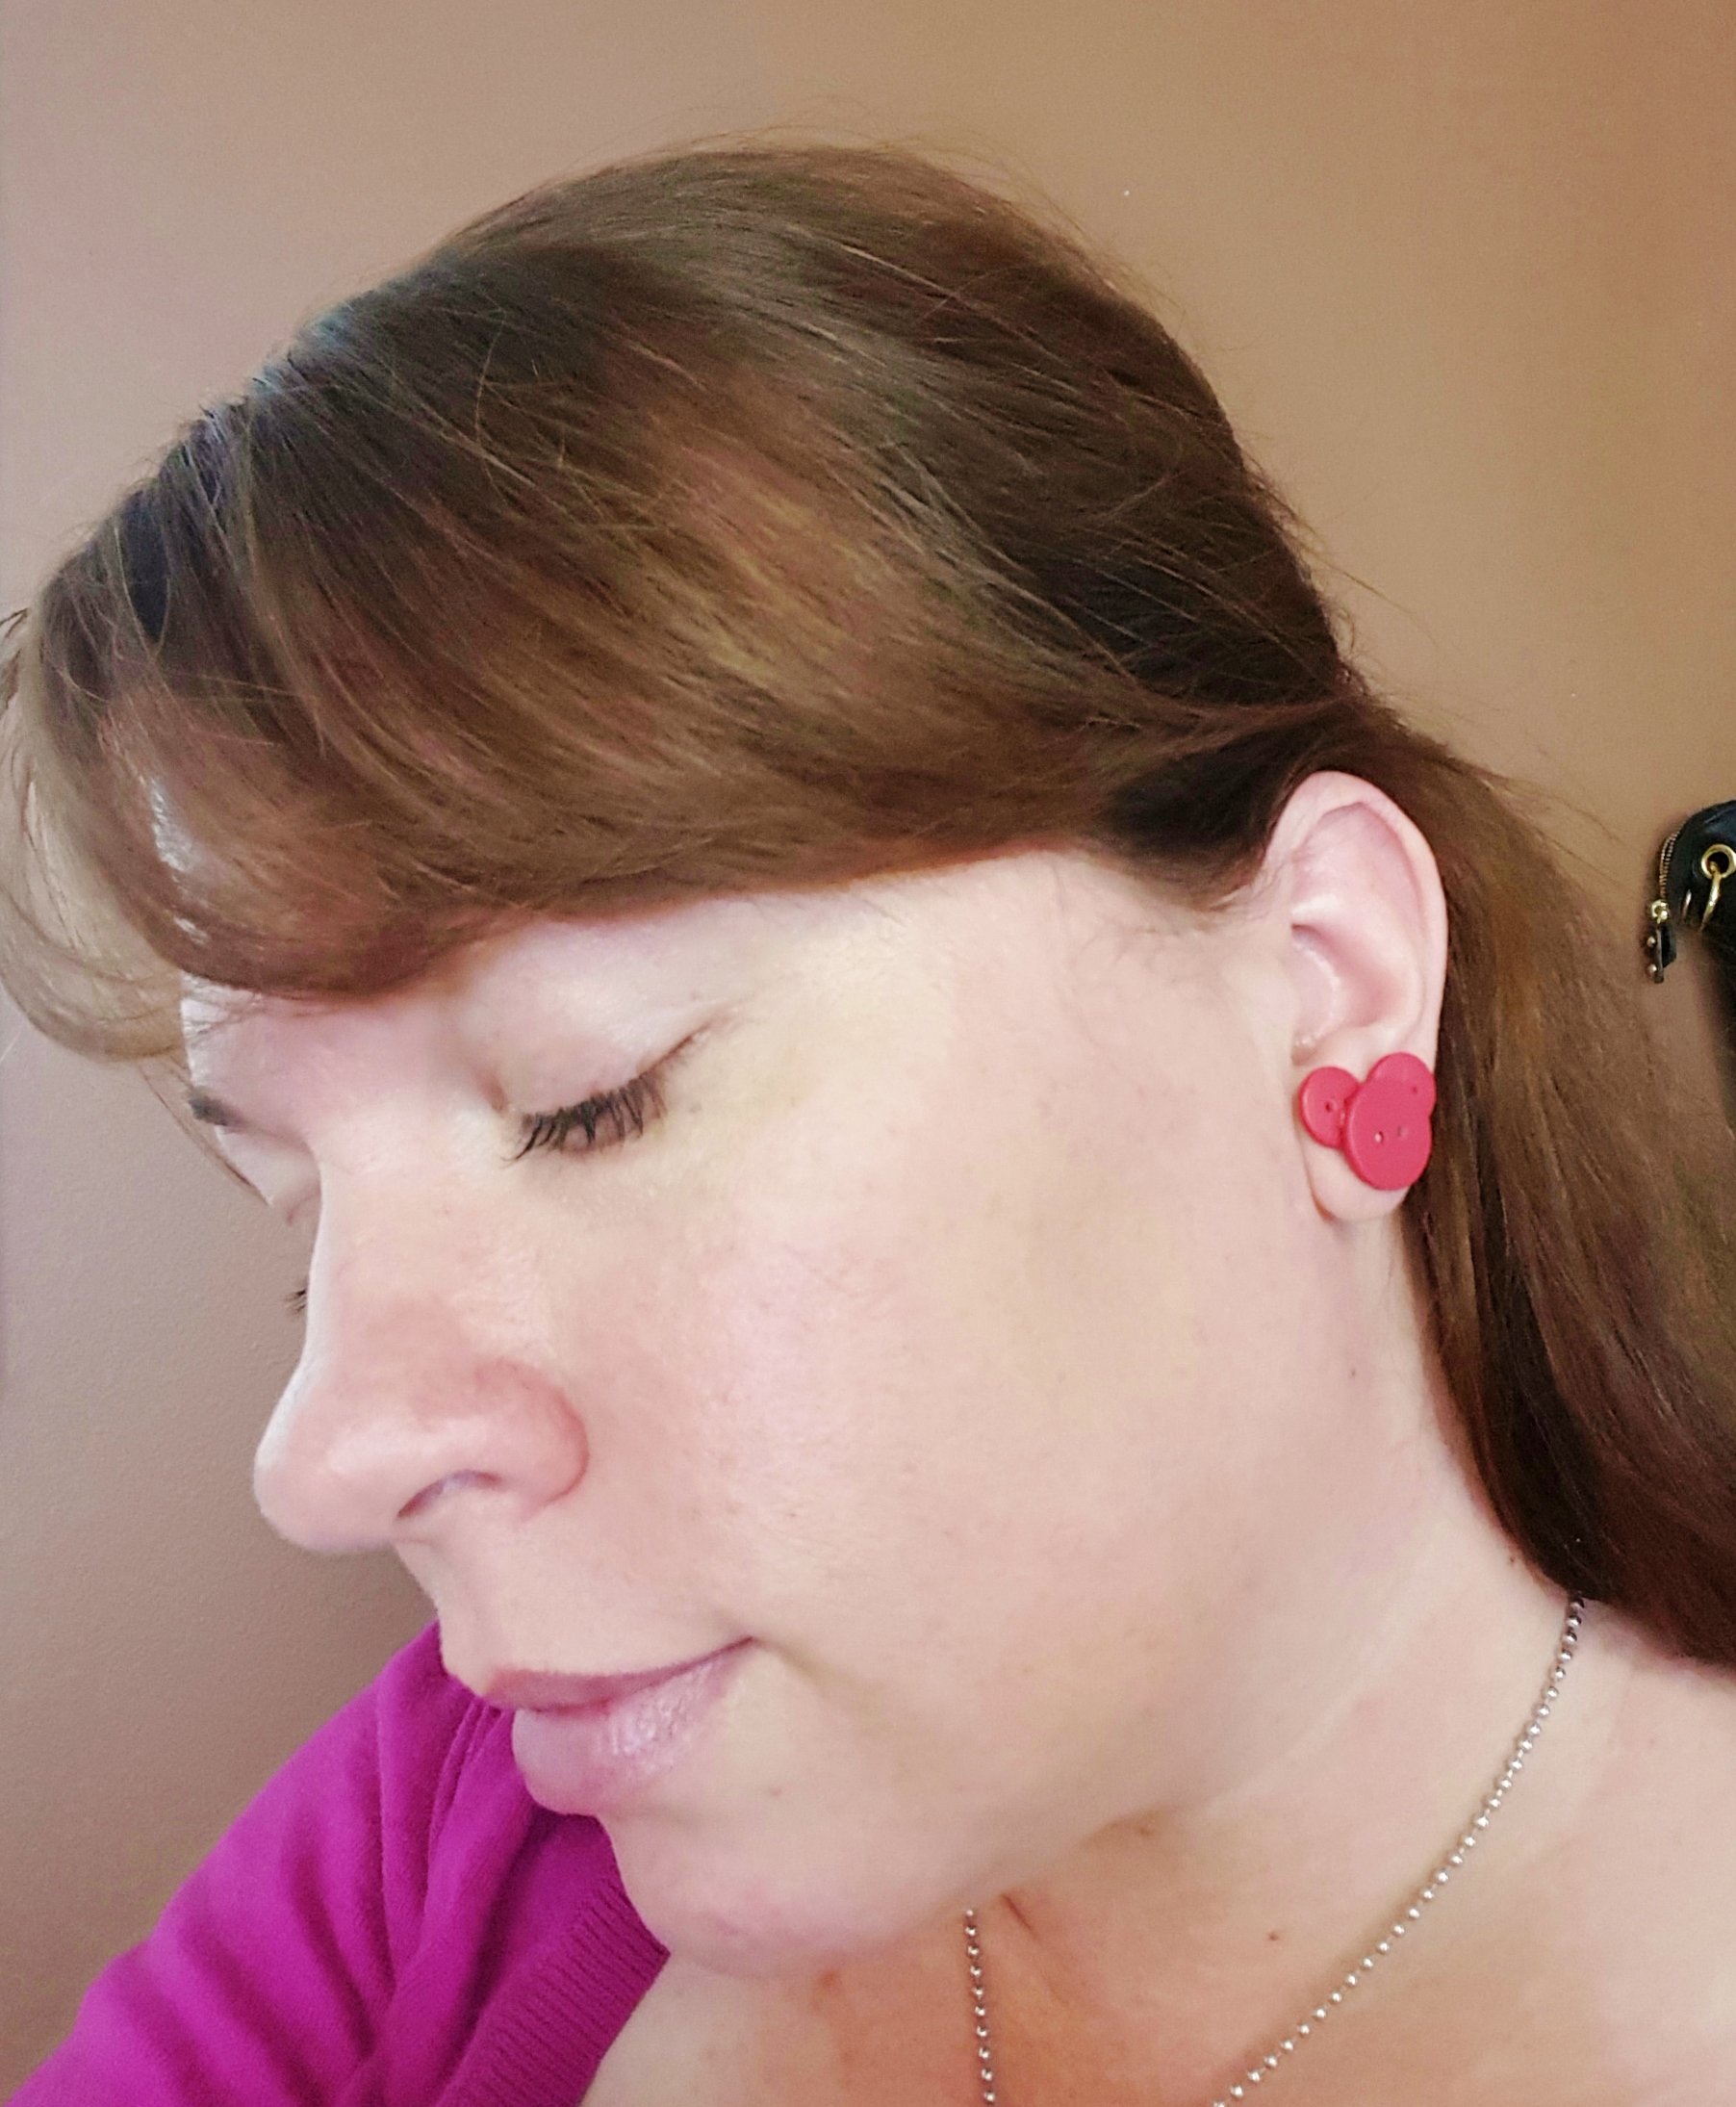
Easy DIY Mickey Button Earrings!

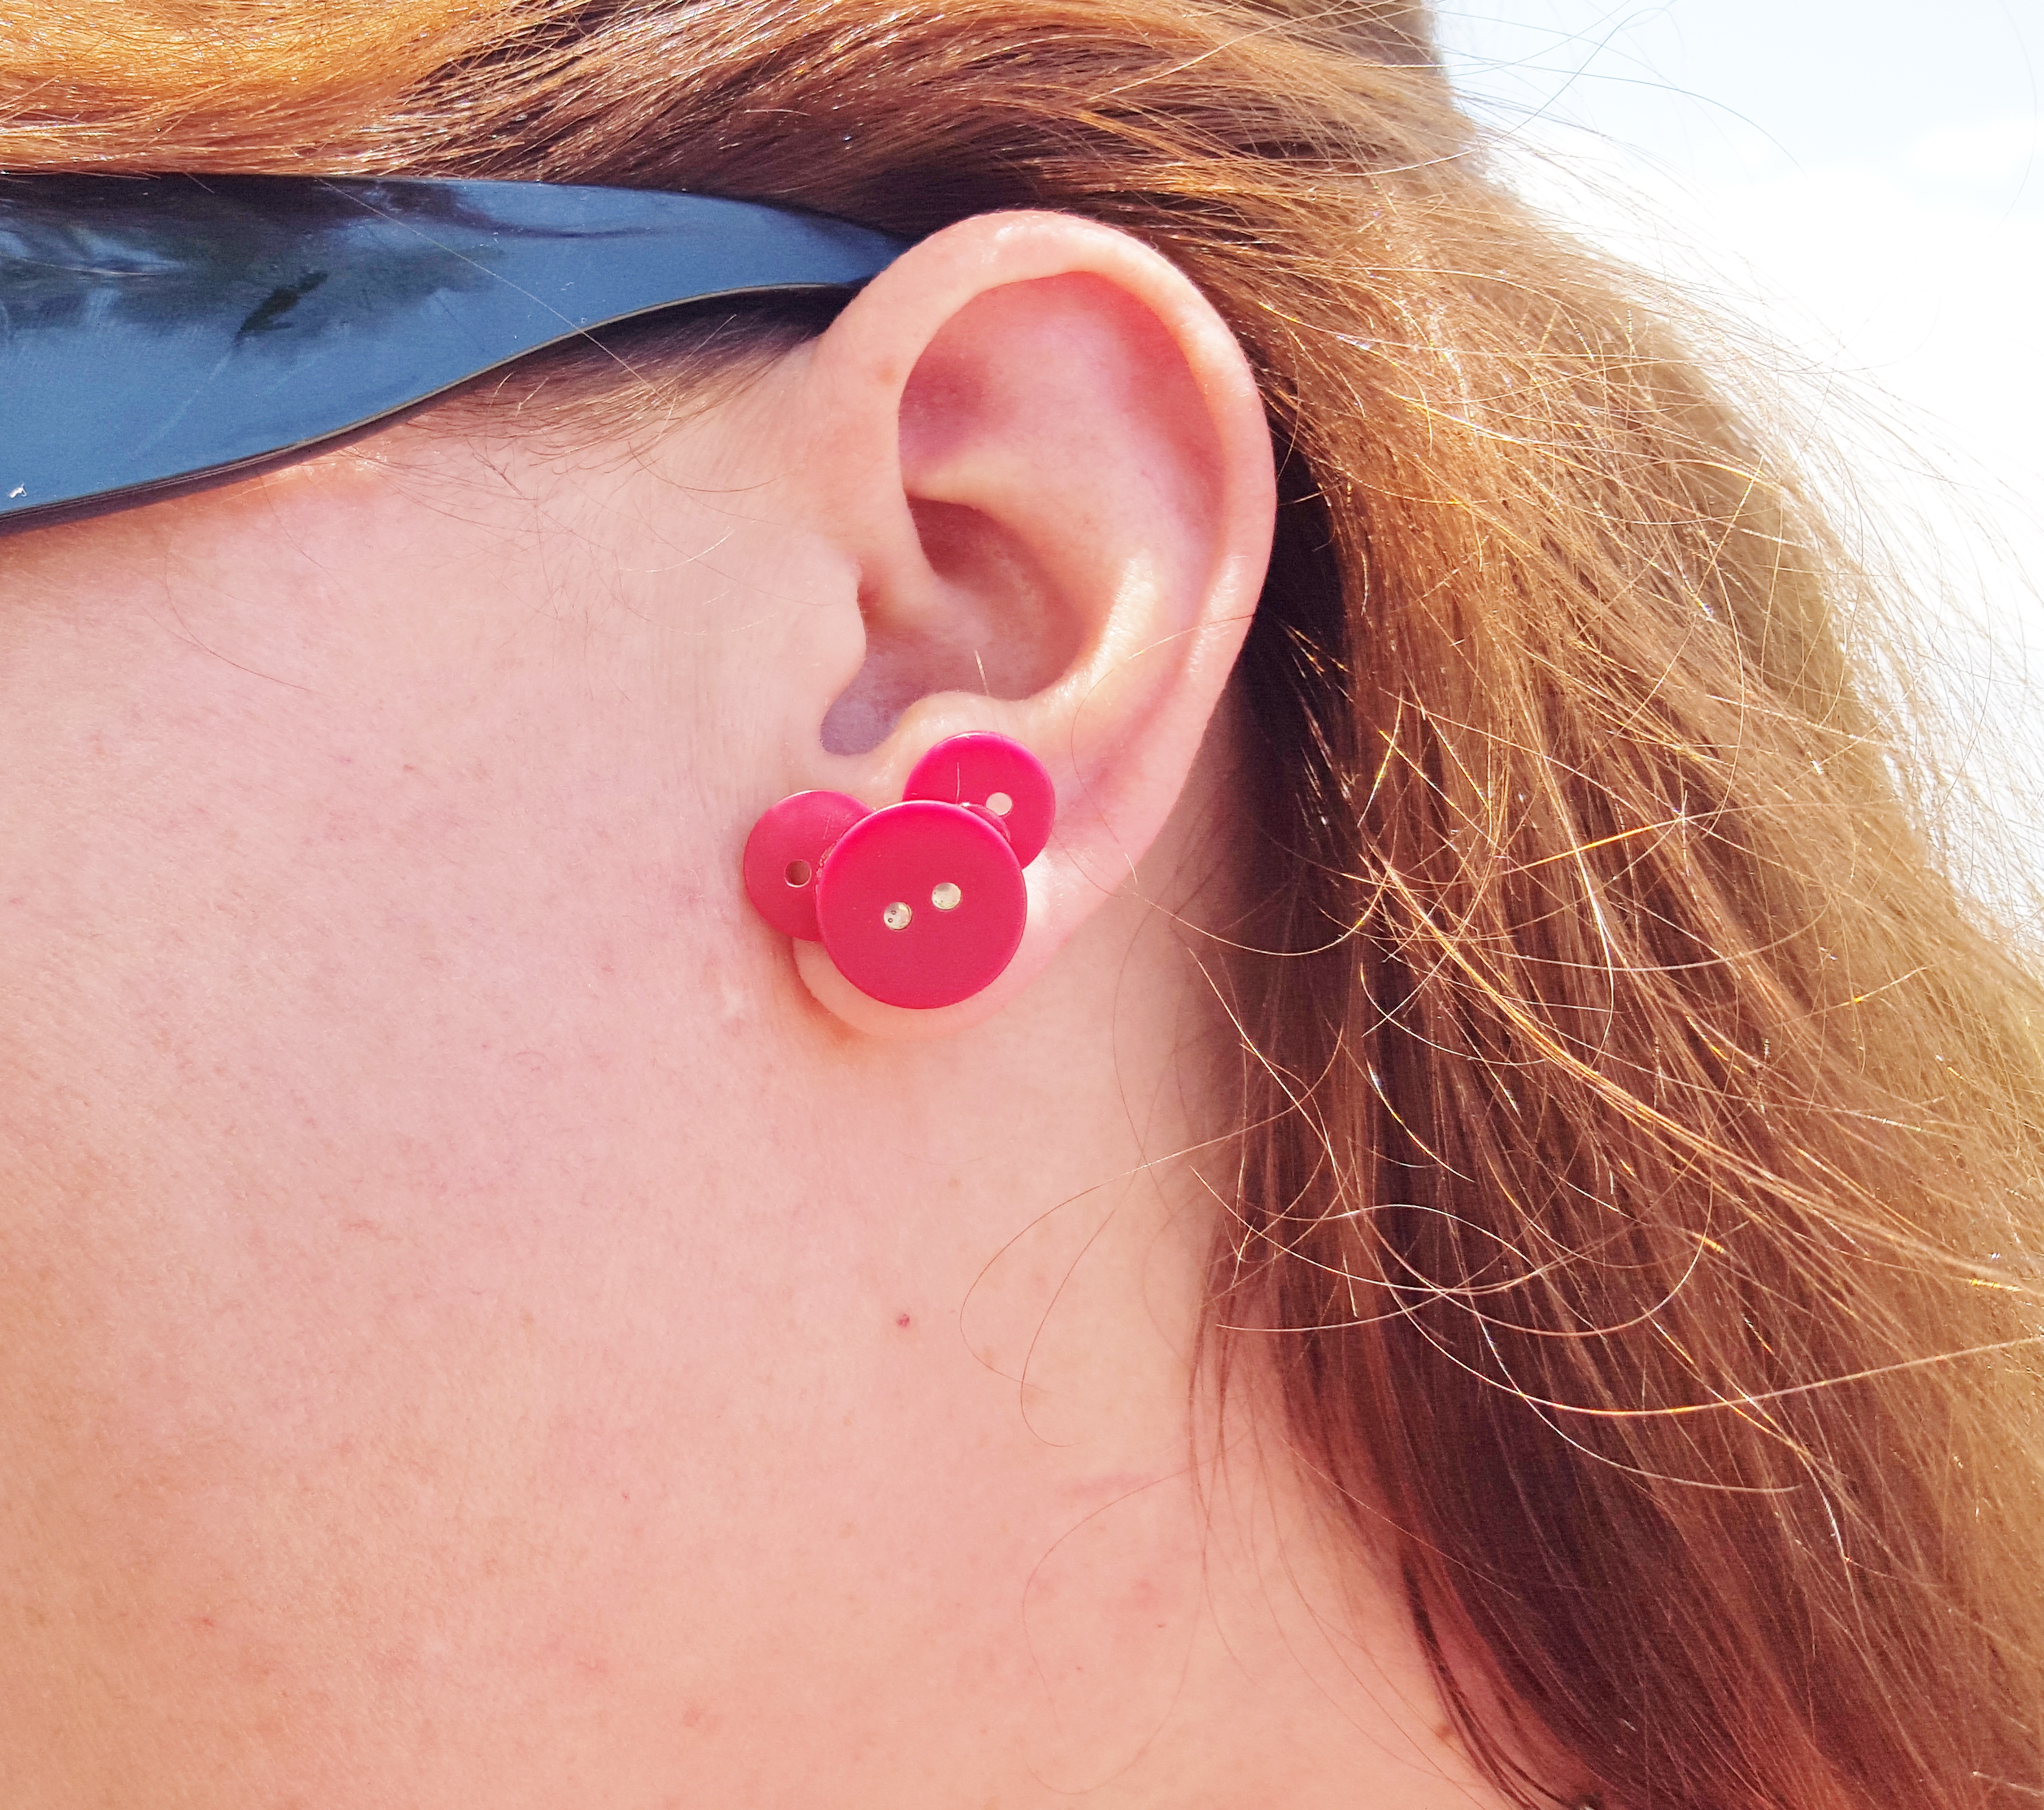
20150630_130943These are super simple, and are easy enough to make a bunch or have your kiddos help.

So simple to make

Materials:

2 larger buttons

4 smaller coordinating buttons

earring backs

hot glue

20150630_131343 20150630_131335

All you do is find some buttons that go together and glue them in a Mickey shape. (This is my favorite part, I love digging through buttons. It reminds me of when I was a little girl, my mom was always sewing something for us and we were always digging through her buttons)

Then glue it on an earring back. Wear them with pride!

See easy, right

I think I will need to make more in all the colors of the rainbow and make a bigger one for a necklace.

2015-06-30 12.41.59

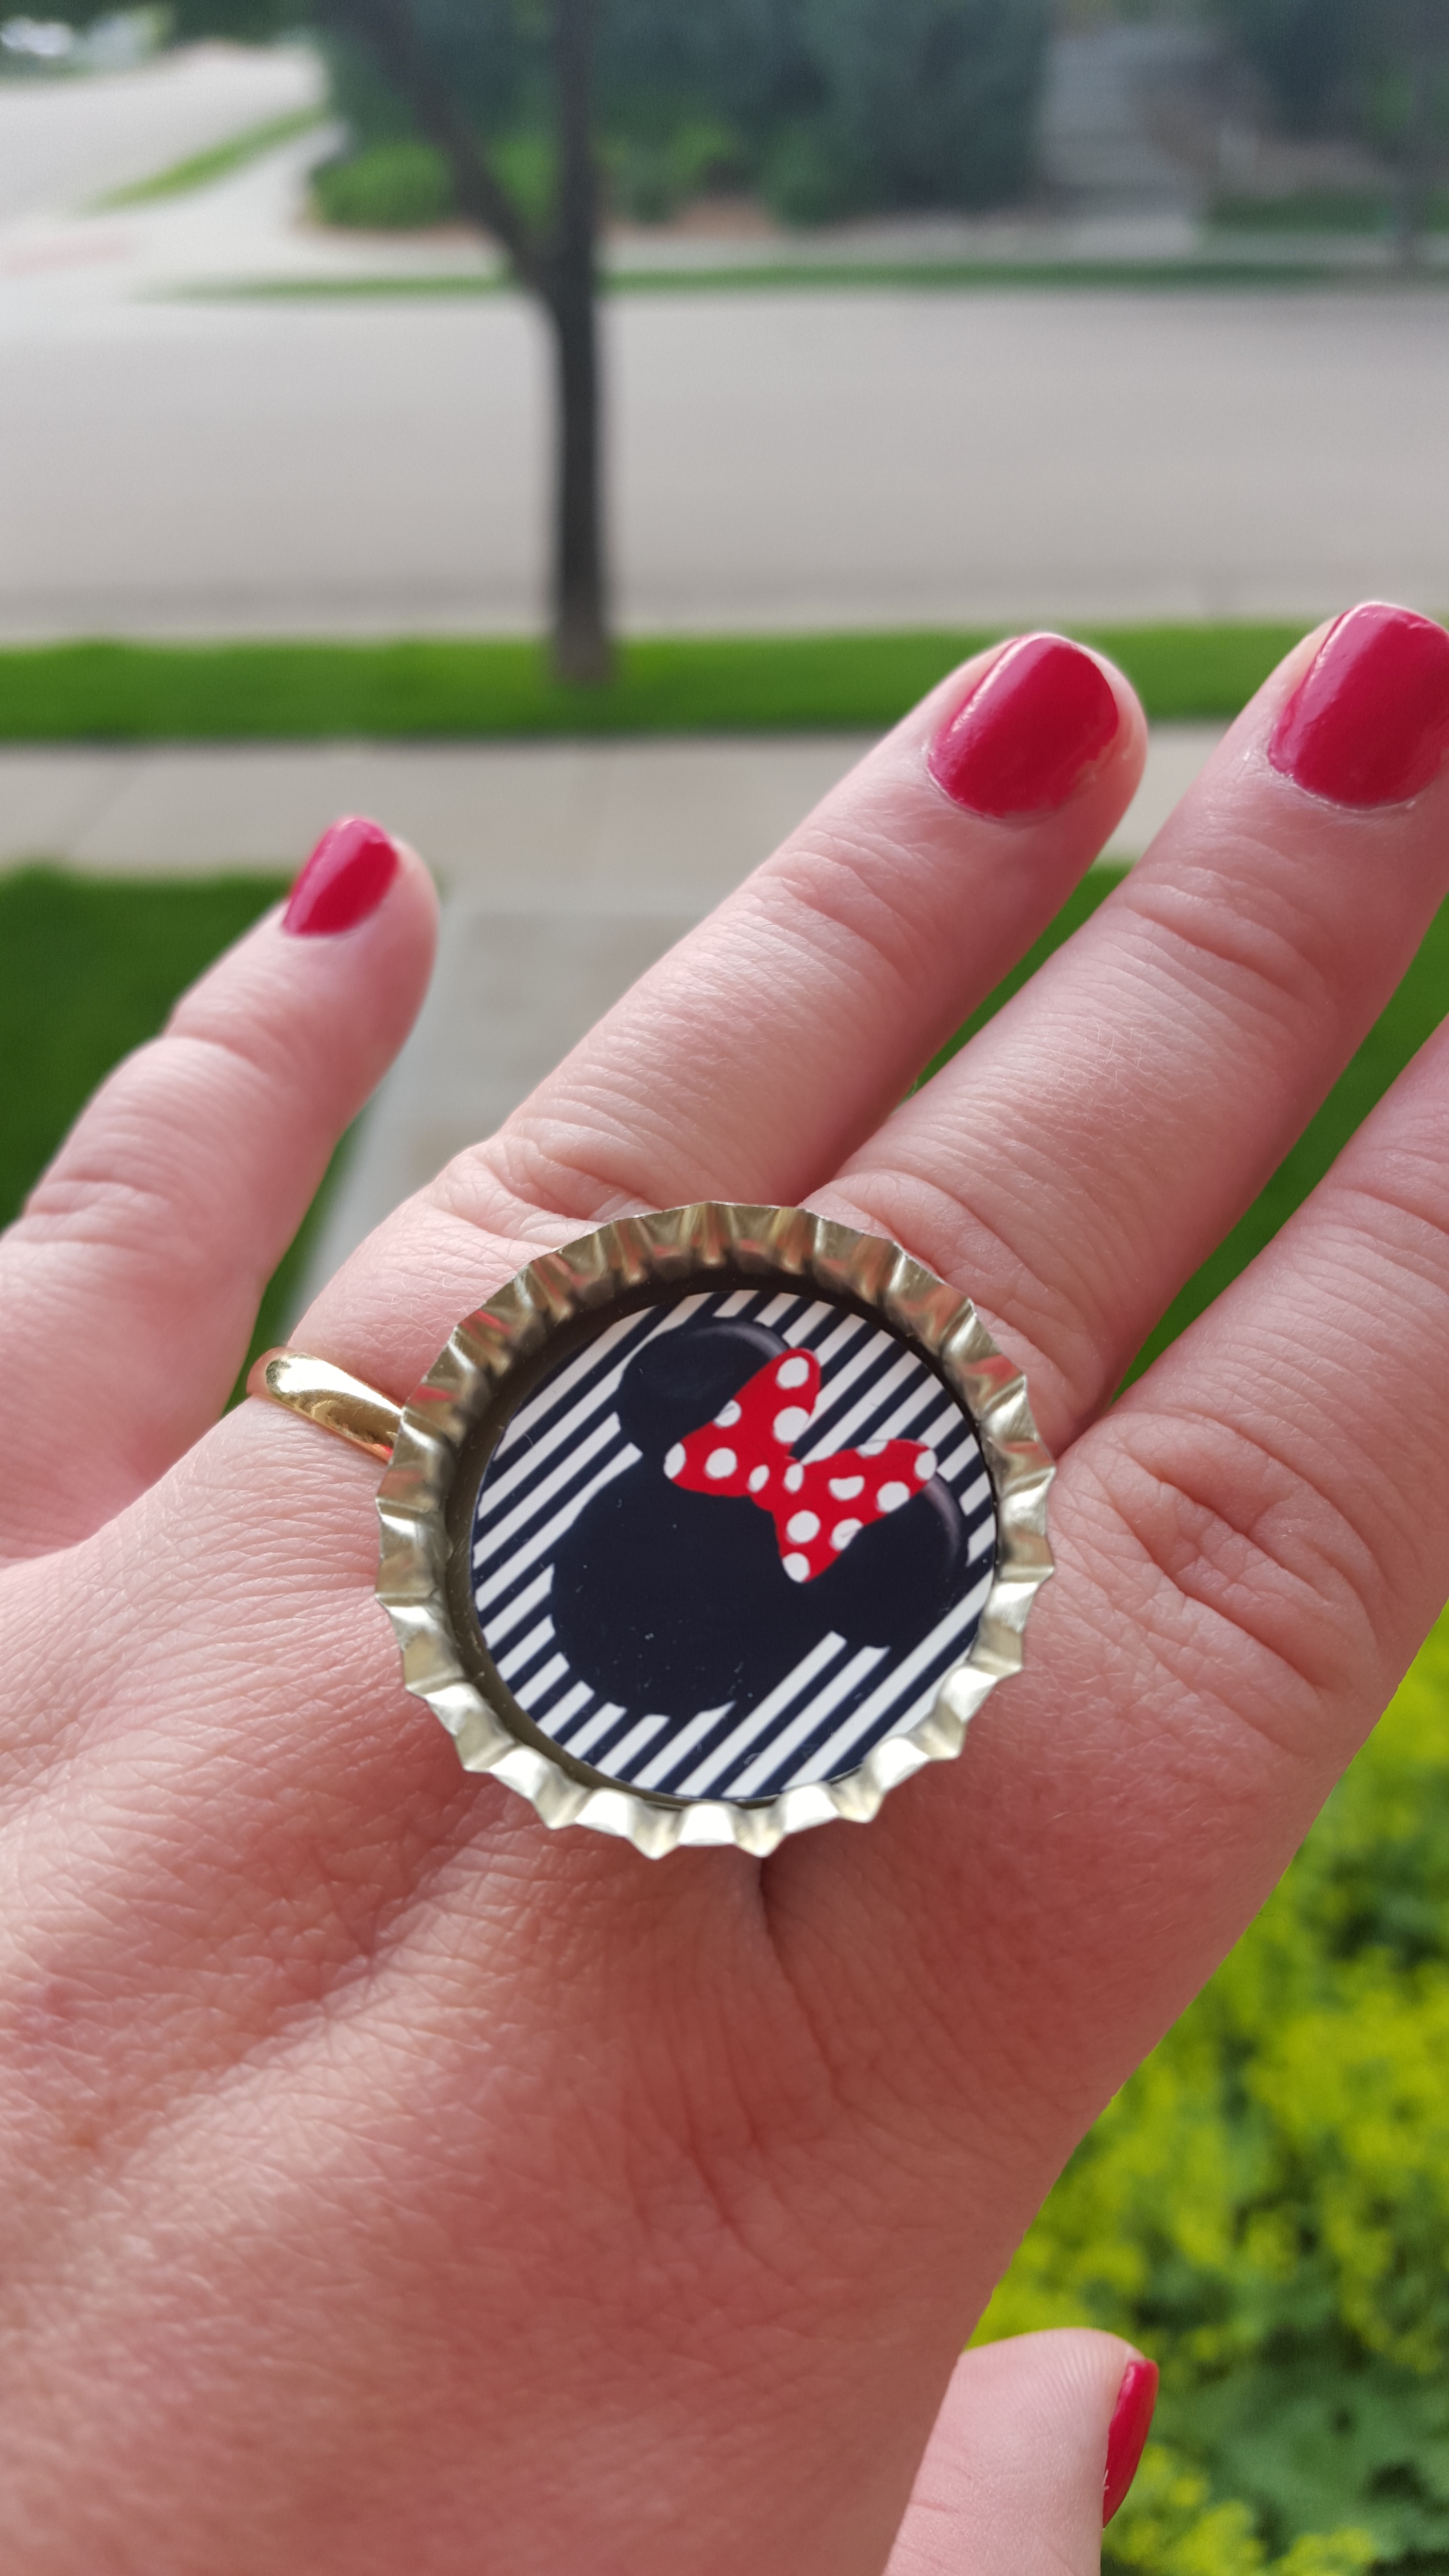
Disney Bottle cap Jewelry

I love going to Disney, I think I have mentioned it once or twice:)

20150611_070727

So every time I go I make new things to take with me. Well, we are headed to Disneyland in a few weeks so I decided I needed new jewelry. These are so easy to make.

Materials

Bottle caps (I found a bunch on Amazon)

Bottle caps prints (I just Googled for free images, but you can purchase some really cool images from Etsy). After I found my prints I just printed them up on my little photo printers so that the images were glossy. You can send them out to print or print them on you home printer. If you use regular paper in an ink jet printer I would coat the top with mod podge or some kind of sealer.

Circle punch about the same size as your image, or if you are steady you can free hand cut out the image

glue, I hot glued the image to the bottle cap and used e6000 to glue the cap to the jewelry. But you can use what works for you.

Directions:

This is so simple:

  1. print images
  2. cut out images
  3. glue to bottle cap
  4. coat image if needed (I didn’t with the photo paper)
  5. glue the bottle cap to your ring or
  6. punch hole in the top of the bottle cap and add a jump ring for a necklace or add a hook earring for earrings or glue a pin back on for a pin. The options are endless!

That is it, pretty easy right? Now you have really cool custom jewelry to wear at Disney, or all the time.

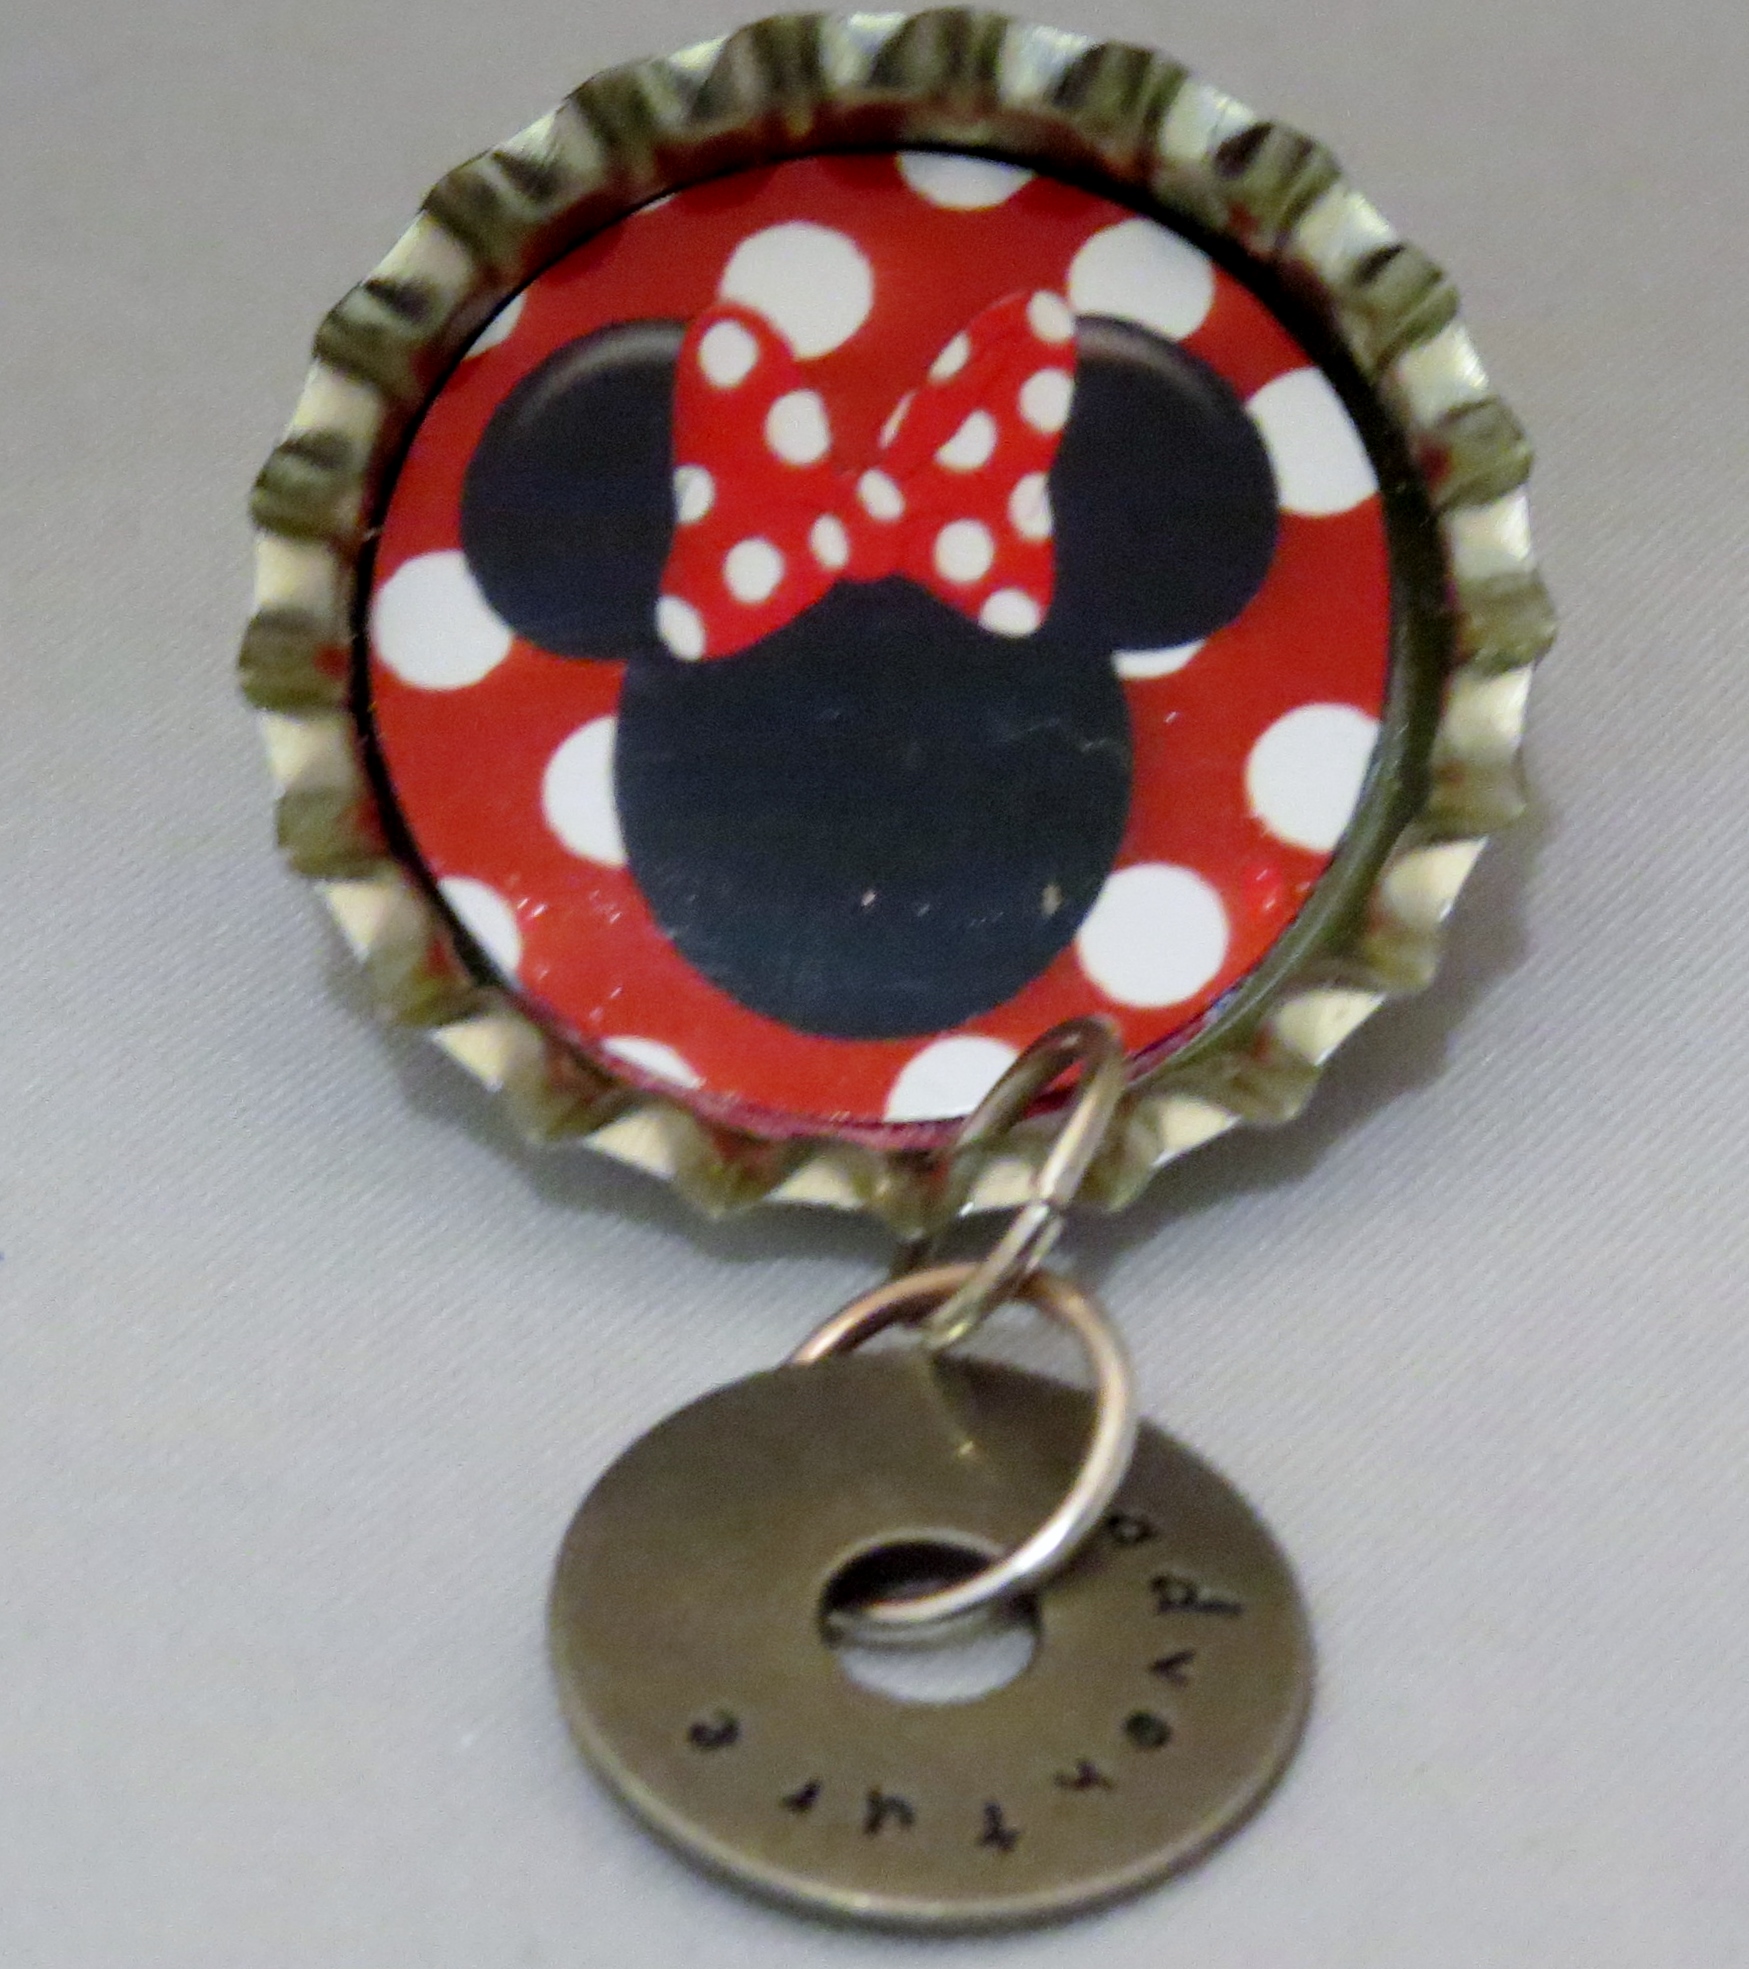
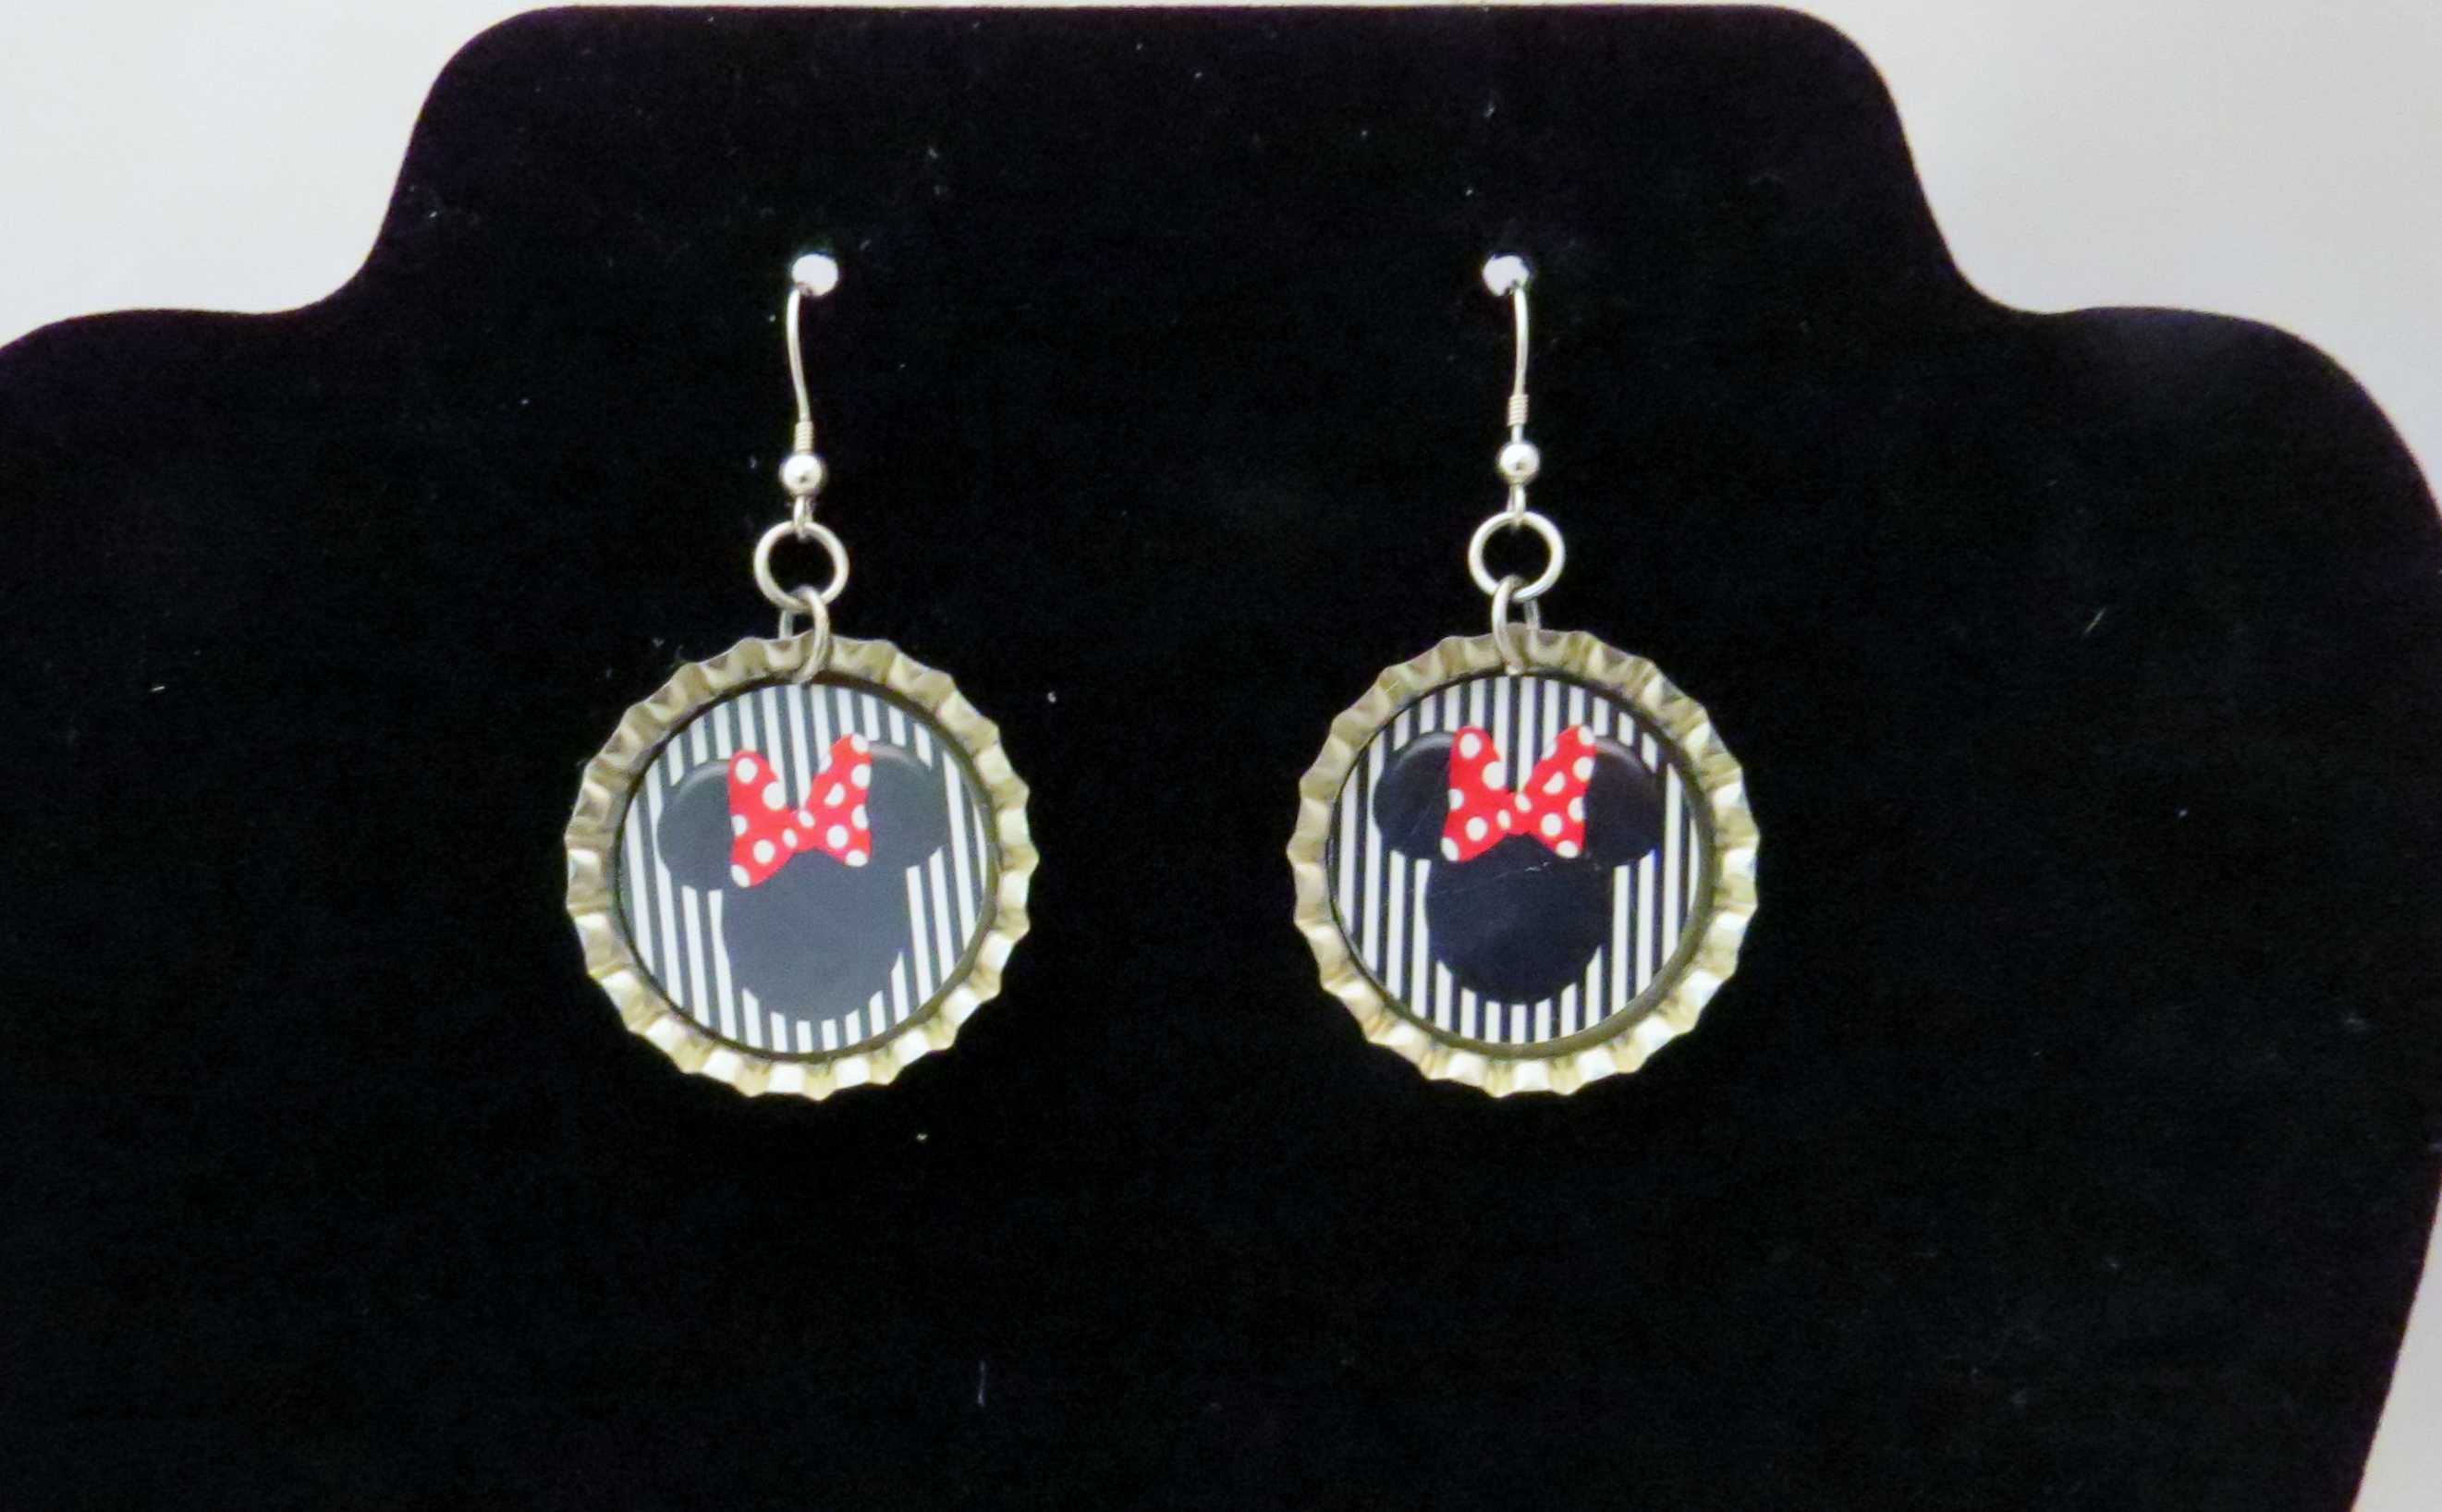
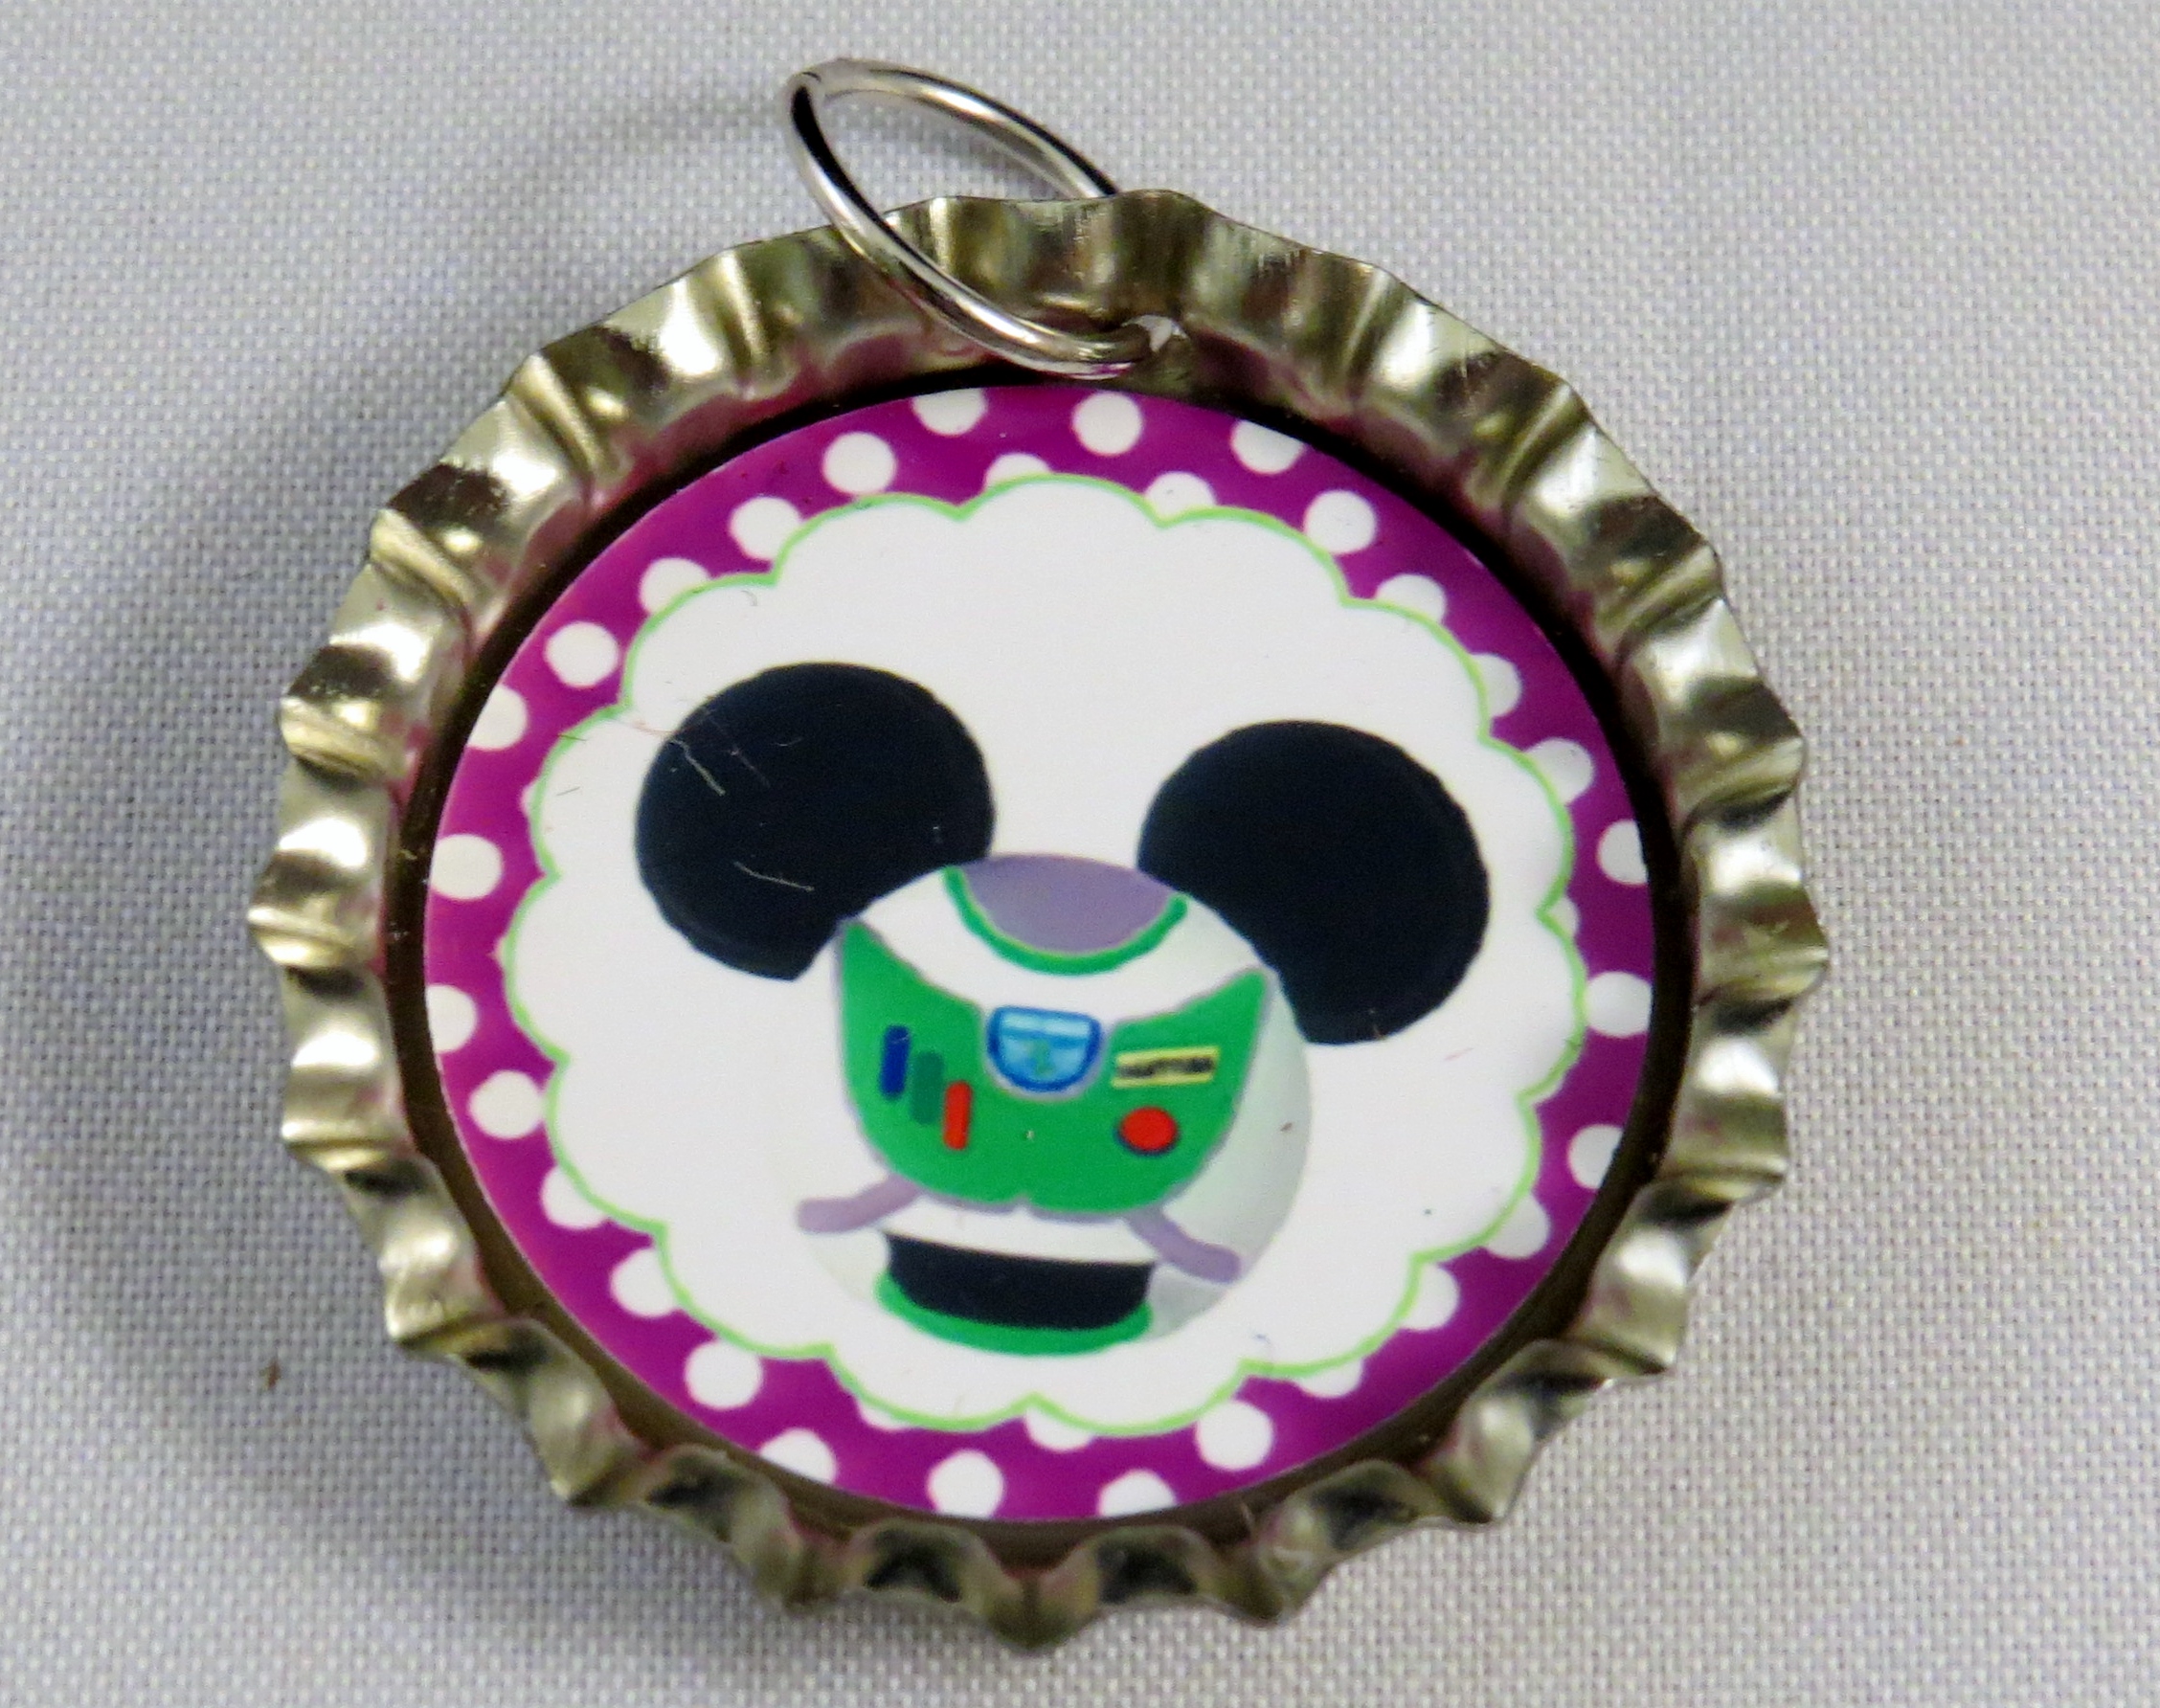
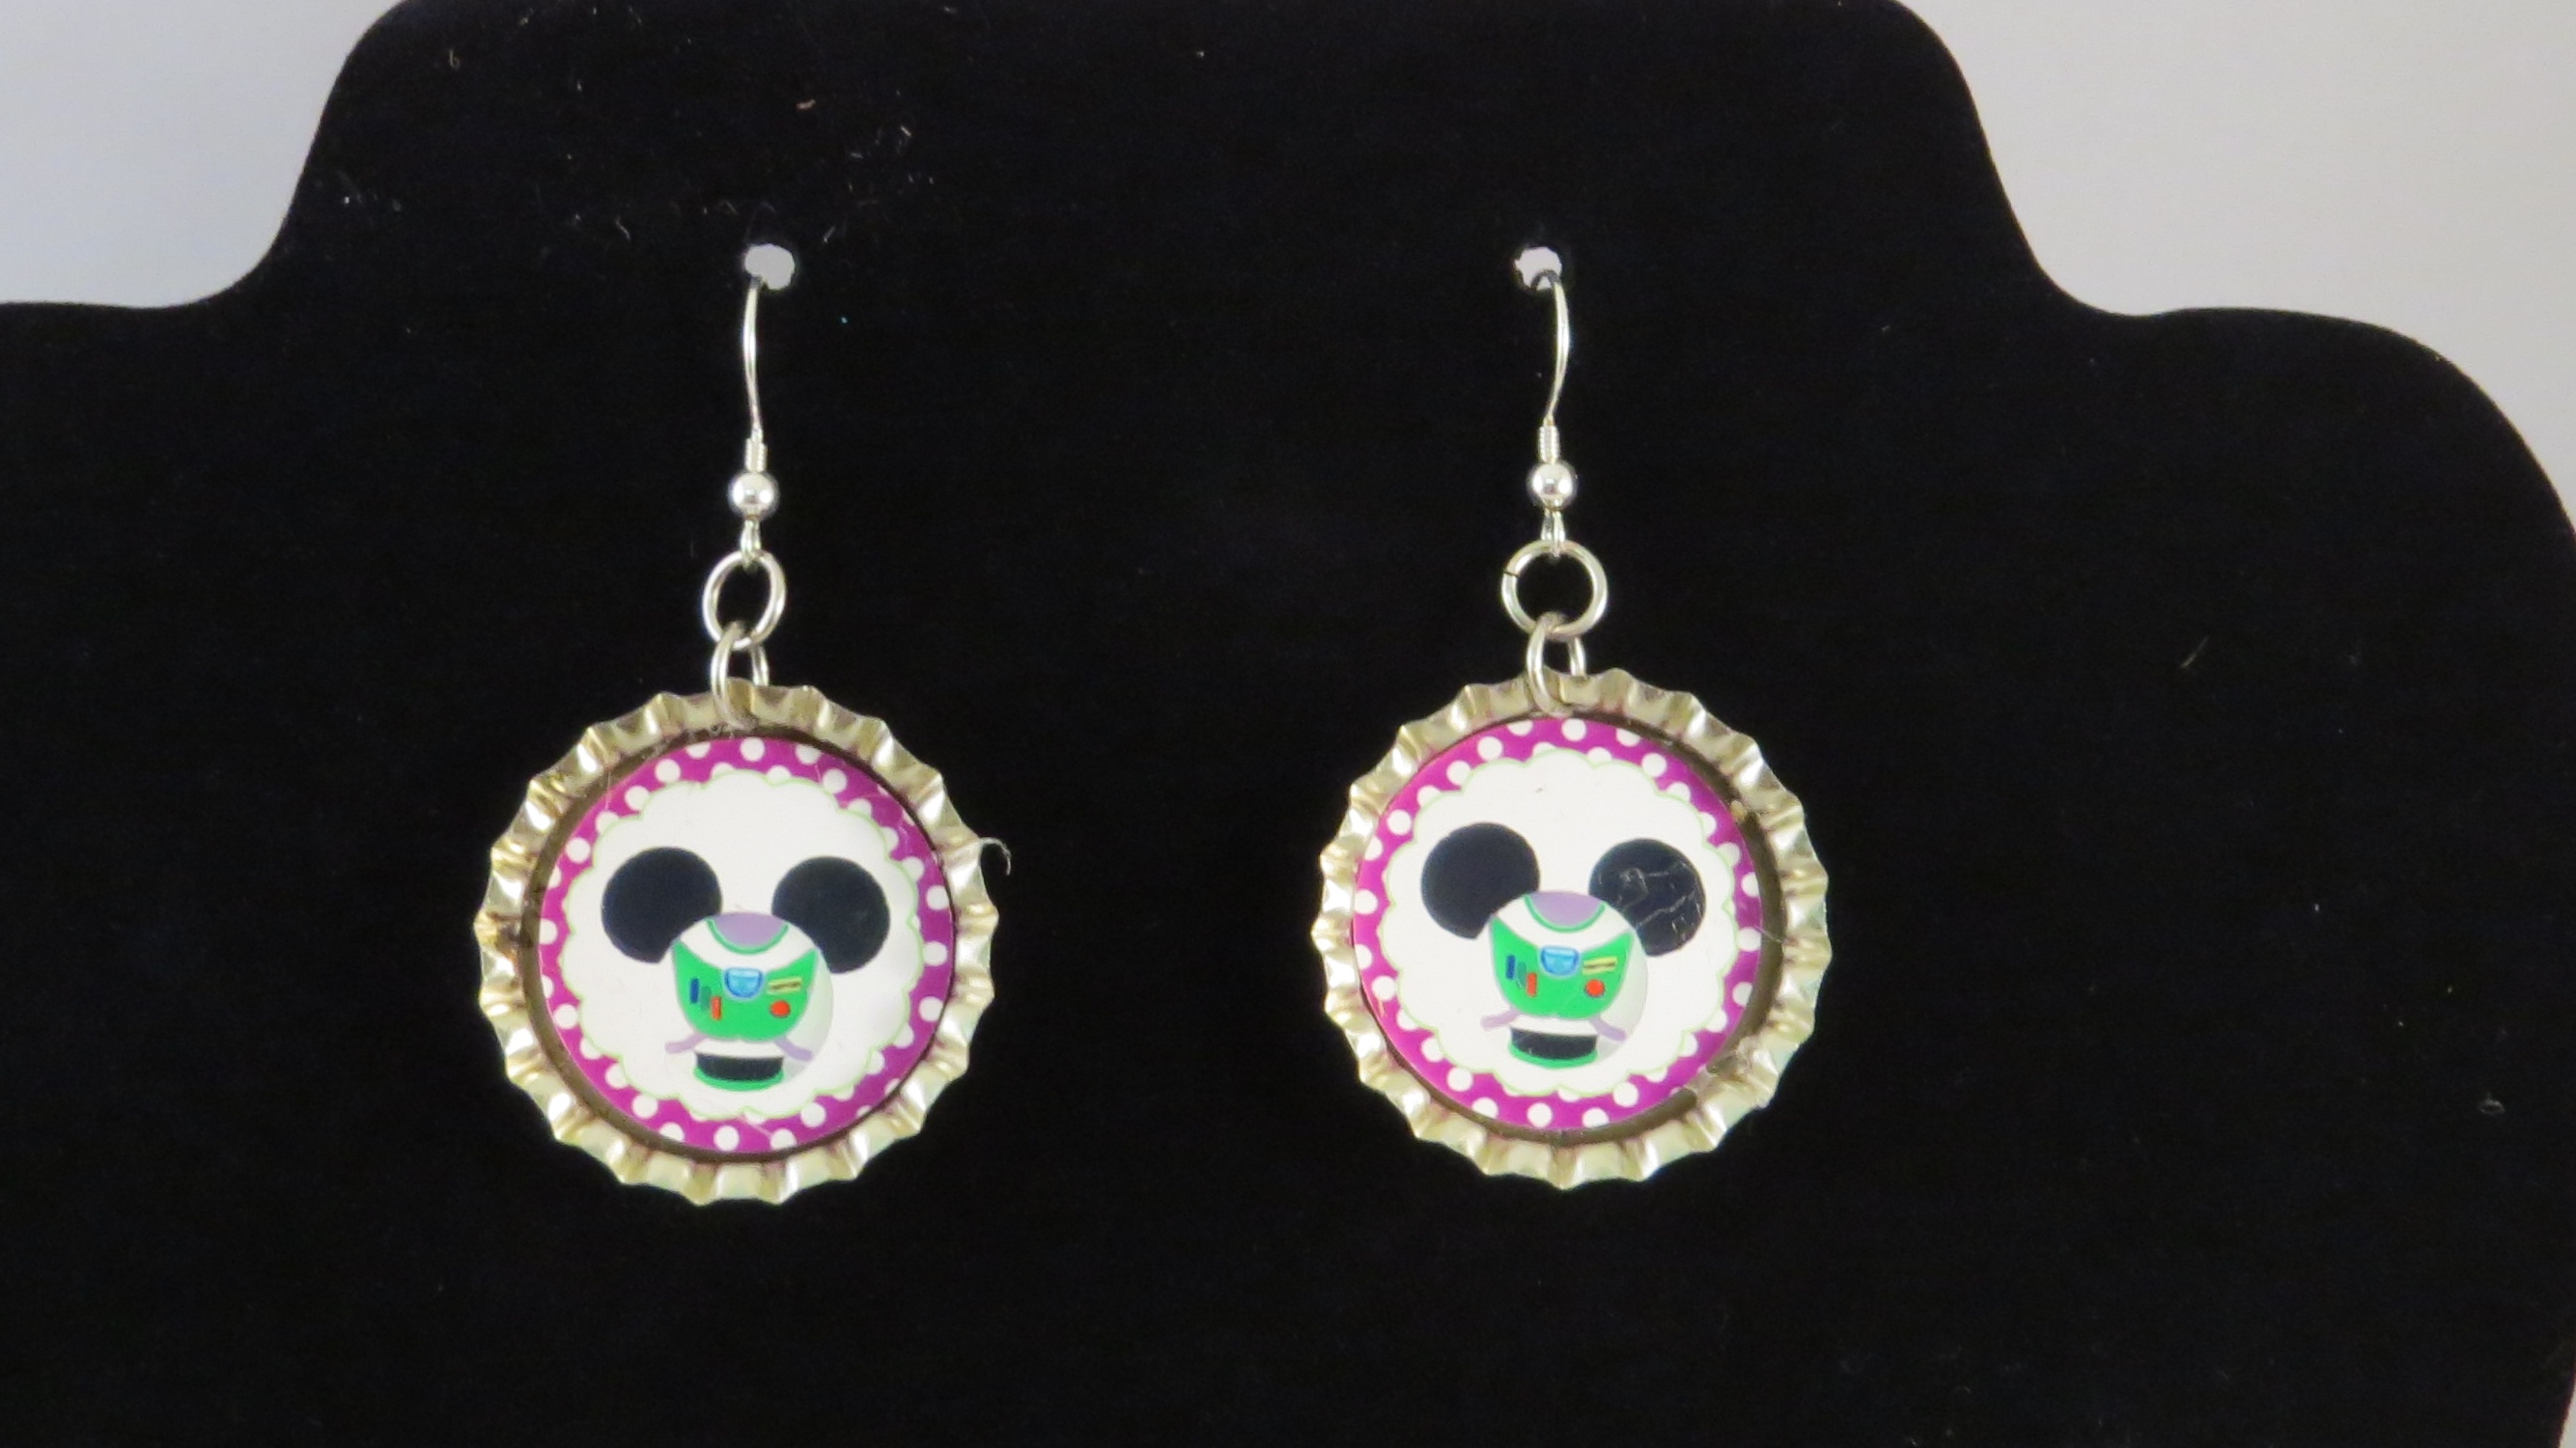
Here are some I completed. I can’t wait to wear them at Disney!

IMG_4619 IMG_4616 IMG_4579 IMG_4554

© 2025 Take Time To Create

Theme by Anders NorenUp ↑

Follow

Get the latest posts delivered to your mailbox:

%d bloggers like this: