Tag: make it your own (page 8 of 8)

DIY Mickey Messenger Bag

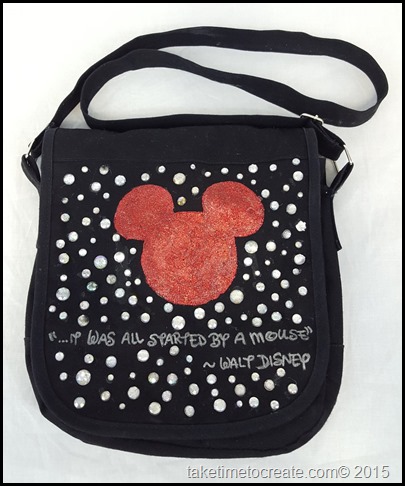
When we went to Disneyland I decided that I “needed”  a new bag to hold my wallet and essentials. I didn’t want it too big, just big enough to carry what I needed for the day. Of course I decided that I needed this bag the day before we left. And of course I wanted to use a product that I have never used before. Nothing can go wrong with this scenario, right?? wrong! All kinds of things happened and and few tries later I ended up with a new bag. It only took me 3 times as long, but it did get done Smile 

DIY Disney Mickey messenger Bag


I will give you the instructions on how you should do it  and I will even tell you what not to do, haha!

Materials:

~ messenger bag

~ stencil of what you want to create

~ Graphite paper

~ rhinestones

~ fabric paint

~ E-6000 glue

~ Silver Sharpie


Instructions:

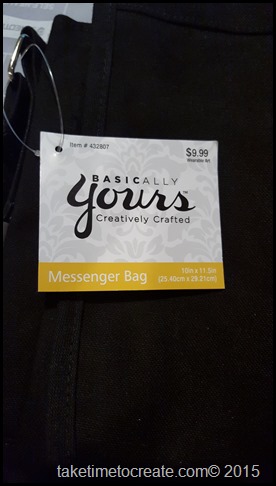
1. Pick out the messenger bag you want to decorate. I found this black on at Hobby Lobby, and I used a coupon so it wasn’t too expensive. Much cheaper than anything I would find at Disney in their stores Smile . It worked very well, except with all the decoration the flap was a little heavy and when I snapped it the flap would fold weird. So I just never snapped the flap and let it hang, and that worked out just fine.


messenager bag     messenager bag

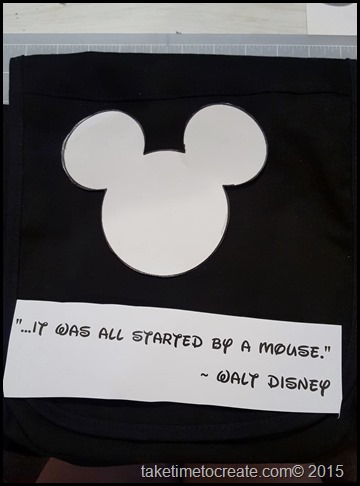
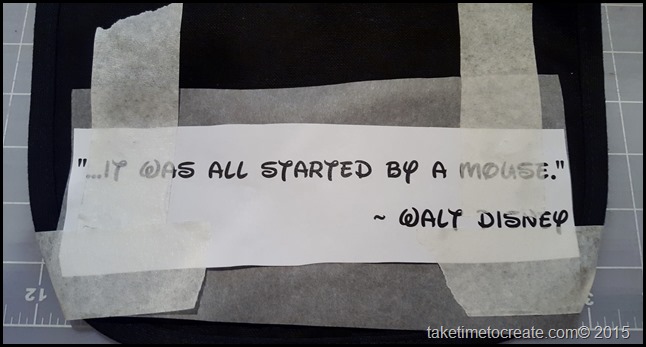
2. Print out what you what to put on your bag, I found a Mickey head silhouette and the quote. I downloaded a free Disney font and typed the quote in a word processing program and printed it at home. (here is the first problem I had. Instead of the stencil I cut out the Mickey shaped with  glitter iron on transfer paper. then I tried to iron it onto the bag.  It didn’t iron on well and was pealing up. I decided to try again, so I picked off the first one and made a new Mickey head and ironed it on again. Once again it did not work. So I picked off what I could and went on to plan B.  I am going to have to figure out what I did wrong. Do you guys have any thought or suggestions?)

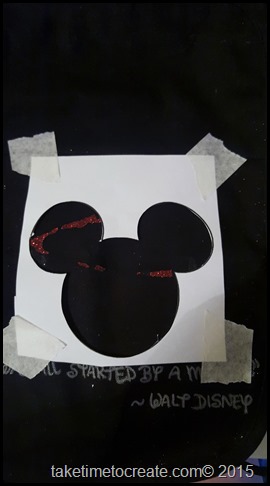
3. Place your stencil and quote on the bag.

lay out stencil and quote


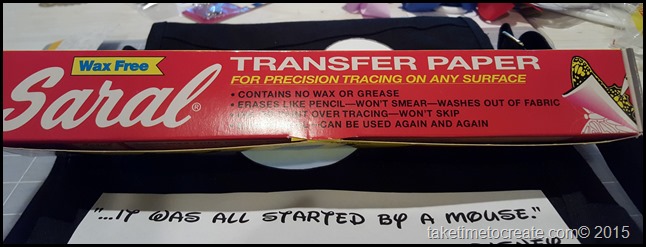
4. Cut out some graphite, big enough to put under the quote. Trace the quote onto the bag and the graphite paper will transfer the quote onto the bag. The graphite paper I had was hard to read, but manageable

Graphite paper     Lay out quote

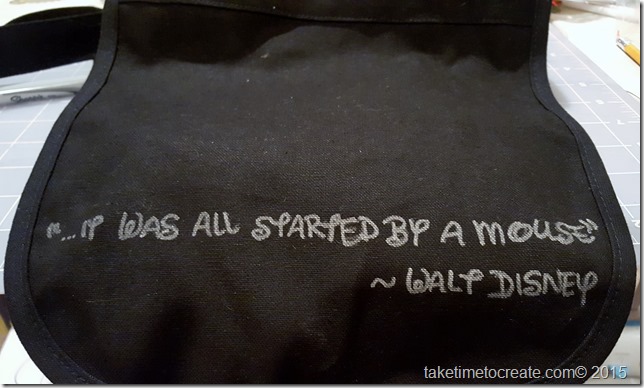
5. Trace the words with a silver Sharpie. I traced it about 3 times. A fabric marker would work as well.

trace quote with sharpie

6. I used Stickles in 2 colors to fill in the stencil. This is another example of a project not working as well as I thought. Stickles are not really good for fabric. We all know this, but if you remember I was doing this the night before we left so I had to use what I had on hand and that was Stickles. I put 2 coats of Stickles on then put a coat of E-6000 glue over the top to seal it in. It worked ok and held up for the week, but I think it would have been better with fabric paint.

lay out stencil

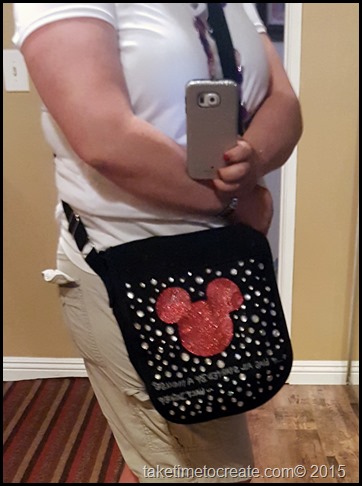
7. Once your Mickey is on and your quote is good to go then add Rhinestones all over. Originally I planned on the bag with no rhinestones, but it was a little too plain for my tastes and I added the sparkle.


posing with the bag

That is it. It held up all week with only a few rhinestones falling off, but that is not bad considering all the problems I had along the way.

What ideas do you have for a bag?

What problems have you had with your crafting projects and how did you fix them?

Turn a plain cadet hat into something that will turn heads

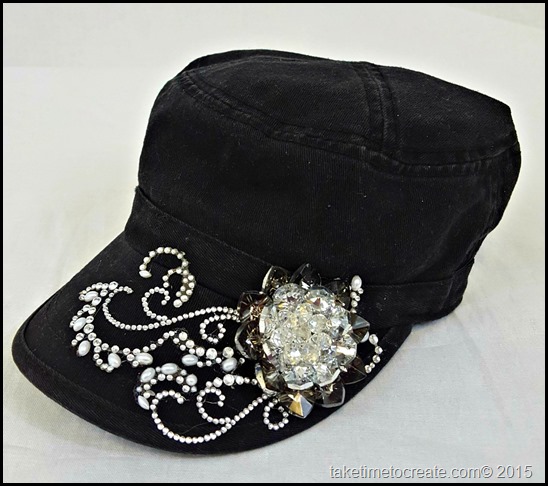
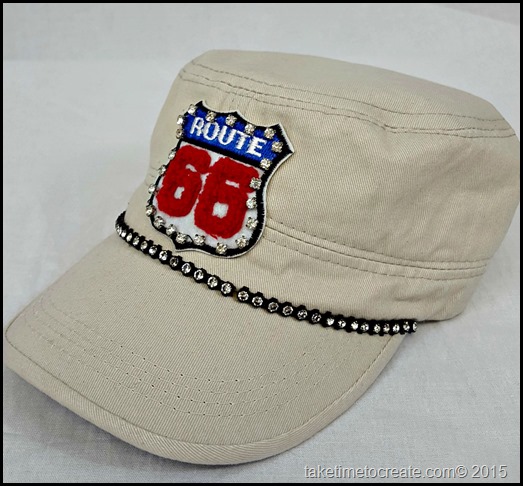
As you all know by now I can’t leave well enough alone. I had these two cadet hats that were fine plain, but not I knew that I could make them better with just a few items.

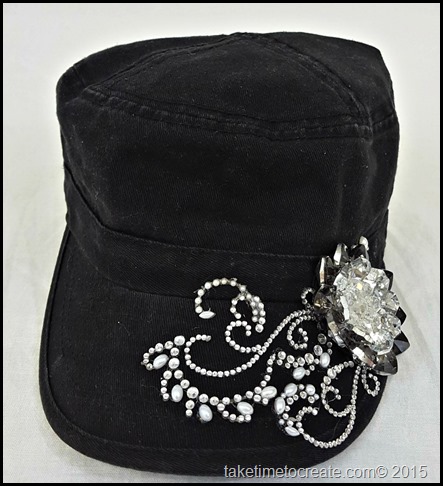
black cadet hat side view     route 66 cadet hat side


Materials:

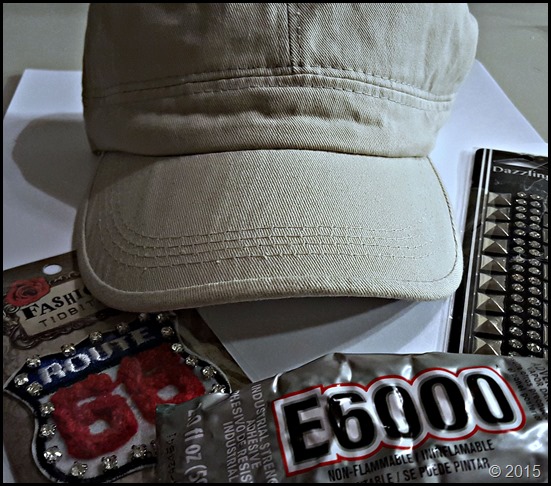
~ Hat, almost any hat will do

~ Bling, whatever you want to decorate your hat with

~ E-6000 glue

~ scissors


Instructions:

Black Hat:

1. Plan out your design. This is important so you can make sure you have room for your wonderful design

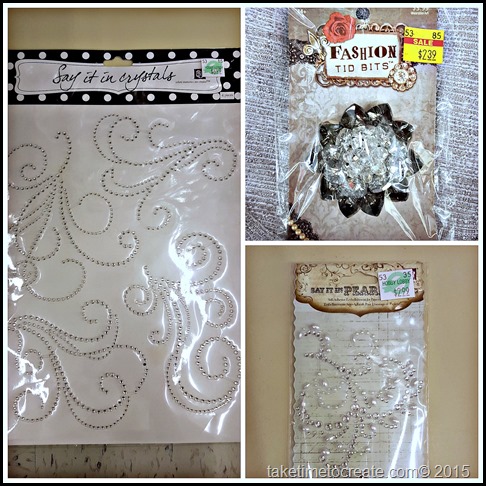
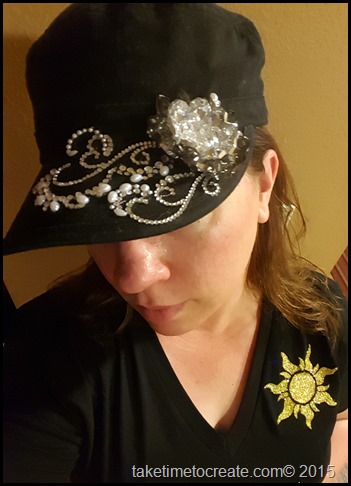
~ The black hat I used pieces from Hobby Lobby. The big flower is a Fashion Tid Bit and the swirls are from the scrapbook section. I forgot to take pictures while I was working so I went back to Hobby Lobby and took pictures after the fact. That is why you can still see the price tag in the picture.

~ I just cut the swirls out and shaped them to get the look I was going for. I didn’t use the whole package, which is good because that means there is more for me use on a different project!

crystals

black cadet hat

2. Glue the design down with E-6000. Even though the swirls have adhesive on them I sill glued them so they would stick really good.

3. Wait 24 hours before wearing to make sure the glue is nice and dry.


Tan hat:

1. Plan the design

route 66 cadet hat

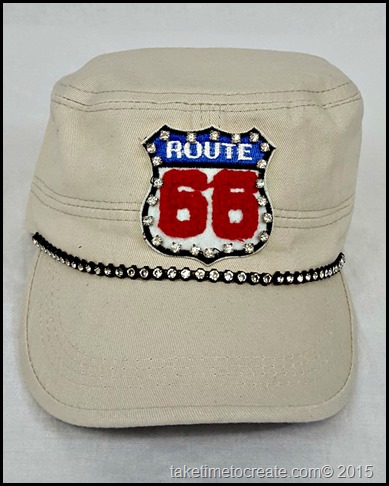
2. Glue the row of rhinestones on near the brim of the hat. I had to cut one of the rhinestone rows to make sure it fit.

3. Glue the patch on the center of the hat.


route 66 cadet hat front

4. Wait 24 hours before wearing to make sure the glue is nice and dry.


Here I am wearing the black hat before I went to Disneyland for the day (so please excuse the lighting Smile ). It held up great, the glue held perfectly and nothing has fallen off yet!

20150803_061422


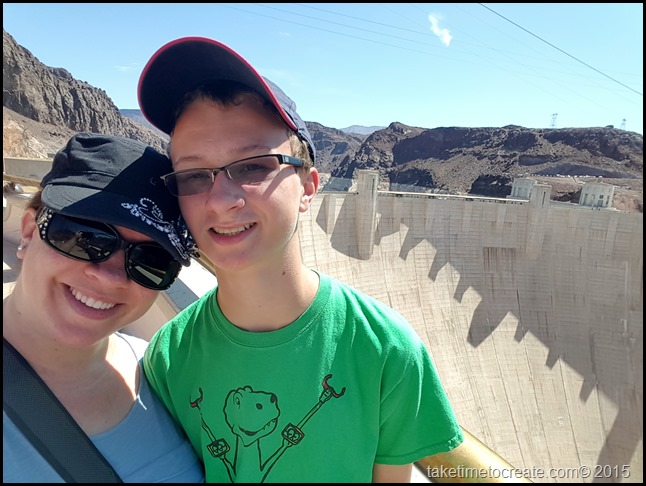
And here I am wearing it at the Hoover Dam with my son.

It is always a lot more fun to wear things you make, do you think? What are your ideas for a new hat?
 

20150802_105153

DIY Rhinestone Mickey Shirt

If you follow my instagram you know all about my trip to Disneyland. It was beyond awesome! We had a wonderful time.

As you probably guessed, I will be showing you all the things I made for the trip. I have almost as much fun crafting for my Disney trips as I do at Disney!

This time I made a Mickey with flower rhinestones. I used the same technique that I made this other Disney shirt.


2015-08-06 08.29.02

The process is the same, just a different design. I have washed these shirts when I got back in cold water and line dried. Everything stayed on! Whoo Hoo! I don’t know how many washings it will take, but for now it is ok.

Materials;

~ t-shirt (I found mine at Hobby Lobby), pre wash

~ Rhinestones (I found the flower ones at the dollar store about a year ago, but just about anything will work)

~ Mickey stencil (I just googled online for one that I liked)

~ tape to hold the stencil in place

~ E-6000 glue

~ Cardboard


Instructions:

1. Put cardboard under your shirt where you are going to glue


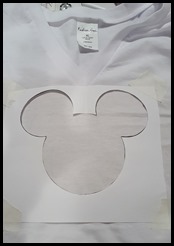
2. Place the stencil where you want it and tape it down

20150729_213304

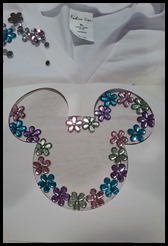
3. Start laying our your design. I used the flowers and added other rhinestones to fill in the blank spaces. This is where your creativity can really take off.

20150729_214204

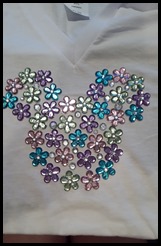
4. Once you have your design in place, start gluing.

20150729_220742

5. Once everything is glued on let it dry overnight and there you have it, a new shirt to where to Disney, or wherever you want to show your Disney pride! Or this technique can work with any stencil. What ideas do you have for a rhinestone shirt?

Crochet keyboard cover for my tablet

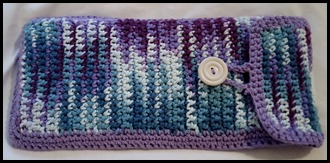
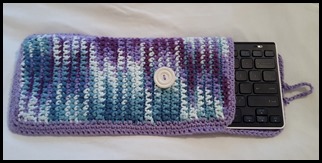
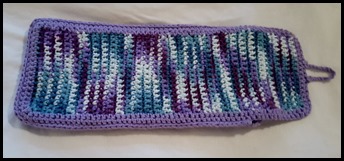
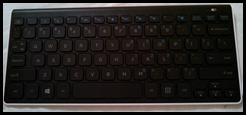
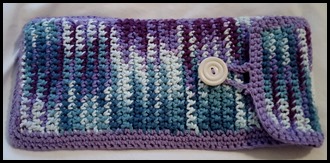
I got a tablet a few years ago and I absolutely love it. But I discovered that it was hard for me to type on the screen, so I opted to get a Bluetooth keyboard. Much better. However, the problem with the keyboard was that it didn’t have a cover. I didn’t want it to get damaged, and I needed to practice my crochet skill (a win-win all around) so I decided to create a custom sleeve for my keyboard.

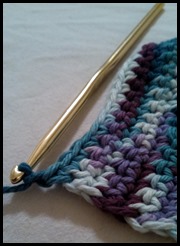
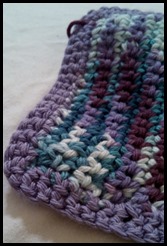
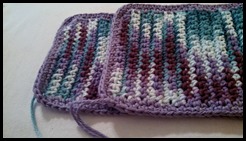
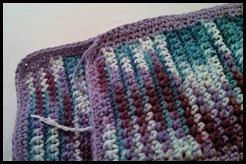
20150531_171048       20150531_171100   20150531_171110

I don’t really have a pattern, but I will walk you through what I did and hopefully you can recreate it if you would like. Please ask questions about what I did, and if you create one as well feel free to post it, I would love to see it.

Material:

  • 1 ball of yarn for the main color (I used Sugar ‘n’ Cream Crown Jewels Ombre. I loved the colors and pattern is awesome as you crochet along)
  • 1 ball of yarn for the edges (I used Crafter’s Secret Lavender)
  • crochet hook ( I used size H)
  • Scissors
  • needle to weave ends in


Instructions:

1. Decide what you want to make a cover for. I figured this was a perfect project for my tablet keyboard.

IMG_20150416_200118_060

2. You can measure the width to get an idea of how long to make your chain row, but I didn’t. In fact I didn’t do any measuring, and this became a bit of a problem later…

IMG_20150413_150711_536


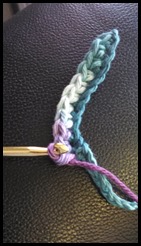
3. Start with your chain row and single crochet until you get the length you want.

IMG_20150416_195640_447

4. Then you make the next panel and single crochet along until you get it long enough to cover your object and to wrap around to create a flap. This is where I figured out that I should have measured more. I didn’t make my panels wide enough, so when I held the two together it was too small for the keyboard. That is why I have a purple boarder Smile I did two rows of single crochet around each panel. Now that it is done I really like how it turned out. The extra purple was a happy accident.


IMG_20150416_195851_637

4. To connect the panels- I did a row of single crochet on the outside of the panels, I started right below the flap on one side and went all around the edge to the other flap.


IMG_20150419_185301_759   IMG_20150419_201844_738

5. Then I made a small loop with just a row of single  crochet in the middle of the flap to make a button hole

6. Sew on a button and you are done

Please let me know if you have any questions, or if you need clarification on this project. I hope this inspires you to create a cover for some of your electronics.


20150531_171048

Crochet ear buds

As you can probably tell from my super, sparkly Beats post I am not one to leave my headphones alone. Recently I got a new phone and I came with a set of ear buds. I don’t usually use ear buds, but on occasion I do. But I couldn’t just leave them plain, no way! Crocheting is my new yarn hobby and it is super simple to crochet around any cord. I hope this tutorial makes sense, I just started crocheting and I haven’t created any tutorials for crochet. (and I am finding it is harder than it looks Smile)

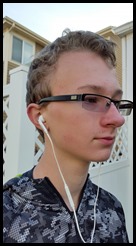
20150528_072306   Here is my fantastic son modeling the before picture of the ear buds. He is a good sport.


Here are the materials you need:

  • Yarn (I am loving the bon-bons by Lion Brand. They are the perfect size and the colors are great!)
  • crochet hook
  • scissors
  • needle to weave the ends in with.
  • Ear buds

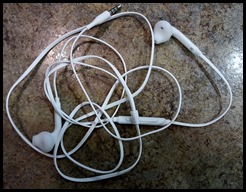
20150528_072120 (2) Here are my ear buds looking all plain and boring. But not for long!

Instructions:

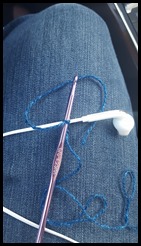
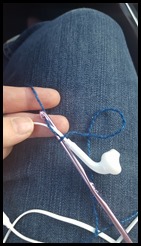
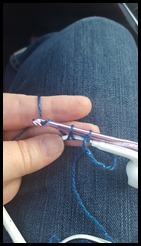
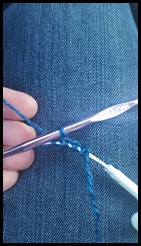
  • Start at the top of one the ears.  Tie a knot with your crochet hook in it. Then take your hook under the cord, yarn over, bring the yarn and hook around to the top, yarn over, and bring through the 2 loops.
  • It is essentially a single crochet with a cord in the middle

20150528_074522   20150528_074615   20150528_074629

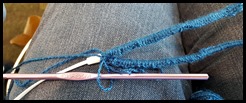
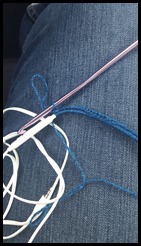
  • Continue down one side of your ear buds until you get to the junction where they combine into one cord. Make a big loop and cut the yarn. Don’t weave in the end yet and keep the loop. After you do the other side you will take this loop and combine it with the other side and continue down the cord.

      20150704_090722   20150704_090935   20150704_091248

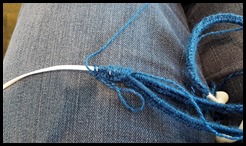
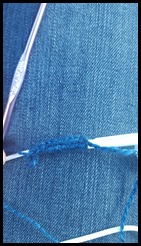
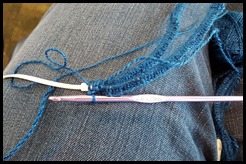
  • Crochet the down the other side of the ear bud. Join the two loops in the middle and continue down the cord until you get to the end.


  • I found that I had to stop occasionally and squish it all together so it looked better, otherwise it was too spread out and you could see the cord through the stitches. 

20150528_074700   20150528_075741   20150528_074836

  • Once you get to the ends tie a knot and weave in the ends. Then wear your new stylish ear buds with pride!

A side bonus is they are less prone to tangling, which is always a good thing!

20150717_111138Here is my wonderful son modeling the finished ear buds. Please excuse his wild, unbrushed hair.  Smile


Please let me know if you have any questions, I would love to help you create your own awesome ear buds.  And I would love to see your finished ear buds!

Newer posts »

© 2025 Take Time To Create

Theme by Anders NorenUp ↑

Follow

Get the latest posts delivered to your mailbox:

%d bloggers like this: