Tag: handmade (page 9 of 9)

TBT Handmade dollhouse from my childhood

Hello everyone!

Come with me as I take a small walk down memory lane.

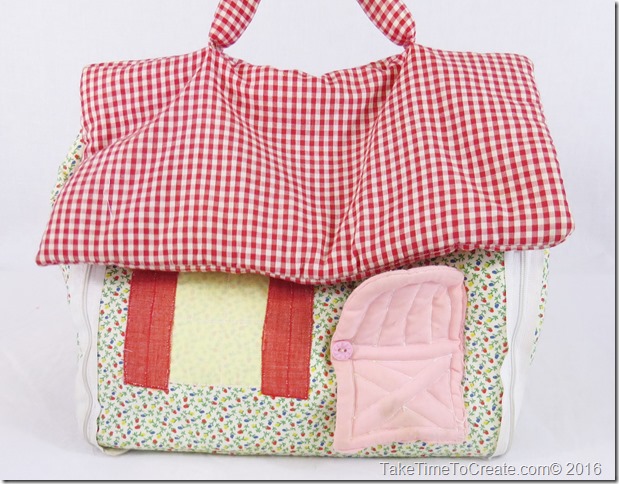
Don’t you just love finding things from your childhood? Because I do! When my sister was in town the other day she helped my mom with some cleaning and when ever there is cleaning there are discoveries to be made. The great discovery of the day (at least to me) was when  my sister found this doll house that my mom made for me when I was a child. There were some other crafting discoveries made that day that I will share with you on another day.

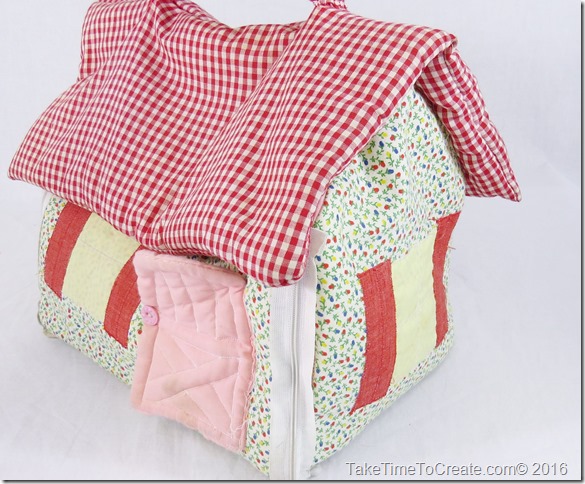
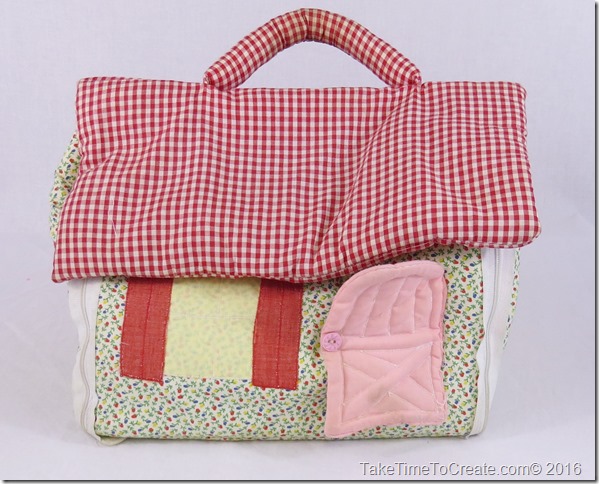
TBT Handmade dollhouse

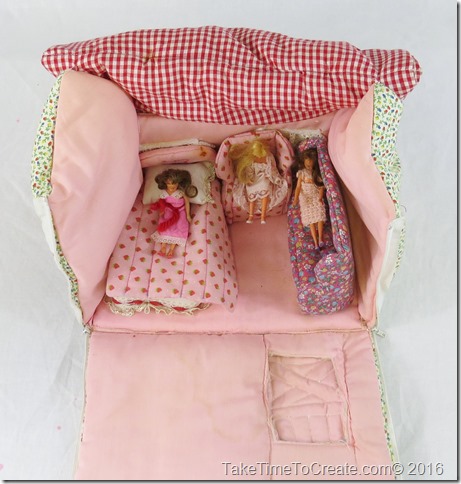
I loved this doll house! My mom made this from a pattern for my small dolls, I think they were called Glamour Dolls. I took this with me when we went to Utah to see family and I played with it all the time at home.  You can tell that it was well loved by how dirty it is (I could blame it on it being in storage for so long, but that is not were all the dirt came from…)

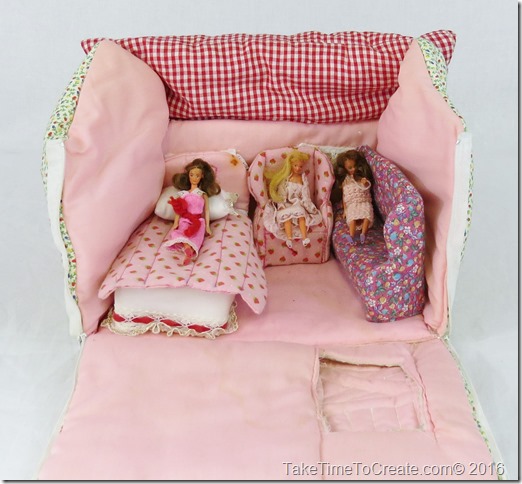
TBT Handmade dollhouse

The dolls’ hair is a little crazy, and again I can’t blame that all on the storage. I was rough on dolls’ hair, I loved to cut  and dye and style my dolls’ hair. By the time I was done with them they looked fabulous, haha! And because I was my mom’s favorite child (haha) she even made clothes for my tiny dolls (which I am sure there were not easy to make). I am not quite sure why my dolls are all in sleeping clothes, maybe it is because pajamas are my favorite clothes…

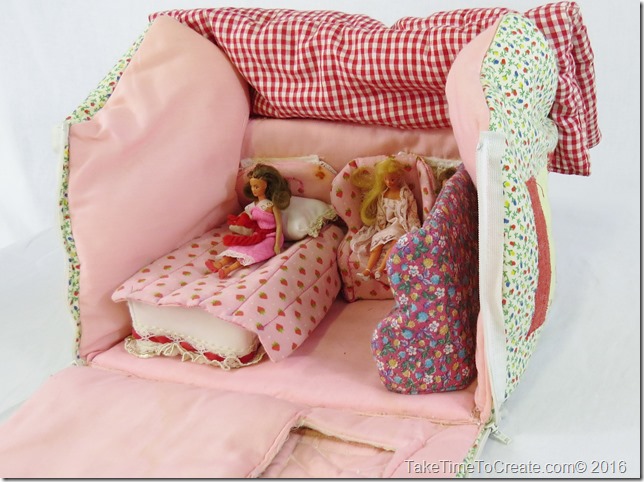
TBT Handmade dollhouse


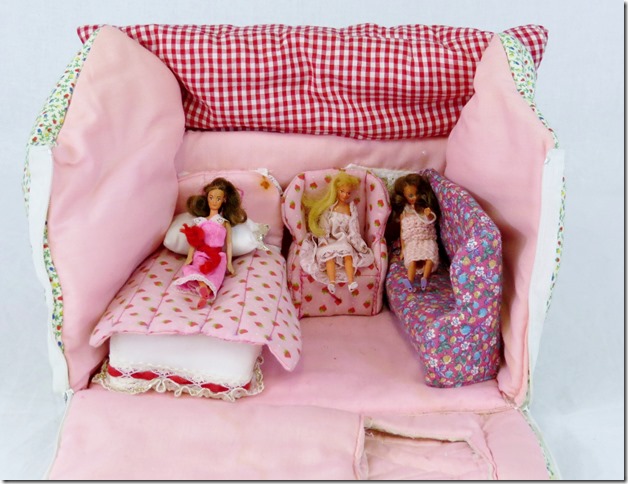
This doll house was great! The sides zip up and down and the roof is Velcroed on so everything is self contained. My mom made it with plastic canvas on the inside which helped it hold its structure, but over time the plastic has begun to disintegrate so the house is no longer holding its shape. But that is ok, I think it still looks cute. The inside has a bed, couch, and chair. The furniture is easy to move around, but this arrangement was how I liked it best. The detail that my mom put into this house is wonderful, there are ruffles around the bed and the pillow even has ruffles, you can’t see it but the inside of the windows have lace curtains on them, there is detailing on the front door and there are shutters on the window. Now that I am older I can really appreciate the time and hard work my mom spent on making this doll house.

TBT Handmade dollhouse


I remember playing with this for hours and my My Little Ponies would come by and play with the girls and my Barbie’s would stop by as well (I am sure that my Barbie’s felt like they were visiting a Hobbit house, but they came by any way) I played and pretended with this house for hours and it was so exciting to see it again.

IMG_0119

TBT Handmade dollhouse

TBT Handmade dollhouse

Thank you for taking this trip with me down memory lane. What toy did you have from your childhood that you played with all the time?

Repurpose an old window into a Chalkboard

Hello Everyone!

As many of you already know I was working a project for a Mental Health Awareness charity auction. We were all repurposing and painting old windows. Here you can see my post about creating a shabby chic message board. Today I am going to walk you through how I made this chalkboard with an old window.

Repurpose an old window into a Chalkboard


Materials:

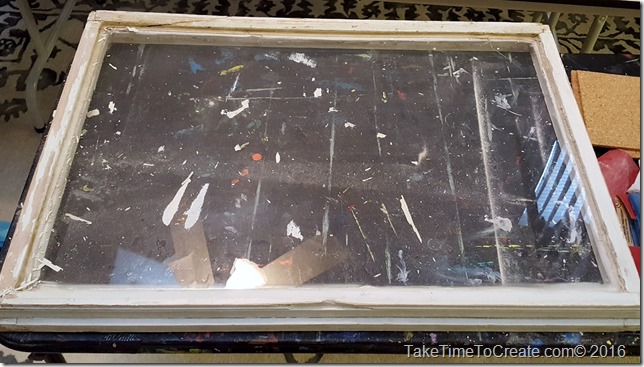
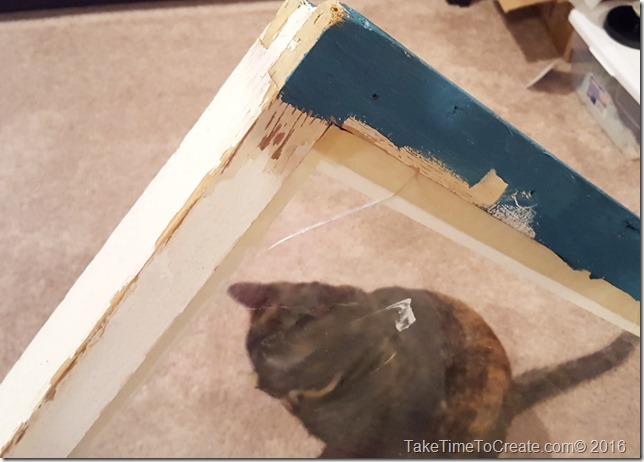
~Old window. This window had pealing paint and a crack in the Plexiglas, so it was perfect for this project.

~ Cleaning supplies and sandpaper

~ Paint, brushes, and tape for the frame

~ Primer, chalkboard paint, and brushes for the chalkboard part.


Instructions;

~ The first step is to prep the window. Not the most fun, but it is necessary for a successful project. I sanded all the edges until they were smooth and ready to paint. This took a while because the window was so rough.

Repurpose an old window into a Chalkboard

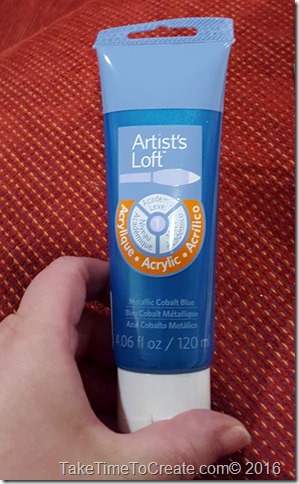
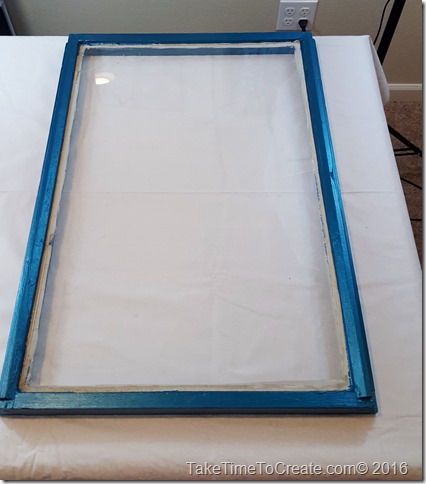
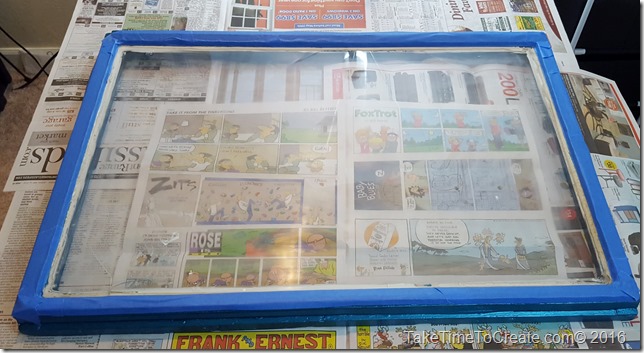
~ Then you paint the frame. I did tape off the Plexiglas because I am not the neatest painter. I used Artist’s Loft in Metallic Cobalt Blue, I love the iridescent quality of the blue paint.

Repurpose an old window into a Chalkboard

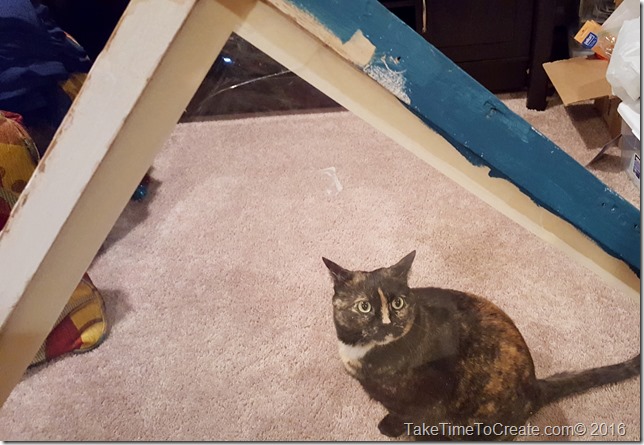
~ Paint away. Kitty help is essential to the success of any craft project Smile Starlight is my favorite kind of help, lol.

Repurpose an old window into a Chalkboard

Repurpose an old window into a Chalkboard

I did 2 coats of the blue

Repurpose an old window into a Chalkboard.

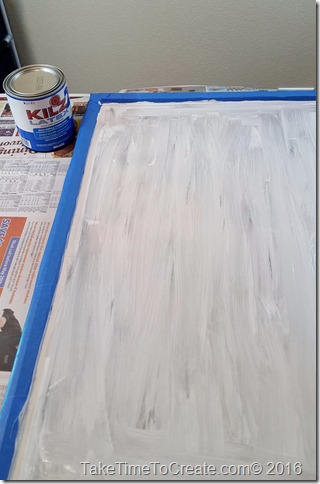
~ After the frame had dried for a day I taped off the frame part and prepped the Plexiglas. First I lightly sanded the glass so that the paint would adhere. Then I put a coat of primer on according to the directions. I used Kilz primer.

Repurpose an old window into a Chalkboard

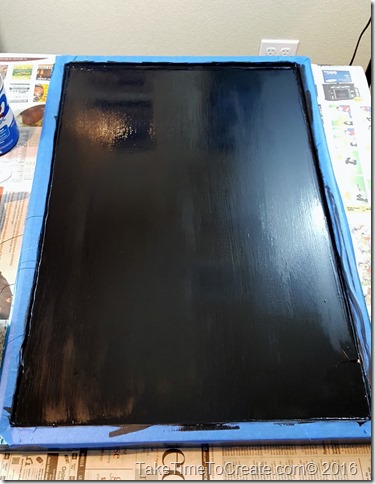
~ Once the primer was dry I painted 4 coats of chalkboard paint on according to the directions. I used Rustoleum Chalkboard paint. Once it was dry and cured for 3 days I conditioned the chalkboard according to the directions.

Repurpose an old window into a Chalkboard

Repurpose an old window into a Chalkboard

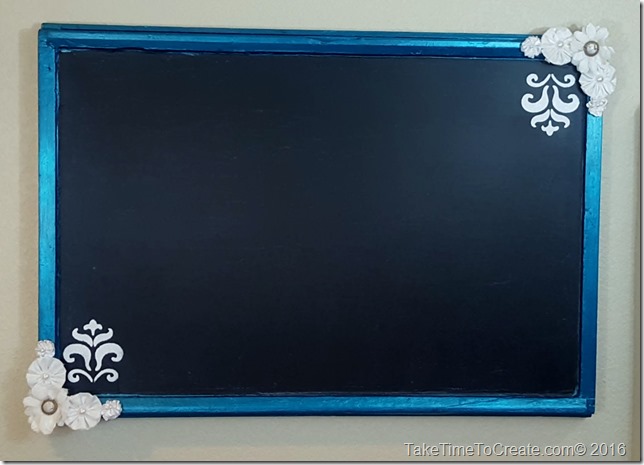
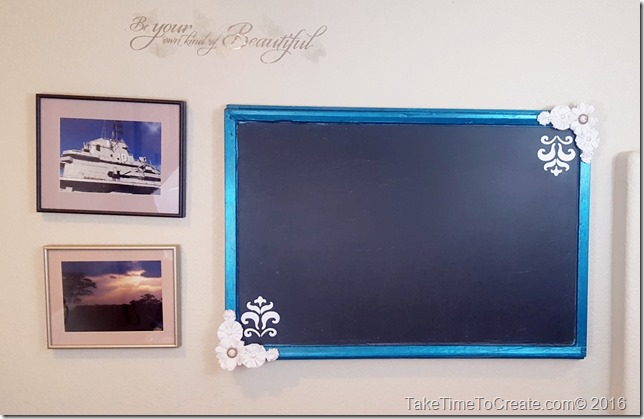
~ Once it was completely dry and conditioned I took a stencil and painted a design in the corners and added some flowers and that is it. A new chalkboard for an old window

Repurpose an old window into a Chalkboard

Have you painted and or repurposed an old window? How did it turn out? I would love to see pictures!

Re-purpose an old window into a shabby chic message board

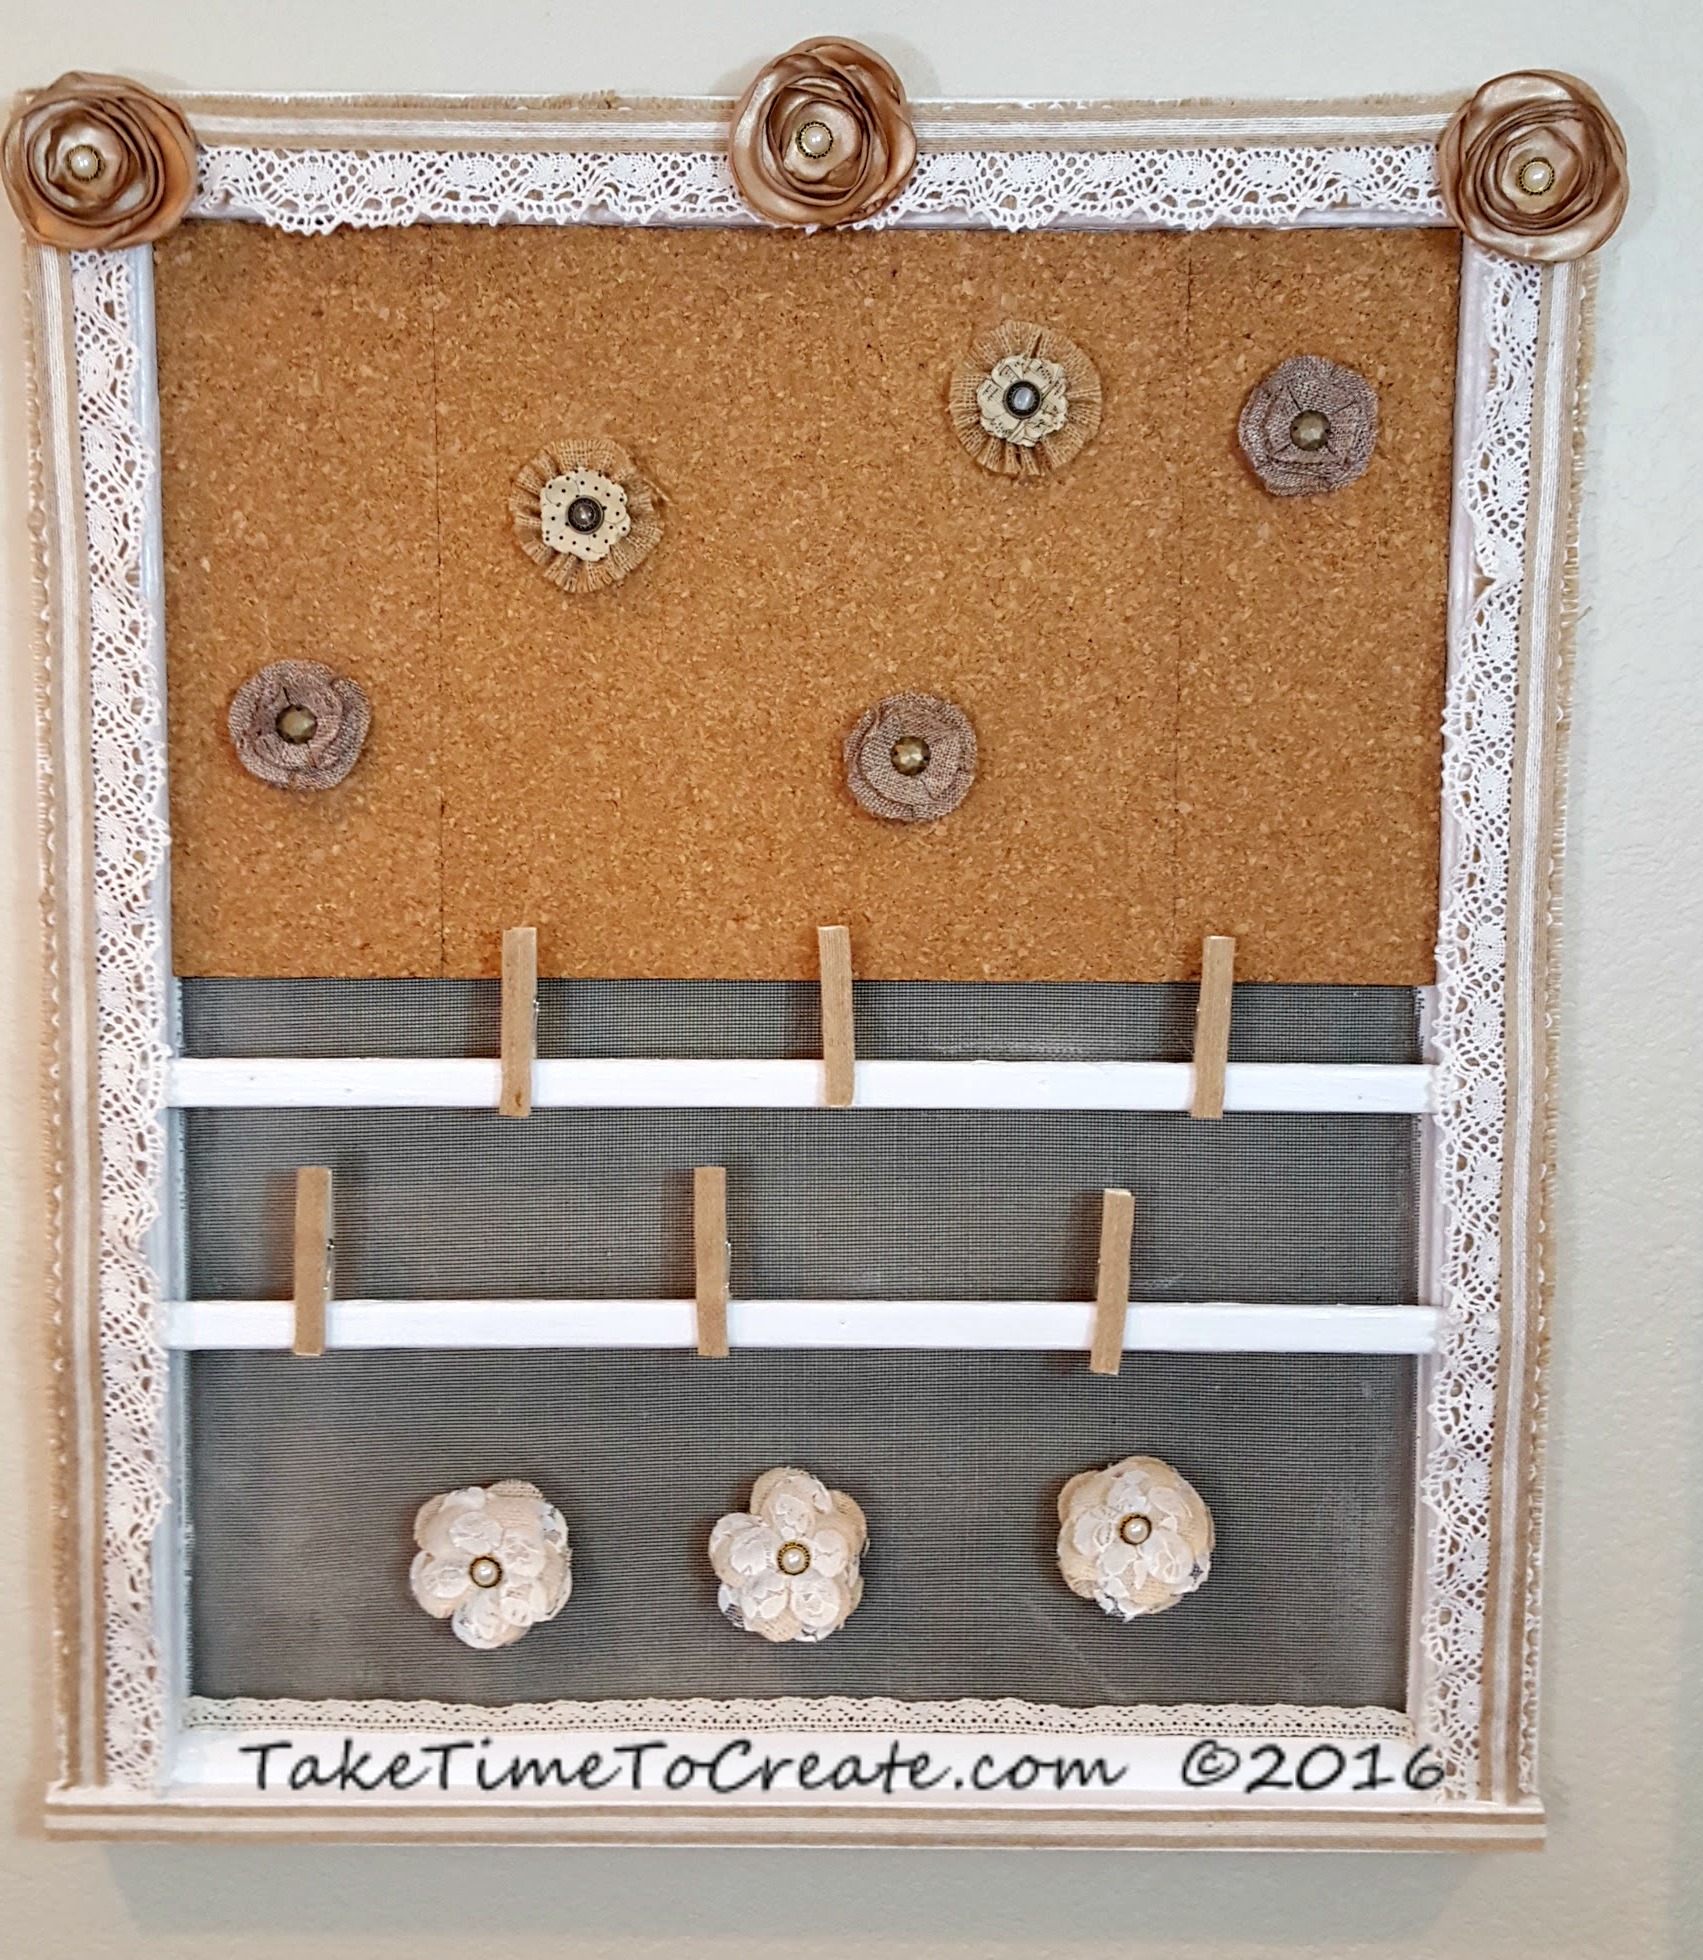
If you follow my Instagram (taketimetocreate) then I am sure you have already seen the reveal of this repurposed window. For those of you who don’t follow me there here the shabby chic message board!

repurpose window to shabby chic message board

I have to say I do love the way it turned out! This all started when my friend asked me to paint a window for a silent auction for mental health awareness. At first I wasn’t too interested, not because I didn’t believe in the cause (because this is one cause I totally support) it was because I wasn’t sure I had a design that would work. Most everyone else did a more traditional painted window with flowers on the glass and things like that. Well of course I didn’t follow the crowd. So I did my own thing and hopefully it will bring in a lot of money for the charity!

Here is how I did the repurposing.

Materials:
~ old window (for this to work you for magnets you will need one with a metal screen)
~ sandpaper, tape, cleaning supplies
~ paint and brush
~ cork
~ flowers, magnets, tacks, and clothes pins
~ ribbon and burlap

Instructions:
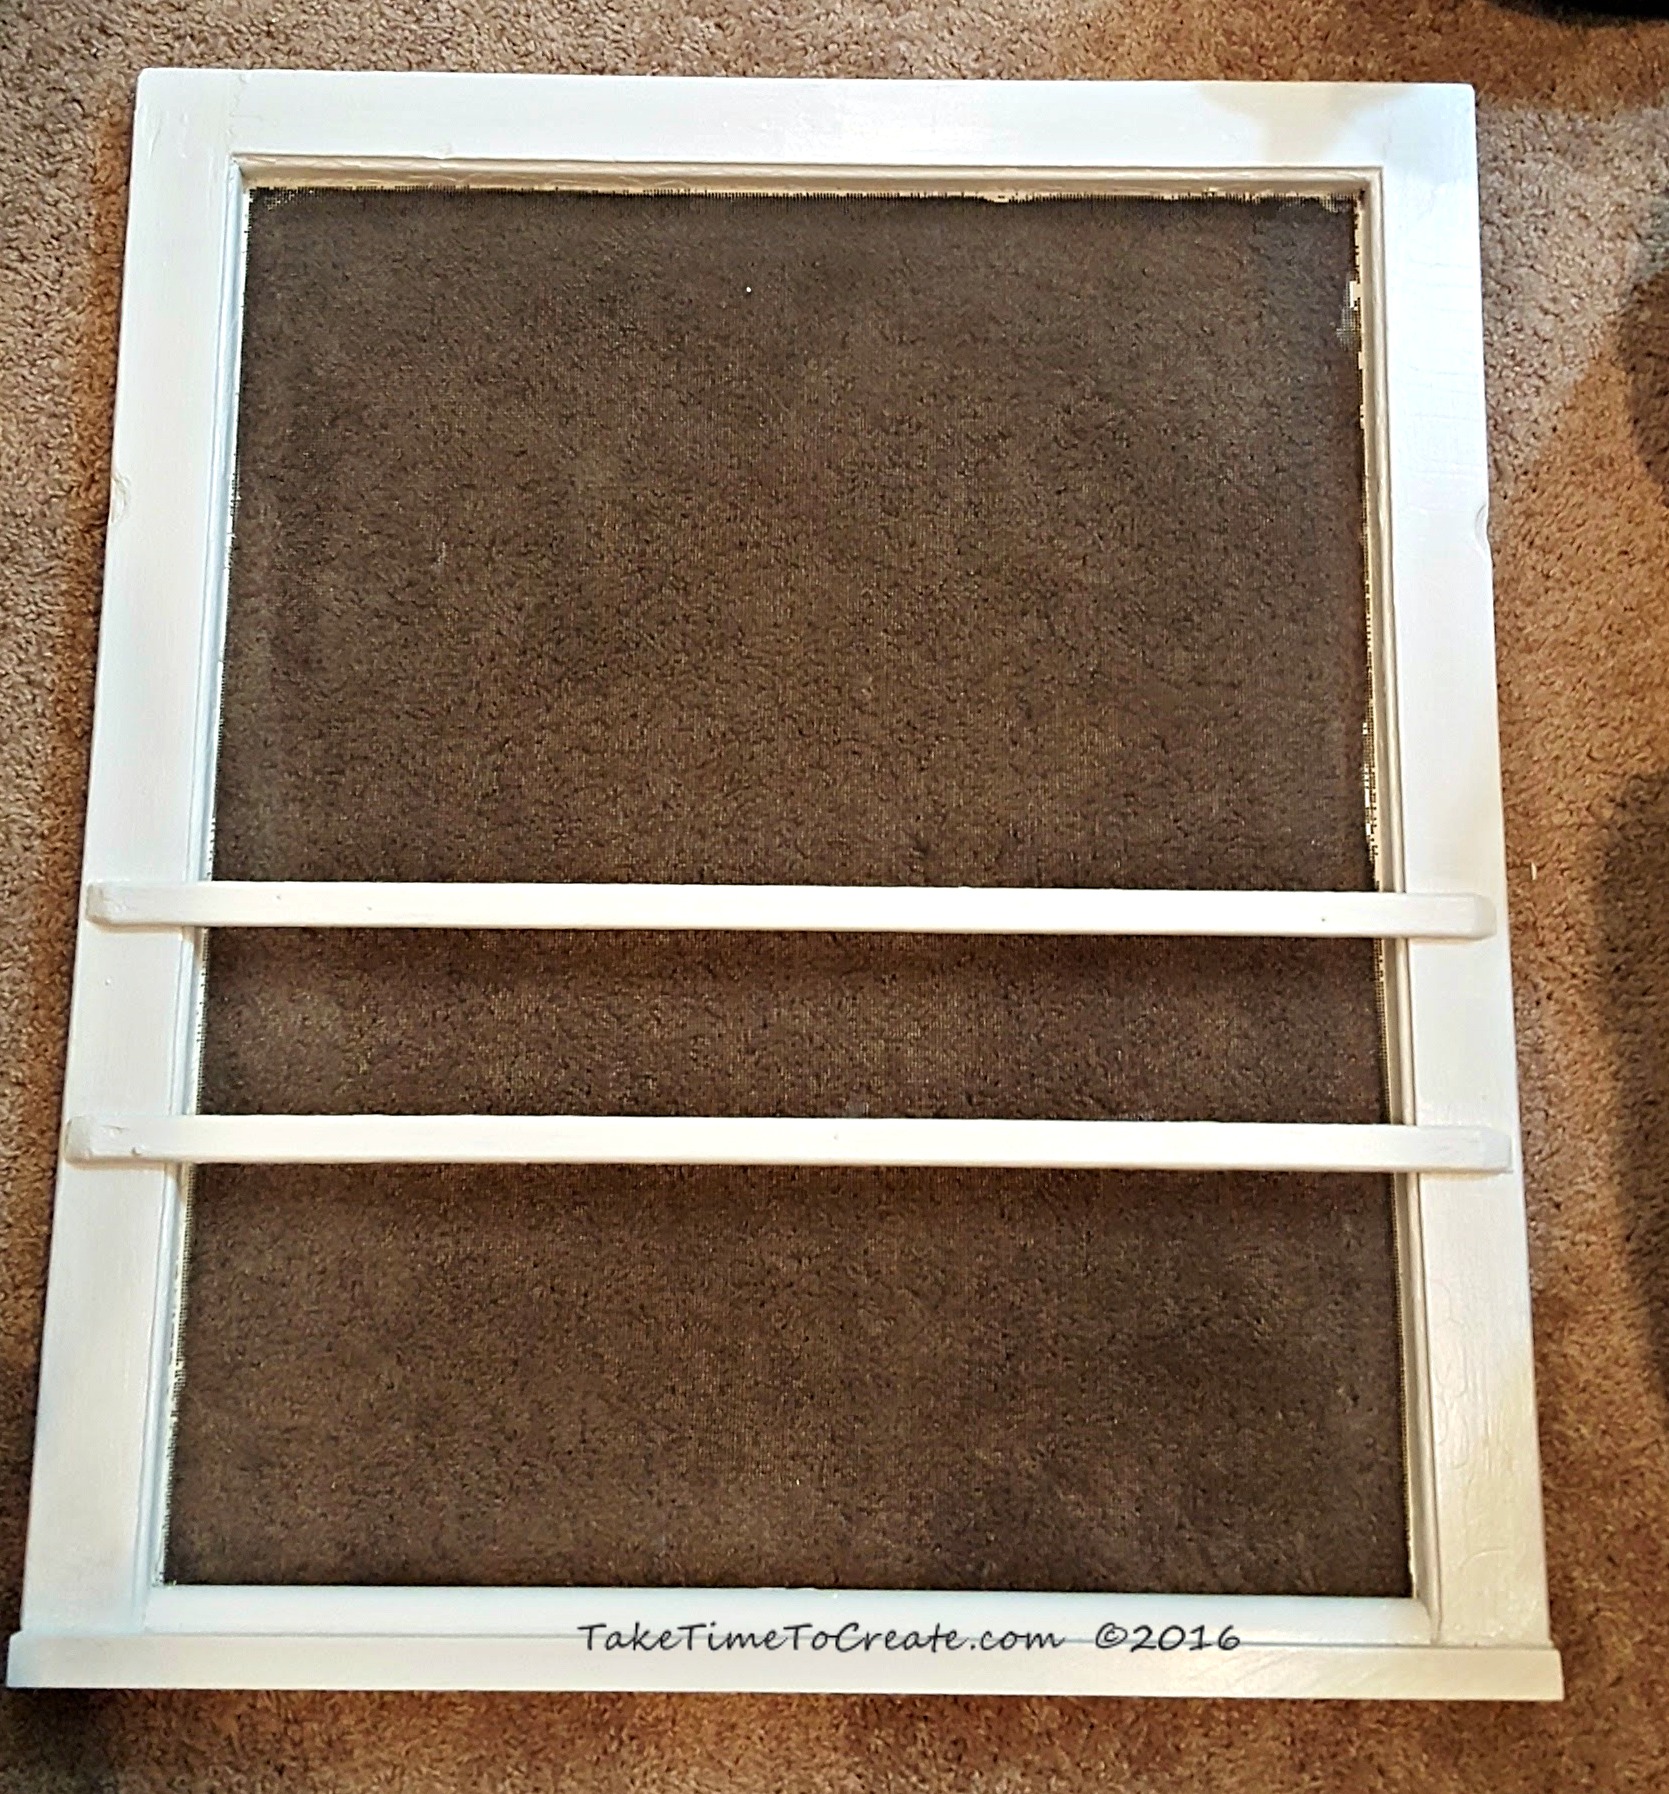
~ The first thing you will need to do is sand down all the rough edges and smooth it out. Once you like the feel of the window then give it a good cleaning.

window

~ Now you are ready to paint. I taped around the edges to help cut down on how much paint went on the screen, and this seemed to help.
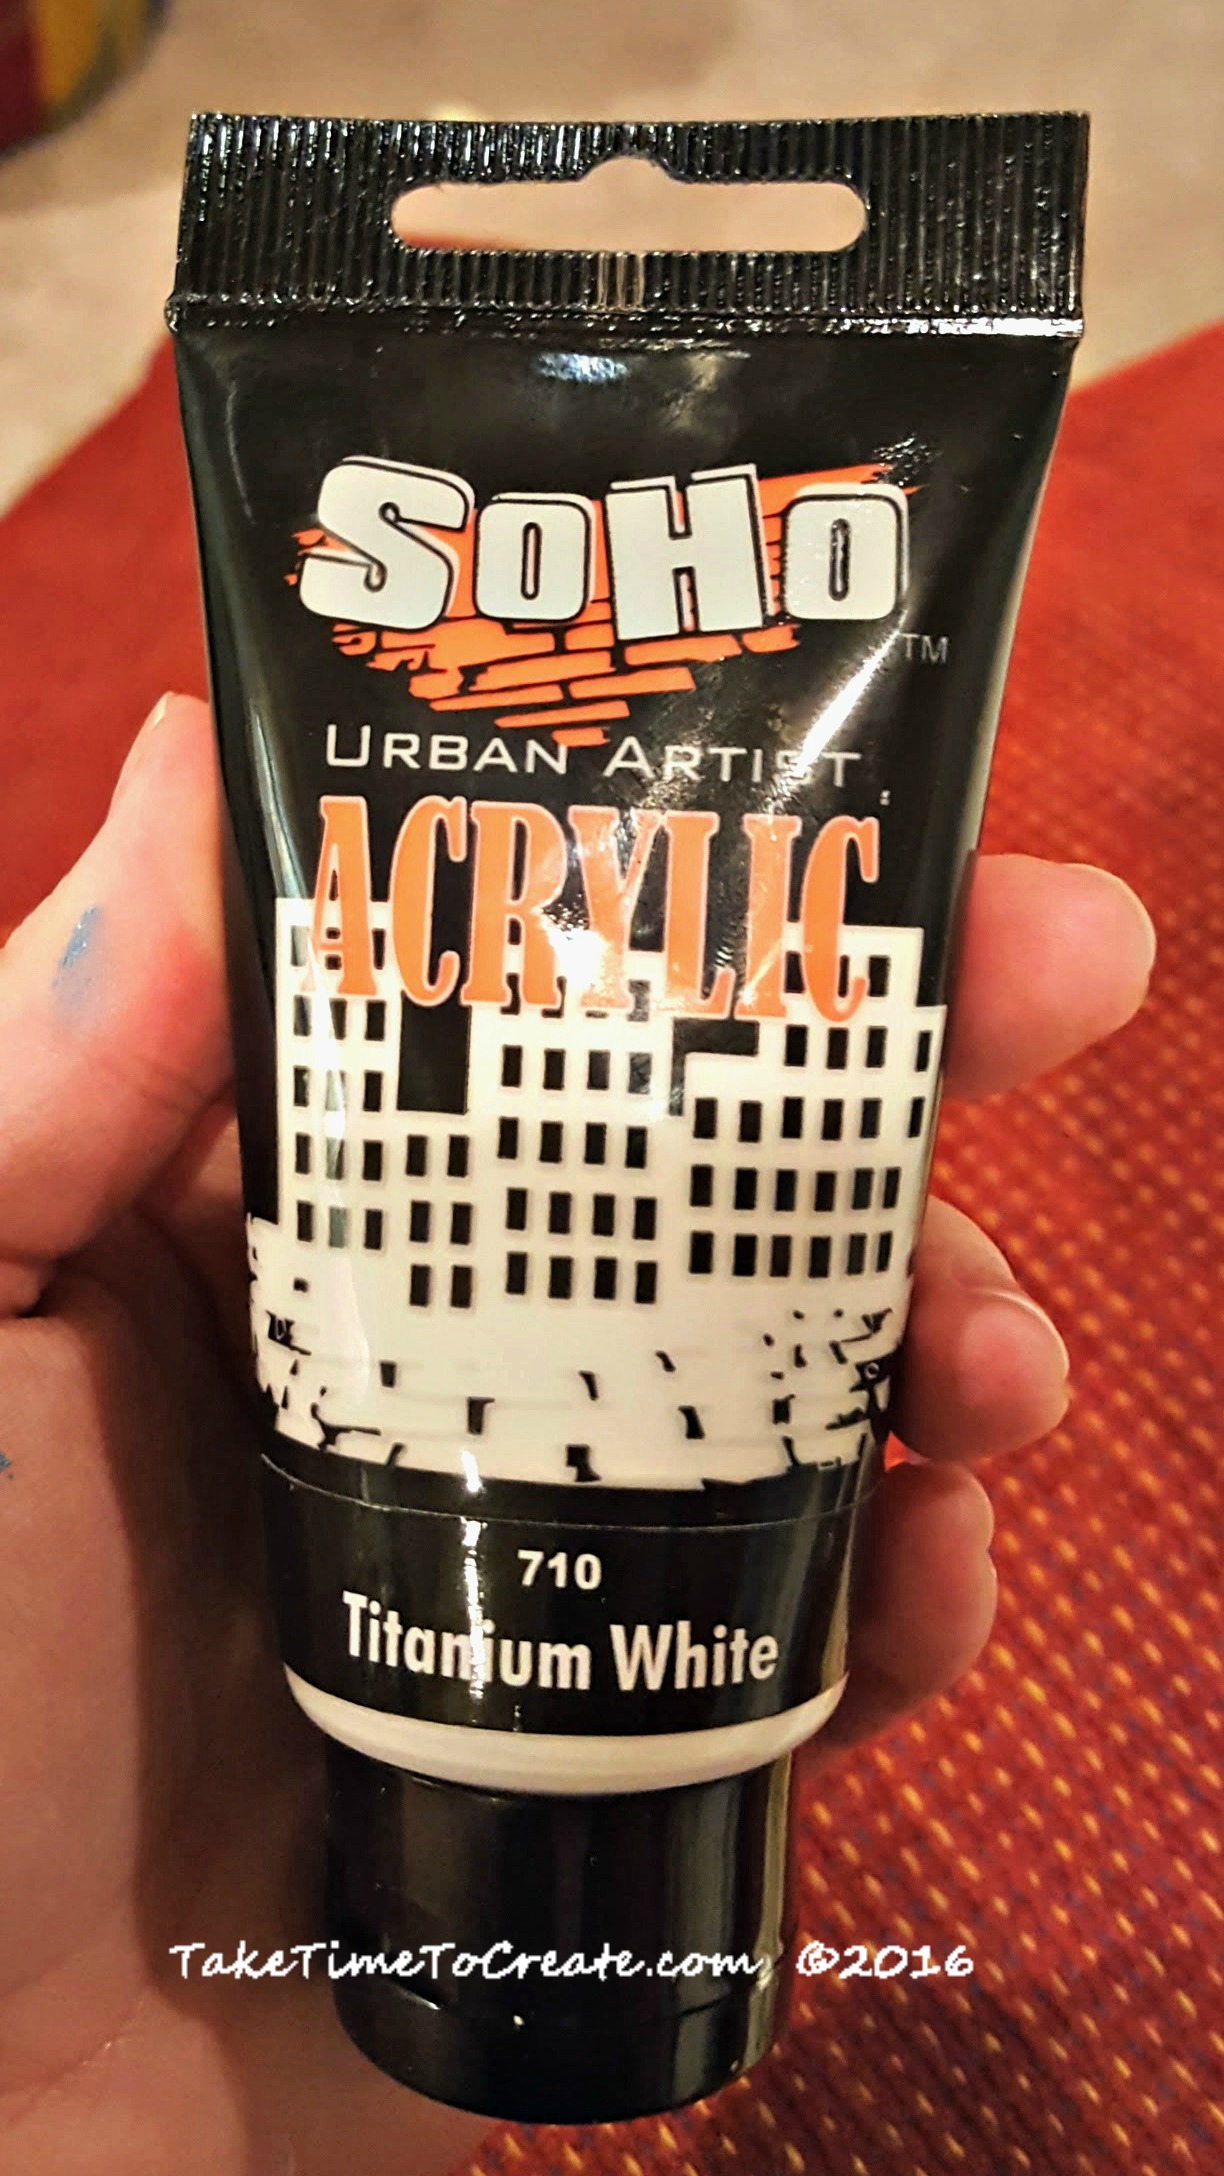
Paint a couple coats until you get it to how you like it. I used this white acrylic paint that I had on hand.

white acrylic paint

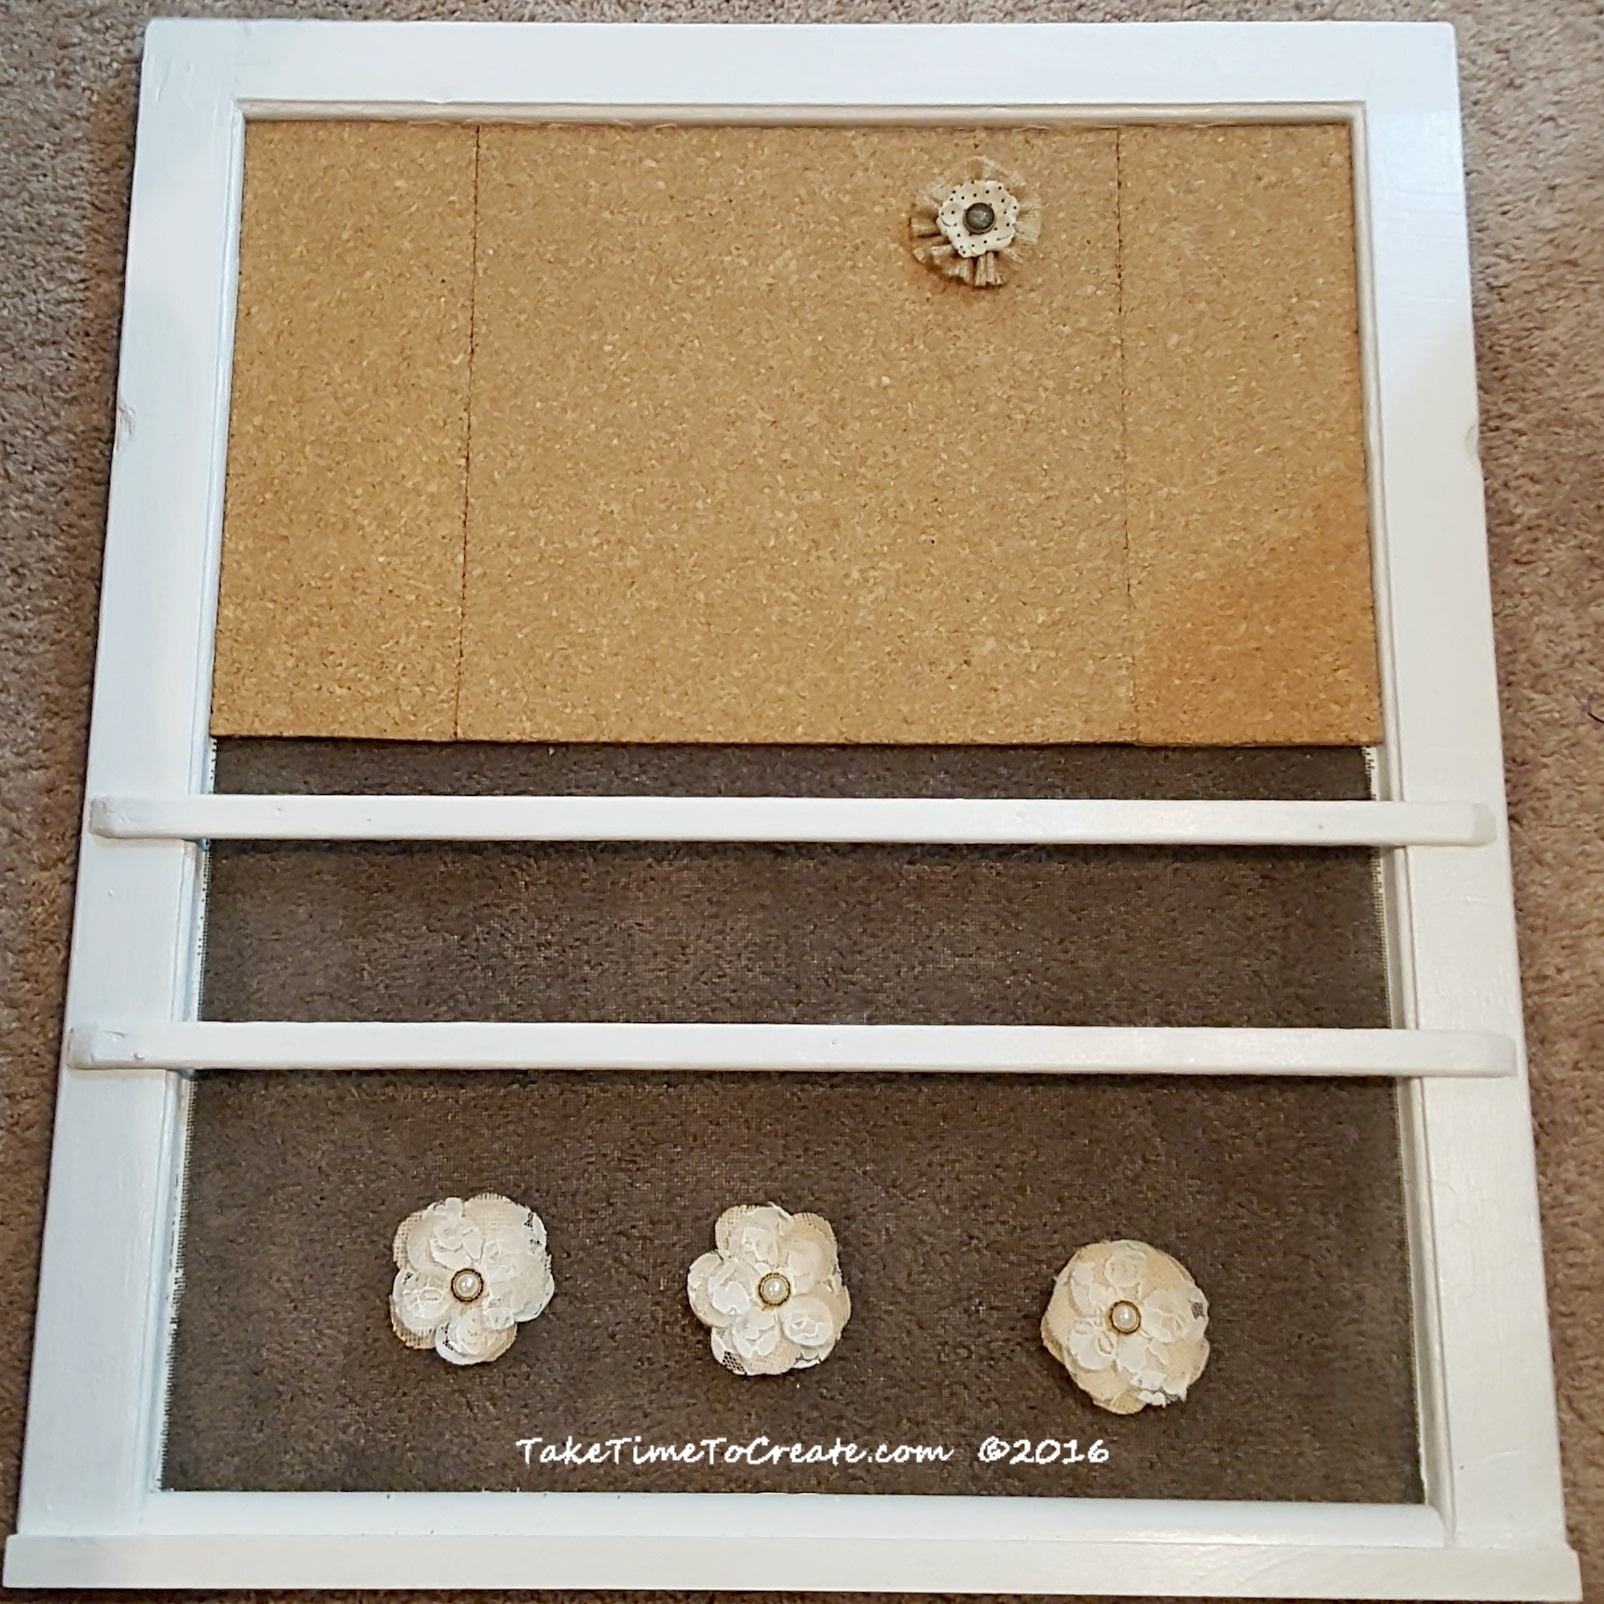
~ Cut your cork down to size and glue it on to the screen. I just glued the edges with a metal glue and that seems to hold it pretty well.

add cork to window

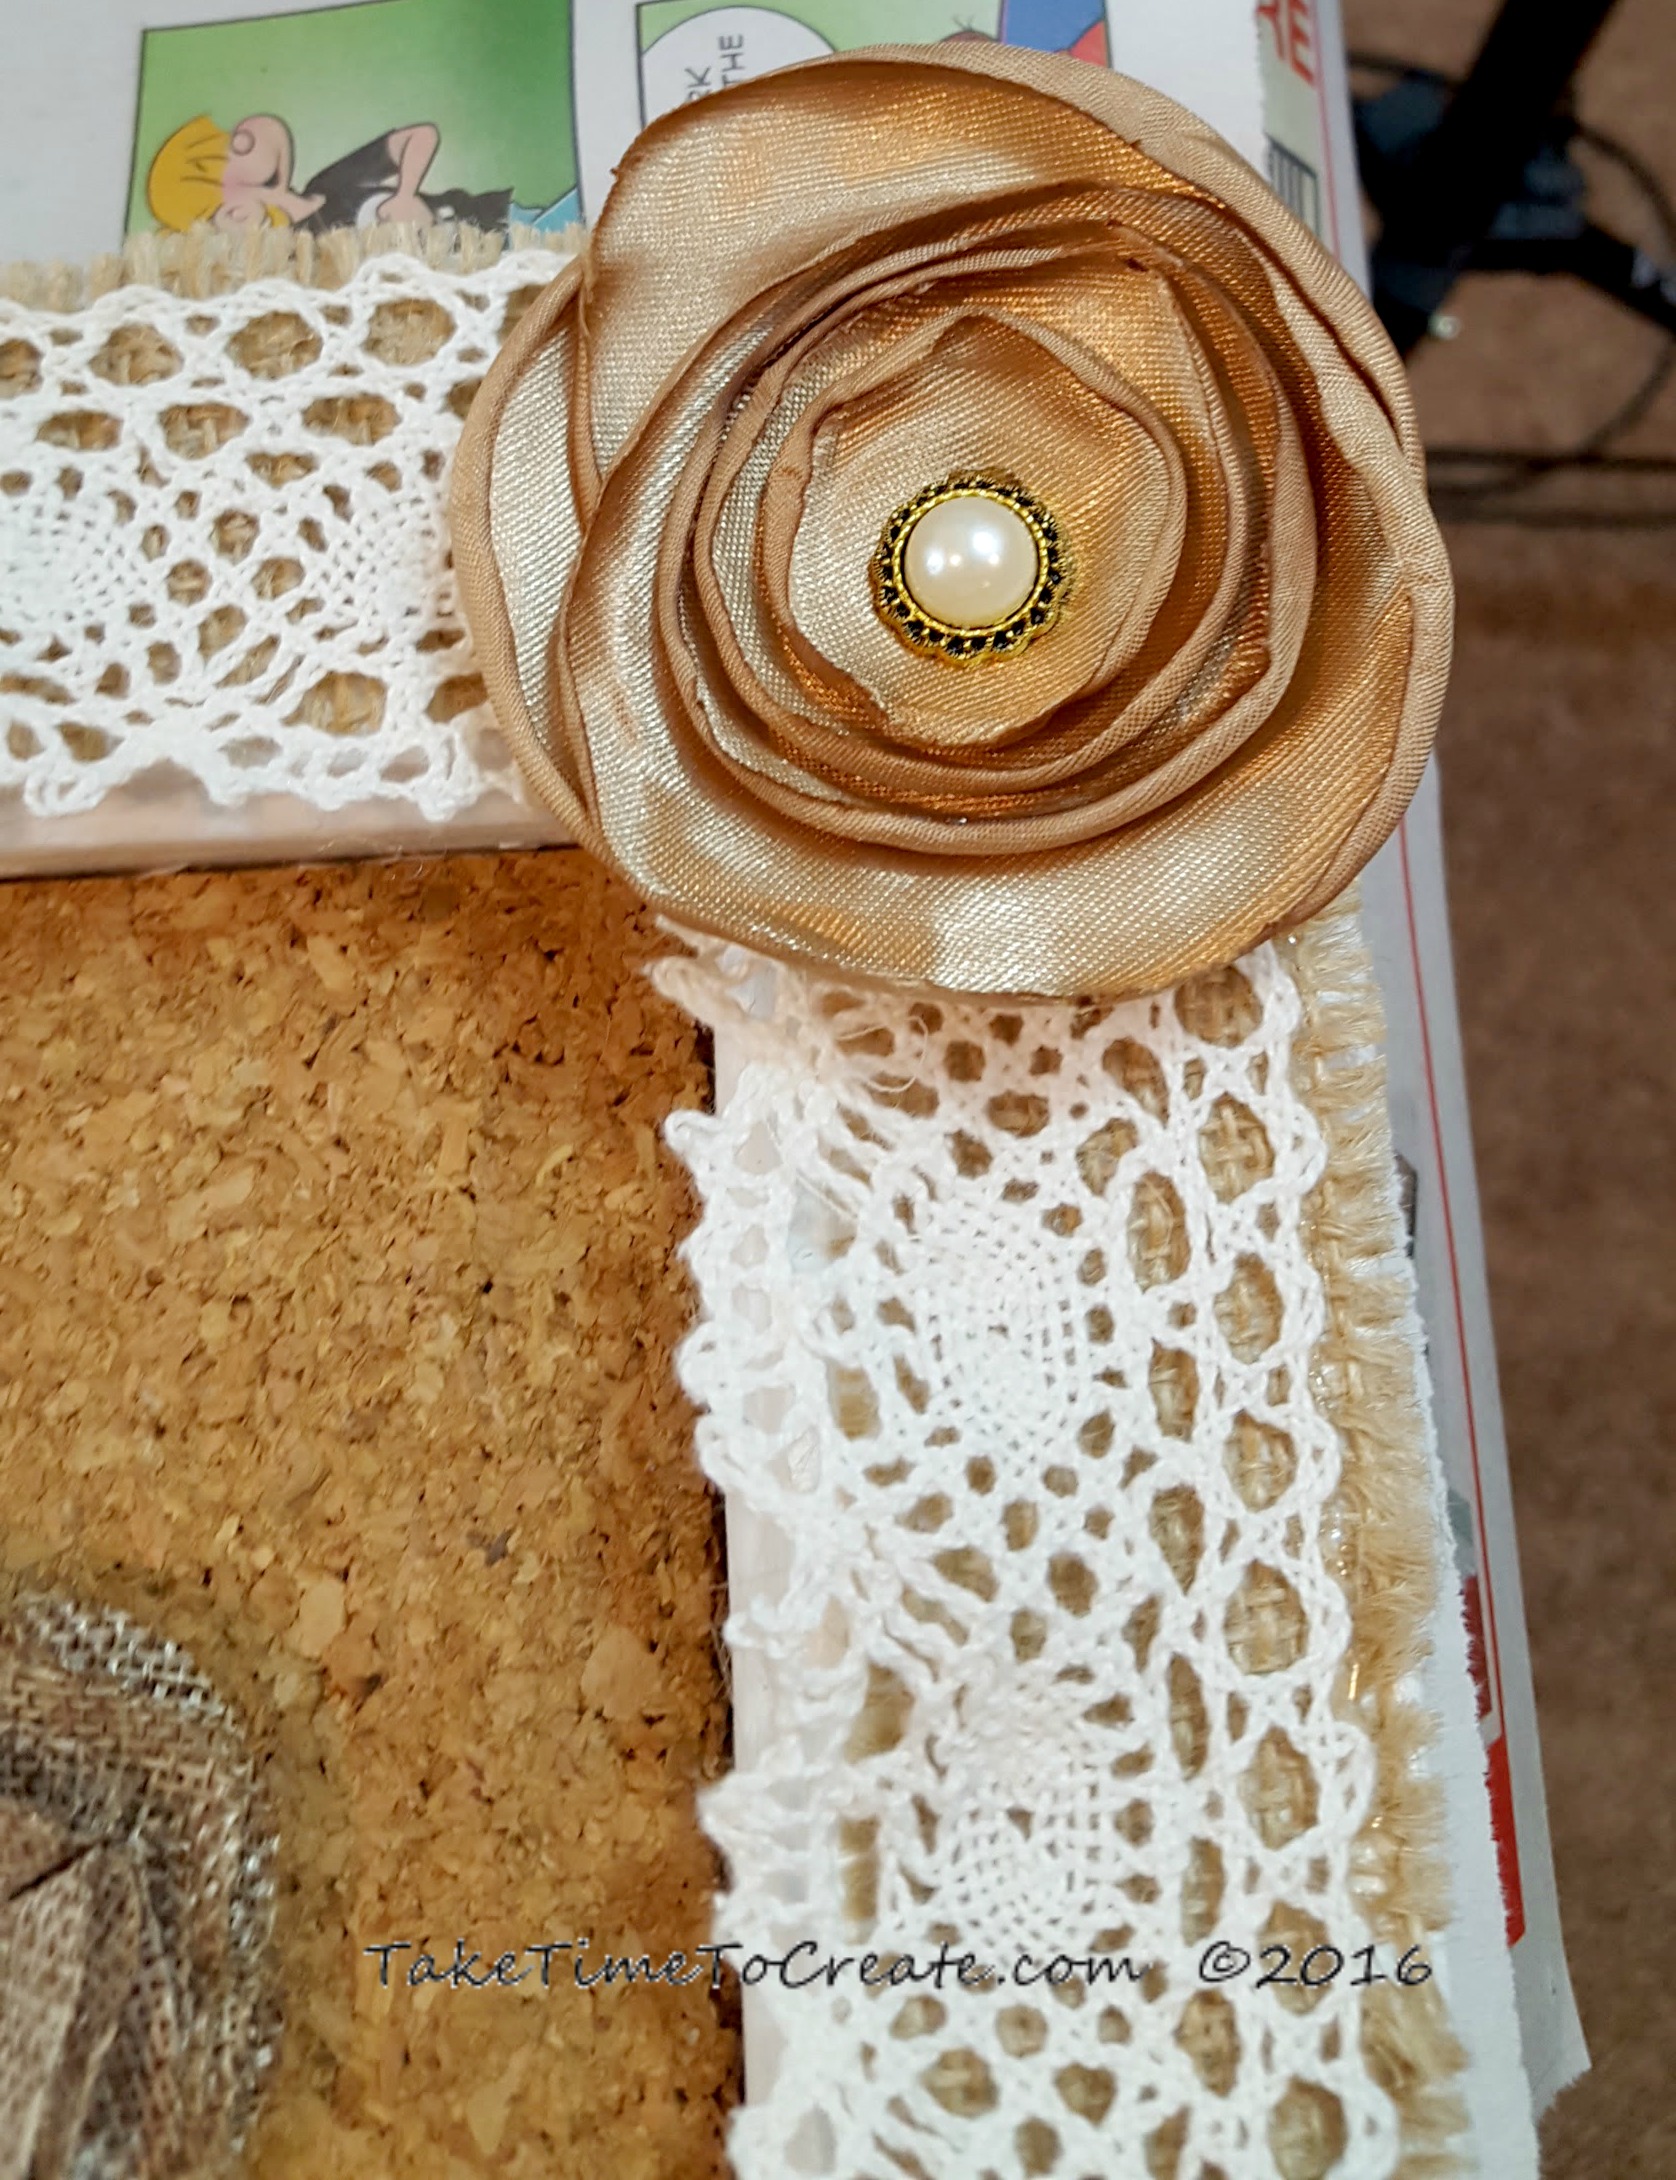
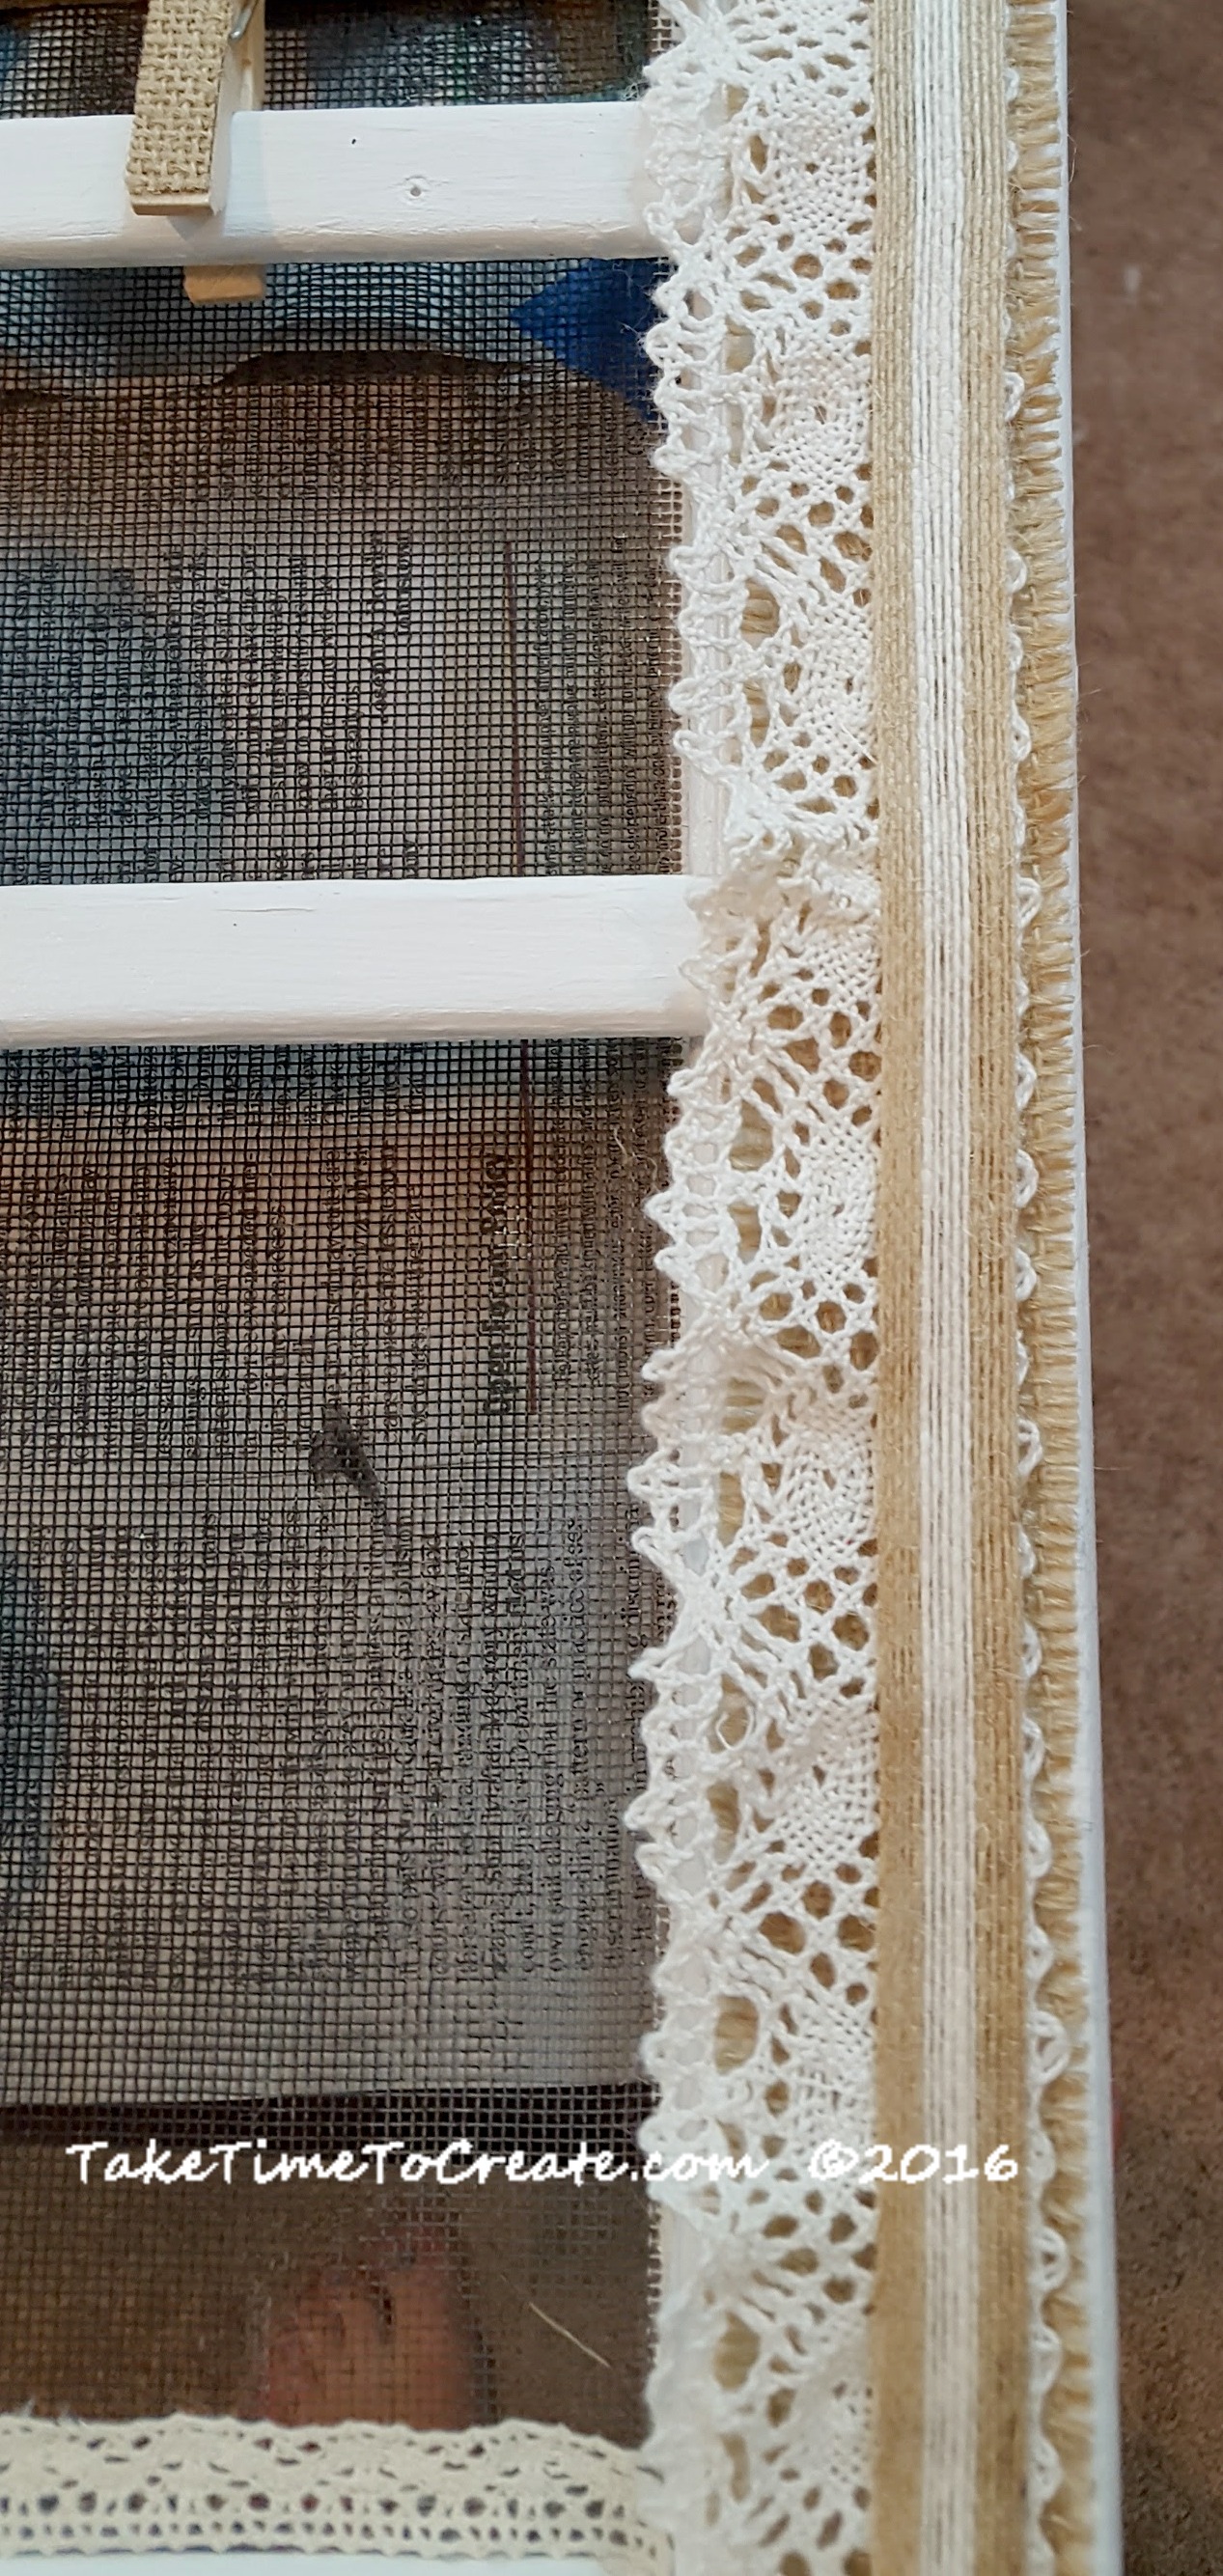
~Then I went to work decorating the edge. Shabby chic is all about layers so that is what I did. I put down a layer of burlap, the layered on a layer of crochet ribbon that I had in my stash.

add ribbon and burlap

That looked good, but I felt like it was missing something, so I added a ribbon on top and flowers in the corners.

add more ribbon

Then I added ribbon to the bottom of the screen and to the bottom of the window. Once that was done it was time to add the flower decorations.

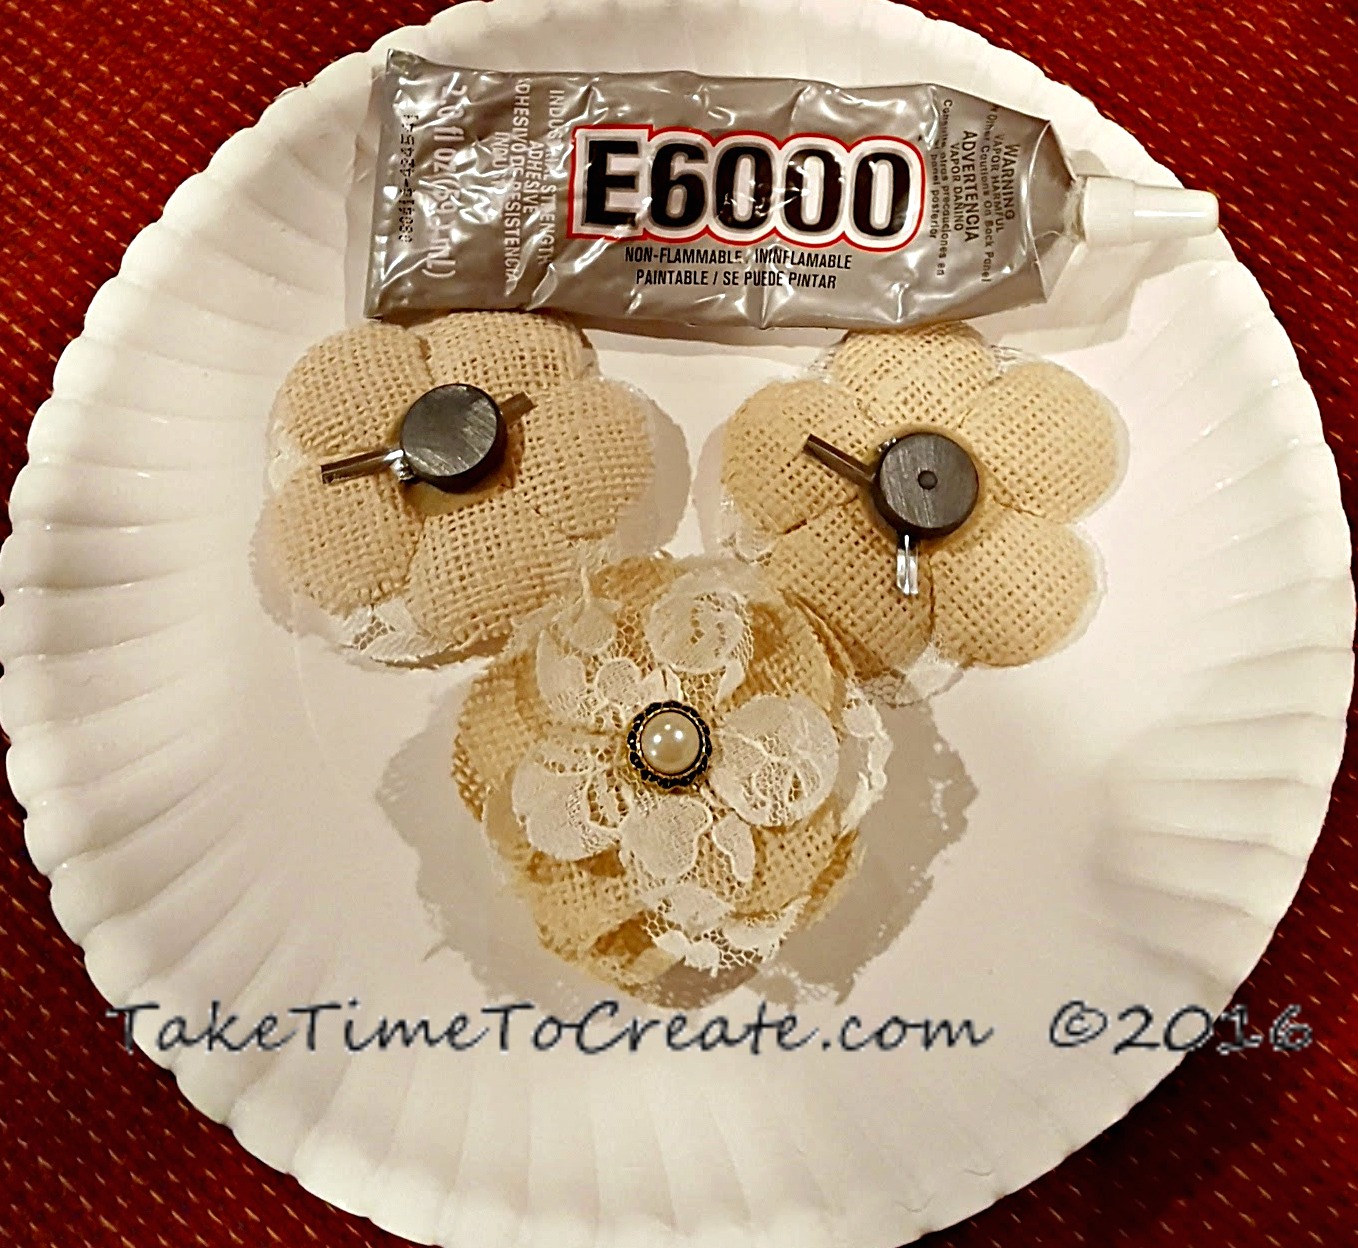
~ For the flowers add a magnet the back of some and tack to the others. For the clothes pins I just added ribbon to a plain clothes pin I got from the dollar store.

glue magnets to flowers

And that is it. This is a very fun project that is easy to do and I loved using what I had on hand. I can’t wait for the auction and hopefully they will make a lot of money for their cause!

repurpose window to shabby chic message board

DIY Rhinestone Clutch

Hello Everyone!

DIY Rhinestone Clutch

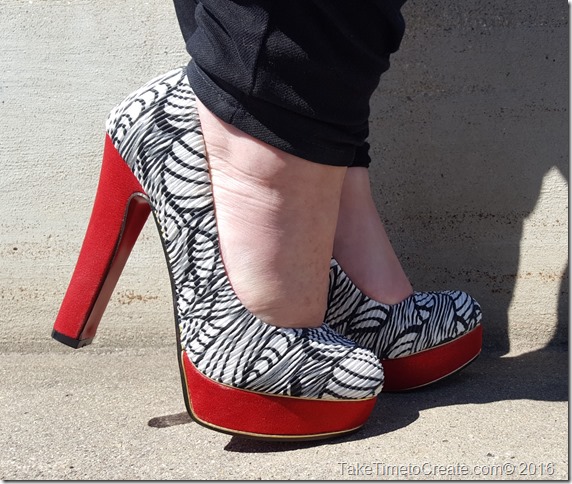
I just had to make this clutch all because of this fantastic pair of shoes! (I think all great stories start with shoes)


Anyway, here is the story, my cousin is getting married on Sat (YAY) I am so happy for him. (His bride-to-be is wonderful and I think they will be very happy together. )

And since I have these great shoes that I never get to wear (they are a little impractical for work, haha) I decided to wear them to the wedding. Buuuut, I didn’t have a clutch to match. So I decided to make one.

DIY Rhinestone Clutch

Aren’t these shoes great?

Anyway here is how to make this DIY Rhinestone Clutch.

Material:

~ Fabric (I am using a faux leather that I had in my craft room, but any fabric that is slightly stiff will work. I did not line it, but you can if your fabric is not stiff enough)

~ zipper (I am using a plastic zipper that I had laying around, it is not the perfect red, but I think it works)

~ Sewing Machine, or needle and thread

~ Rhinestone and glue (I used Aleene’s jewel it glue)

~ Decoration for zipper if desired


Instructions:

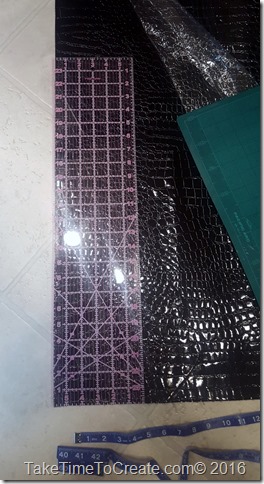
~ First cut your clutch. I cut 2 pieces that were 10 inches x 6 inches. (this was big enough to put my lipstick, phone, gum, and blotting papers in)

DIY Rhinestone Clutch

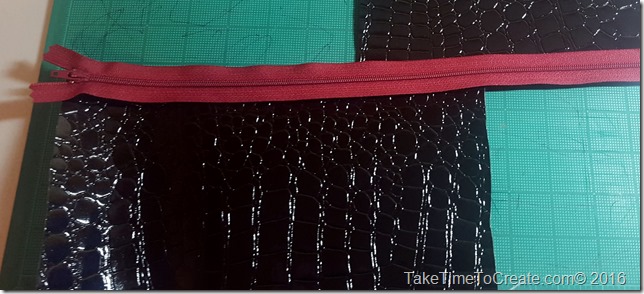
~ Once your fabric is cut them measure your zipper. If it is too long then measure how long you want it, then place a few stitches there. Once it is secure then cut off the excess.

DIY Rhinestone Clutch

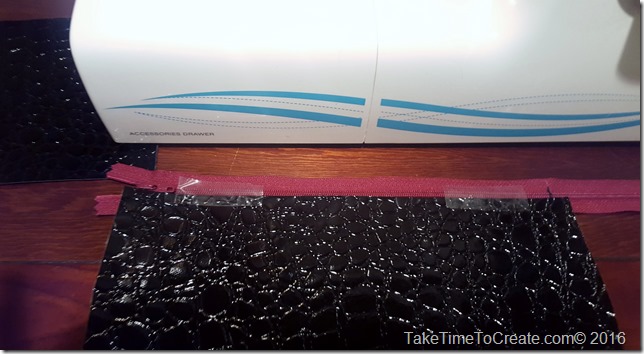
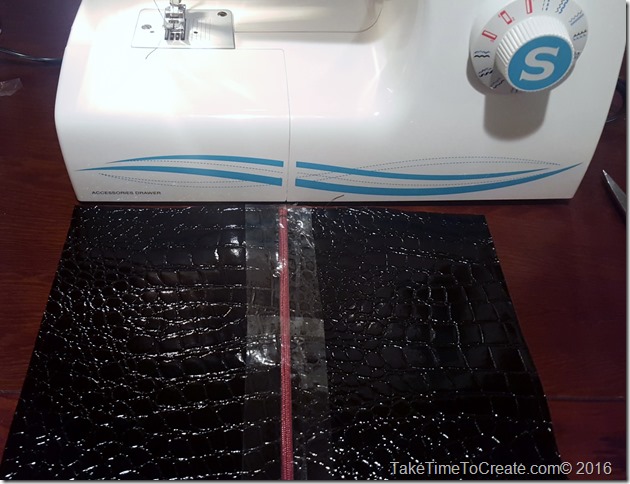
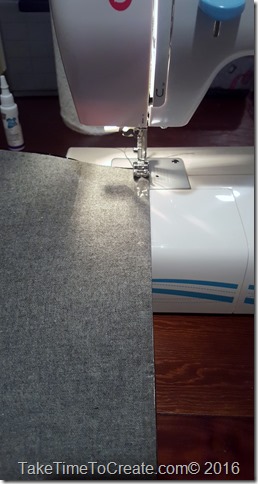
~ Next is place the fabric on the zipper and sew the fabric on the zipper. I held it together with tape since I didn’t want puncture holes in it from needles.

DIY Rhinestone Clutch

~ Do this step to both sides of the zipper

DIY Rhinestone Clutch


~ Turn your work so that right sides are together and stitch around the edges. Make sure you leave the zipper open so you can get your hand in to turn your work right side out.

DIY Rhinestone Clutch

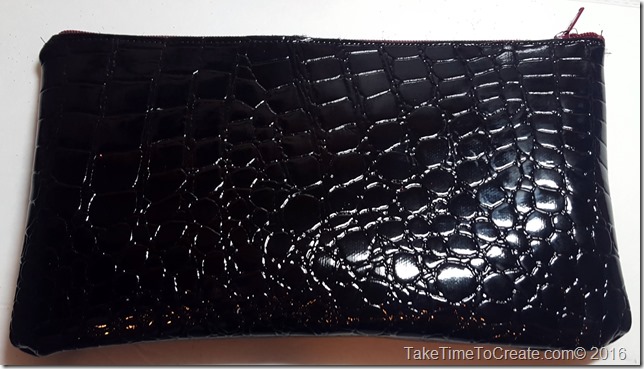
~Once you have stitched all 3 sides turn your work right side out and there you have a really cute new clutch!

DIY Rhinestone Clutch

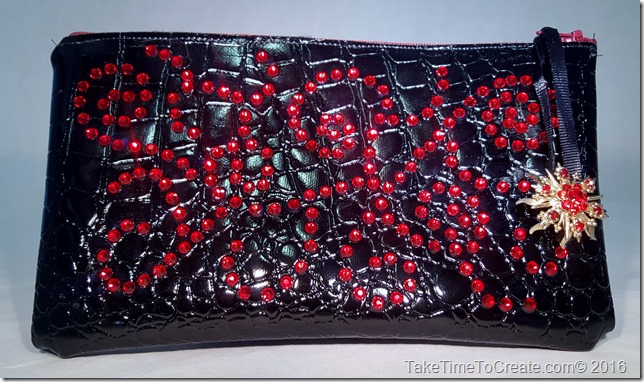
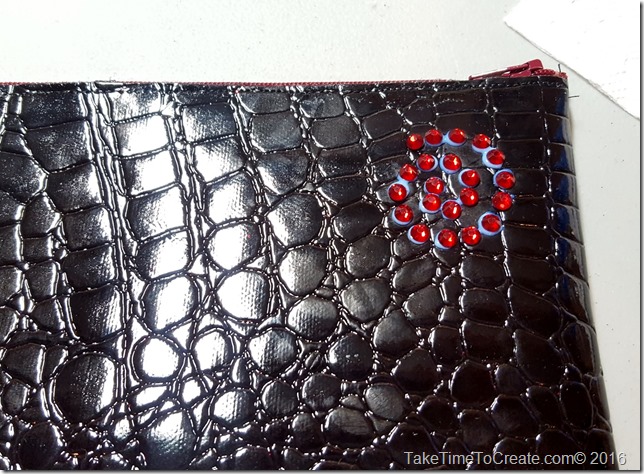
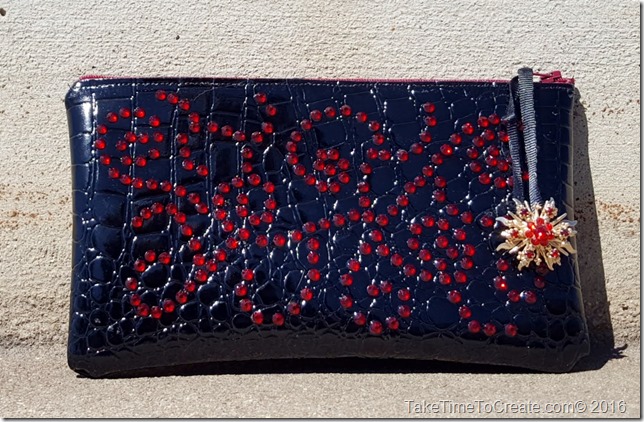
~ Ok by now you all know me well enough that you know I can leave anything that plain. I just knew it needed rhinestones. So I placed dots of glue in a swirl type pattern all over the clutch. Then I decided that wasn’t quite enough Smile so I added to wonderful broach that my mom gave me, with a little ribbon, I thought it was the perfect accent to the clutch.


DIY Rhinestone Clutch

There you have it. What do you think? Pretty easy right. Now on the the wedding celebration on Sat.

DIY Rhinestone Clutch

Newer posts »

© 2025 Take Time To Create

Theme by Anders NorenUp ↑

Follow

Get the latest posts delivered to your mailbox:

%d bloggers like this: