Tag: dollar store (page 3 of 3)

DIY Painted Halloween Village

Hello Everyone!

Halloween is fast approaching, and of course I get it in my head that I want to do some new Halloween decor.  At least this year I am getting it done before Halloween and not after, haha.

I saw a Halloween Village at the Dollar Store and thought it would be perfect to paint for Halloween
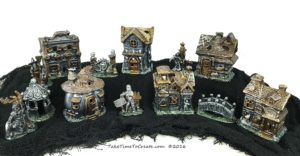
finished-village

Materials:

  • Ceramic houses (I found mine at the Dollar Store, but there are a lot of options out there. You could even use Christmas houses)
  • Metallic Paint
  • Gesso
  • Brushes, Stucco, Beads

Instructions:

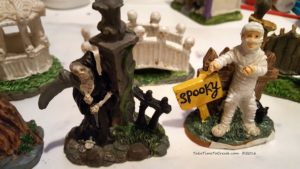
When I saw these houses I thought that they were very cute, but the colors were not great. I didn’t think that they went together very well and the figurines were terrible.
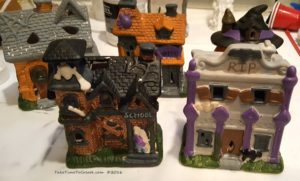
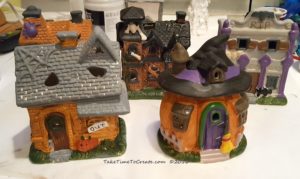
before-house-2

before-houses

before-up-close

Before the painting fun I had to prep the houses. I cleaned them then added a layer of Stucco to the roofs and anywhere there needed to be a rough detail. Then I added some beads to the grass area.
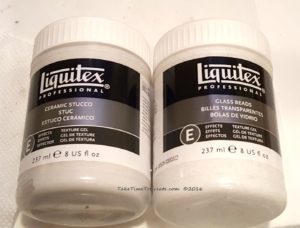
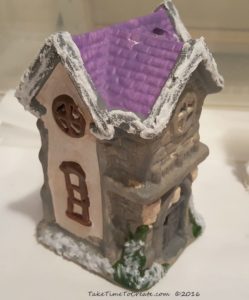
 

stucco-and-beads

add-stucco-and-micro-beads

After the texture was dry I added a layer of black gesso. This gave me a blank canvas to work on. I did have to go back and touch up areas that I missed.
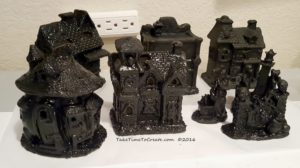
add-gesso

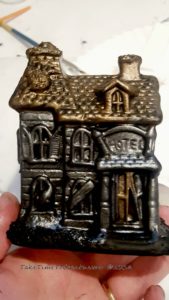
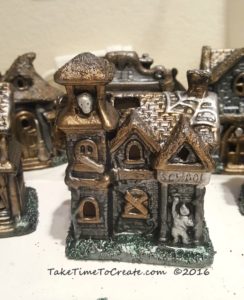
After the gesso was dry it was time for the fun painting! I used metallic acrylic paint and I mixed some Mica Powder with soft gloss gel for the green. I just dry brushed the colors onto the housed, adding and blending as I went. Once I was happy with the look I went on to the next house, until I was finished with the project.
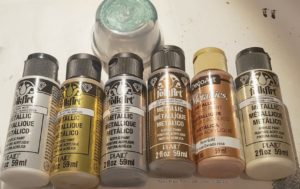
paint-colors

keep-painting

start-painting

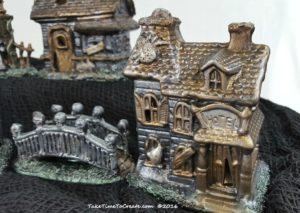
Here is an up close picture of the detail of one of the houses and the bridge.
up-close-detail

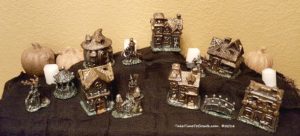
And here it is on display in my home. I really liked this project, it was fun to watch the housed change right before my eyes. Good thing I bought more houses from the Dollar Store, now I can create even more villages, haha
finished-houses-in-my-home


DIY Cinderella draw string bag

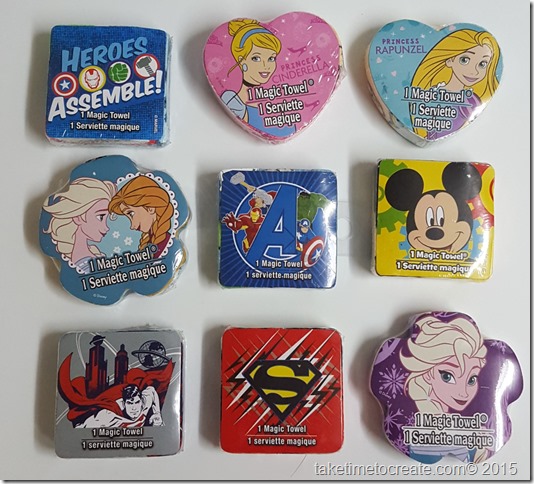
Last weekend while I was at the dollar store I saw these magic towels. I had seen them before and I thought they looked neat, but I don’t like using them as actual towels. They are thin and scratchy so I have never purchased them. When I saw them this weekend my crafty, creative juices started flowing. So I bought a few or 15. Whatever. I am sure I will find uses for them.

Here are some of the awesome magic towels I picked up. So many choices! I can’t wait to get my crafting on!

diy Cinderella magic towel drawstring bag

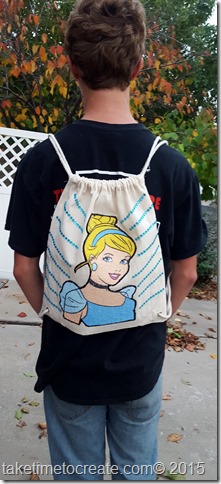
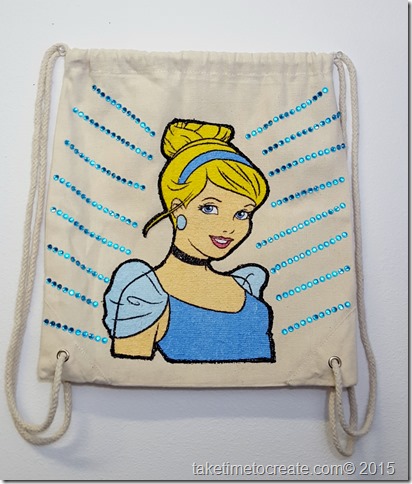
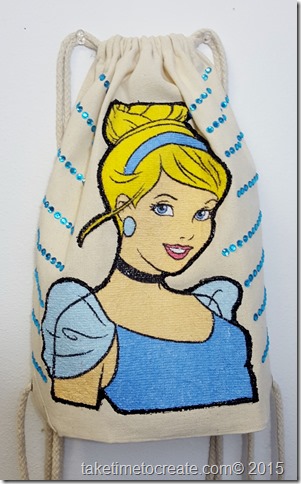
For this project I thought I would decorate a plain drawstring bag. I have to say that everything is better with sparkles and Cinderella!

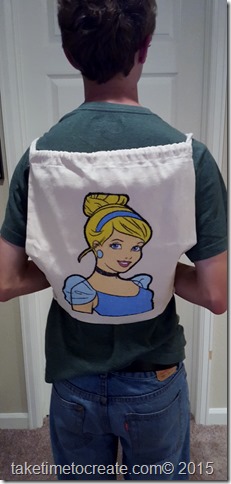
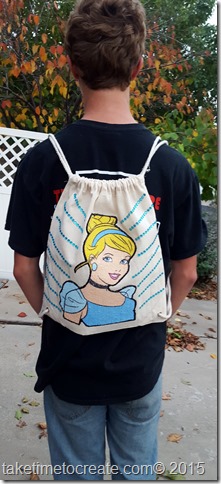
My son is so patient and tolerant modeling my new bag. He didn’t even protest when I asked him to model my bag. He makes my heart sing Red heart

diy Cinderella magic towel drawstring bag

This is pretty easy to do and you can use any magic towel to customize it to  you heart’s content.

Materials:

~ magic towel (prewashed and ironed. You want to make sure it is flat and ready to use)

diy Cinderella magic towel drawstring bag

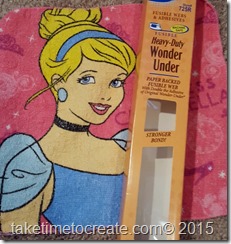
~ Wonder under or any iron on fusible web. ( I just used what I had on hand)

diy Cinderella magic towel drawstring bag

~ Fabric Paint

~ Scissors

~ rhinestones

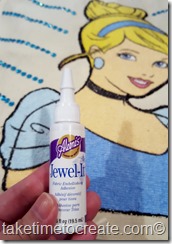
~ Rhinestone glue. ( I used Aleene’s Jewel it)

 diy Cinderella magic towel drawstring bag

Instructions:

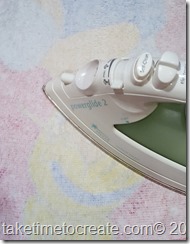
1. Wash and dry and iron your magic towel. That gets it ready for its transformation.

2. Iron your drawstring bag. I got my bag at JoAnns, but I am sure you can find them just about anywhere.

diy Cinderella magic towel drawstring bag

3. Iron your fusible web on to the back of the towel.

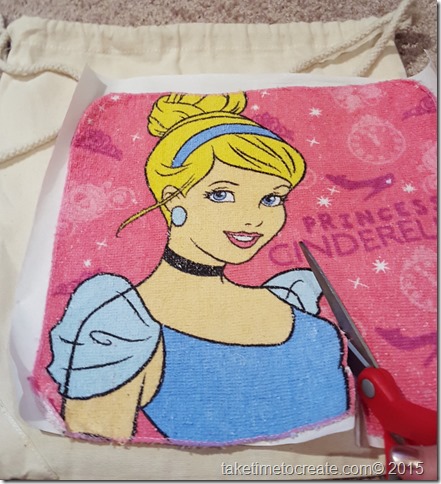
4. Carefully cut out Cinderella.

diy Cinderella magic towel drawstring bag

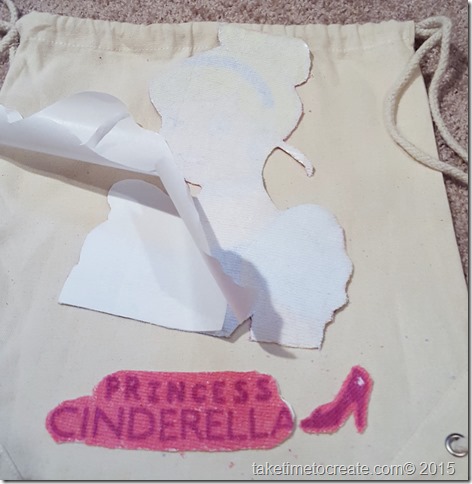
5. Peel the backing off. You can see the Cinderella wording and shoe, but I decided not to use them.

diy Cinderella magic towel drawstring bag

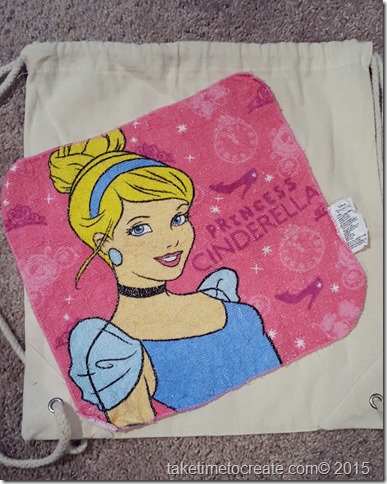
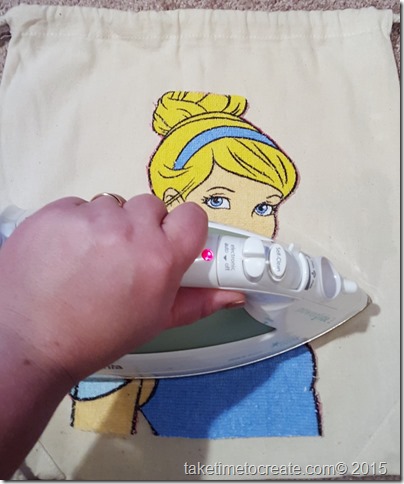
6. Iron Cinderella to the bag.

diy Cinderella magic towel drawstring bag

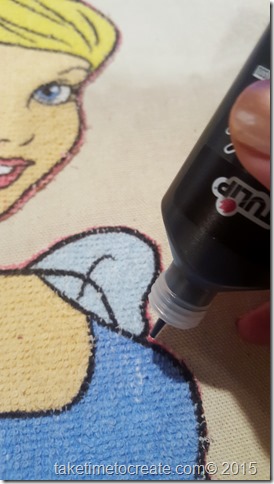
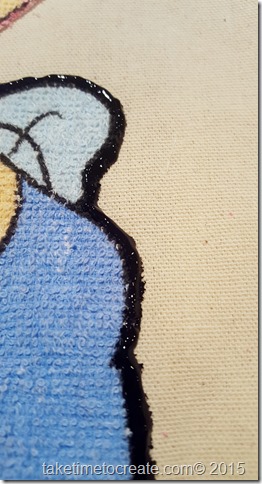
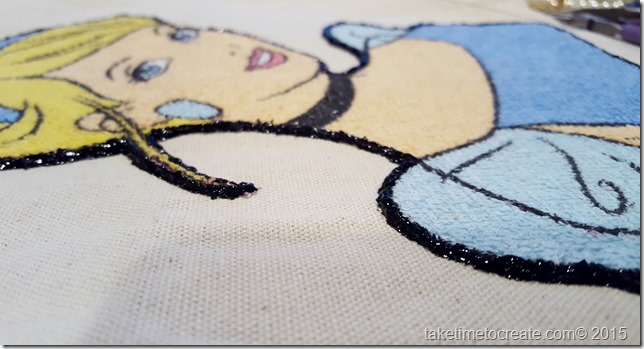
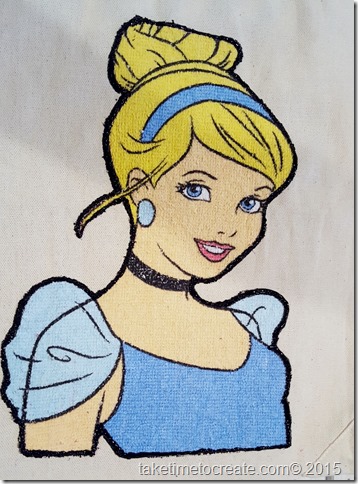
7. When Cinderella is cool start going around the edge with fabric paint. I found that I had to make a thicker line than I usually do because of how thick the towel is. I wanted to make sure the towel won’t unravel and that Cinderella stayed in place.

20151003_115737_001      diy Cinderella magic towel drawstring bag

 diy Cinderella magic towel drawstring bag

diy Cinderella magic towel drawstring bag

Once that was done I had Cole try on the bag and I decided that it didn’t have enough sparkle. I am sure you surprised that I didn’t think it had enough sparkles, right?

diy Cinderella magic towel drawstring bag

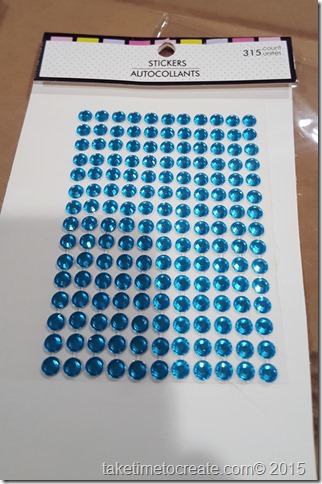
8. I had these packets of rhinestones that I found at the dollar store that I thought would work perfectly. They are connected together in strips, which worked perfectly.

diy Cinderella magic towel drawstring bag

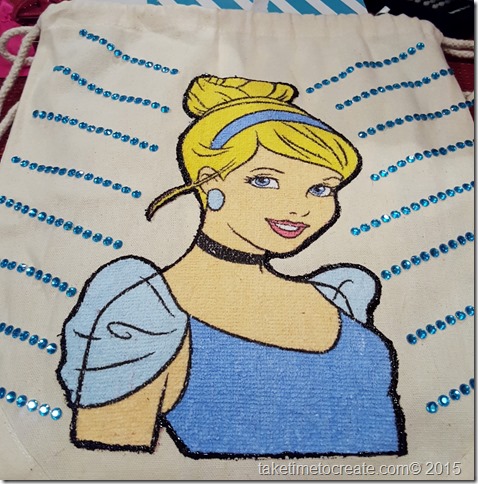
9. I laid the strips out in a pattern that I liked

diy Cinderella magic towel drawstring bag

10. Once I got it how I liked I glued the rhinestones down. This is to make sure the rhinestones stay on the bag.

11. let dry over night and then you are ready to rock an awesome Cinderella bag. Doesn’t Cole look great rocking the bag? He is a great sport.


diy Cinderella magic towel drawstring bag

diy Cinderella magic towel drawstring bag

diy Cinderella magic towel drawstring bag

Newer posts »

© 2025 Take Time To Create

Theme by Anders NorenUp ↑

Follow

Get the latest posts delivered to your mailbox:

%d bloggers like this: