Tag: craftdiy

Re-purpose an old window into a shabby chic message board

If you follow my Instagram (taketimetocreate) then I am sure you have already seen the reveal of this repurposed window. For those of you who don’t follow me there here the shabby chic message board!

repurpose window to shabby chic message board

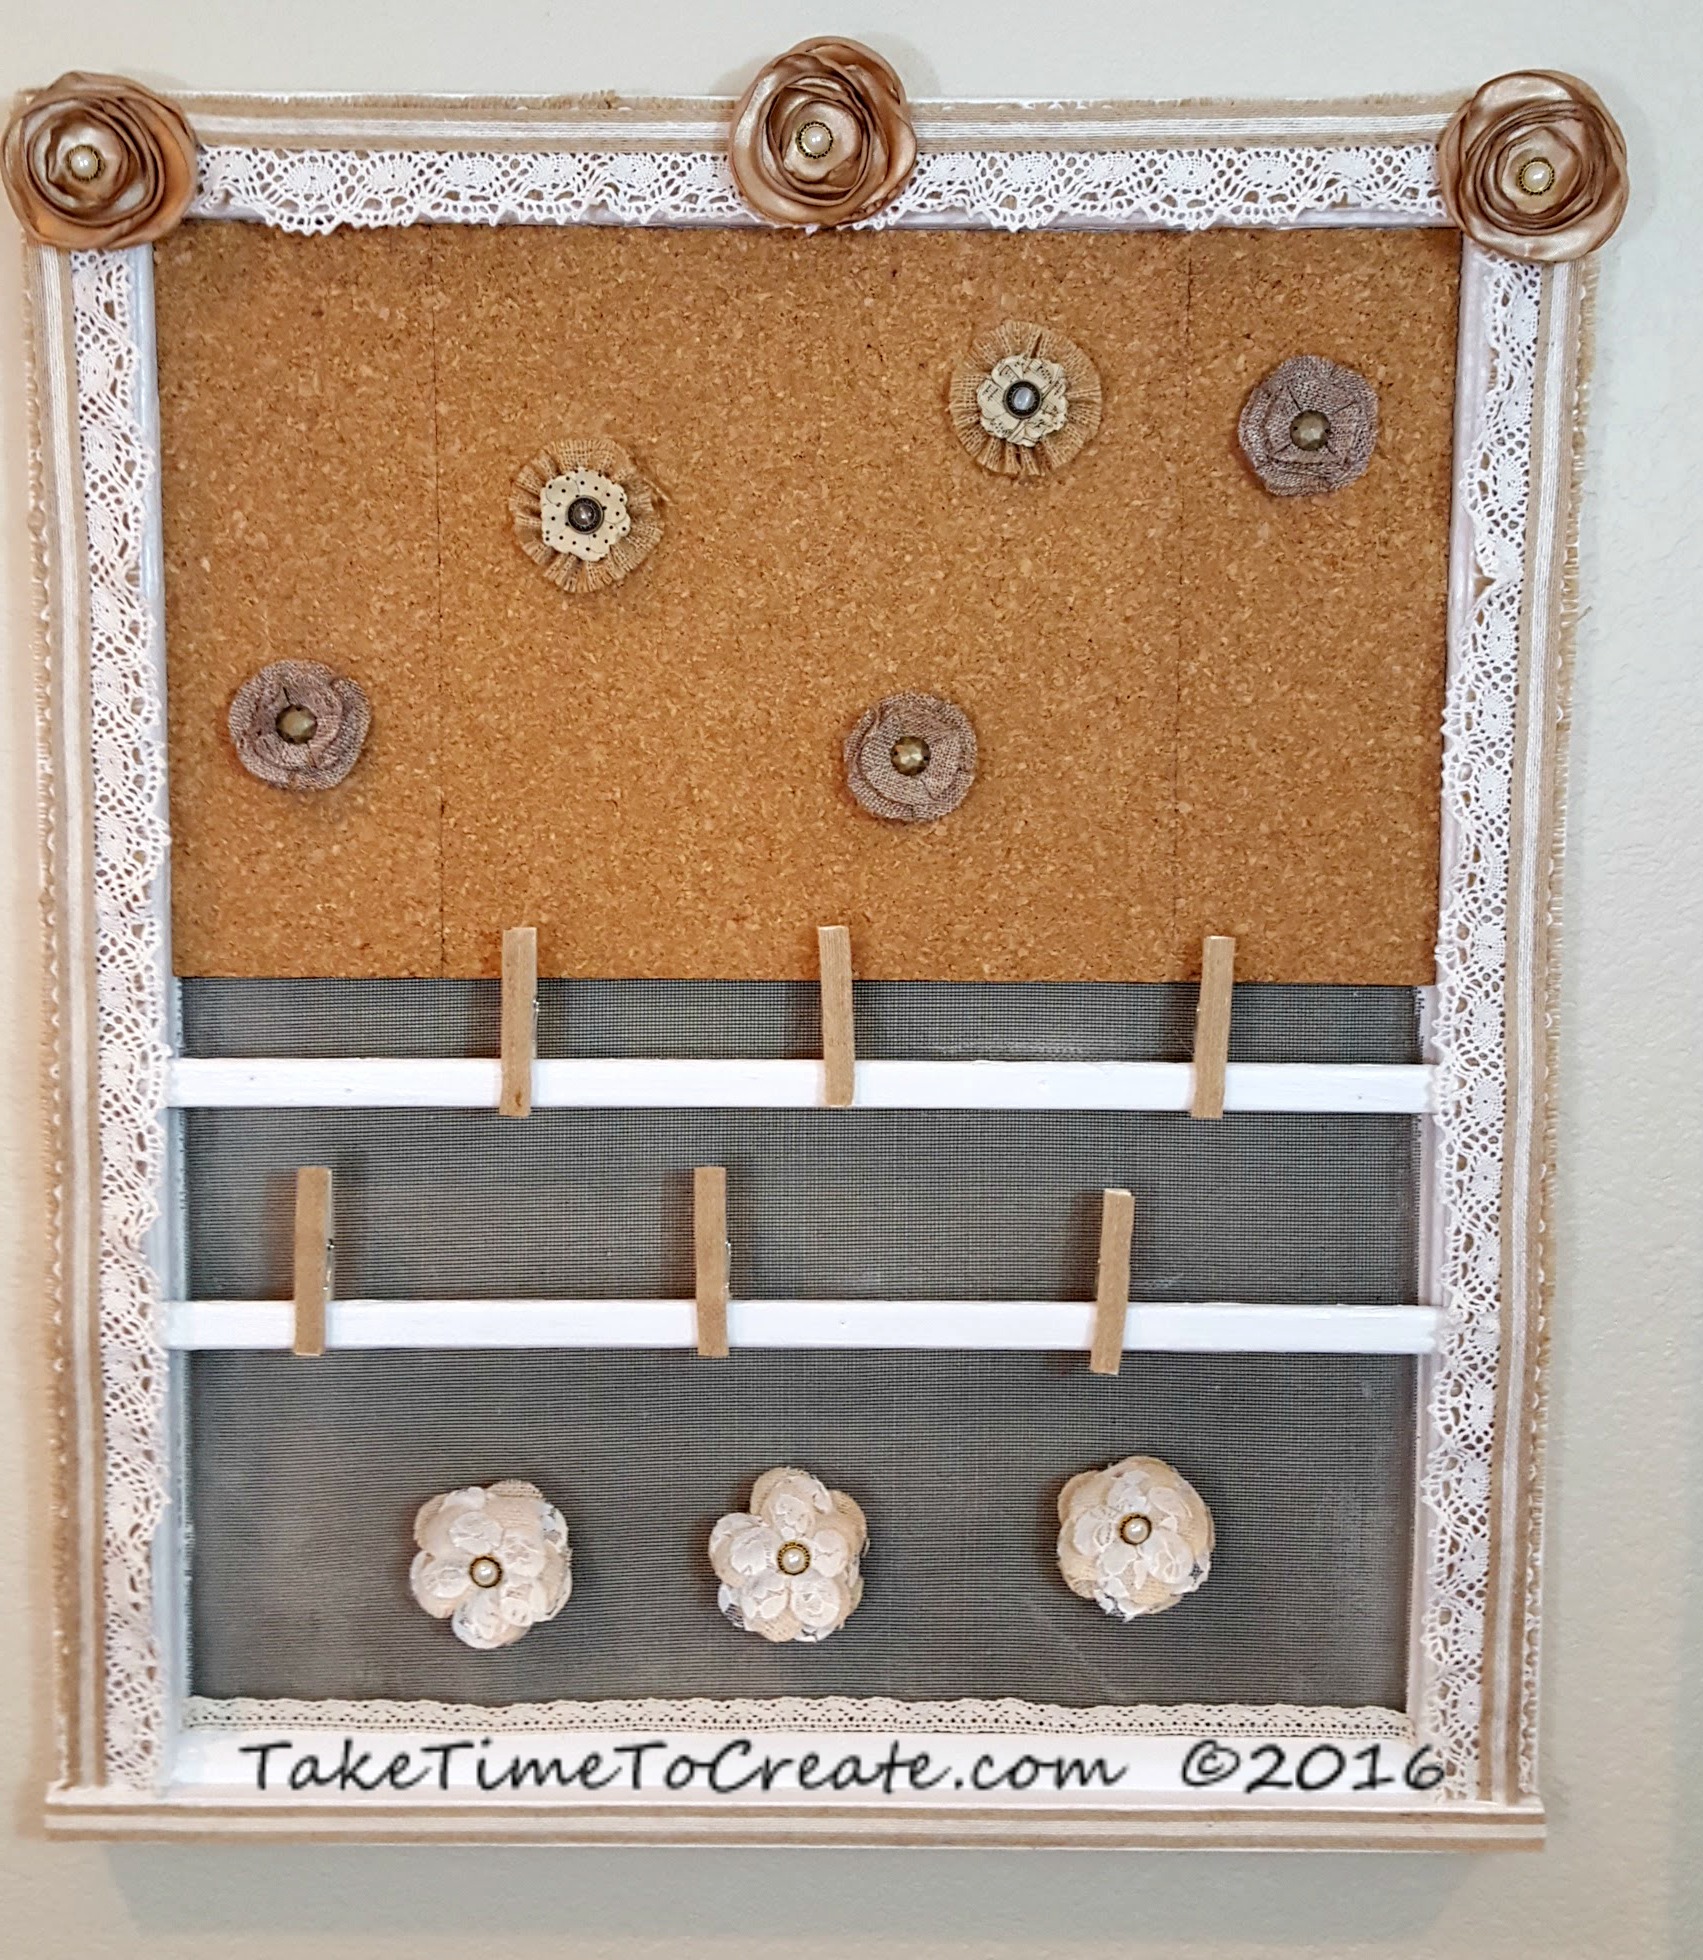
I have to say I do love the way it turned out! This all started when my friend asked me to paint a window for a silent auction for mental health awareness. At first I wasn’t too interested, not because I didn’t believe in the cause (because this is one cause I totally support) it was because I wasn’t sure I had a design that would work. Most everyone else did a more traditional painted window with flowers on the glass and things like that. Well of course I didn’t follow the crowd. So I did my own thing and hopefully it will bring in a lot of money for the charity!

Here is how I did the repurposing.

Materials:
~ old window (for this to work you for magnets you will need one with a metal screen)
~ sandpaper, tape, cleaning supplies
~ paint and brush
~ cork
~ flowers, magnets, tacks, and clothes pins
~ ribbon and burlap

Instructions:
~ The first thing you will need to do is sand down all the rough edges and smooth it out. Once you like the feel of the window then give it a good cleaning.

window

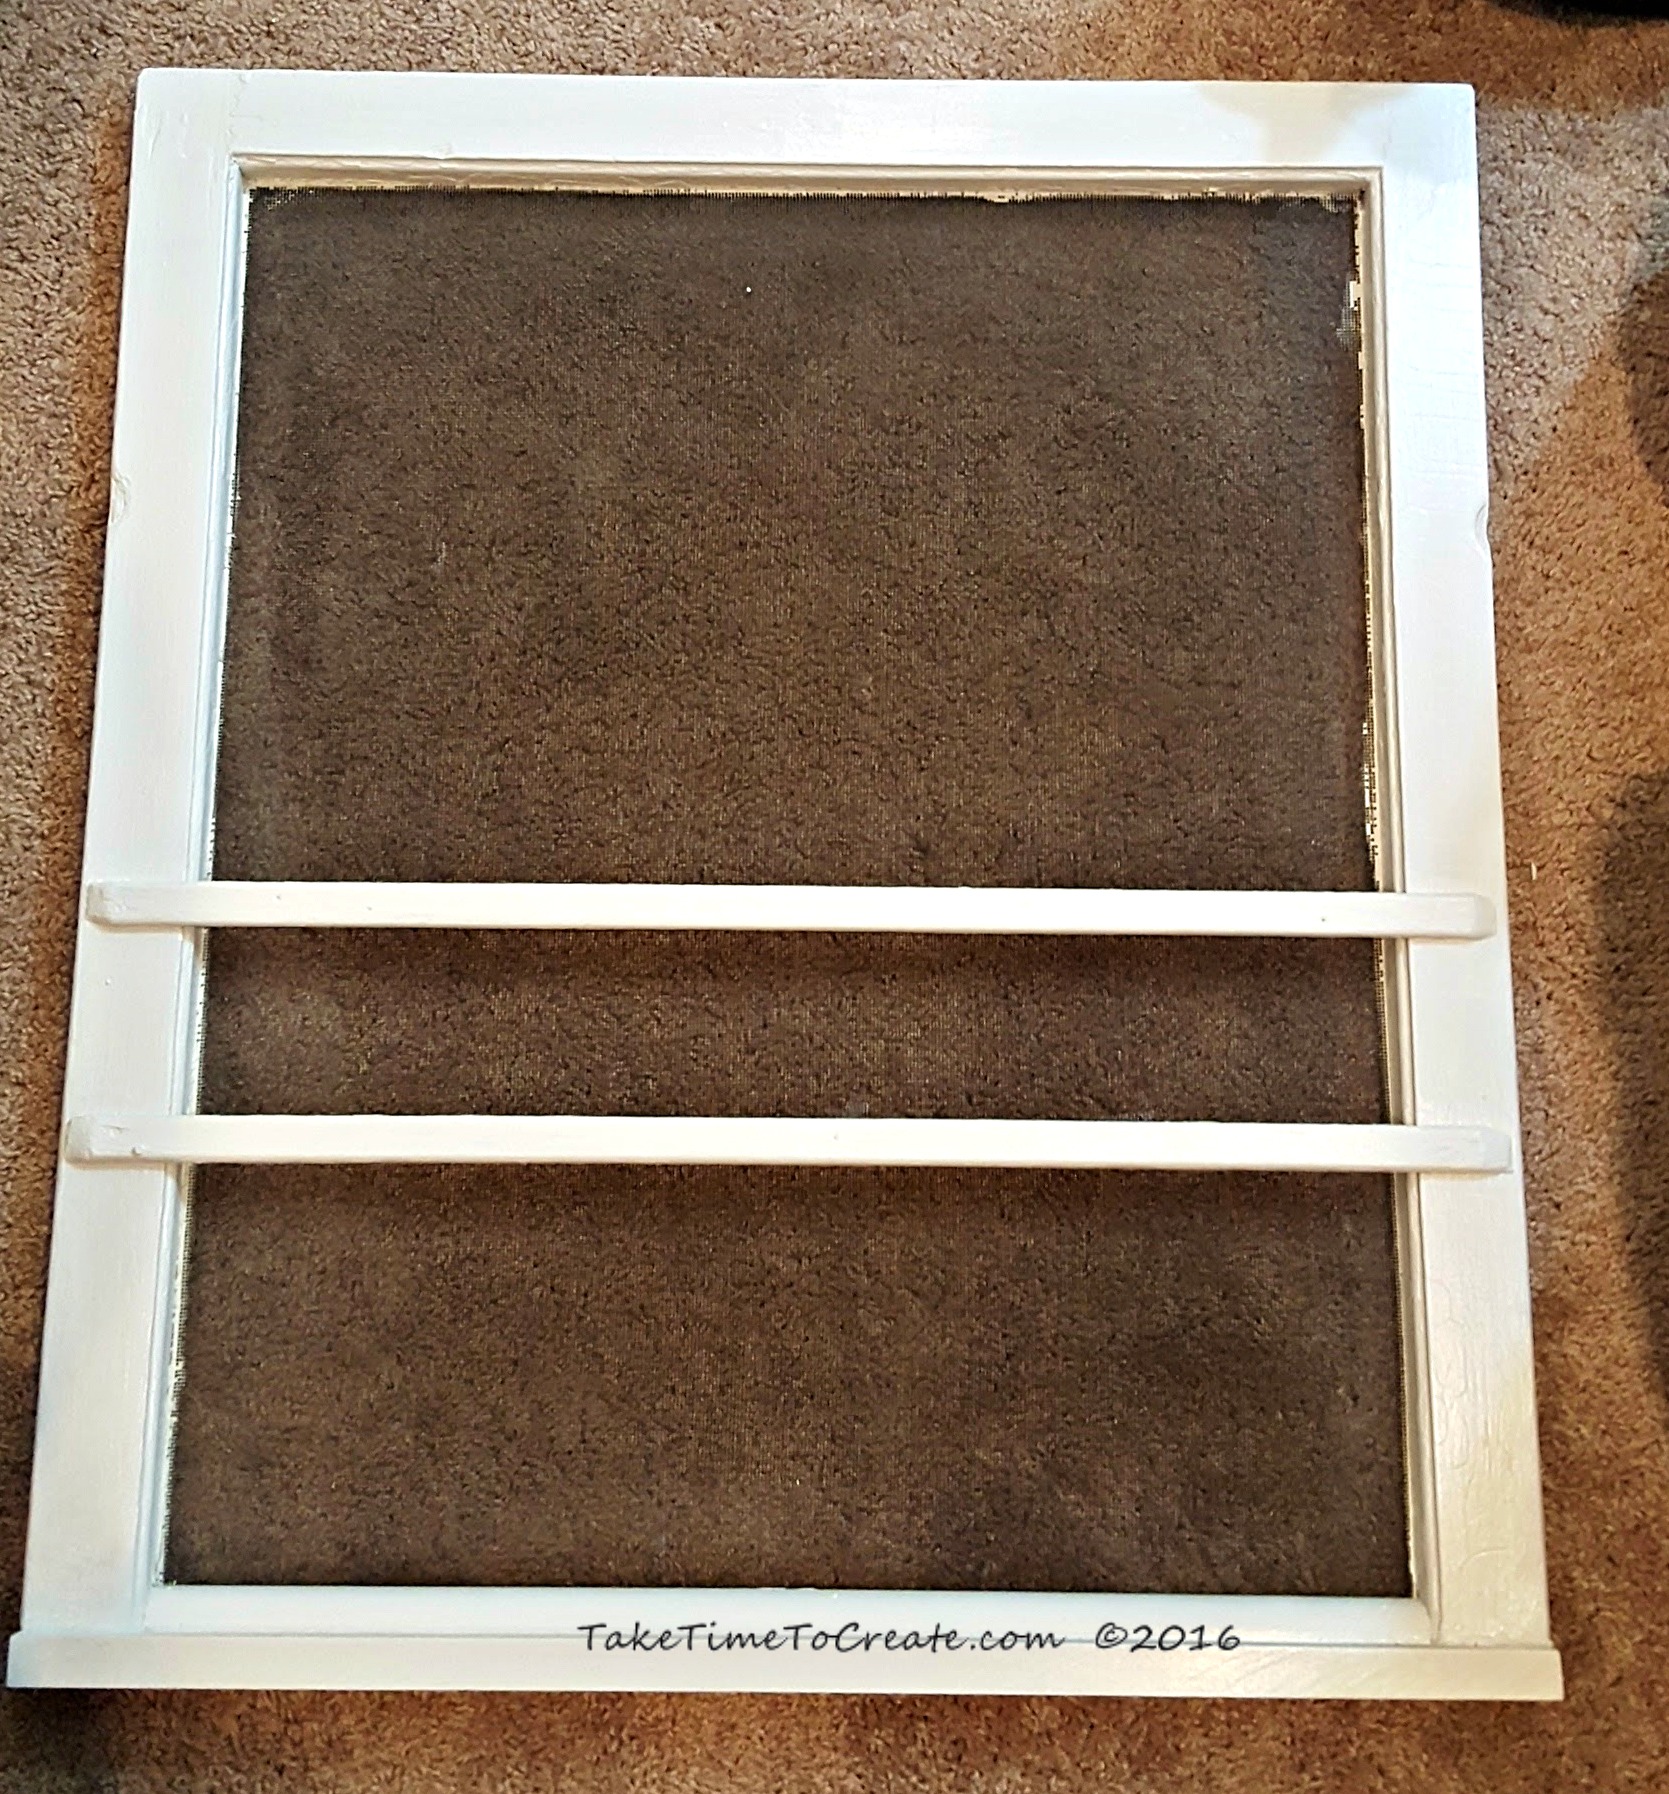
~ Now you are ready to paint. I taped around the edges to help cut down on how much paint went on the screen, and this seemed to help.
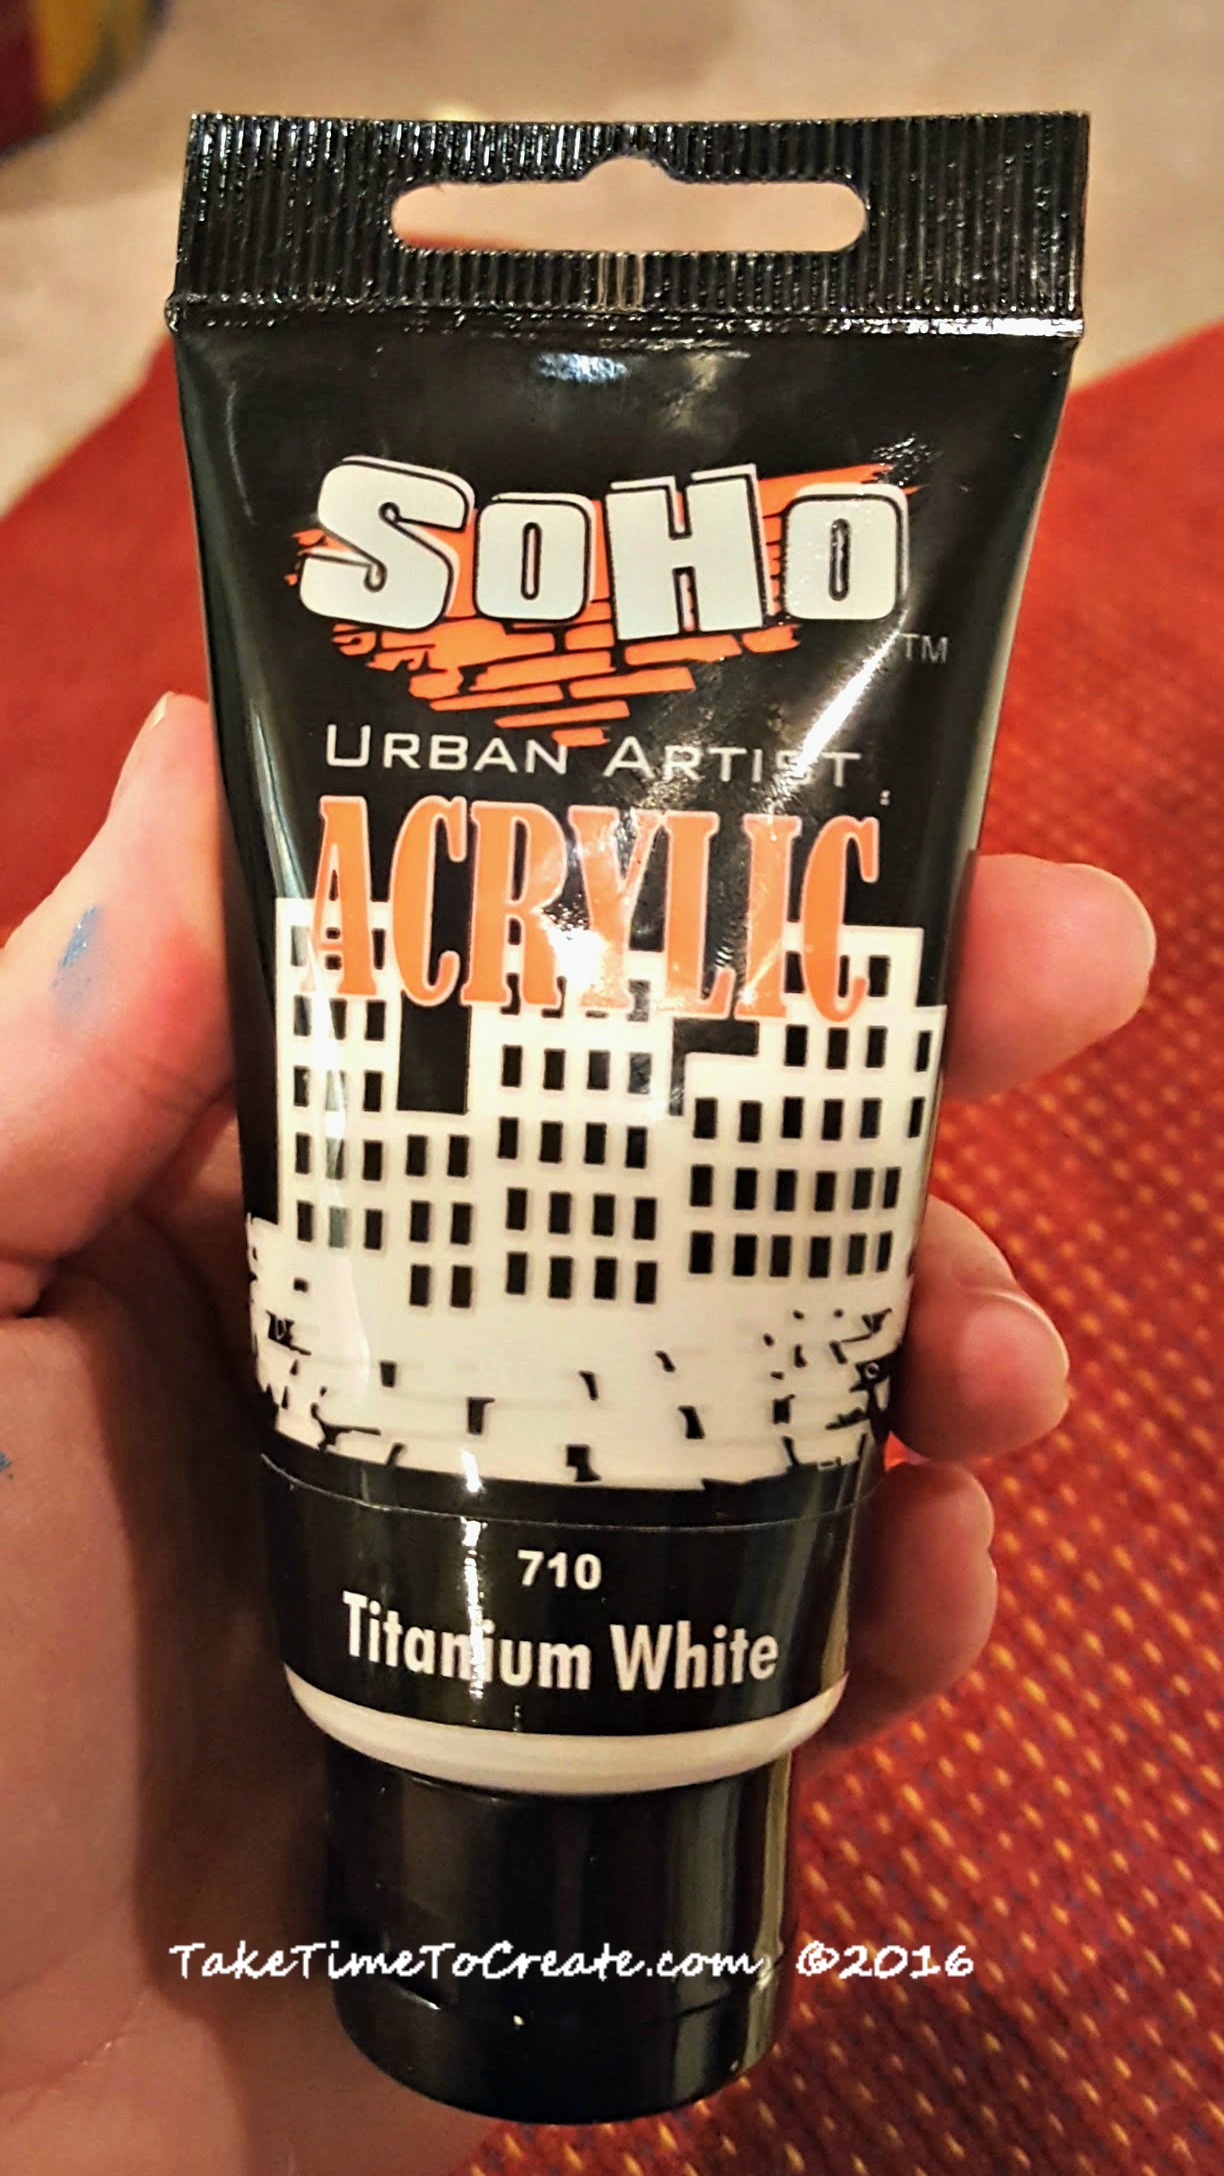
Paint a couple coats until you get it to how you like it. I used this white acrylic paint that I had on hand.

white acrylic paint

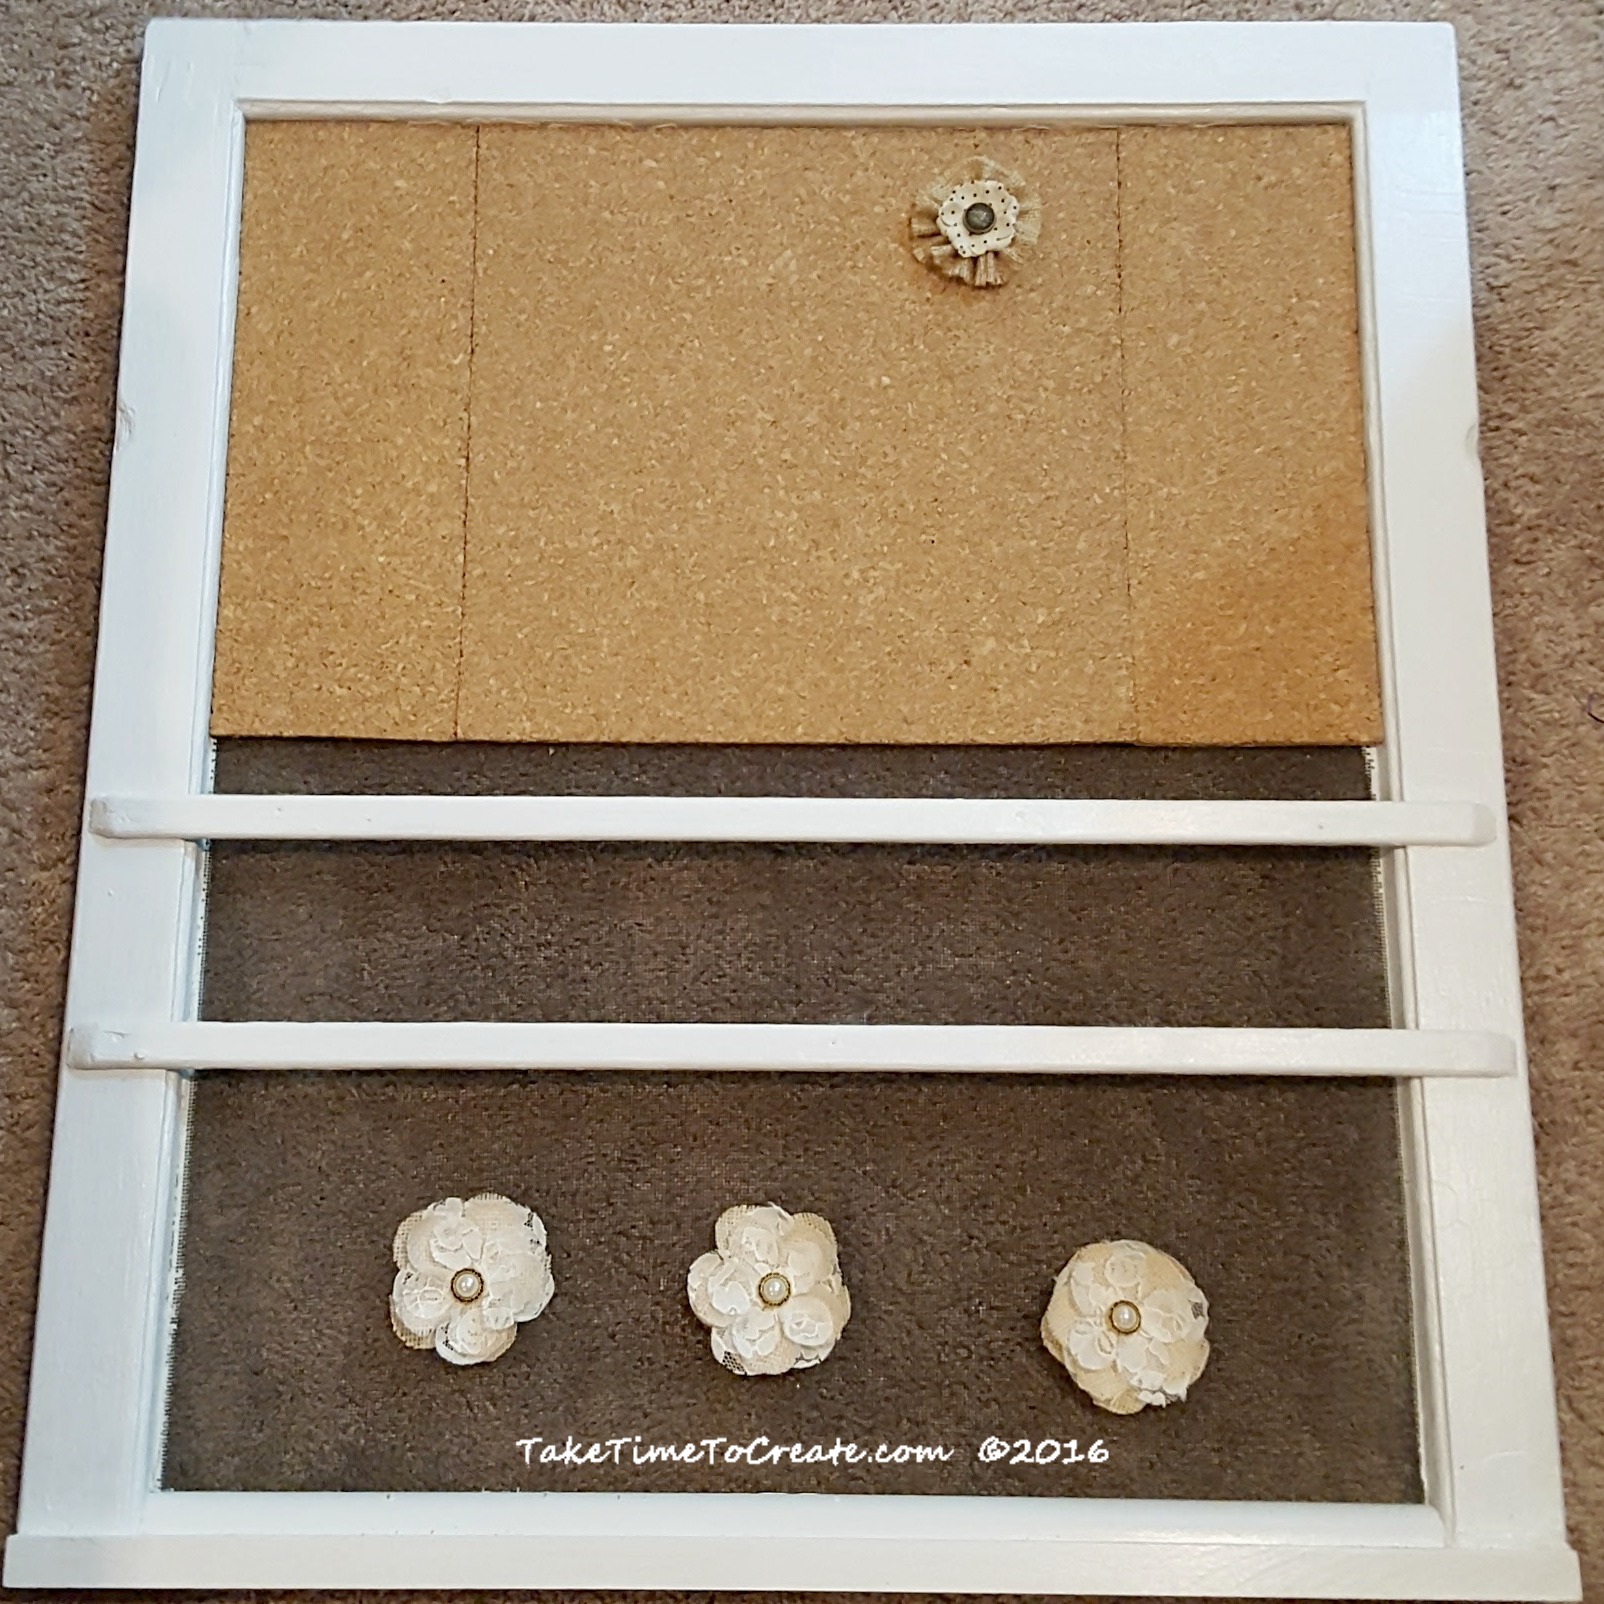
~ Cut your cork down to size and glue it on to the screen. I just glued the edges with a metal glue and that seems to hold it pretty well.

add cork to window

~Then I went to work decorating the edge. Shabby chic is all about layers so that is what I did. I put down a layer of burlap, the layered on a layer of crochet ribbon that I had in my stash.

add ribbon and burlap

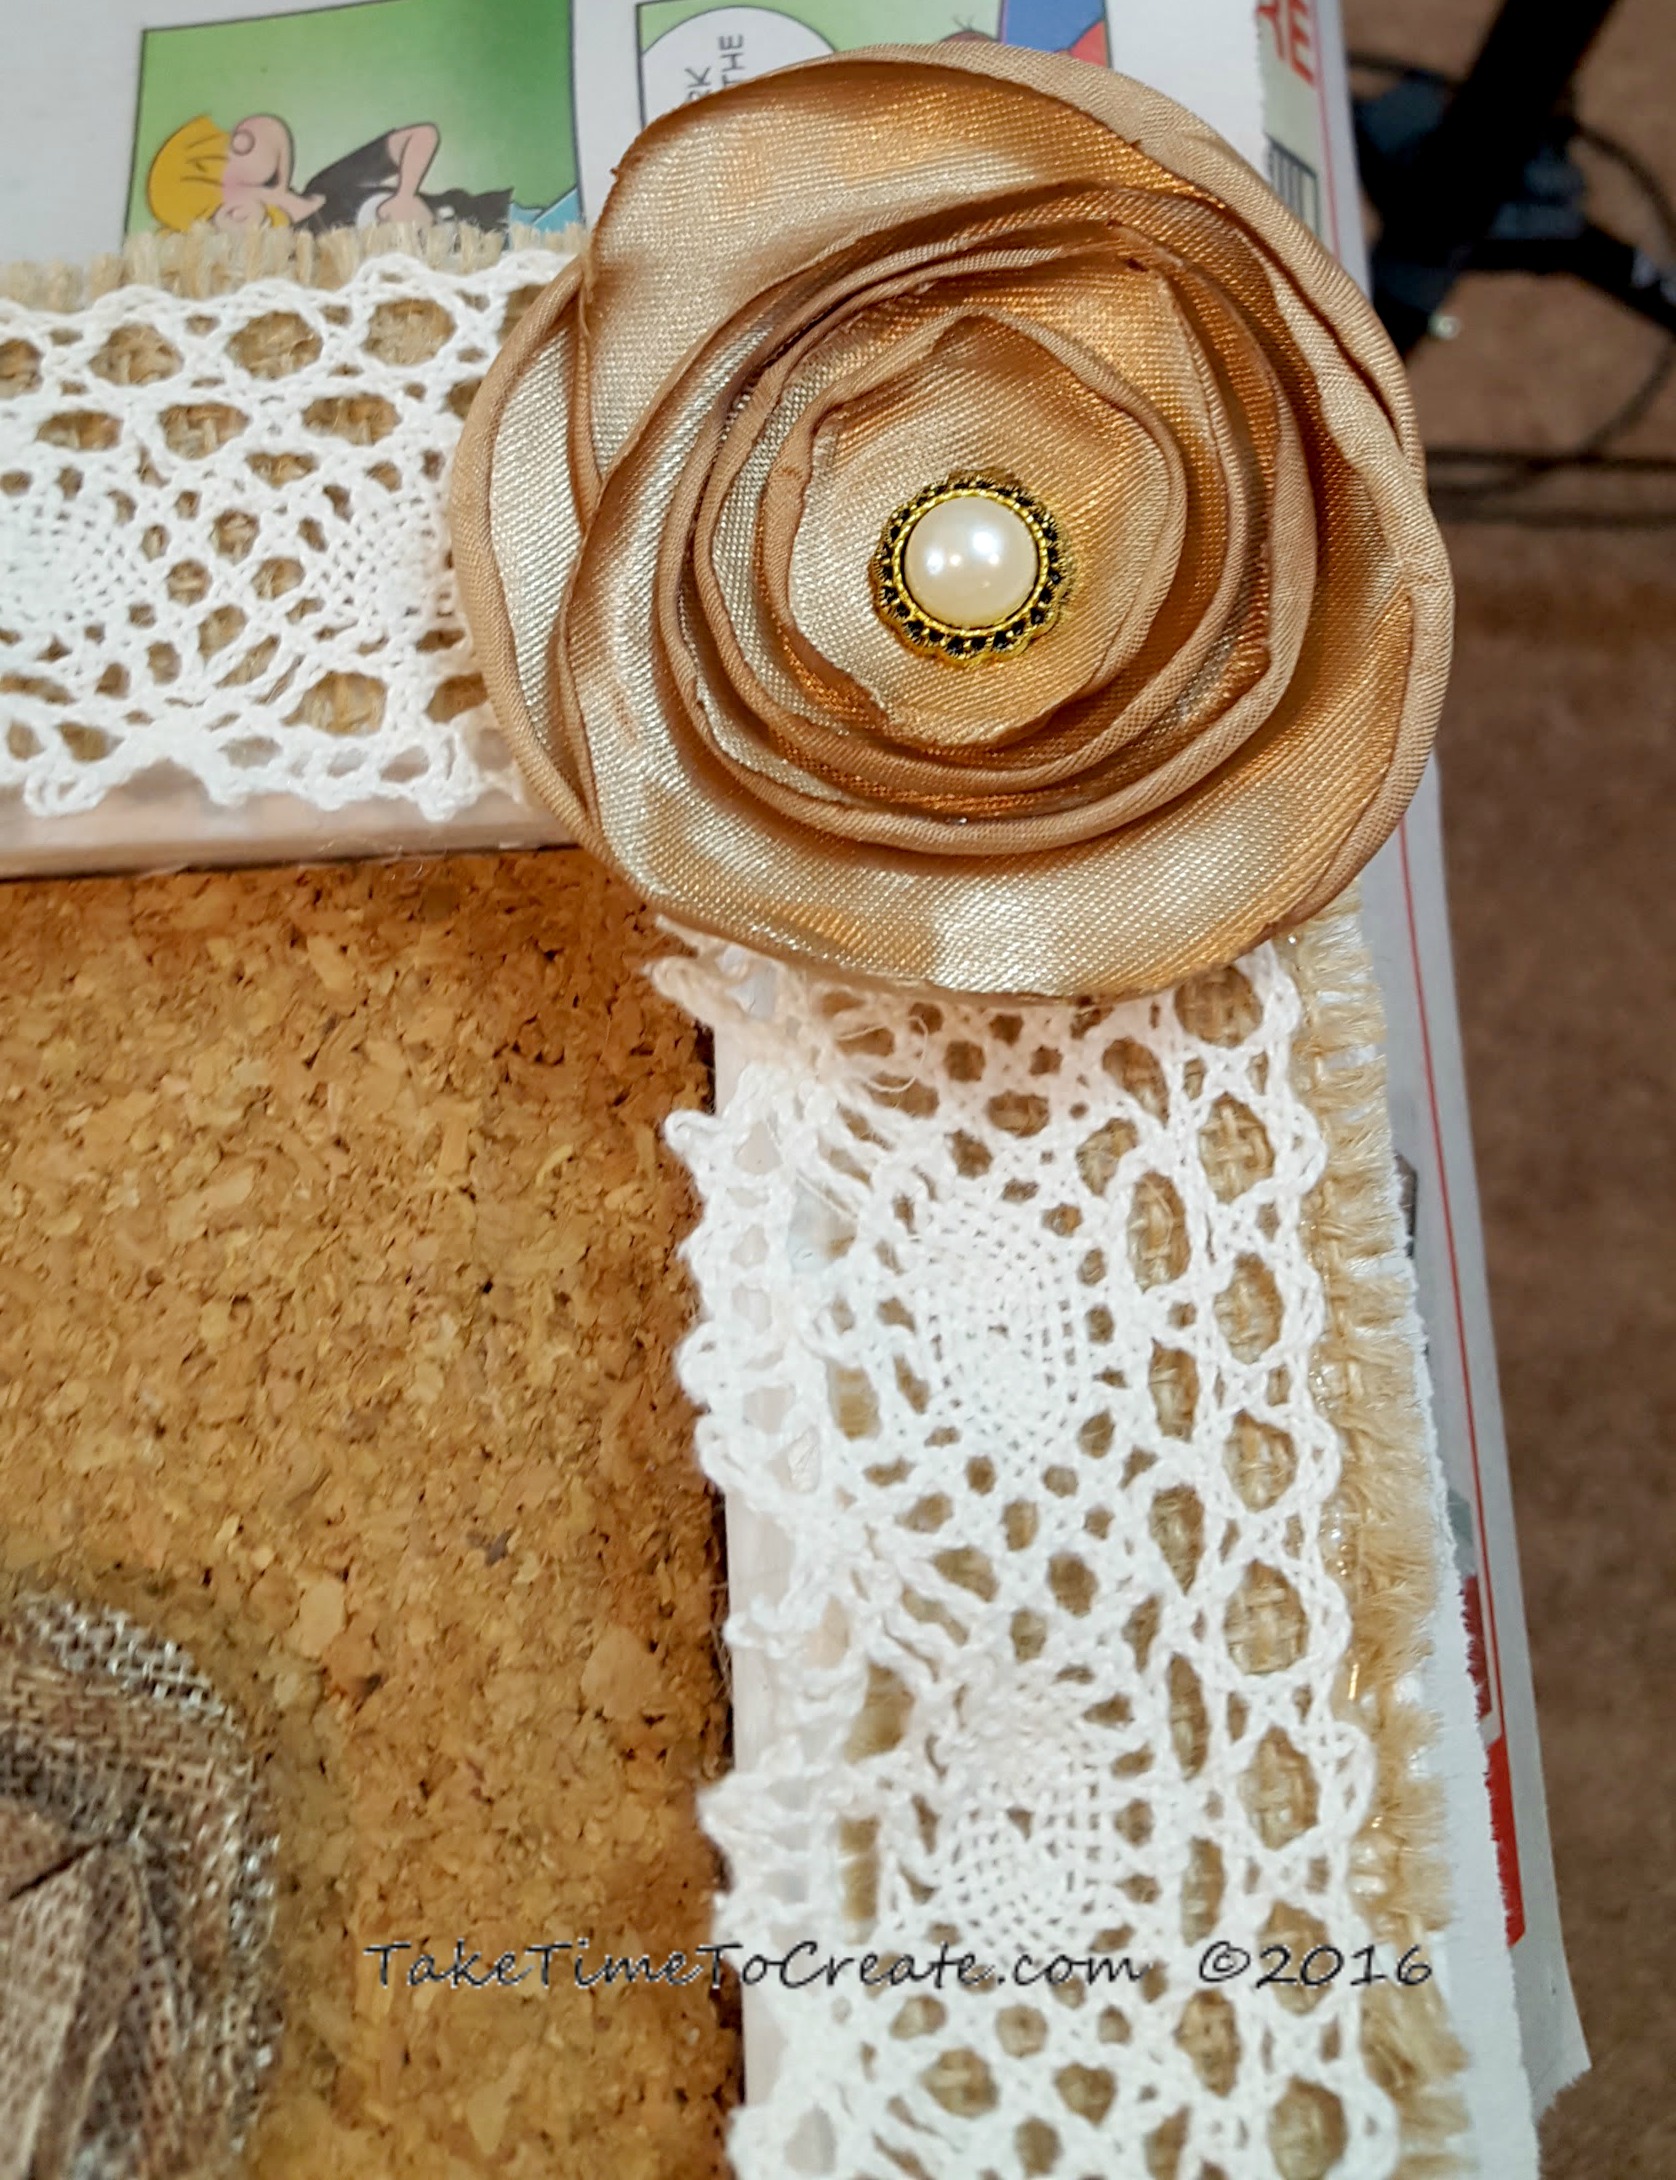
That looked good, but I felt like it was missing something, so I added a ribbon on top and flowers in the corners.

add more ribbon

Then I added ribbon to the bottom of the screen and to the bottom of the window. Once that was done it was time to add the flower decorations.

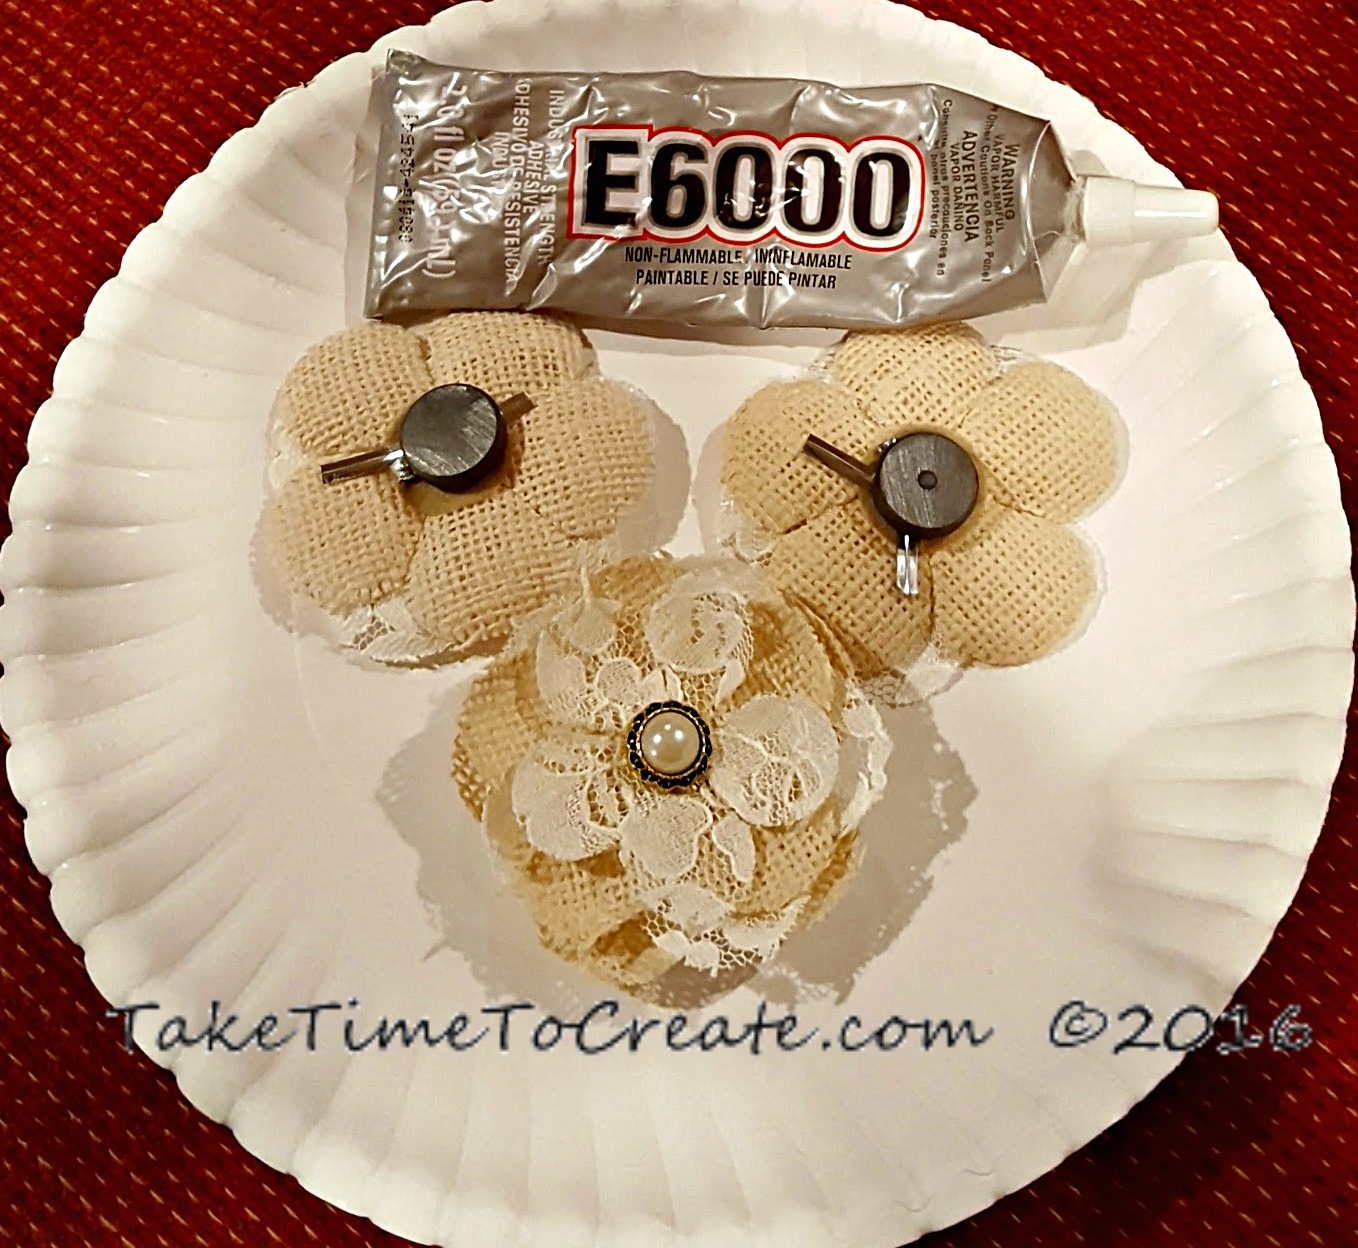
~ For the flowers add a magnet the back of some and tack to the others. For the clothes pins I just added ribbon to a plain clothes pin I got from the dollar store.

glue magnets to flowers

And that is it. This is a very fun project that is easy to do and I loved using what I had on hand. I can’t wait for the auction and hopefully they will make a lot of money for their cause!

repurpose window to shabby chic message board

Wake Up And Be Awesome

Wake up and be awesome is my motto. Everyday you have a choice of what you want to be and awesome is my answer. It is not always easy, but I do try.

So what better way to show my love for awesomeness than to make a wall hanging? It is fun to look at first thing in the morning and they day is always better when you start off with a smile.

wake up and be awesome diy project

Materials:

~old painting that you are willing to cover up. I found mine at Goodwill

~ paint (I am using acrylic paint that I found at the craft store)

wake up and be awesome diy project

~ Alphabet stickers, I was looking for big stickers and I found mine at Target near the poster board section

~ Rhinestone (of course I need rhinestones! I think this is a prerequisite for all my crafts Smile)

~ Glue to glue on the rhinestones (I am using Aleene’s Jewel-it glue)

wake up and be awesome diy project

~ Foam paint brush


Instructions:

~ Take your old painting and wipe clean. A damp paper towel should do the trick. I found this painting at Goodwill. It is not an actual painting but a print on canvas. The style doesn’t match my décor but the colors do. So I thought it would be perfect for this project.

wake up and be awesome diy project

~ Gather your supplies

wake up and be awesome diy project

~ I cut out the letters and laid them out to make sure everything fit.

wake up and be awesome diy project

~ Stick the letters on the canvas. Really press them down to make sure no paint seeps under the letter

wake up and be awesome diy projectwake up and be awesome diy project

~ Start painting.  Cover the entire canvas. Take your time and make sure it is all covered and looks good.

wake up and be awesome diy projectwake up and be awesome diy project

~ Before the paint completely dries take the letters off and throw them away. Check for sections where the paint might have seeped under the letter and clean it up. I used a Q-tip to make the letters look crisp.

wake up and be awesome diy project

I am not sure how anyone gets anything done without a little cat help. Smile It seems like every time I start a project Starlight has to be in the middle of it. But she makes it more fun.

wake up and be awesome diy project

~ Then I started adding rhinestones. I think everything is better with a little sparkle. I just added a few to the left edge of the each letter in the word Awesome. I think it added just the right amount of sparkle.

wake up and be awesome diy project

~Hang it on you wall (mine is in our bedroom) and get ready to wake up and be Awesome!

wake up and be awesome diy project

DIY Cinderella draw string bag

Last weekend while I was at the dollar store I saw these magic towels. I had seen them before and I thought they looked neat, but I don’t like using them as actual towels. They are thin and scratchy so I have never purchased them. When I saw them this weekend my crafty, creative juices started flowing. So I bought a few or 15. Whatever. I am sure I will find uses for them.

Here are some of the awesome magic towels I picked up. So many choices! I can’t wait to get my crafting on!

diy Cinderella magic towel drawstring bag

For this project I thought I would decorate a plain drawstring bag. I have to say that everything is better with sparkles and Cinderella!

My son is so patient and tolerant modeling my new bag. He didn’t even protest when I asked him to model my bag. He makes my heart sing Red heart

diy Cinderella magic towel drawstring bag

This is pretty easy to do and you can use any magic towel to customize it to  you heart’s content.

Materials:

~ magic towel (prewashed and ironed. You want to make sure it is flat and ready to use)

diy Cinderella magic towel drawstring bag

~ Wonder under or any iron on fusible web. ( I just used what I had on hand)

diy Cinderella magic towel drawstring bag

~ Fabric Paint

~ Scissors

~ rhinestones

~ Rhinestone glue. ( I used Aleene’s Jewel it)

 diy Cinderella magic towel drawstring bag

Instructions:

1. Wash and dry and iron your magic towel. That gets it ready for its transformation.

2. Iron your drawstring bag. I got my bag at JoAnns, but I am sure you can find them just about anywhere.

diy Cinderella magic towel drawstring bag

3. Iron your fusible web on to the back of the towel.

4. Carefully cut out Cinderella.

diy Cinderella magic towel drawstring bag

5. Peel the backing off. You can see the Cinderella wording and shoe, but I decided not to use them.

diy Cinderella magic towel drawstring bag

6. Iron Cinderella to the bag.

diy Cinderella magic towel drawstring bag

7. When Cinderella is cool start going around the edge with fabric paint. I found that I had to make a thicker line than I usually do because of how thick the towel is. I wanted to make sure the towel won’t unravel and that Cinderella stayed in place.

20151003_115737_001      diy Cinderella magic towel drawstring bag

 diy Cinderella magic towel drawstring bag

diy Cinderella magic towel drawstring bag

Once that was done I had Cole try on the bag and I decided that it didn’t have enough sparkle. I am sure you surprised that I didn’t think it had enough sparkles, right?

diy Cinderella magic towel drawstring bag

8. I had these packets of rhinestones that I found at the dollar store that I thought would work perfectly. They are connected together in strips, which worked perfectly.

diy Cinderella magic towel drawstring bag

9. I laid the strips out in a pattern that I liked

diy Cinderella magic towel drawstring bag

10. Once I got it how I liked I glued the rhinestones down. This is to make sure the rhinestones stay on the bag.

11. let dry over night and then you are ready to rock an awesome Cinderella bag. Doesn’t Cole look great rocking the bag? He is a great sport.


diy Cinderella magic towel drawstring bag

diy Cinderella magic towel drawstring bag

diy Cinderella magic towel drawstring bag

© 2024 Take Time To Create

Theme by Anders NorenUp ↑

Follow

Get the latest posts delivered to your mailbox:

%d bloggers like this: