Hello Everyone!
I hope your years is getting off to a great start. I am pretty excited because I have started on a project that I have been wanting to get started on for a long time. I got this huge stack of old t-shirts that had the wrong logo on them (this pic is only part of what I got). And since the shirts can’t be sold my friend gave them to me to make into yarn. This is not a new technique, but it is new to me and I am pretty excited in how it turned out. It is a perfect activity to do while I am watching TV. I am only part way through the stack, but eventually I will be done and then I am going to make rugs out of the yarn. Great way to upcycle old t-shirts and make something new.

I didn’t connect the balls of yarn to make one big ball because I am not sure if I am going to braid the rug or crochet it. (if I crochet the rug I will need to combine the yarn, if I braid it then I will need to sew together the strips.) Either way when I do the rug I will be sure to do a tutorial for you guys.
Here is how you turn in old t-shirt into yarn.
Materials
~Old T-shirt (make sure it is washed, if it is new this will take the sizing out and if it is from a thrift store it will make sure it is clean)
~ Scissors
~ ruler if you want, I didn’t use one but a ruler might make it easier to cut the strips.
Instructions
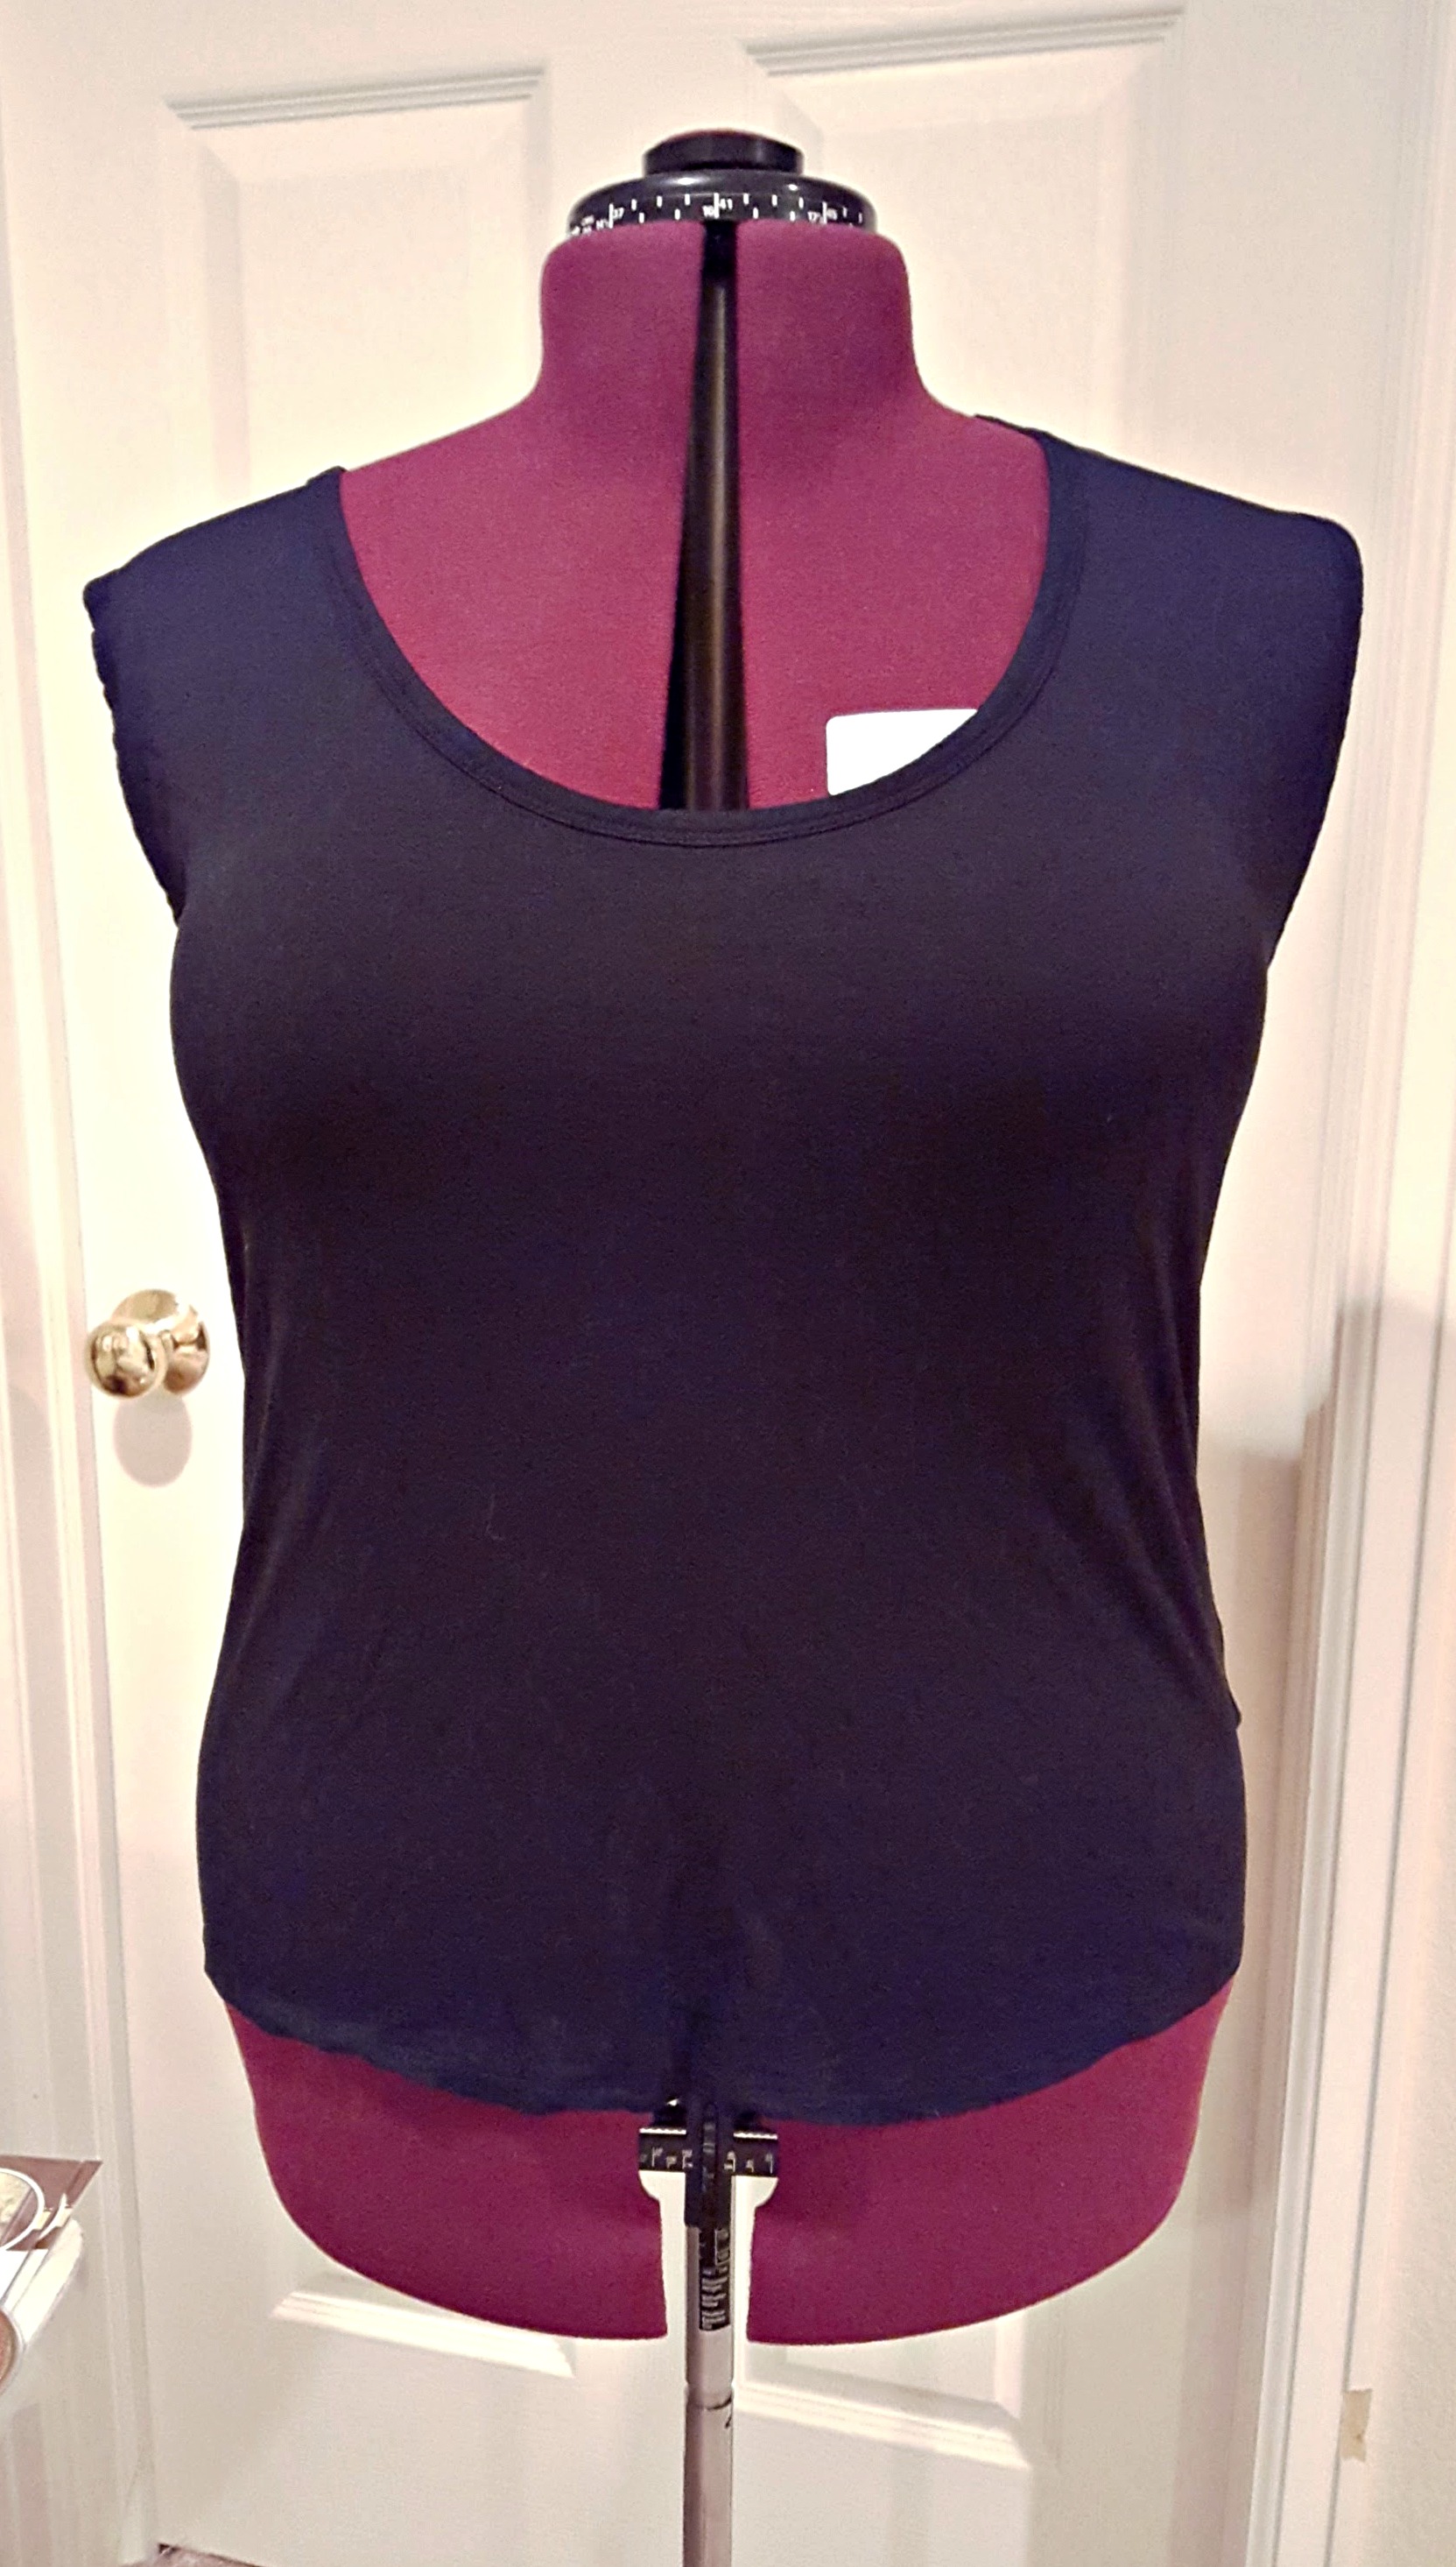
~ Lay the clean shirt on a flat surface. As you can see from the pics I am working on the floor, but that is just my preference. Make sure the shirt is flat and as smooth as possible.
~Cut the top off right under the sleeves. (I am keeping this top part, not sure what I am going to do with them but I just can’t throw it away) Then Cut off the bottom hem. (I threw that part away)


~ Then you want to cut the remaining shirt into strips. I cut mine about 1-1.5” wide.
***This is Important! Make sure you don’t cut all the way to the top! You will need this uncut area to make the yarn into one continuous length.


(This is what the top looks like with the uncut areas. You will cut it at an angle to make the strips, starting at the right end)
~ For this part refer to the pics, and please let me know if you have any questions.
To make the yarn cut off starting at the last strip and make an angle cut to the edge. Then cut the rest of the strips in an angle until you get to the end. I place the shirt on my arm and make the cuts on there, that just helps me keep track of were I need to go next.


~ Once you have cut the entire shirt you should have on long length of T-shirt Yarn. Then gently stretch the yarn and then wrap it into a ball. I made individual balls because I am not sure if I want to combine them into one length or not, but this way I am keeping it all nice and neat until I am ready to use it.


I know this may seem a little confusing, but I am here if you have any questions. Have any of you made t-shirt yarn before? I would love to some tips and tricks to make it better and or easier.