Tag: magic band

DIY Magic Band and Magic Keeper

Hello Everyone!

As many of you already know I am headed to Disney World soon to participate in the Crochet Crowd’s Wish Upon A Stitch! I am so excited!  So to prep for the trip I have been making new Mickey Ears like this Black Rose one and I just finished a DIY Magic Band and Magic Keeper!

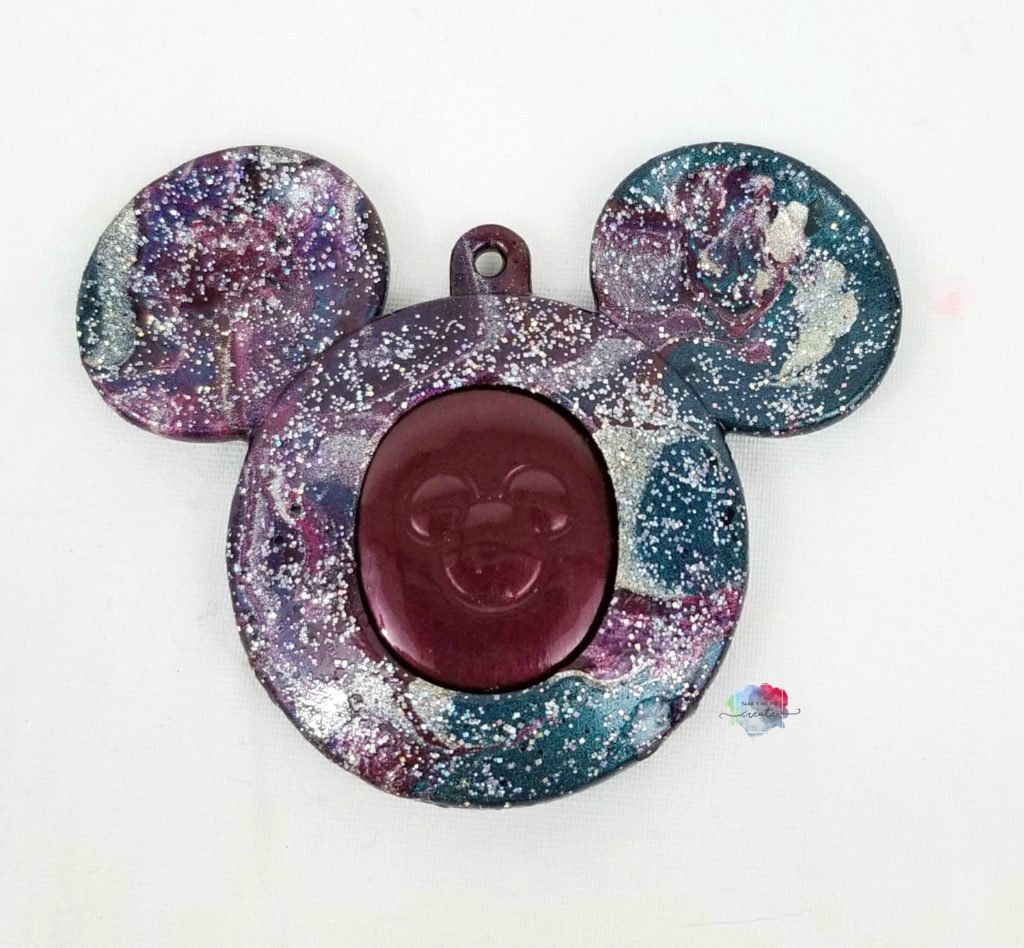
This is the new Magic Band 2- so that means you can pop the middle part out and put it in a Magic Keeper! I love the versatility of the new Magic Bands.

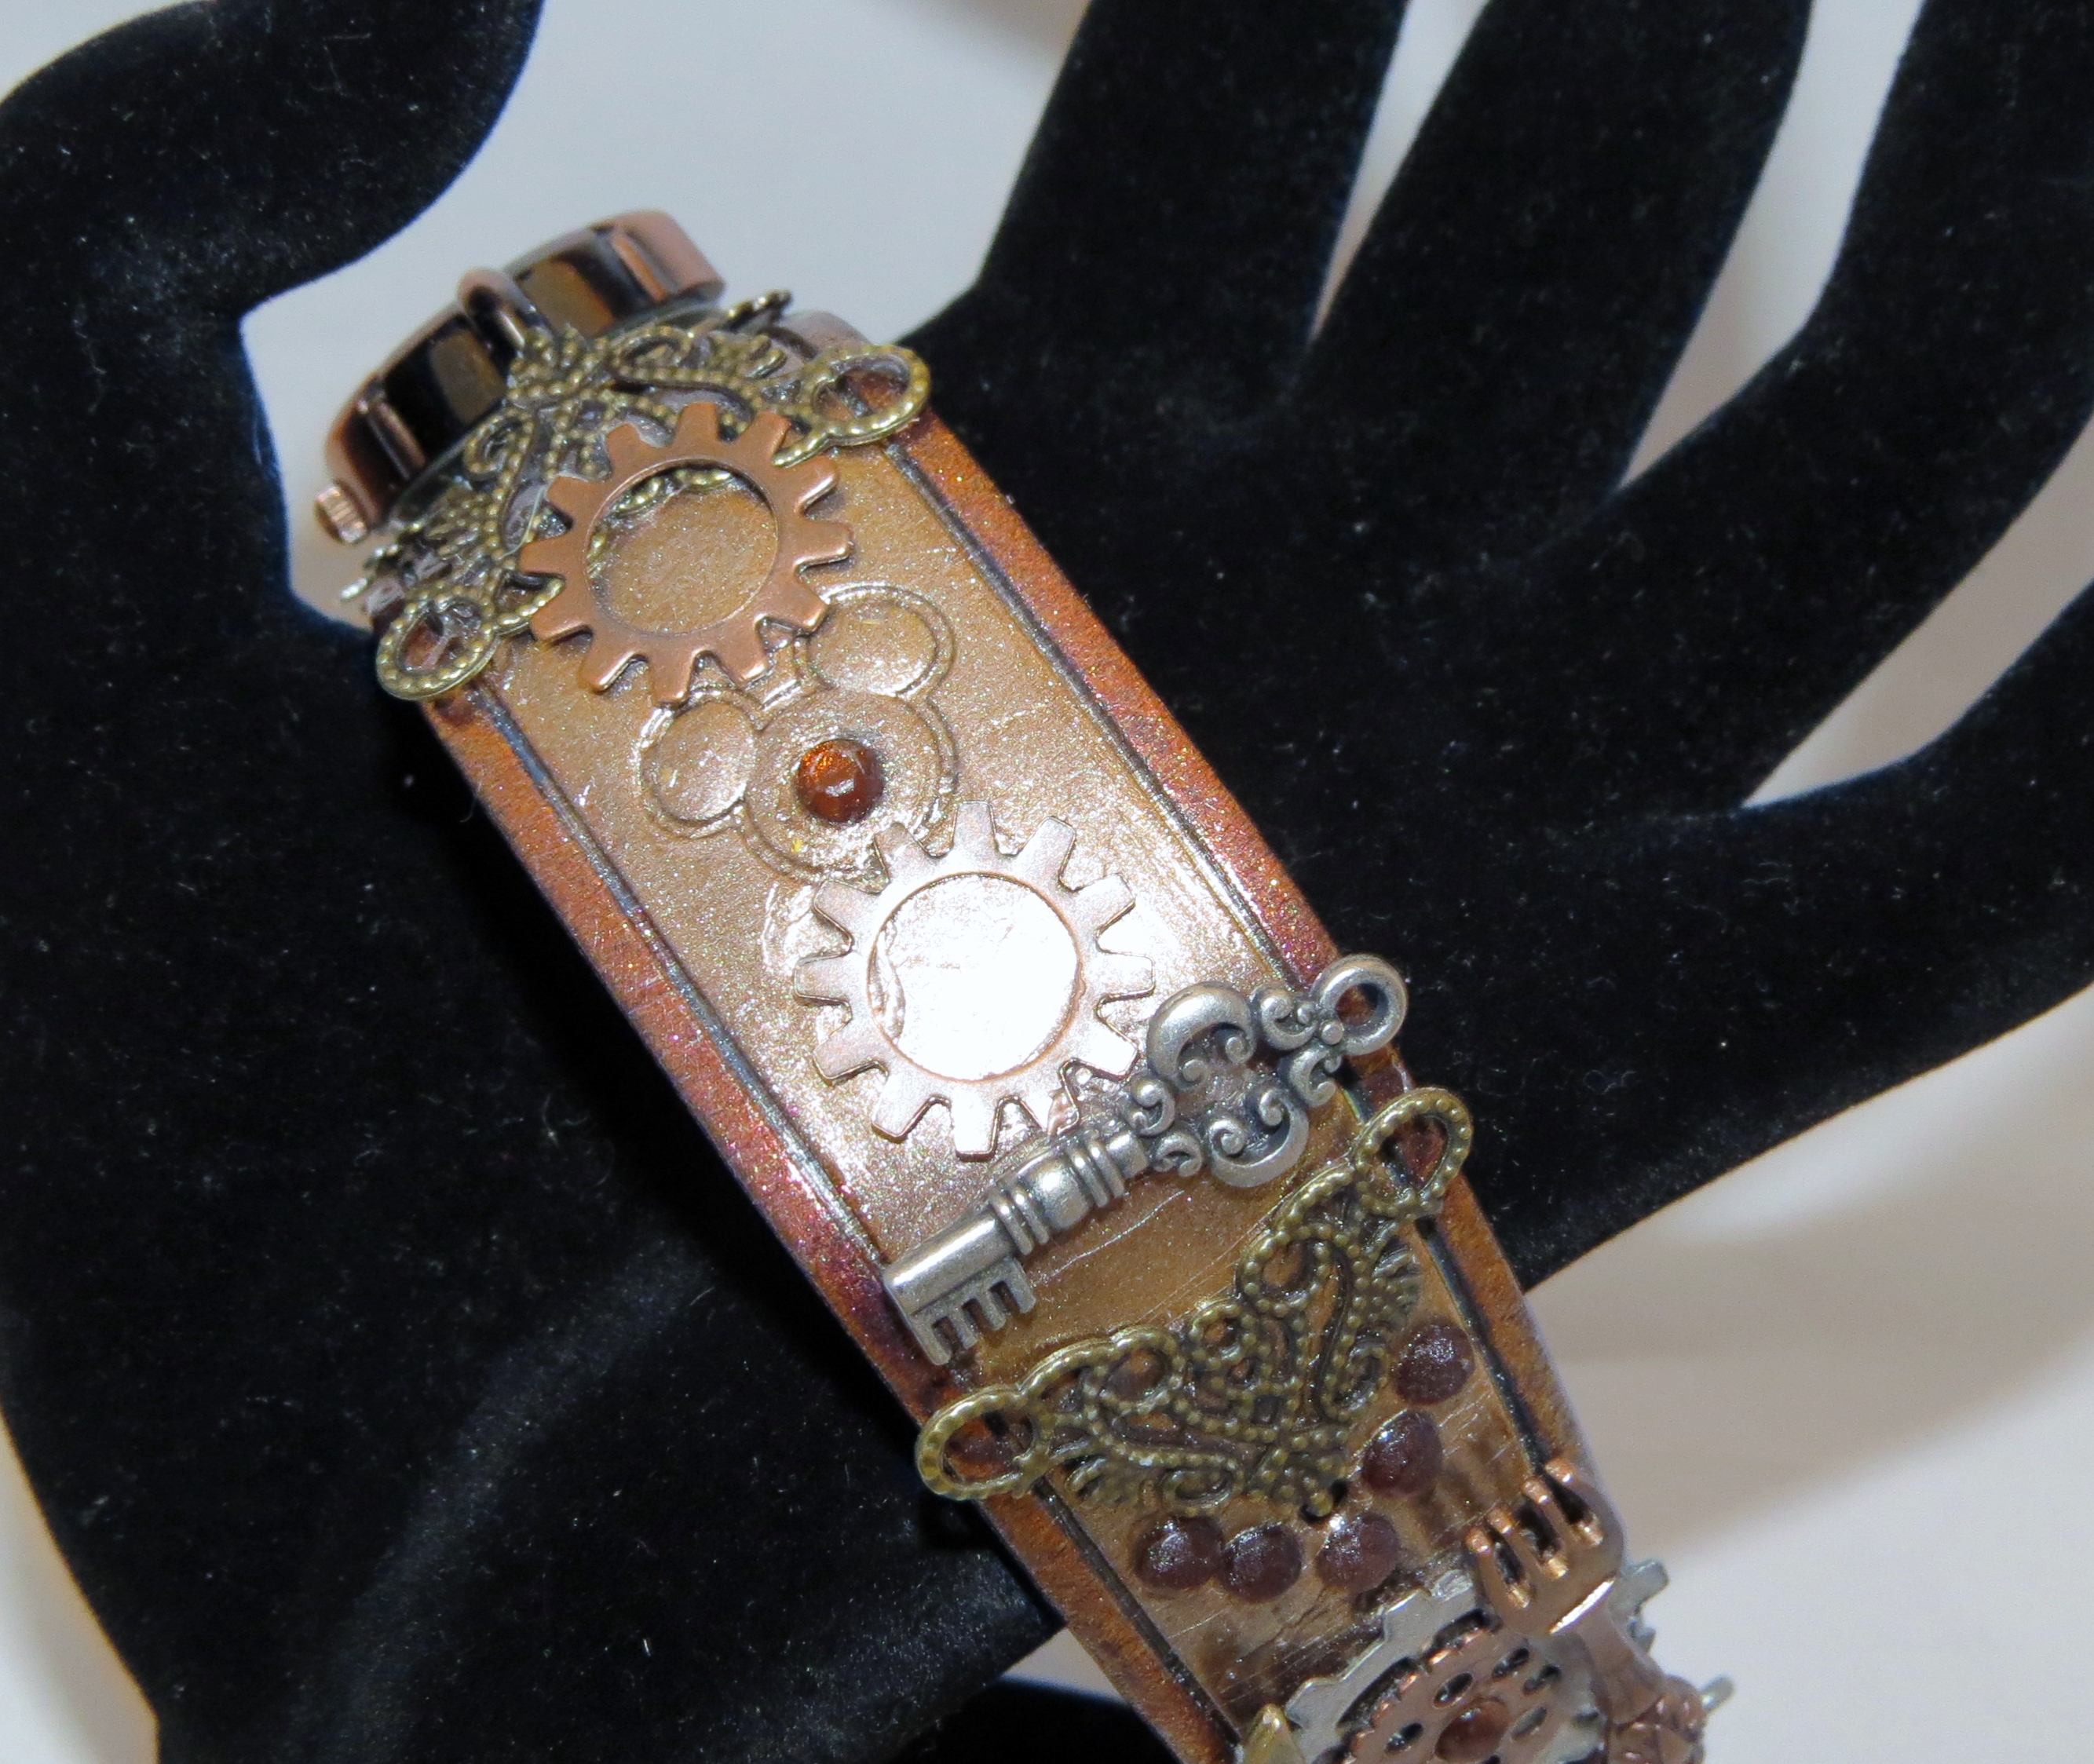
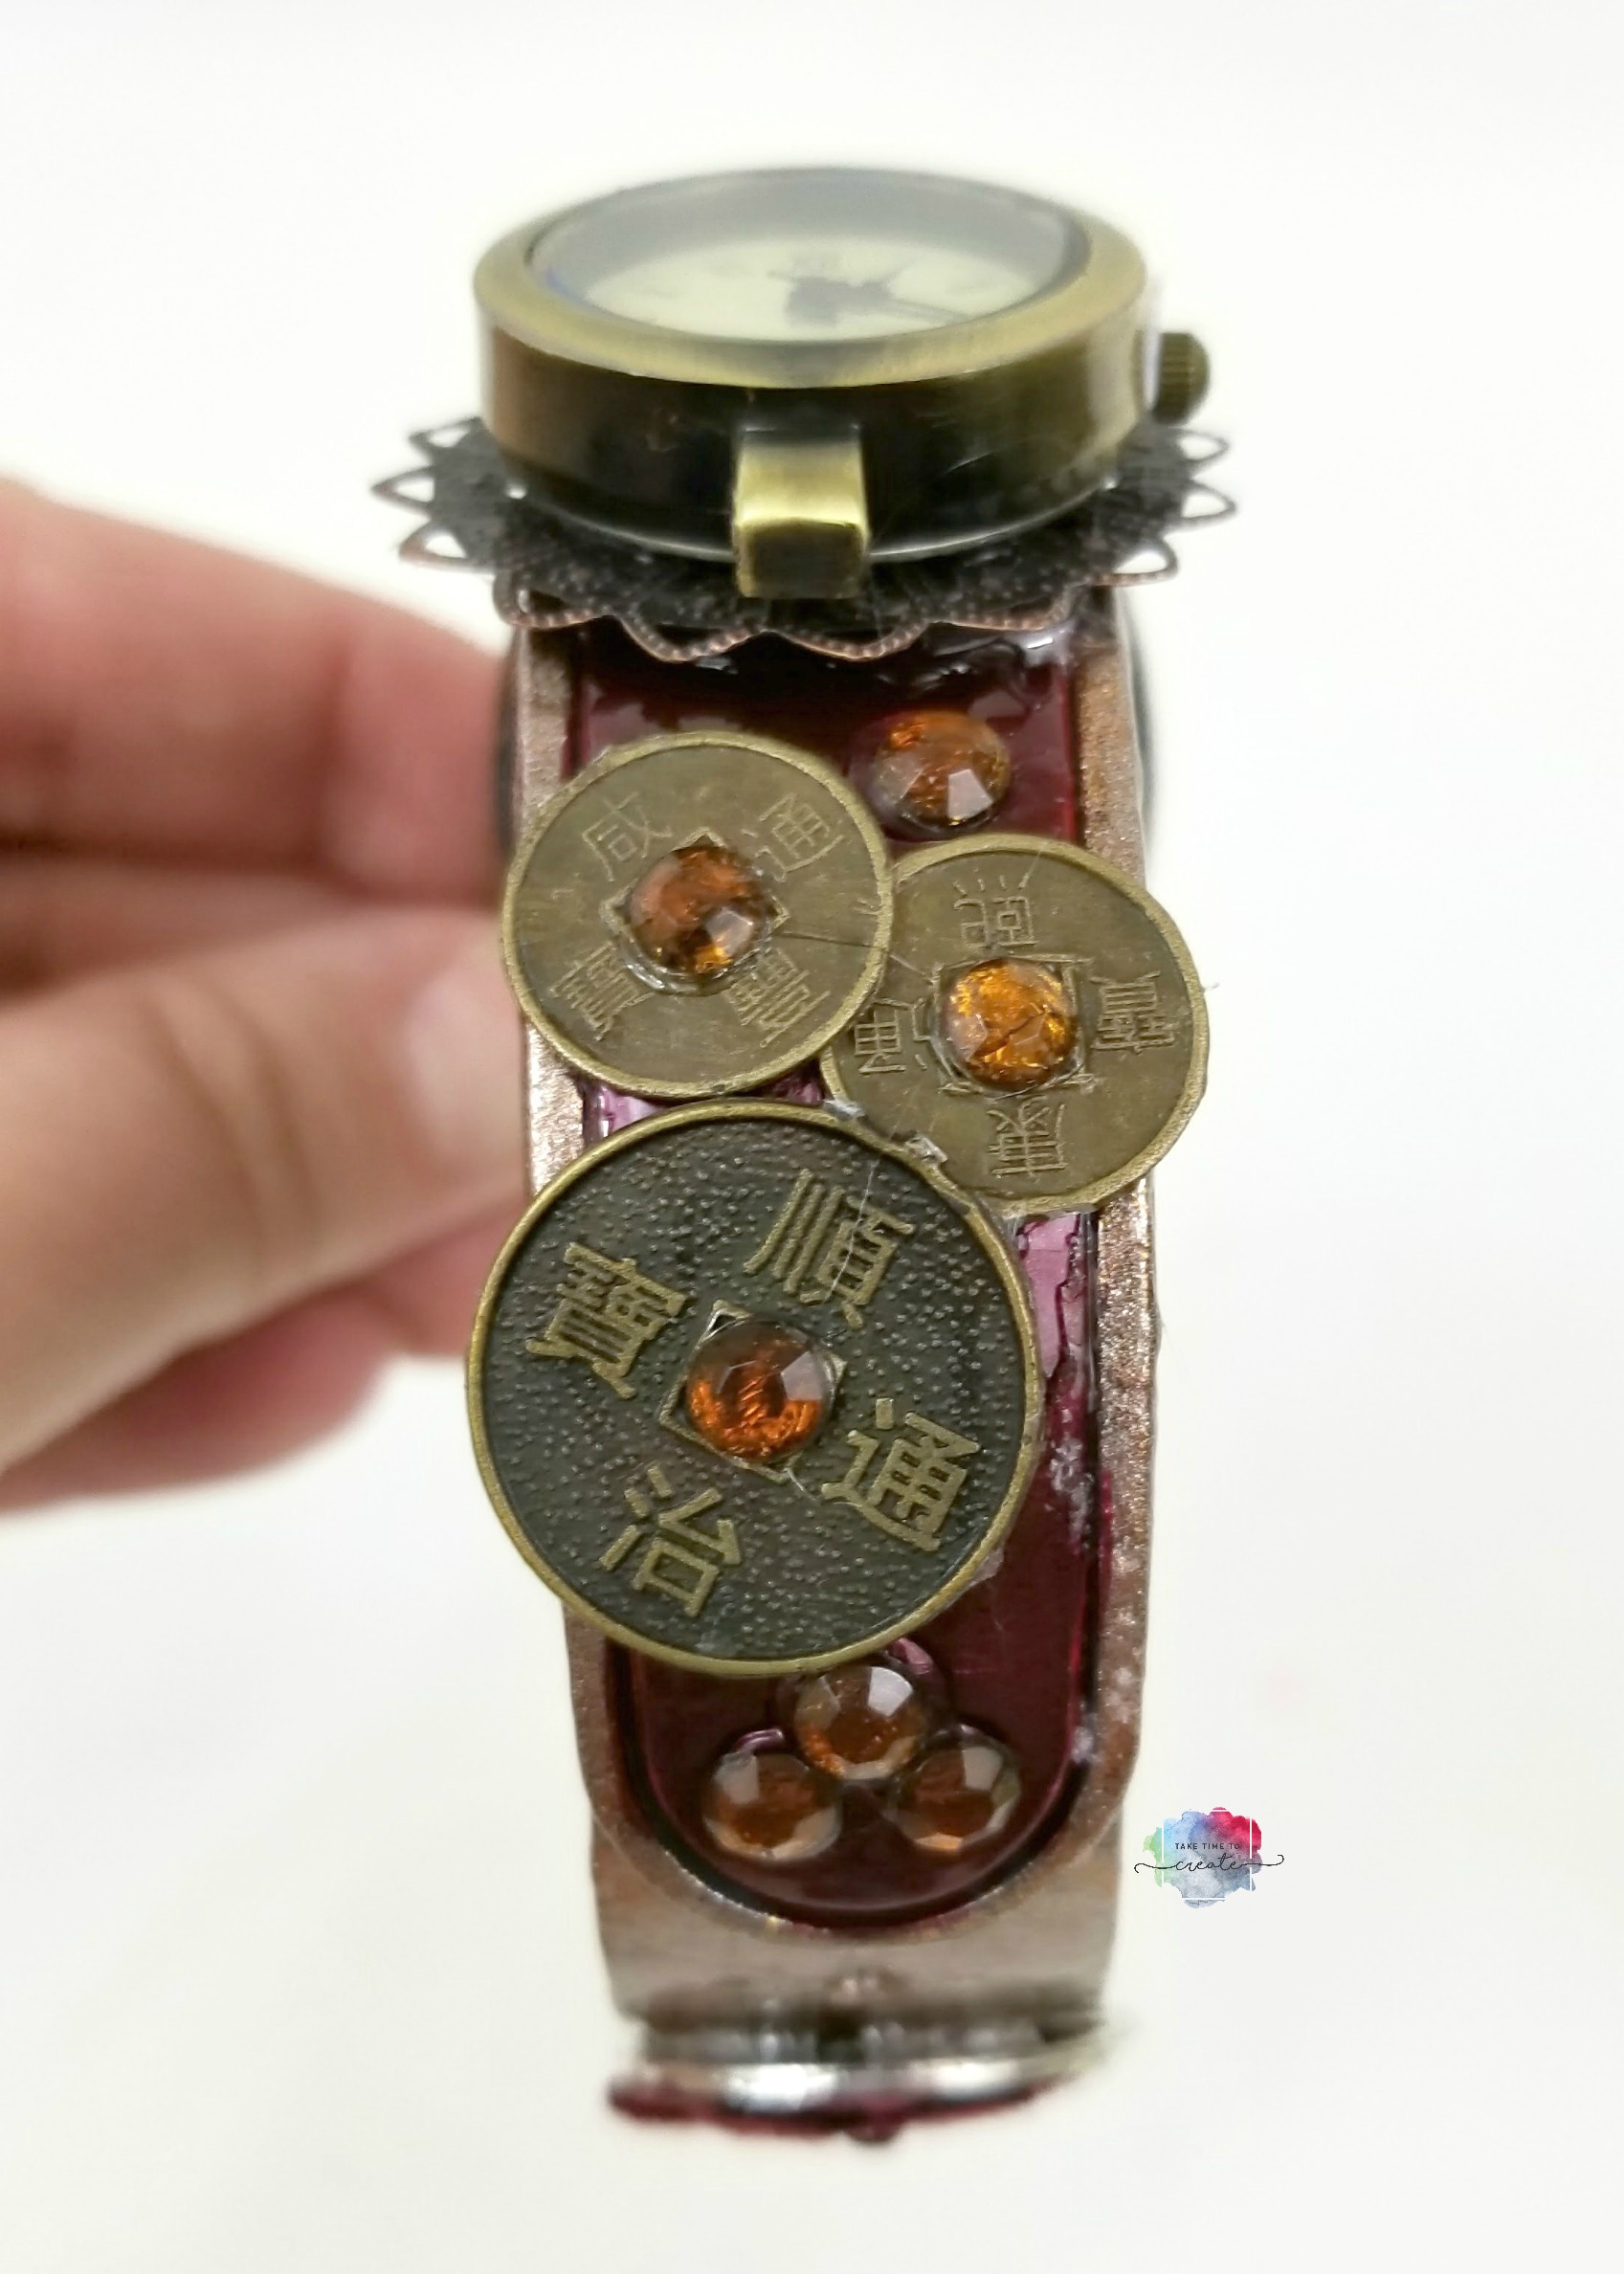
I made a Mulan Inspired Magic Band this time (Last Time I did a Steampunk Beauty and the Beast– here is the link to the Blog Post and Video)

Here is the video tutorial:


Materials (Affiliate Links)

  • Glue Syringe: http://amzn.to/2yeV8Q9
  • wax stick for rhinestone: http://amzn.to/2yWy9qh
  • Sally Hansen Wine Not color: http://amzn.to/2yabiZn

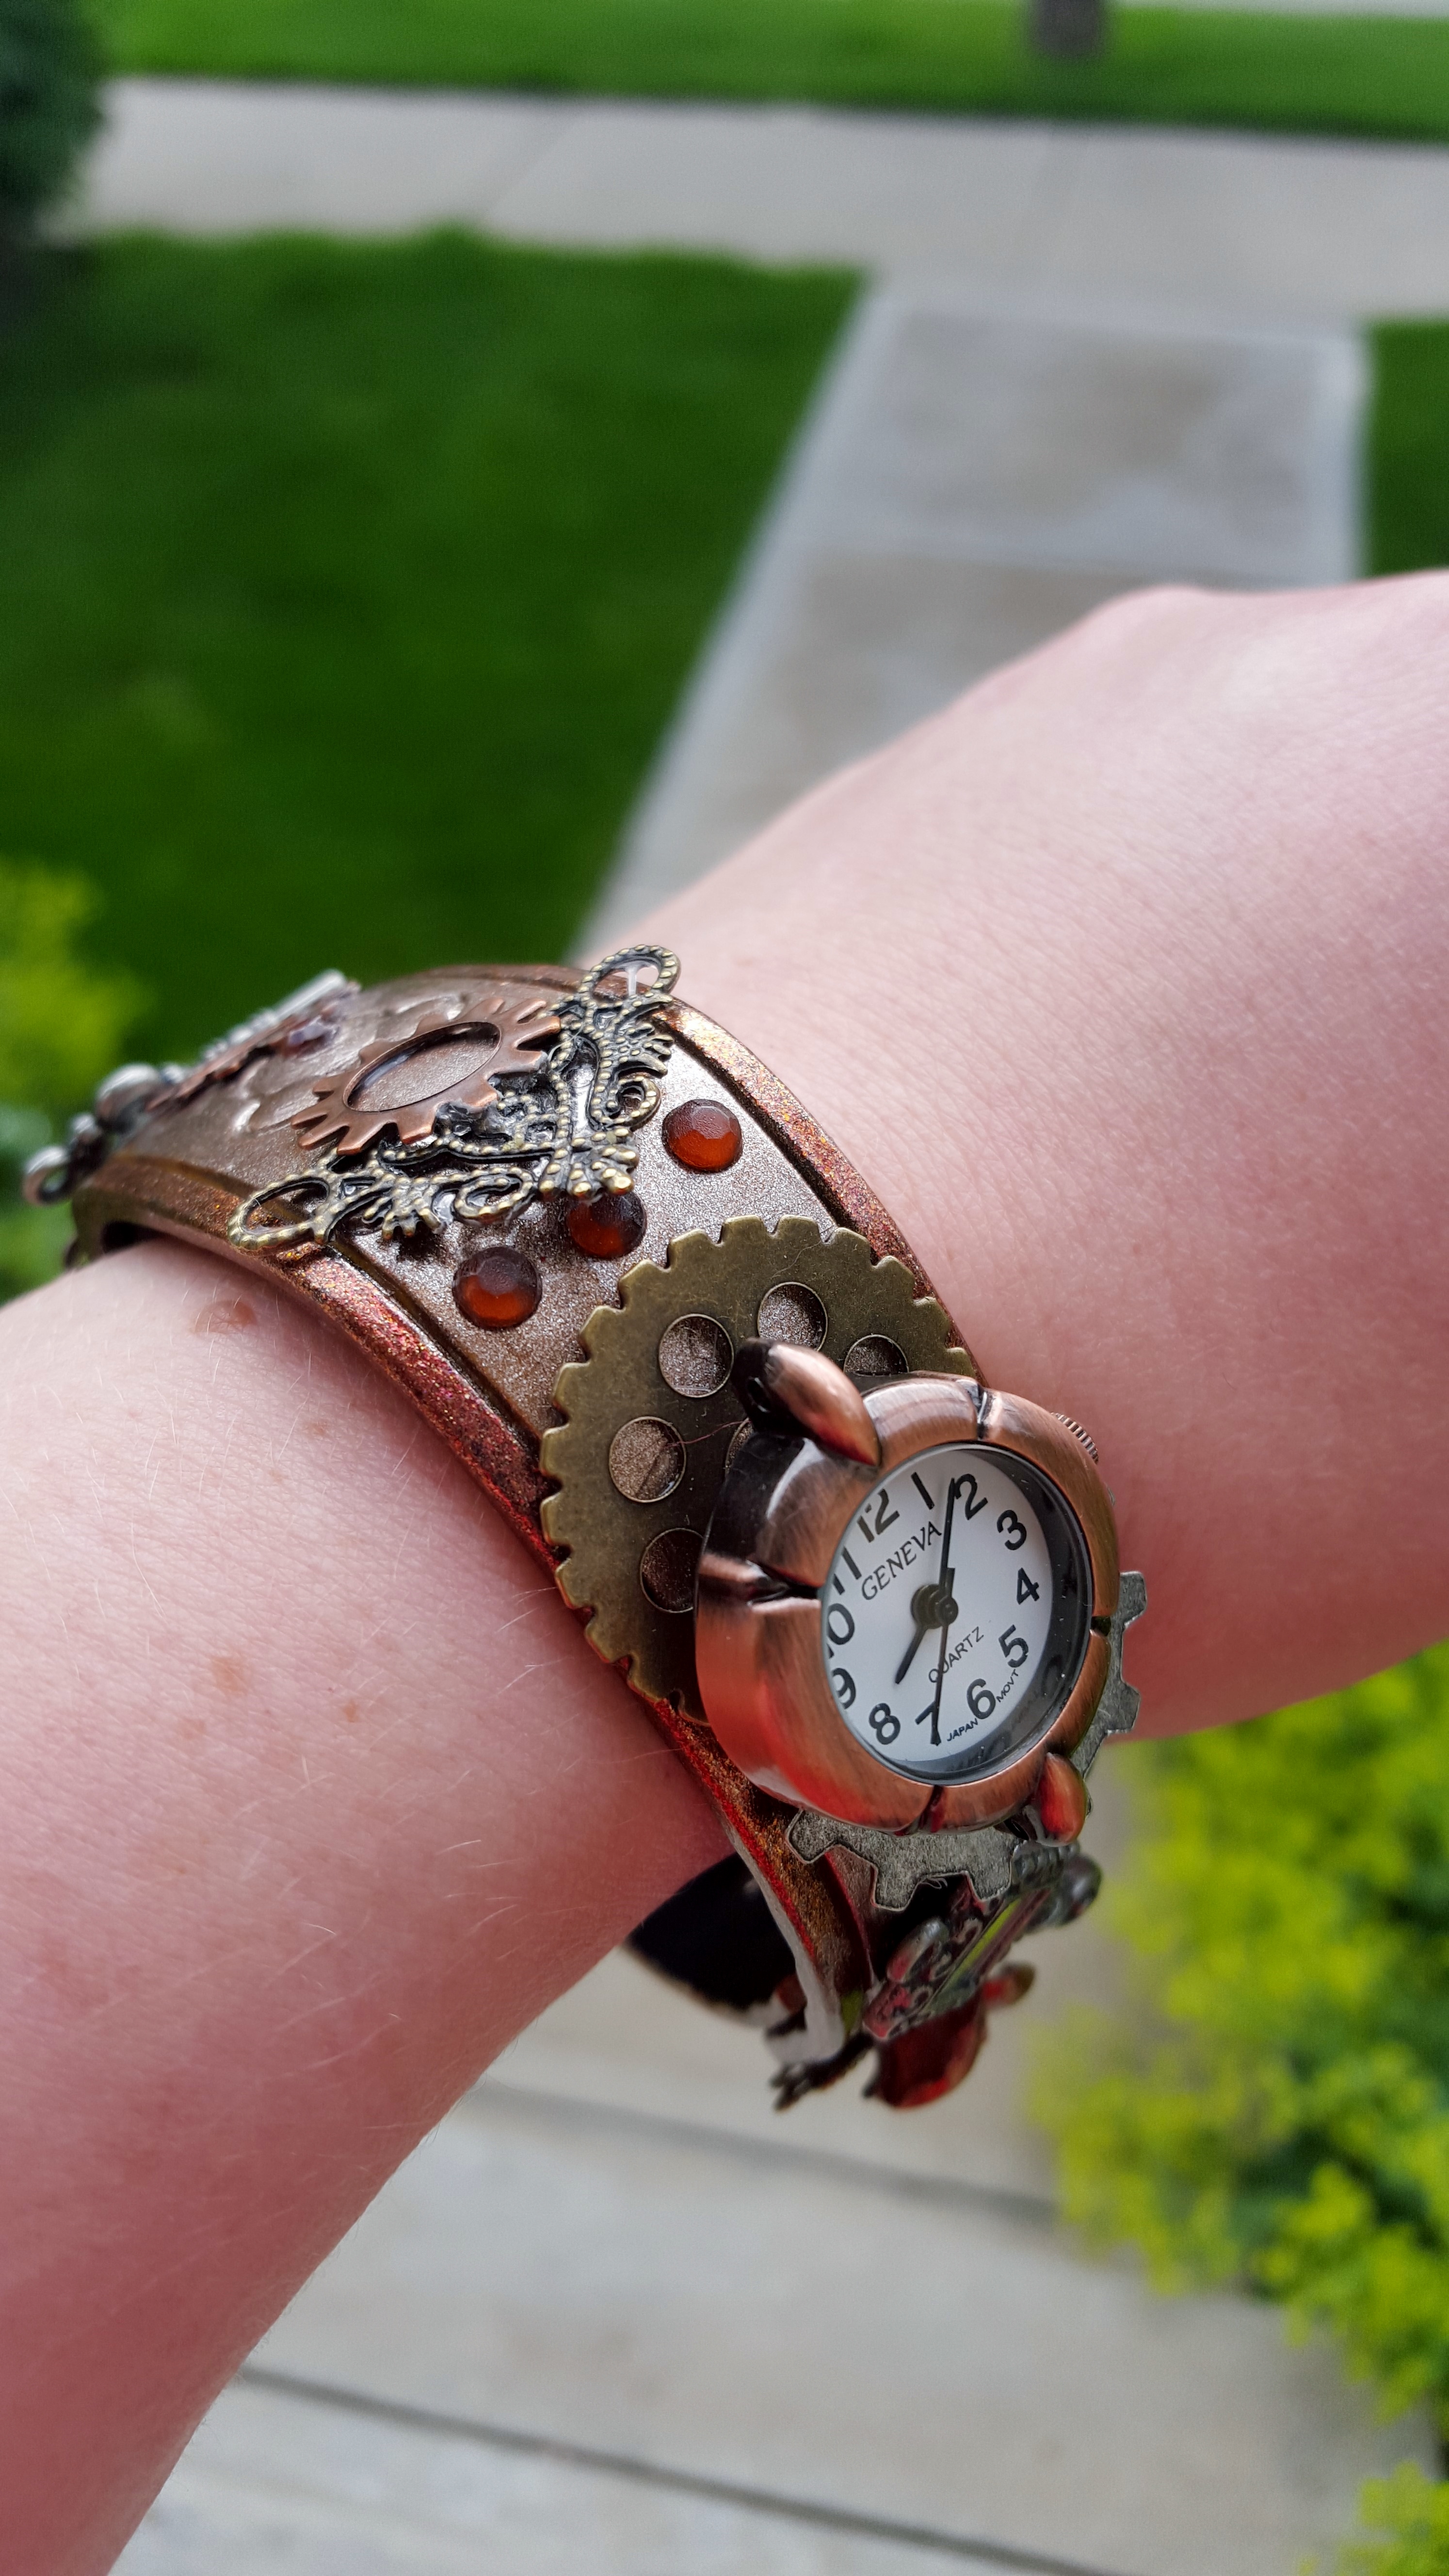
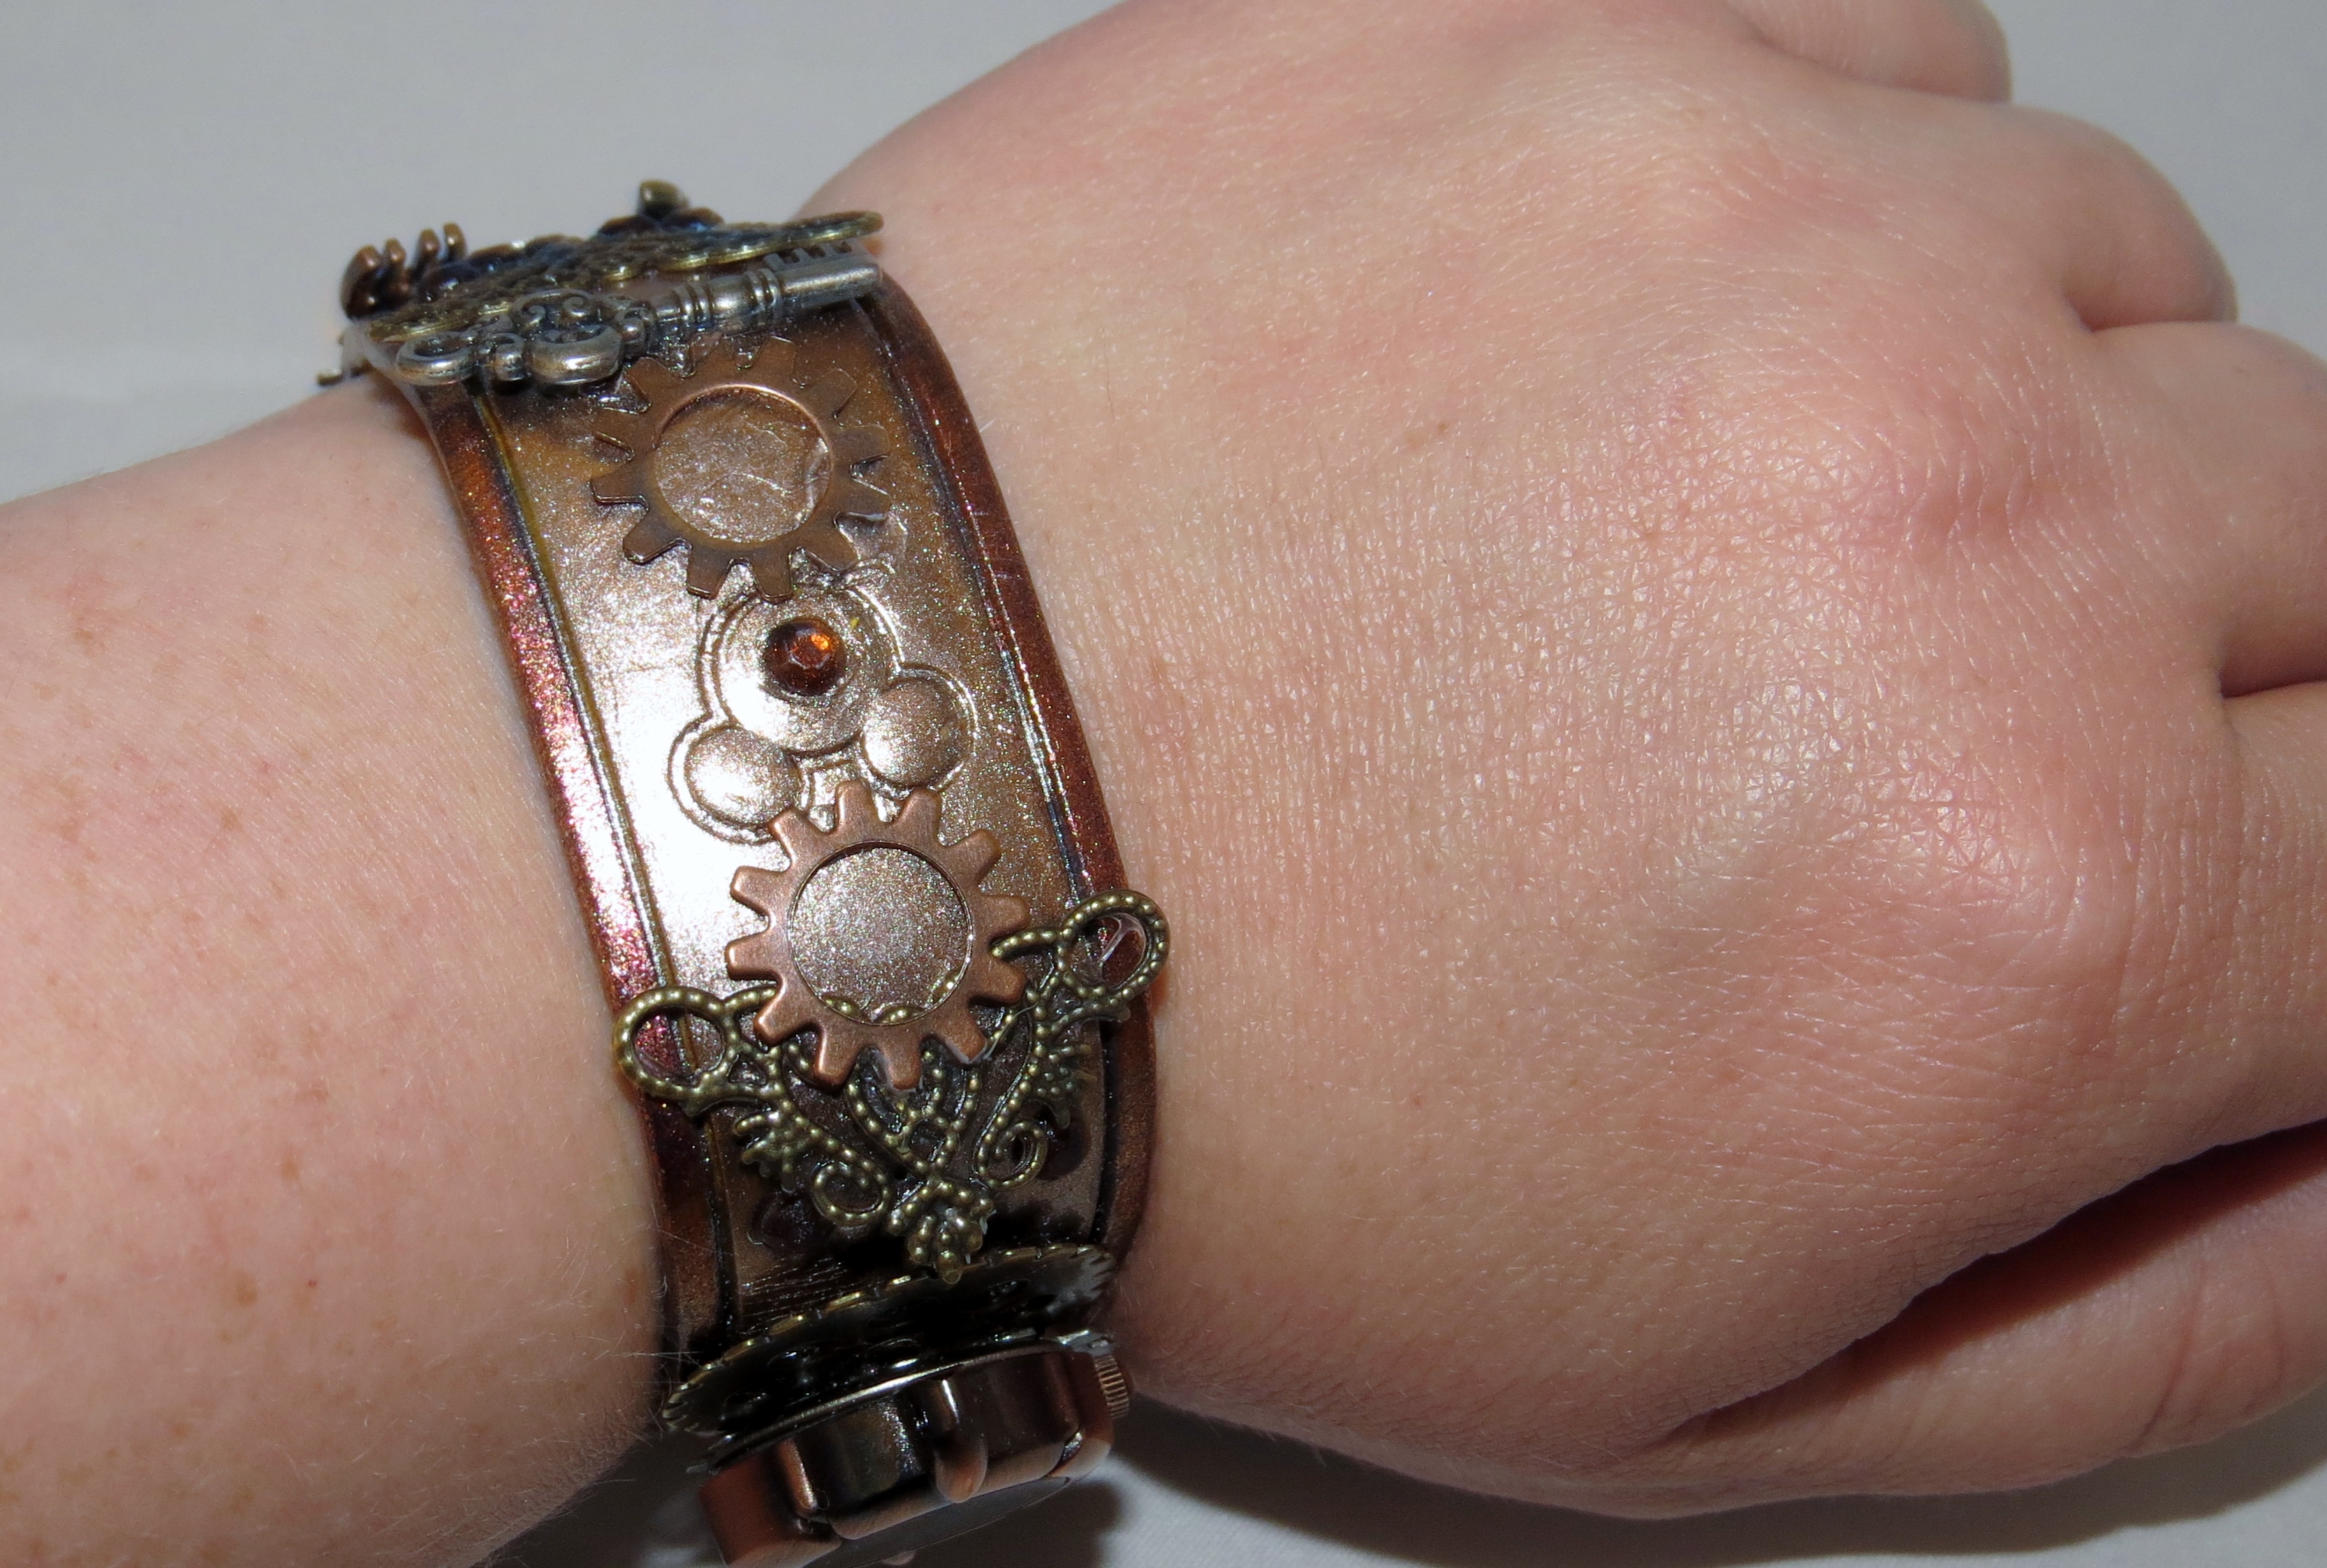
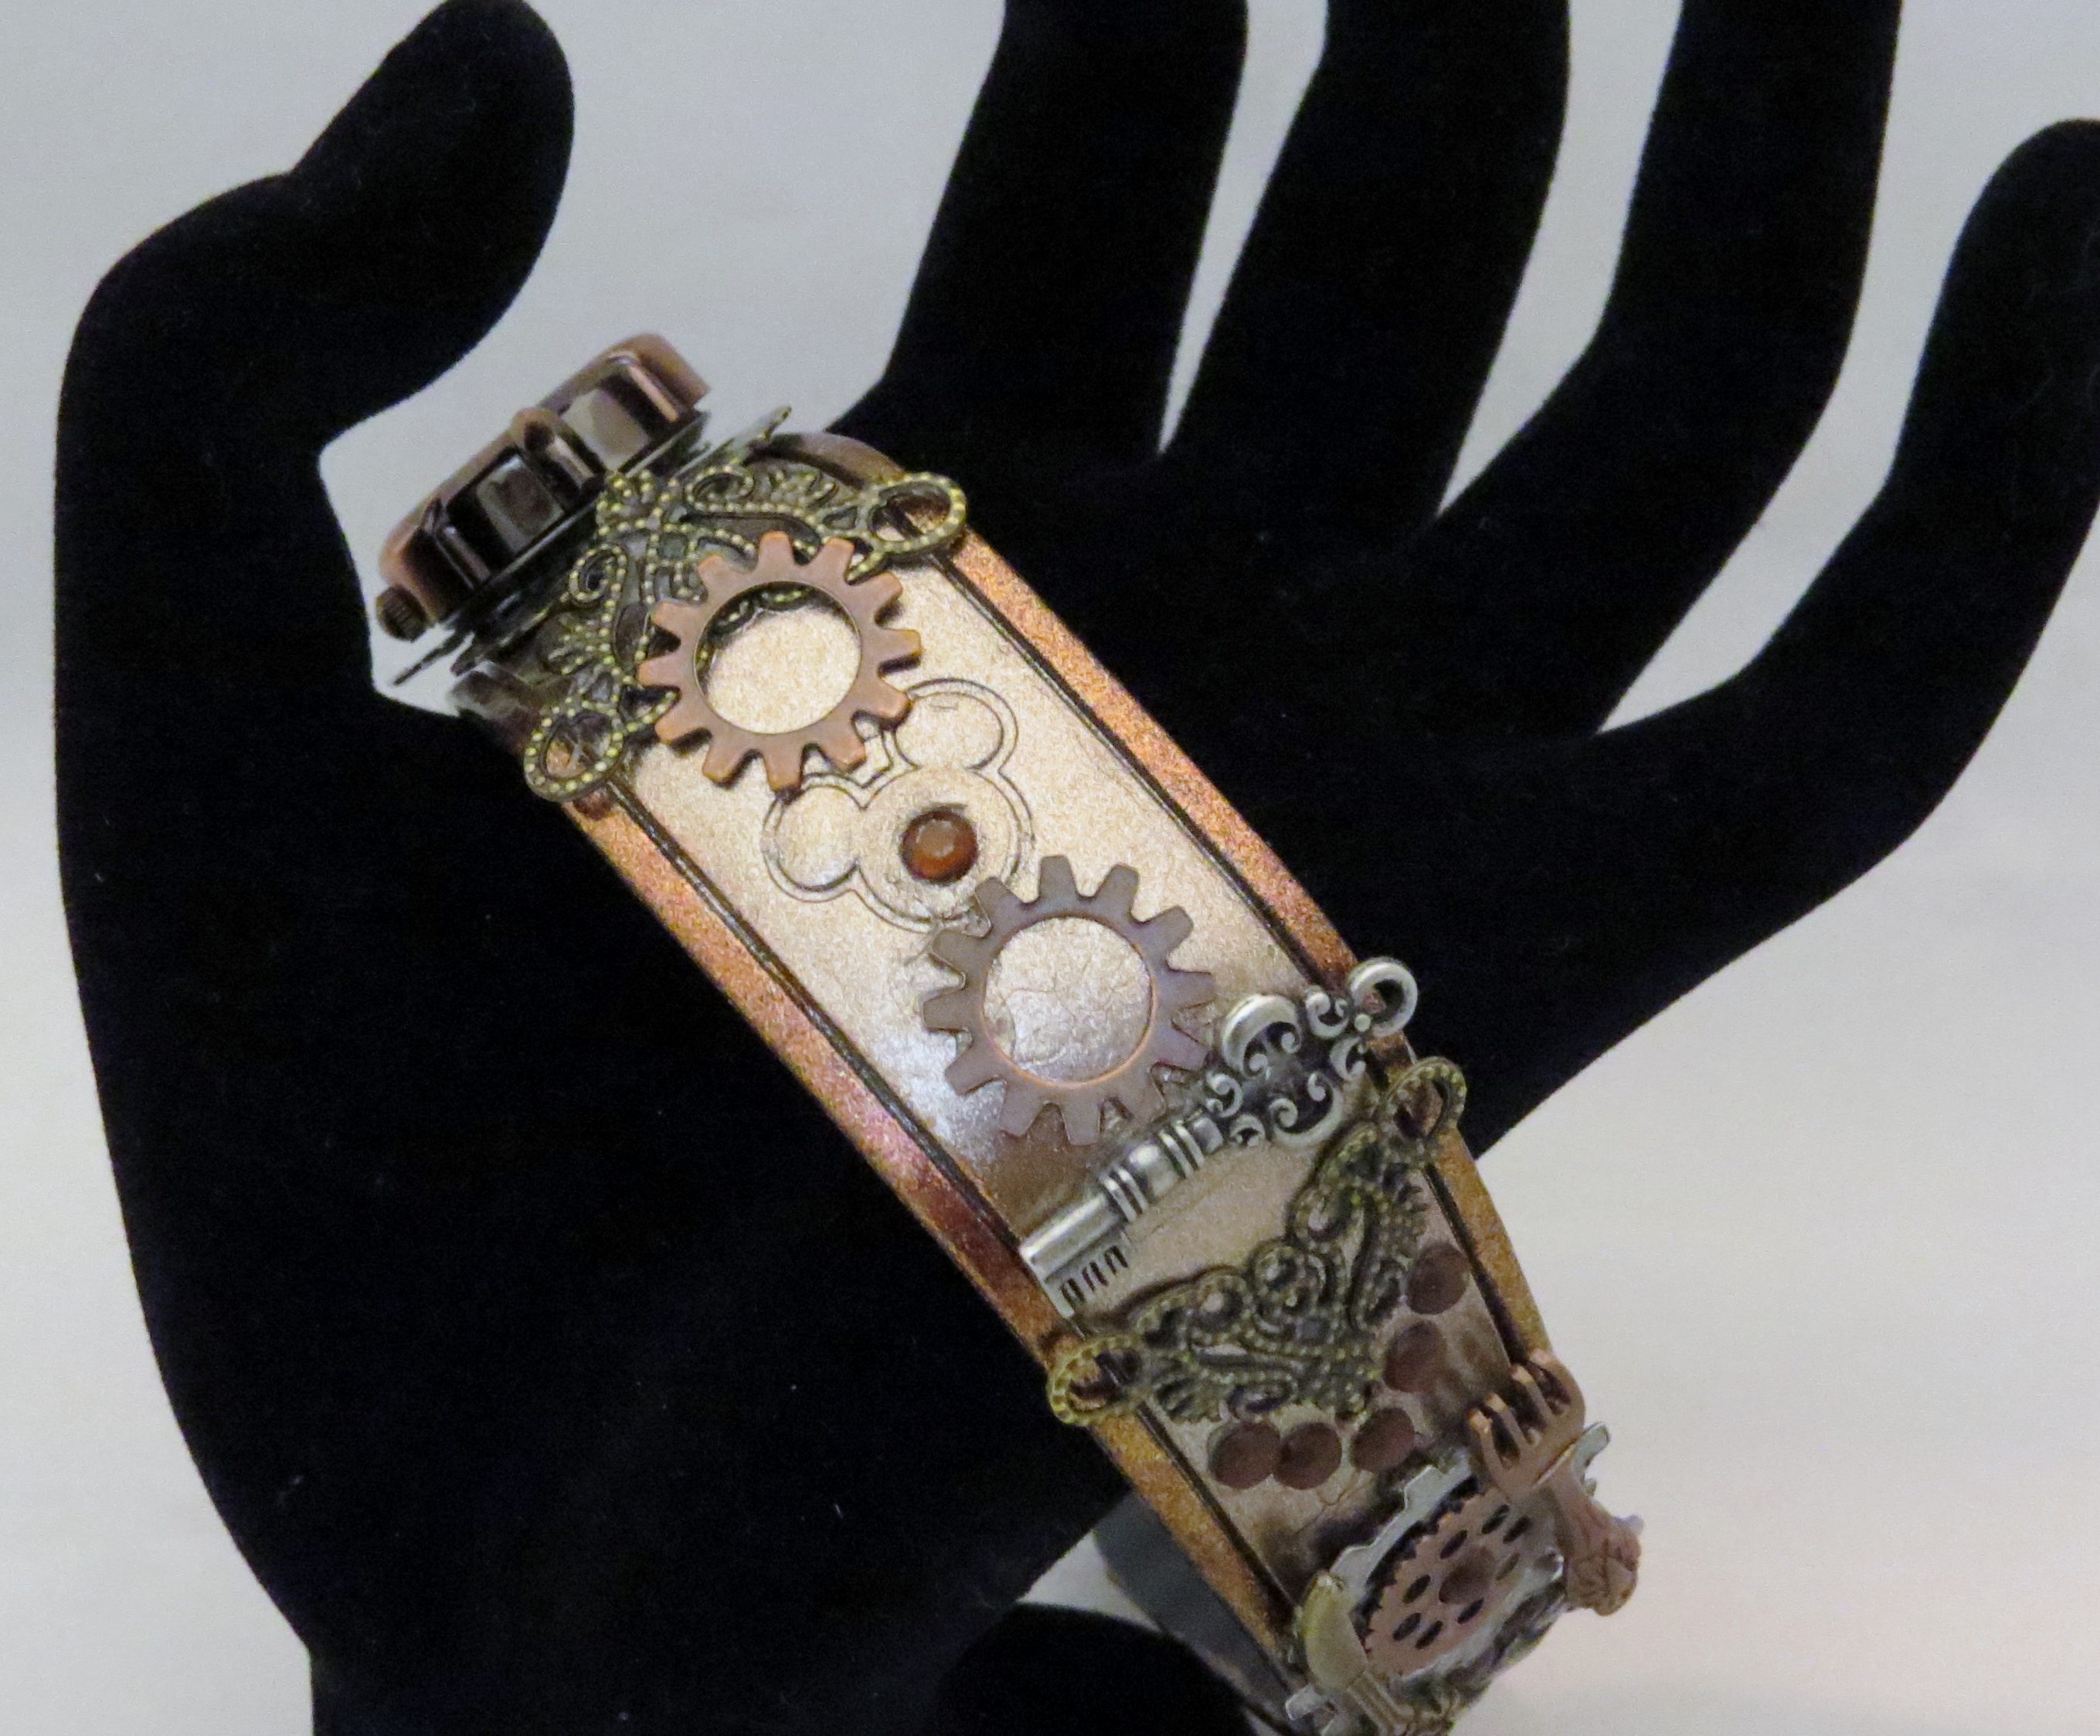
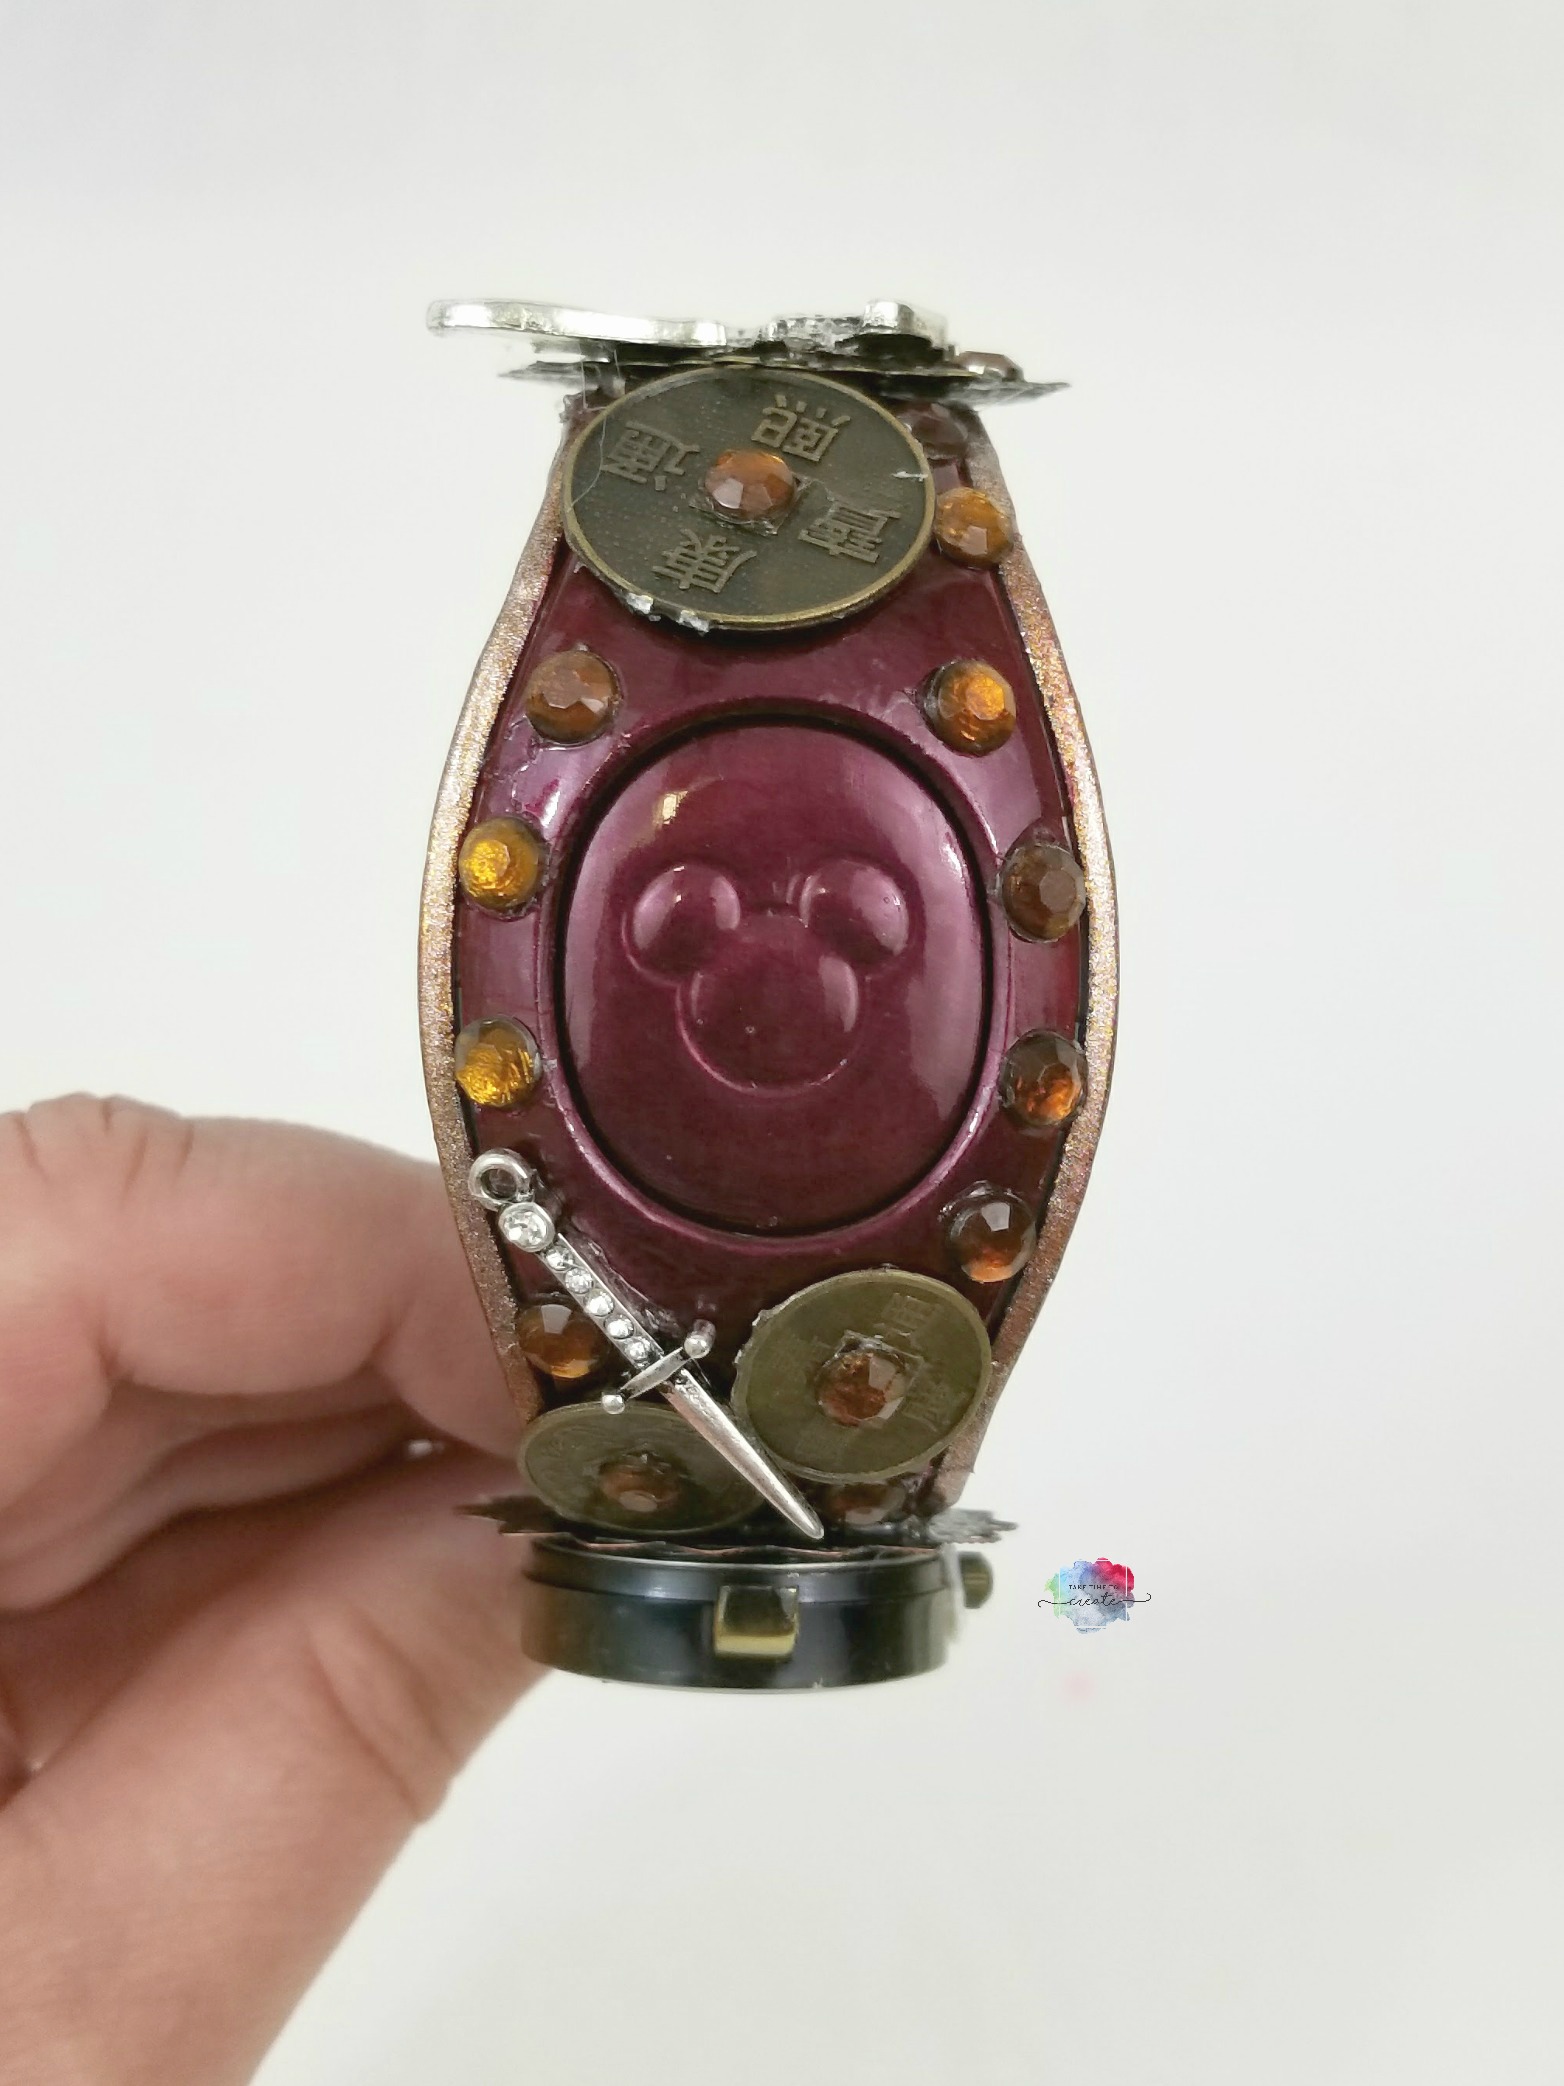
I painted a base coat with nail polish then I painted 3 coats of this beautiful red color and I painted the edges with a copper color. Use nail polish, it seems to work the best with magic bands. The last one I had held up really well and so I am doing the same thing this time.

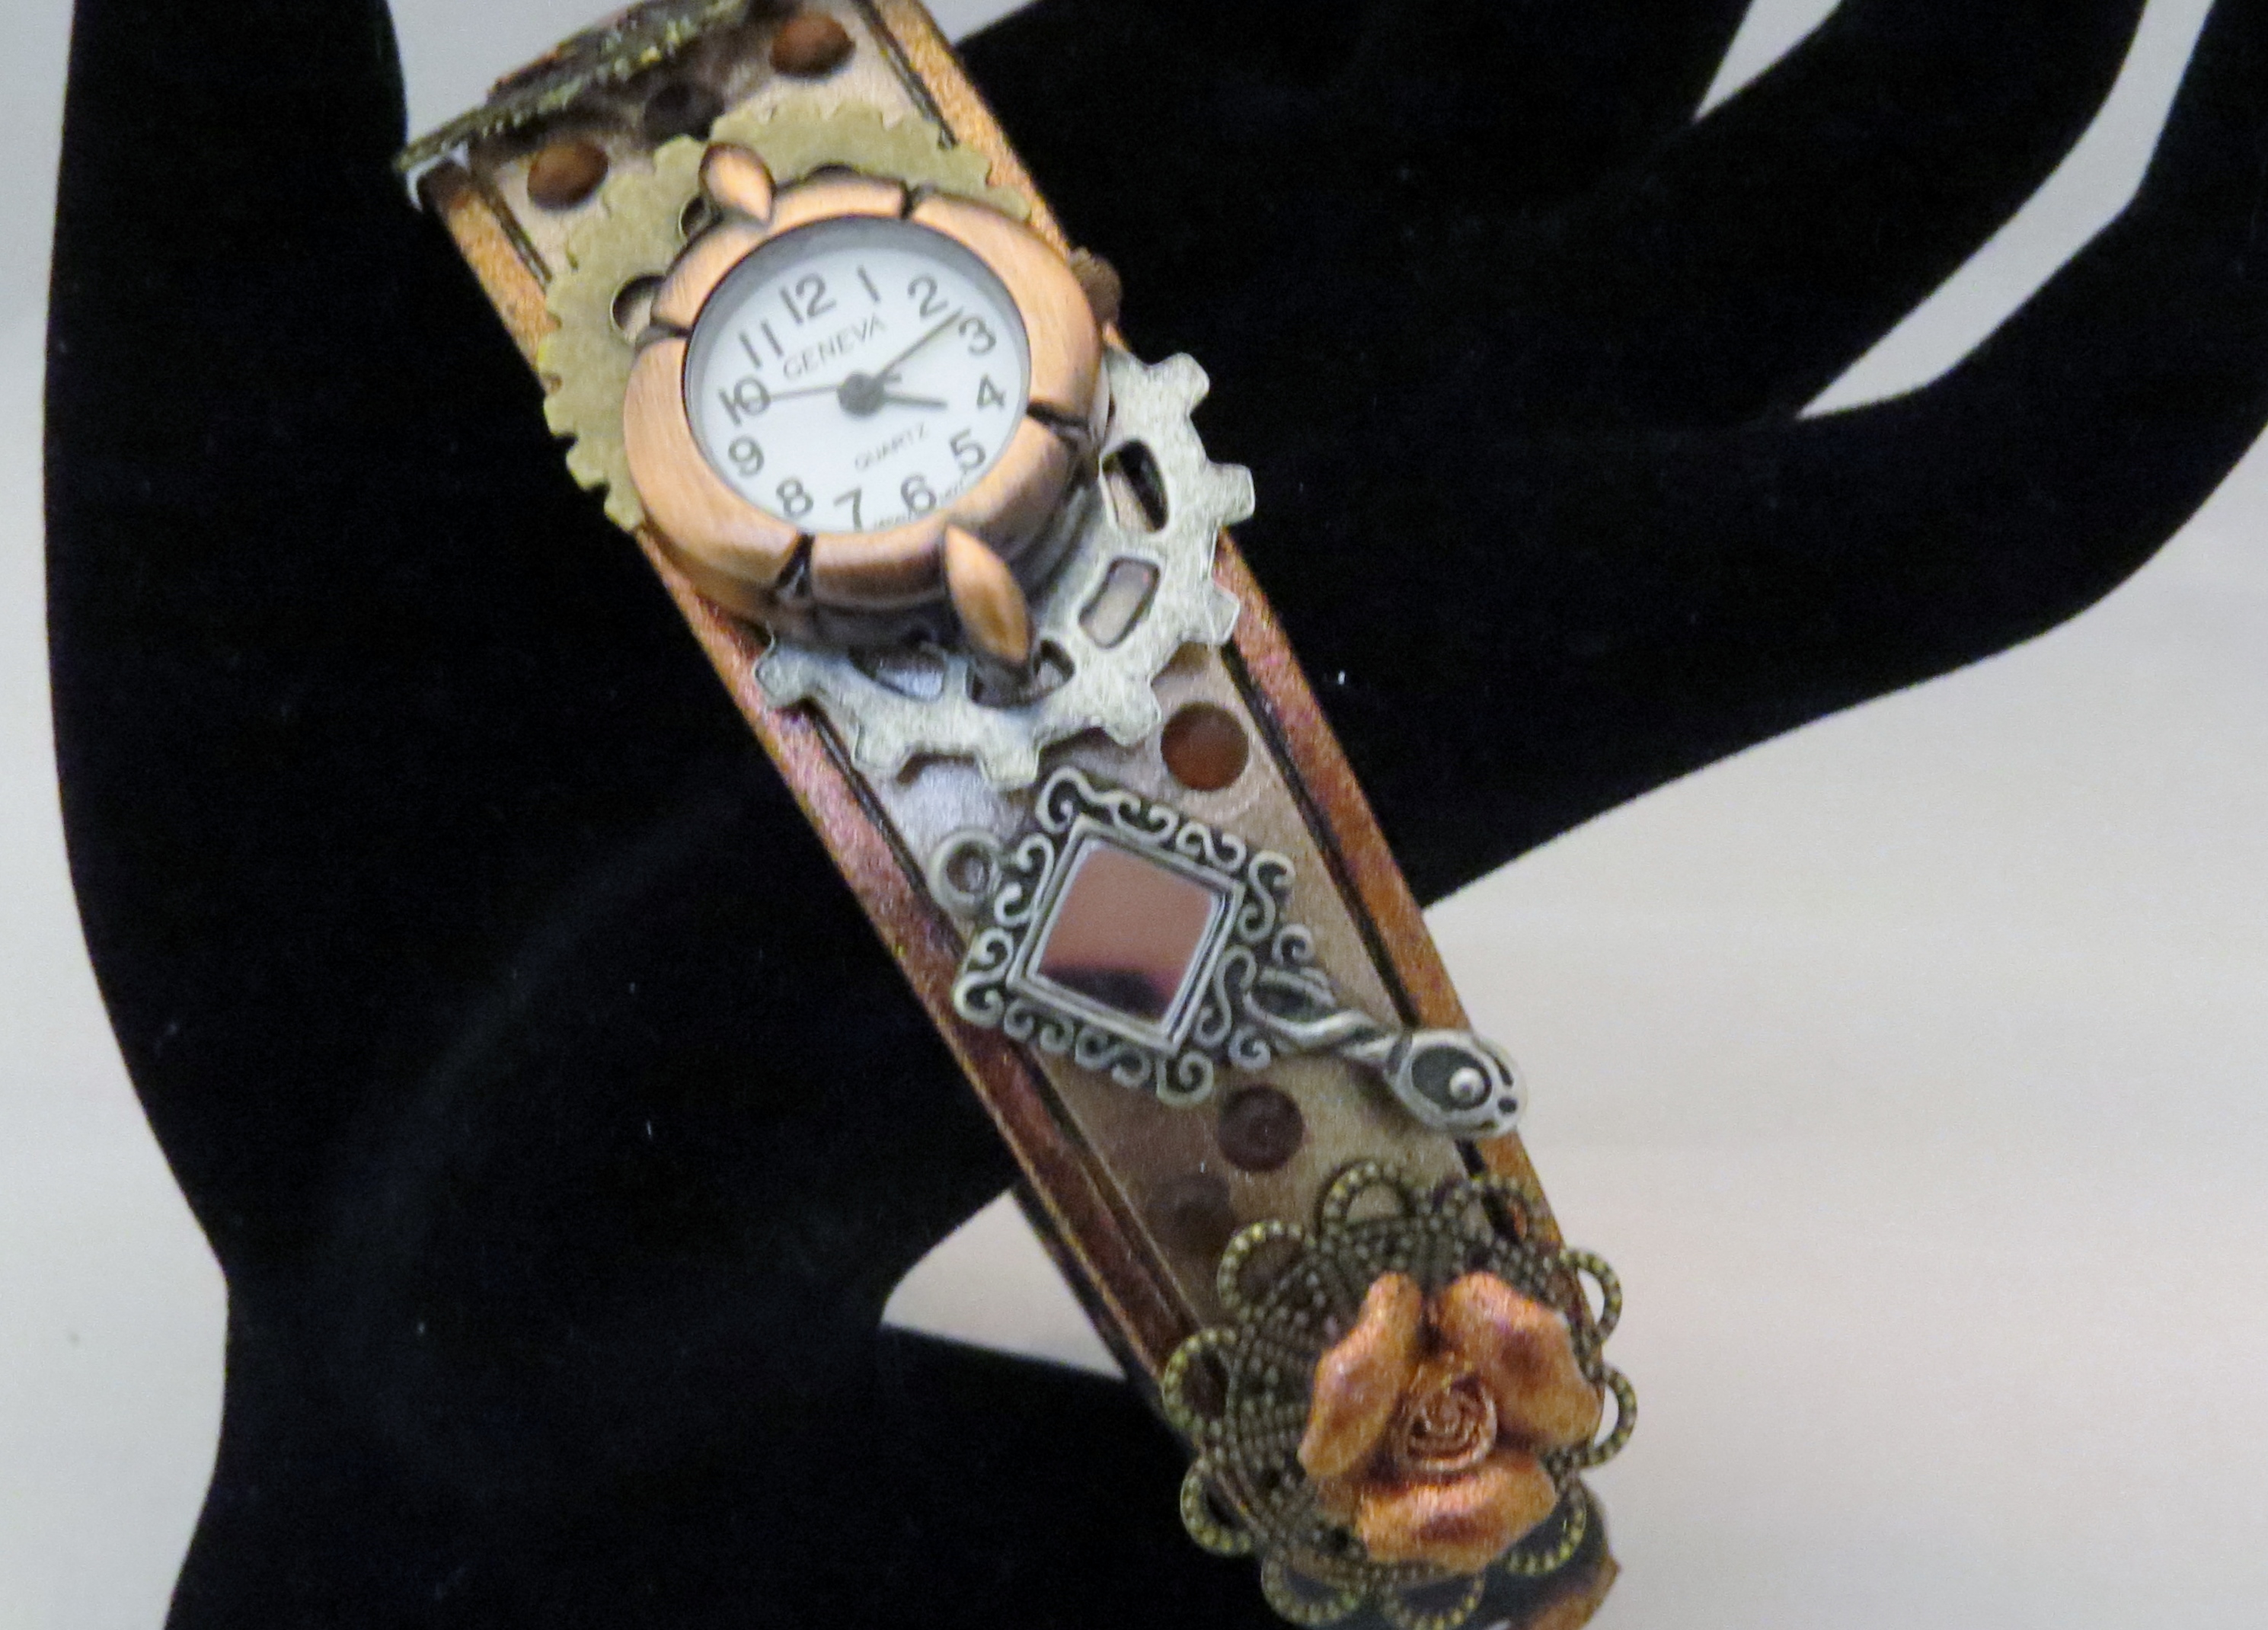
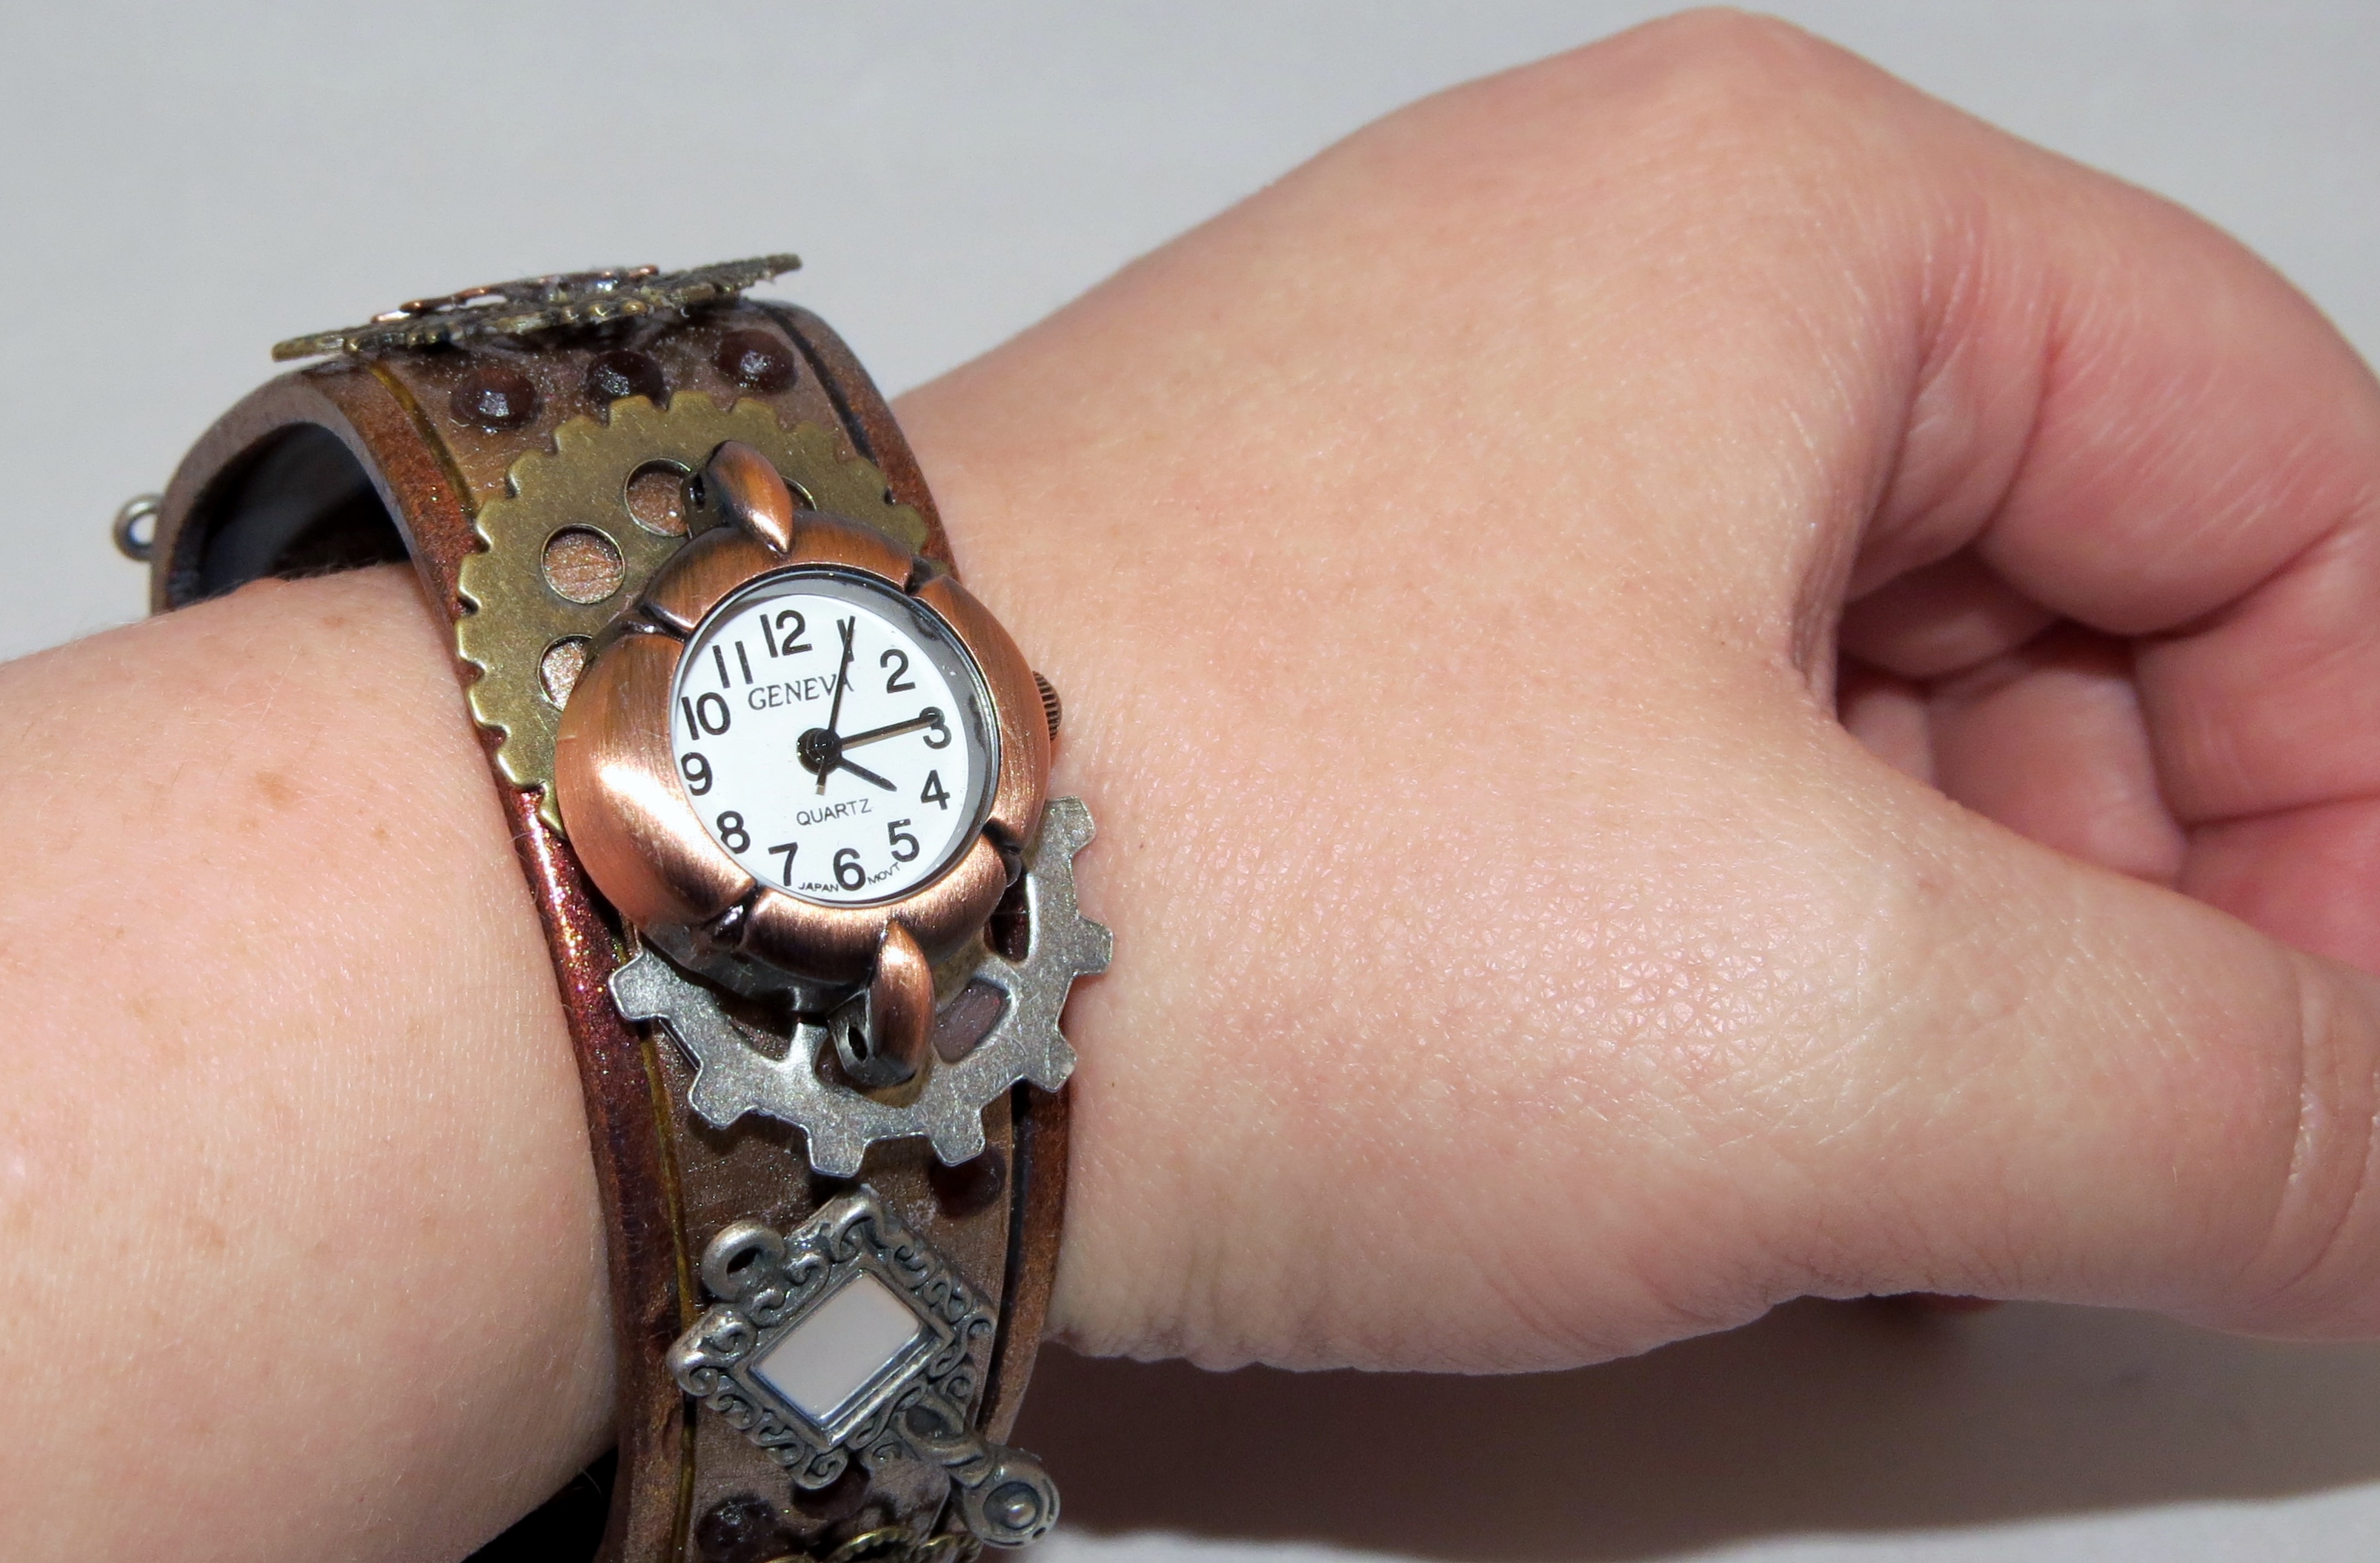
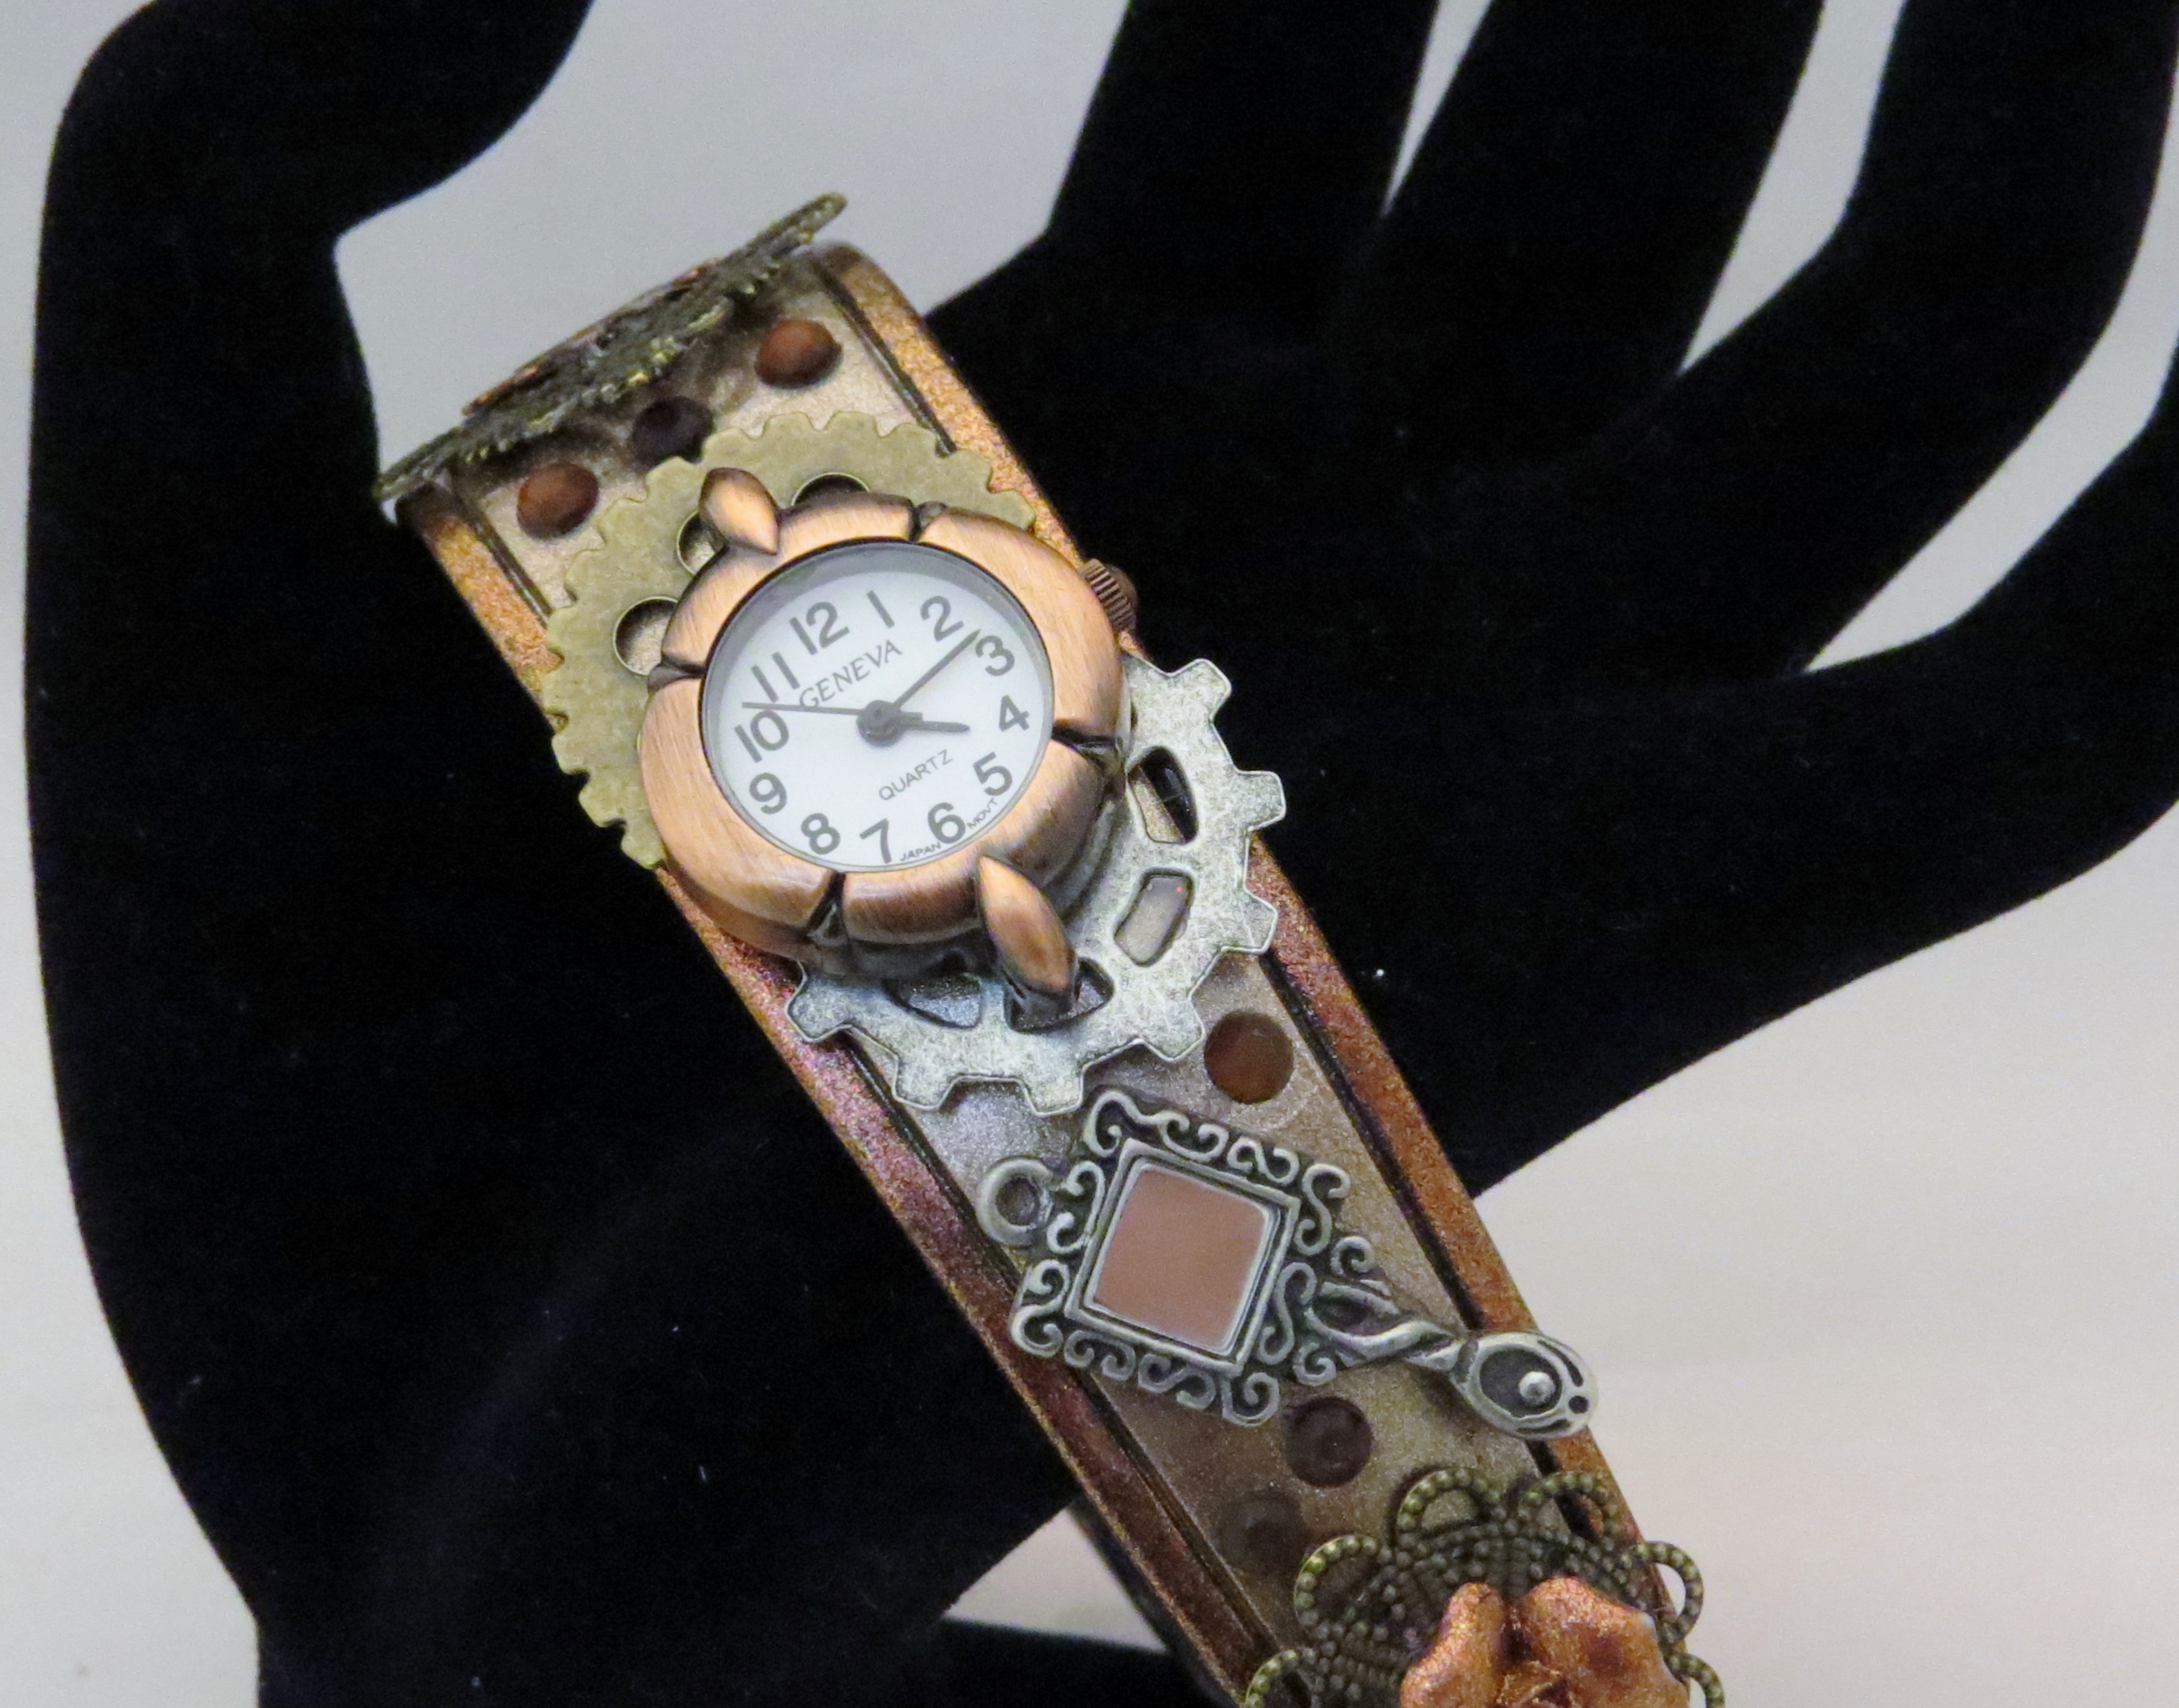
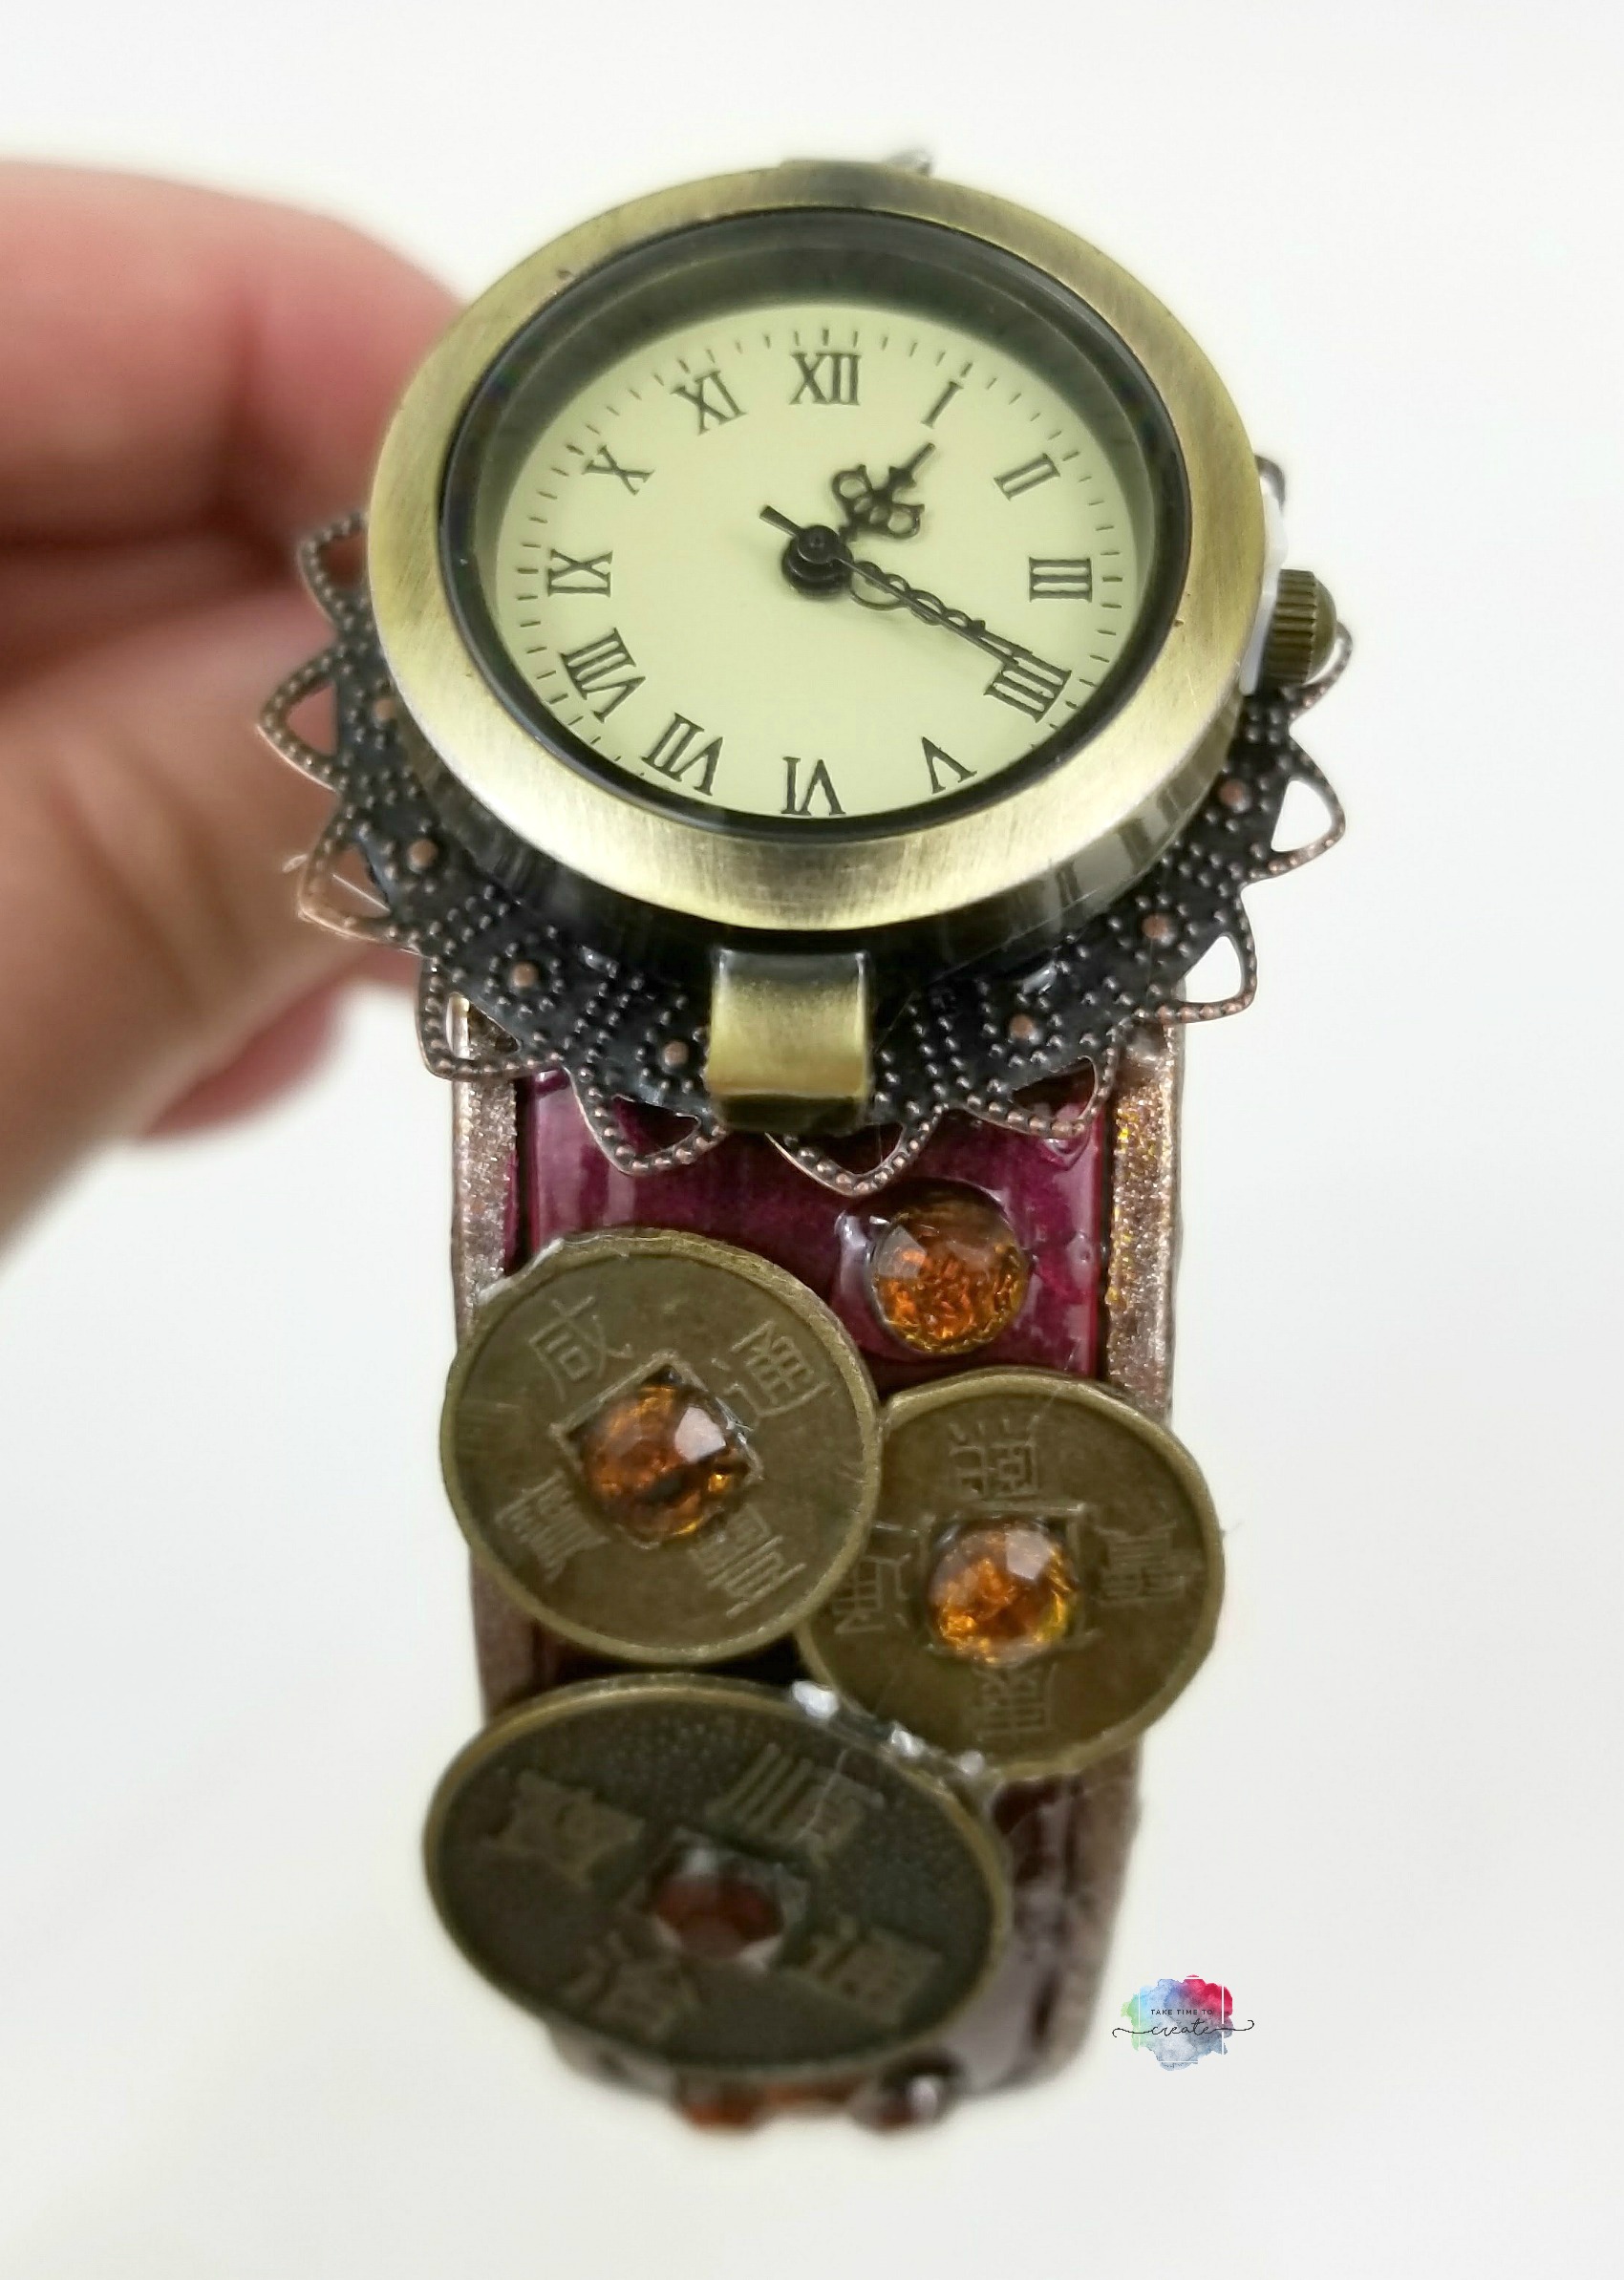
Just like last time I added a watch face because I wear my magic band on my left hand and I didn’t want it to interfere with my watch.

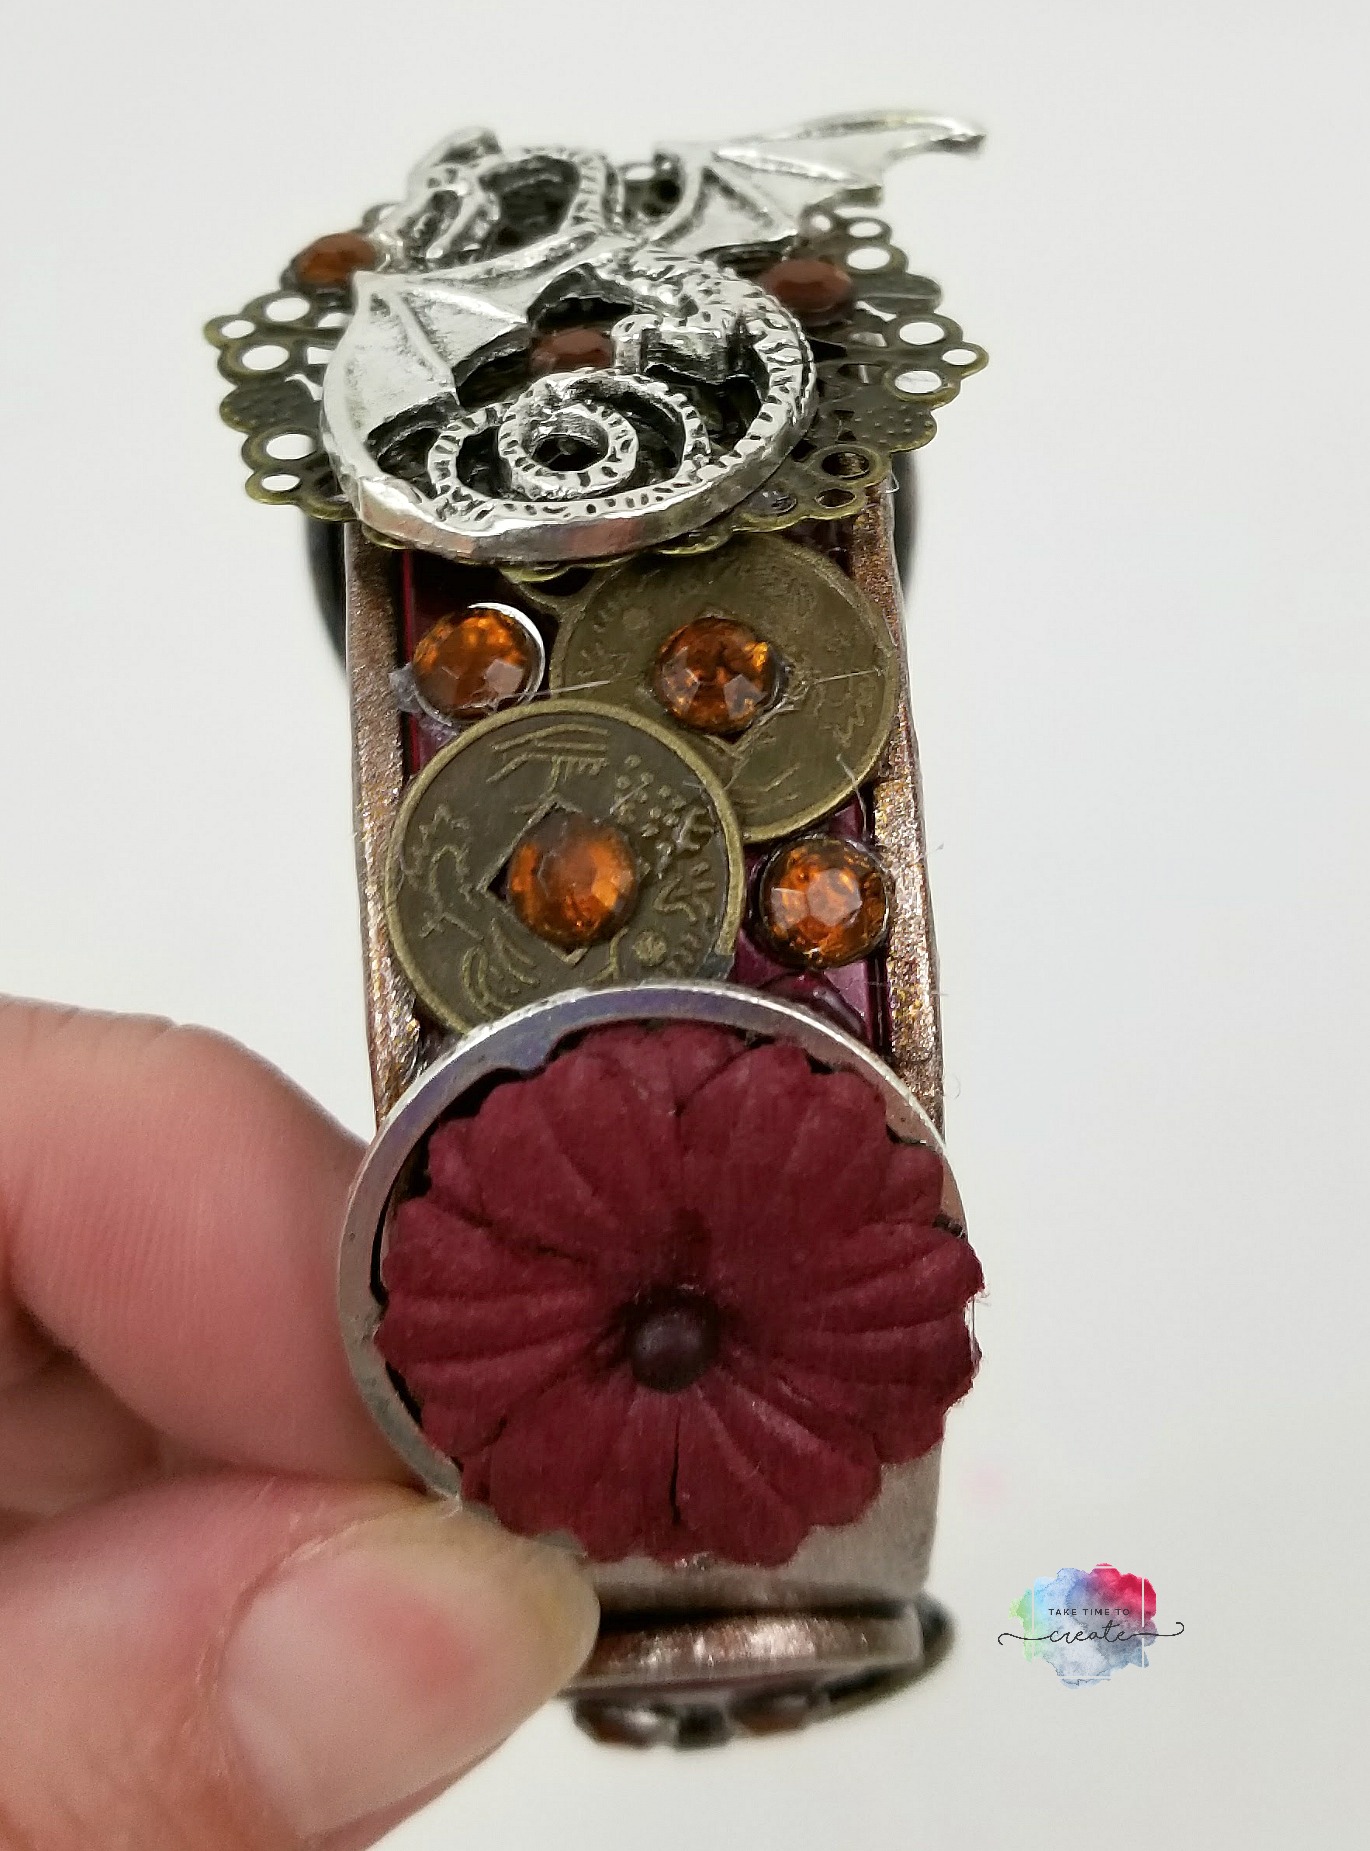
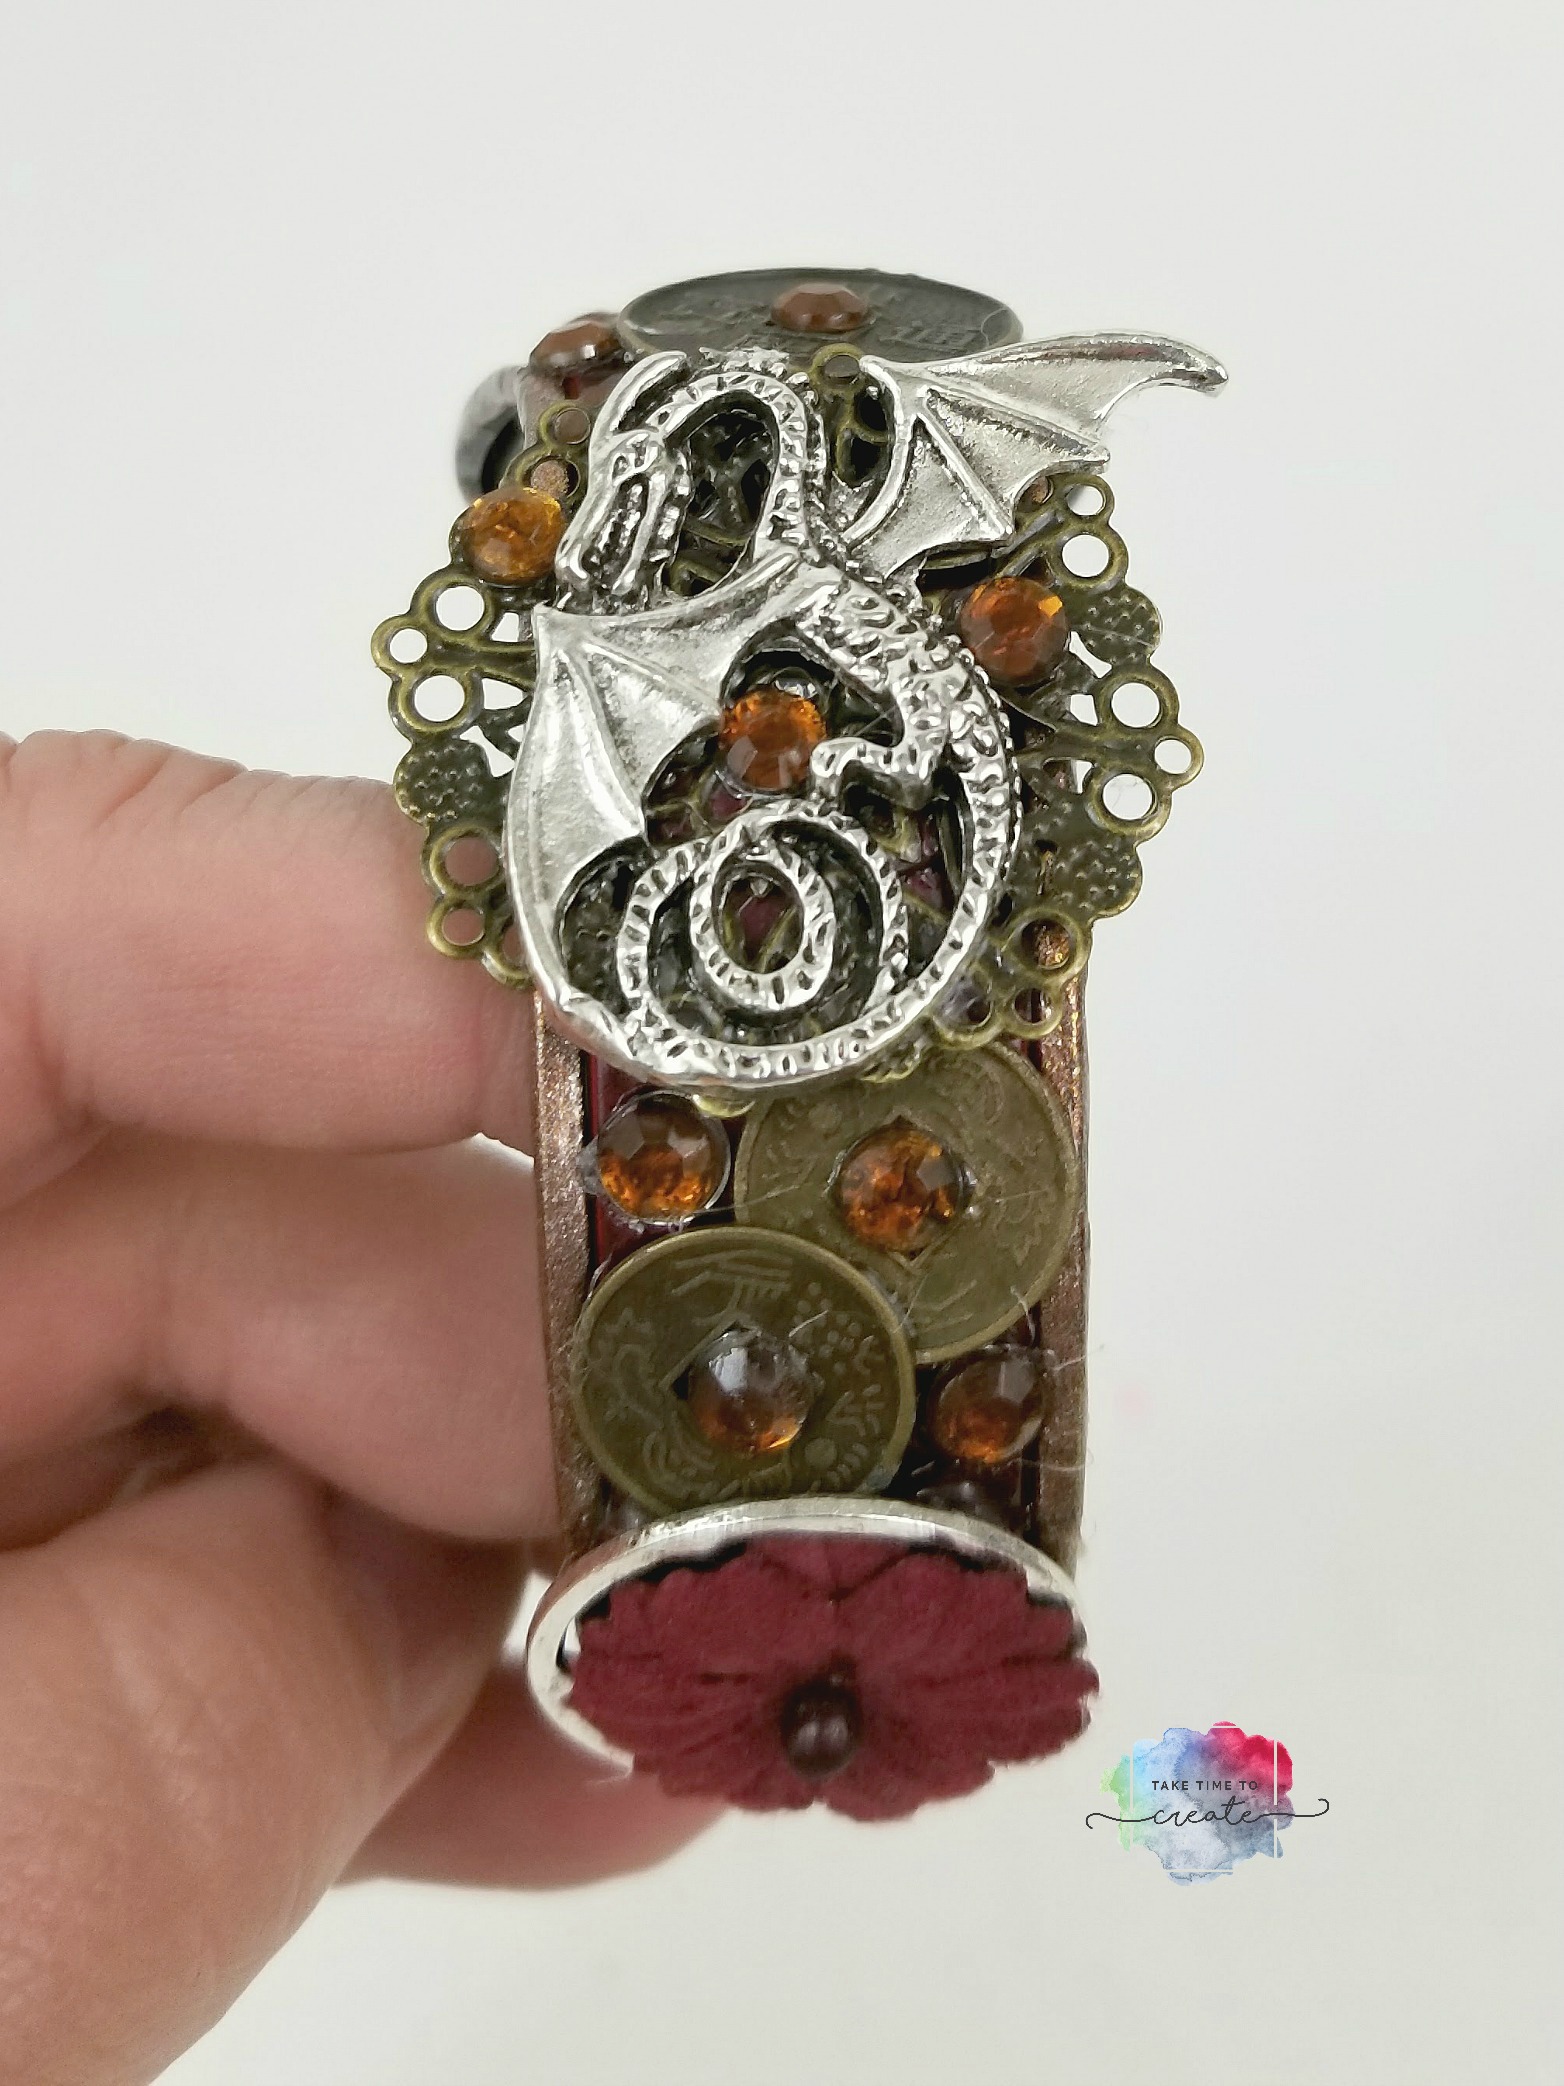
Once the nail polish was dry I glued (I used E6000) on charms and rhinestones and whatever else I could find. I found a Dragons, Chinese Coins, Rhinestones, flower, and a sword for symbolizing Mulan.

Once the glue was dried I painted a final coat of base coat on the magic band. Let it all dry and you are good to go!

Fair warning-It may not work with all the paint on the magic band… I had no problems last time, but you never know with the new version. I will try it out and let you know how it goes.

DIY Magic Band and Magic Keeper


DIY Magic Band and Magic Keeper

DIY Magic Band and Magic Keeper

DIY Magic Band and Magic Keeper

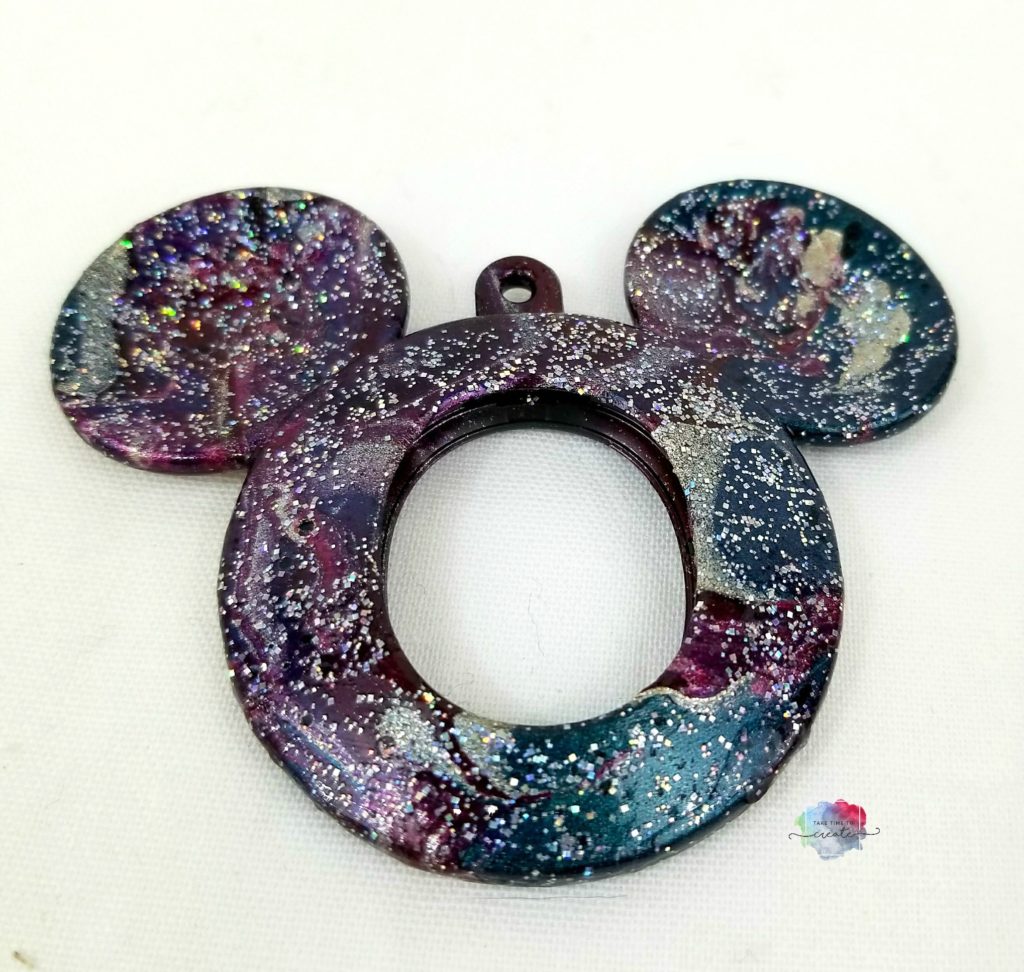
These Magic Keepers are so cute, but plain black. I just have to paint everything, and I think it looks so cute now that it is done!

I painted a layer of clear gesso to prime the plastic to prep it for water marbling. For water marbling I just had a bin of water and then I placed drops of nail polish and swirled them around. Once I was happy with my marbling I dipped my Magic Keeper in the water and it turned out so cute!

Once it was dry I added some holographic nail polish on top to add some sparkle, you can never have too much sparkle.  Once it is all dry I added a layer of base coat on the top to seal it, now it is good to go for my week at Disney!


DIY Magic Band and Magic Keeper

DIY Magic Band and Magic Keeper

Have you ever decorated a Magic Band? How did you decorate it?

The post DIY Magic Band and Magic Keeper appeared first on Take Time To Create.

Steampunk Disney Magic Band

We went to Walt Disney World in January so we got to try out the new Magic Bands. This was my first time using them, and overall I was impressed. But I couldn’t just leave it plain, oh no! I needed to decorate it!

I decided on a Steampunk tribute to Beauty and the Beast.

Update 4.4.2017: I just uploaded a video to You Tube describing this in more detail. Check it out: Steampunk Magic Band You Tube Video

Here is the finished Magic Band! I have to say, I really love how it turned out!

20150611_070832

Finished Magic Band

IMG_4536

Top of finished magic band

I think it turned out pretty cool. Unfortunately there are no pictures of me during the creation processes, but I do have the finished product. I wore it every day for a week and it held up great. I was gentle with it, but not overly so. I only had 1 piece fall off and I just replace it that night. I brought with me a small bottle of E6000 and some spare pieces for just such an occasion.

Material needed

  1. E6000
  2. Steampunk pieces ( I found mine in the jewelry section at Michael’s)
  3. Watch face (I found mine on Etsy)
  4. Rhinestones (again, Michael’s to the rescue).
  5. Nail polish and top coat
  6. Empty water bottle to hold Magic Band while you are working

Here is what I did to decorate the Magic Band

  1. I cut the band down to size so it fit me.
  2. I put the band around a water bottle so that I could work on it.
  3. I painted the band with nail polish in 2 colors. I can’t remember what the colors were but one was a Sally Hansen and the other was an OPI. I used several coats to get the color I wanted. The inside part is a different color from the outside edge.
  4. Then I put a few layers of top coat of nail polish on.
  5. Then I started gluing on the pieces with E6000. I started with a few pieces and then started adding a few more. I wanted a layered look that had a lot going on, but not too much…
  6. I went over the top of the rhinestones with top coat so that they would stay down. This did take away from the shine, but they stuck better.
  7. As you decorate make sure you don’t cover your Mickey head, it won’t work if you do (believe me, originally I did have something covering the Mickey and it didn’t work so I had to take my repair kit out and fix it…)
  8. I added a watch face to my Magic Band. I wore it on my left wrist, right where I wear my watch and I didn’t want to have to wear both, so I added a watch to my Magic Band. It worked great! The watch stayed on perfectly and worked the whole time!

I think that is everything I did. Let me know if you have questions and I will be happy to answer. I would love to see your versions of your Magic Bands!

Here are a few more pictures from all different angles. I wore it with the Mickey facing out and the watch face on the inside so I could see it.

IMG_4529

Side of the magic band that faces inside, with the watch facing me

IMG_4537

IMG_4533

IMG_4530

IMG_4527

© 2024 Take Time To Create

Theme by Anders NorenUp ↑

Follow

Get the latest posts delivered to your mailbox:

%d bloggers like this: